




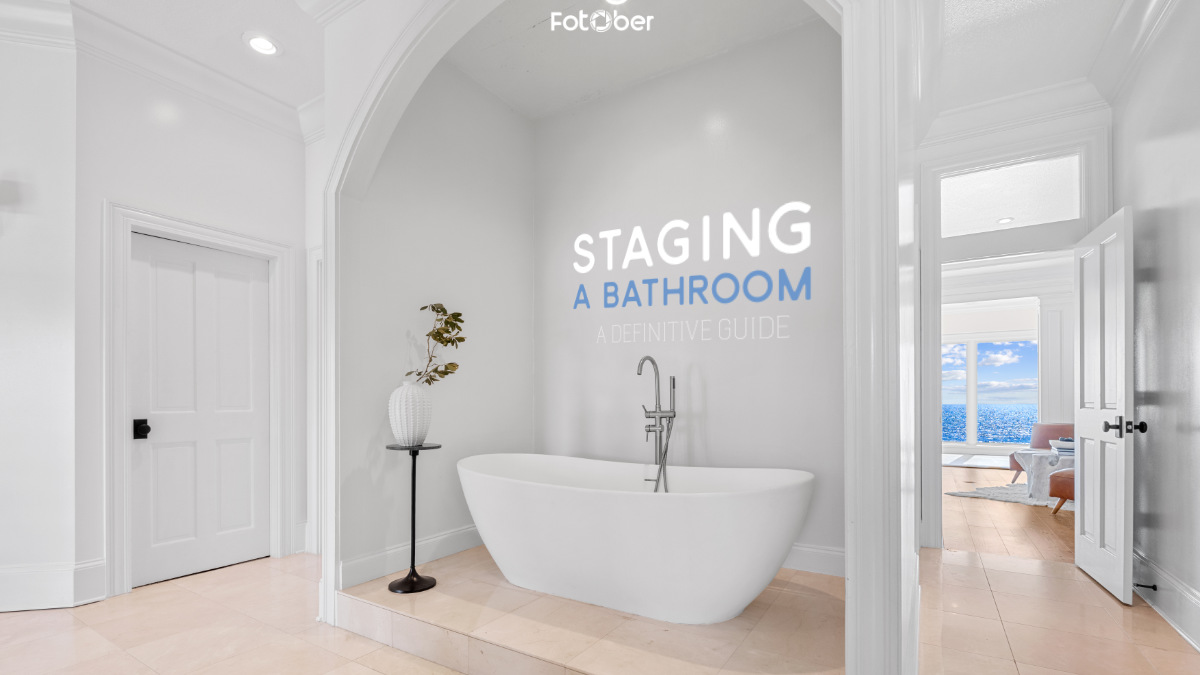
Staging a Bathroom Guide: Shape the Spa Aesthetic that Sells a Home

Share:
Table of Contents
- 1. Why bathroom home staging is critical for high-converting real estate media
- 2. Pre-staging preparation: Setting the architectural canvas for staging a bathroom
- 3. How to stage a bathroom: A step-by-step technical guide
- 4. Advanced variations: Tailoring bathroom staging to space and style
- 5. Pro strategies to optimize visual impact when staging a bathroom
- 6. Why professional photo editing remains essential after staging a bathroom
- 7. Conclusion
In real estate media, bathrooms are high-stakes spaces. Second only to the kitchen, the bathroom is a critical pivot point where prospective buyers decide whether a home feels like a luxury sanctuary or a maintenance liability. From an architectural standpoint, a bathroom is a compact system of hard surfaces, mixed materials, and complex lighting. From a photography and videography perspective, it is one of the most challenging environments to capture: tight spatial constraints, highly reflective surfaces, and conflicting light color temperatures.
Mastering staging a bathroom is not simply about placing a neat stack of towels on a counter; it is an integrated strategy combining interior design, lighting mechanics, spatial ergonomics, and camera physics. This comprehensive guide breaks down how to stage a bathroom to produce high-converting listing media, covering physical preparation, professional visual execution, advanced scenarios, and the critical post-processing required to achieve flawless bathroom staging photos.
1. Why bathroom home staging is critical for high-converting real estate media
Bathrooms are deeply intimate spaces associated with hygiene, relaxation, and personal care. When buyers view bathroom staging photos, they subconsciously evaluate two things: cleanliness and spatial volume.
1.1. The architectural psychology of bathrooms in real estate
Unstaged or poorly prepared bathrooms trigger spatial claustrophobia and hygiene anxiety. Conversely, a thoughtfully staged bathroom leverages architectural sightlines and tactile textures to evoke a high-end spa aesthetic. By shifting the emotional tone from "utility room" to "wellness retreat," staging a bathroom directly increases a property's perceived market value.
|
THE BUYER PERCEPTION MATRIX | |
|
Unstaged / Cluttered |
---> Trigger: Hygiene anxiety perception: High maintenance |
|
Architecturally staged |
---> Trigger: Spa sanctuary perception: Turnkey luxury |
1.2. How staged bathroom photos drive click-through rates (CTR)
In digital real estate marketing, your thumbnail images dictate your click-through rates. Bathrooms often feature prominently in virtual tours, video walk-throughs, and image galleries.
A well-staged bathroom creates clear visual anchors, such as a balanced vignette on a vanity or a clean horizon line across a freestanding tub, that pull the viewer's eye into the frame. High visual structure cuts through digital noise on platforms like Zillow, Realtor.com, or MLS, driving higher engagement and booking more in-person showings.
2. Pre-staging preparation: Setting the architectural canvas for staging a bathroom
Before introducing decorative elements or setting up camera gear, the physical space must be meticulously prepared. Staging over grime or structural defects only highlights those flaws under high-resolution photography.
|
PRE-STAGING CHECKLIST | ||
|
1. Deep cleaning |
2. Depersonalization |
3. Maintenance audit |
2.1. Deep cleaning vs. visual restoration
Standard domestic cleaning is insufficient for high-definition sensors. Real estate photography uses wide-angle lenses and high-aperture settings that capture microscopic details.
- Grout and tile: Tile grout must be deep-cleaned, bleached, or steam-cleaned. Discolored grout lines draw immediate negative focus.
- Glass and chrome: Shower doors, enclosures, mirrors, and chrome fixtures must be stripped of water spots, soap scum, and fingerprints using specialized glass polish and microfiber materials.
- Caulking: Old, cracked, or yellowed silicone caulking along the tub edge, backsplash, or baseboards should be removed and reapplied with fresh white or clear architectural sealant.
2.2. Decluttering and depersonalization
To make a room feel spacious, you must eliminate visual friction.
- Remove personal items: Toothbrushes, prescription bottles, shampoos, razors, used bar soaps, and loofahs must be completely cleared.
- Clear floor space: Remove bath mats, toilet contour rugs, scales, and wastebaskets. Exposed floor space maximizes perceived square footage on camera.
- Clear countertops: Strip the vanity bare. Only curated, high-end props will be introduced during the staging phase.
2.3. Hardware and fixture audits
- Lighting homogeneity: Ensure all light bulbs in the bathroom operate at the exact same color temperature (preferably 2700K–3000K for warm residential comfort, or 5000K–5600K daylight-balanced LED lights if matching bright exterior light). Never mix warm tungsten and cool daylight bulbs in the same room.
- Fixture alignment: Tighten loose towel bars, toilet paper holders, and cabinet hardware to ensure perfectly straight horizontal and vertical geometry in photos.
3. How to stage a bathroom: A step-by-step technical guide
When executed correctly, staging a bathroom transforms a purely functional environment into a sleek visual narrative. Follow this structured approach to prepare the space for photography and videography.
STAGING EXECUTION PIPELINE
[Color palette & textures] ➔ [Lighting alignment] ➔ [Vignette creation] ➔ [Camera framing]
3.1. Step 1: Establishing the color palette and texture dynamics
Bathrooms are naturally dominated by hard, cold surfaces: ceramic tile, porcelain, glass, polished stone, and metal. Effective staging introduces soft textures and organic elements to balance these hard materials.
- The neutral rule: Stick to a neutral, sophisticated palette: bright white, soft ivory, charcoal, or warm greys. Avoid bright, aggressive primary colors that reflect harsh color casts onto white tiles.
- Plush textiles: Invest in thick, high-density cotton towels (800+ GSM). Towels should be pristine white or muted neutrals. Hang them cleanly off bars using precise tri-fold techniques, or roll them tightly for open shelving display.
- Organic contrast: Introduce living elements like small potted succulents, orchids, or fresh eucalyptus branches. Organic forms break up the rigid horizontal and vertical geometry of tile and cabinetry.
|
MATERIAL BALANCE FORMULA | |
|
HARD SURFACES (Cold) |
STAGING TEXTURES (Warm) |
|
Porcelain / Ceramic |
High-GSM cotton towels (Tri-folded) |
|
Polished chrome/Brass |
Natural wood trays / Teak benches |
|
Tempered glass |
Organic elements (Eucalyptus, Orchids) |
3.2. Step 2: Lighting mechanics: Blending ambient, task, and natural light
Lighting controls how space, texture, and clean lines register on a camera sensor.
- Maximize natural light: Open all blinds, shutters, or privacy screens completely to invite natural light.
- Balance artificial ambient light: Turn on vanity lights and overhead fixtures to create a warm, inviting glow. If these lights generate harsh hotspots or severe yellow color casts on white countertops, switch them off and rely entirely on bounced off-camera flash or ambient daylight.
- Diffusing reflections: Soften direct ambient light sources using translucent window shades if the sunlight produces hard, high-contrast shadows across the vanity or floor.
3.3. Step 3: Vignette creation and prop placement (Staged bathroom ideas)
A vignette is a small, artfully arranged composition designed to tell a story of luxury and relaxation. Avoid over-accessorizing; keep prop arrangements grouped in odd numbers (trios work best).
- Executive vanity vignette: A sleek wooden or marble tray holding an amber glass soap dispenser, an unlit scented candle in a ceramic holder, and a small, neat stack of folded linen hand towels.
- Deep soaking tub vignette: Place a wooden tub caddy across the rim. Arrange a folded white towel, an unlit soy candle, a dry loofah or natural sea sponge, and a small ceramic dish with bath salts.
- Walk-in shower vignette: Place high-end, matching pump bottles (labeled minimalist-style for "Shampoo" and "Body Wash") on a built-in tile niche. Ensure all labels face directly toward the camera lens.
3.4. Step 4: Lens selection and camera angles for architectural balance
Staging is only half the battle; how you shoot the staged elements completes the process.
- Lens selection: Use a wide-angle tilt-shift lens (e.g., 17mm to 24mm on a full-frame sensor) or an ultrawide zoom (e.g., 16-35mm). Avoid extreme ultra-wide lenses under 15mm, as they create ugly edge distortion and unnaturally stretch vanity lines.
- Camera height: Position the tripod at approximately chest height (4 to 4.5 feet) or aligned with the middle of the vanity mirror. Setting the camera too high makes the floor feel overwhelming; setting it too low hides the depth of the vanity top.
- Vertical line alignment: Ensure vertical sightlines (door frames, shower enclosures, wall corners) are strictly 90-degree perpendicular. Converging vertical lines ruin architectural symmetry and reduce visual polish.
4. Advanced variations: Tailoring bathroom staging to space and style
Different architectural layouts demand tailored staging approaches. Applying a single cookie-cutter approach to every layout can diminish small spaces or make large ones feel empty.
|
STAGING STRATEGY BY SPACE | |
|
Master en-suites |
Focus on luxury lifestyle, symmetrical pairing, spa vignettes, and high-end textiles. |
|
Compact powder rooms |
Prioritize minimalism, spatial flow, elevated hardware, and single polished focal points. |
|
Historic / Vintage bathrooms |
Respect architectural character, highlight restored period details, and use classic, understated props. |
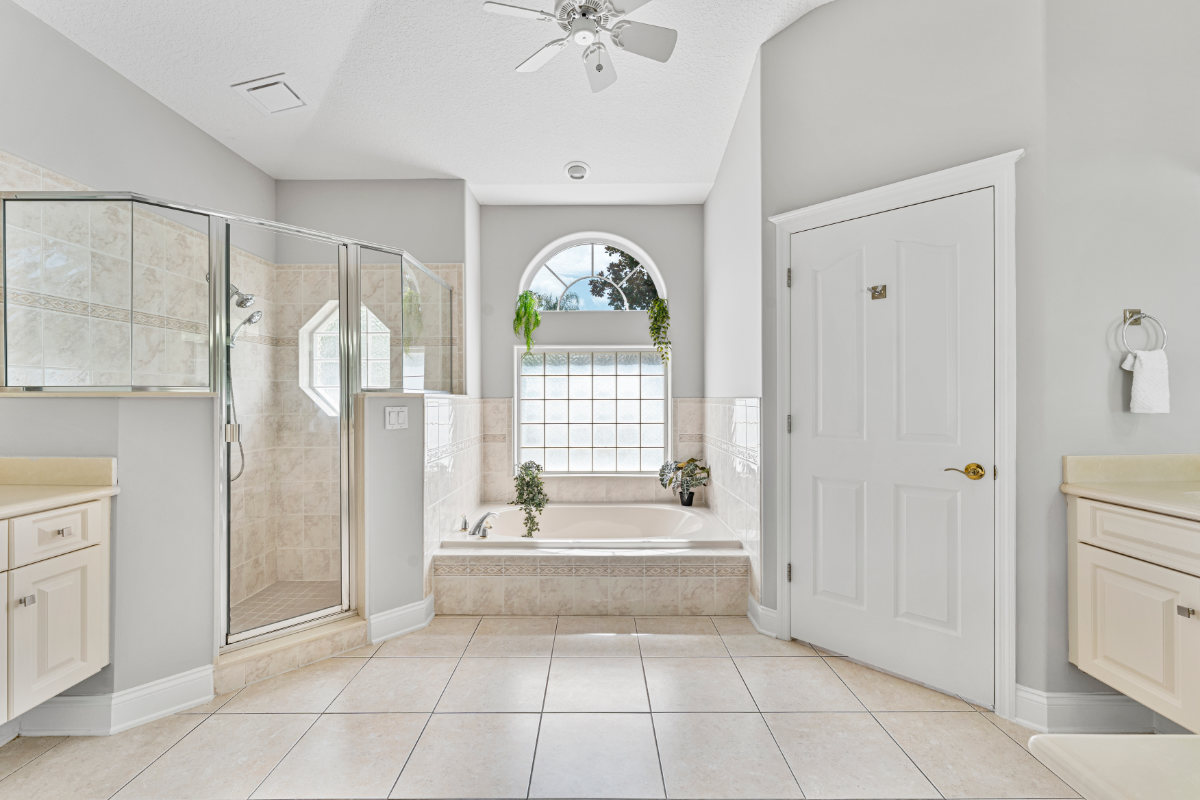
4.1. Master en-suites: Creating the luxury spa aesthetic
Master bathrooms are lifestyle selling points. Focus on symmetry and scale.
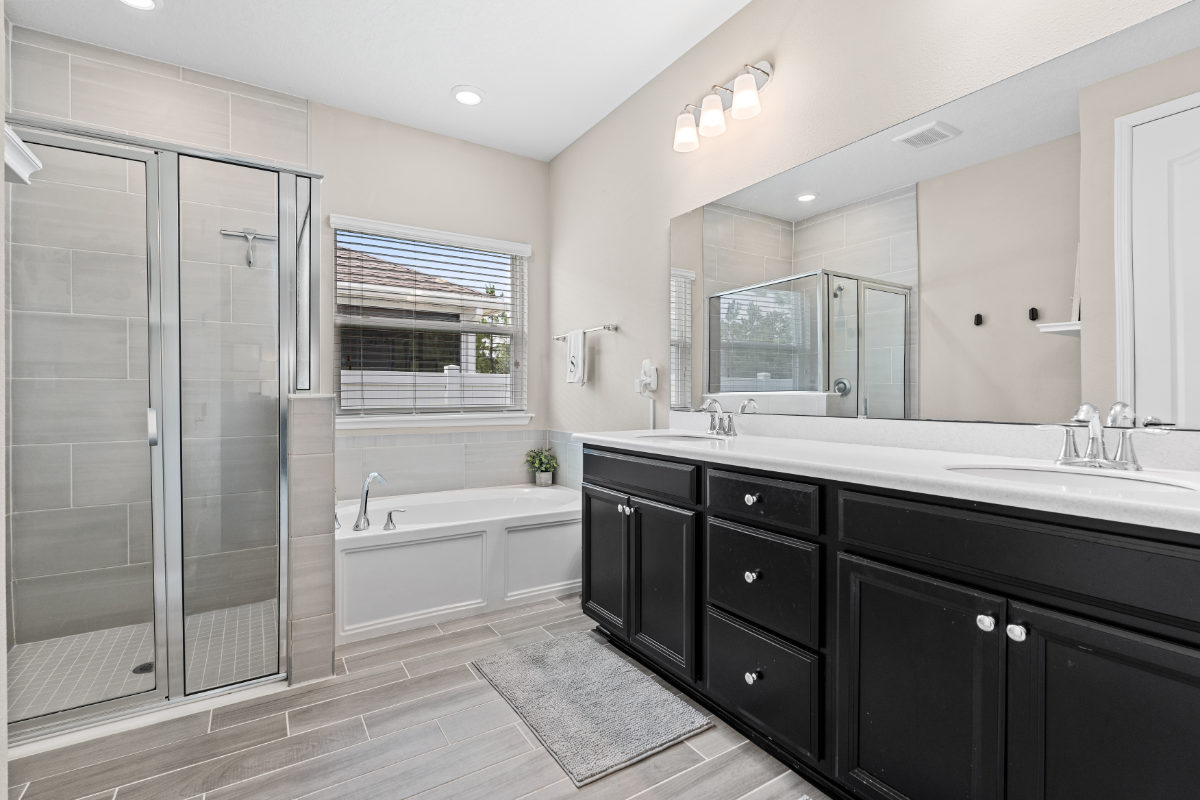
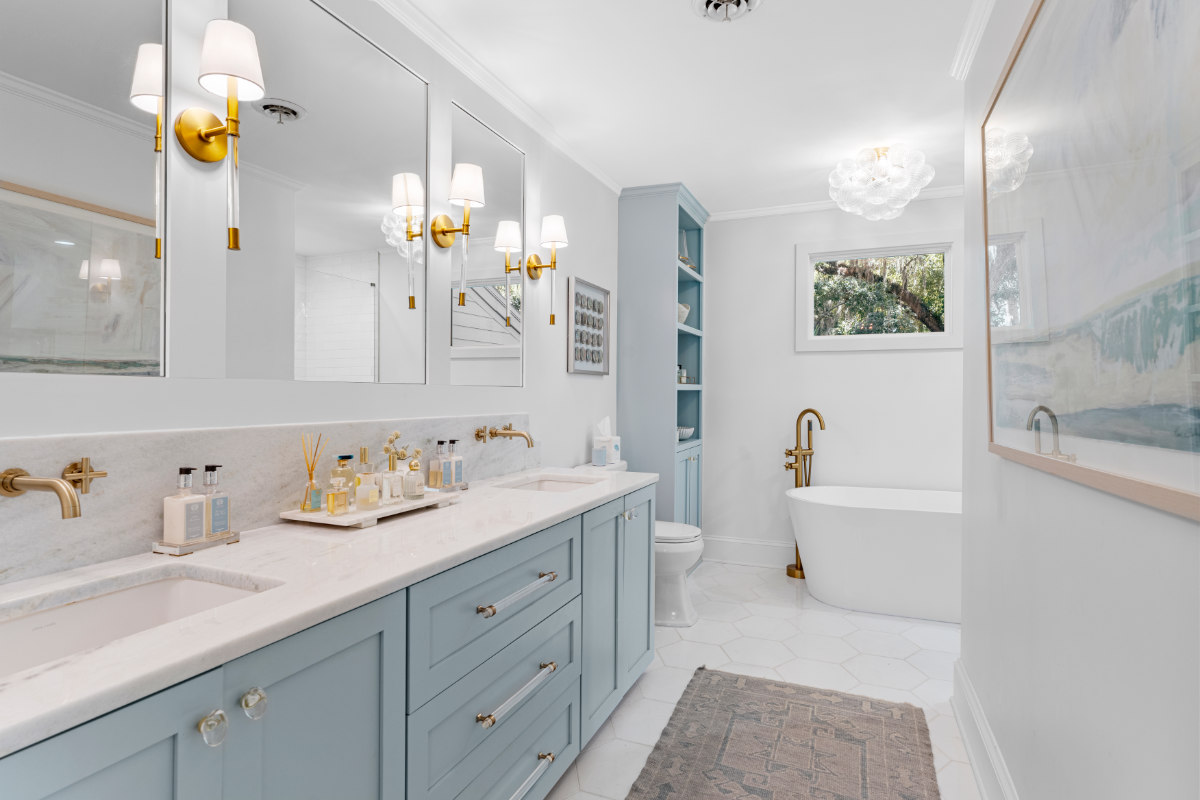
- Double vanities: Mirror prop setups on both sinks to emphasize balance, or place one primary central arrangement between the two basins.
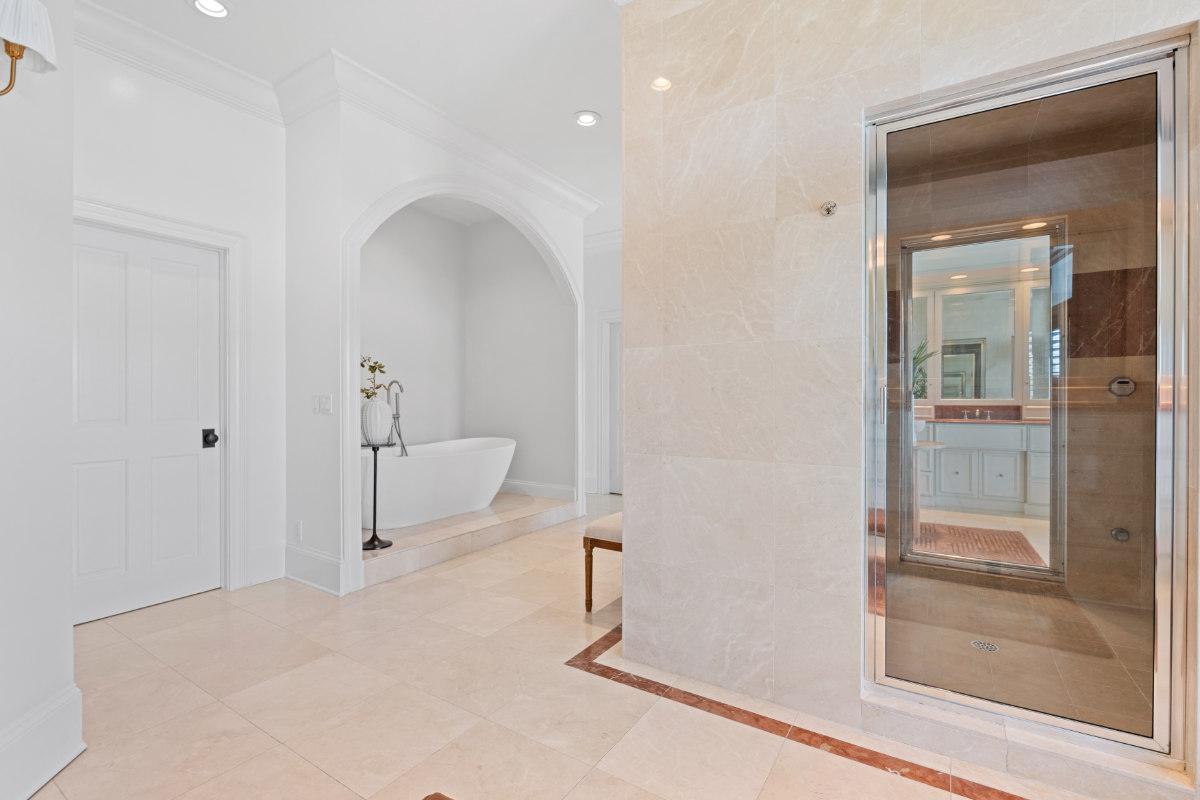
- Freestanding tubs: Position the tub as the undisputed visual anchor of the frame. Use floor lighting or low-angle camera heights to showcase the geometric space around the tub base.
- Glass enclosures: Keep glass shower doors crystal clear, swung completely closed, and angled precisely to eliminate reflections off the camera flash.
4.2. Compact powder rooms: Maximizing perception of space
Powder rooms offer minimal floor space and rarely feature natural light.
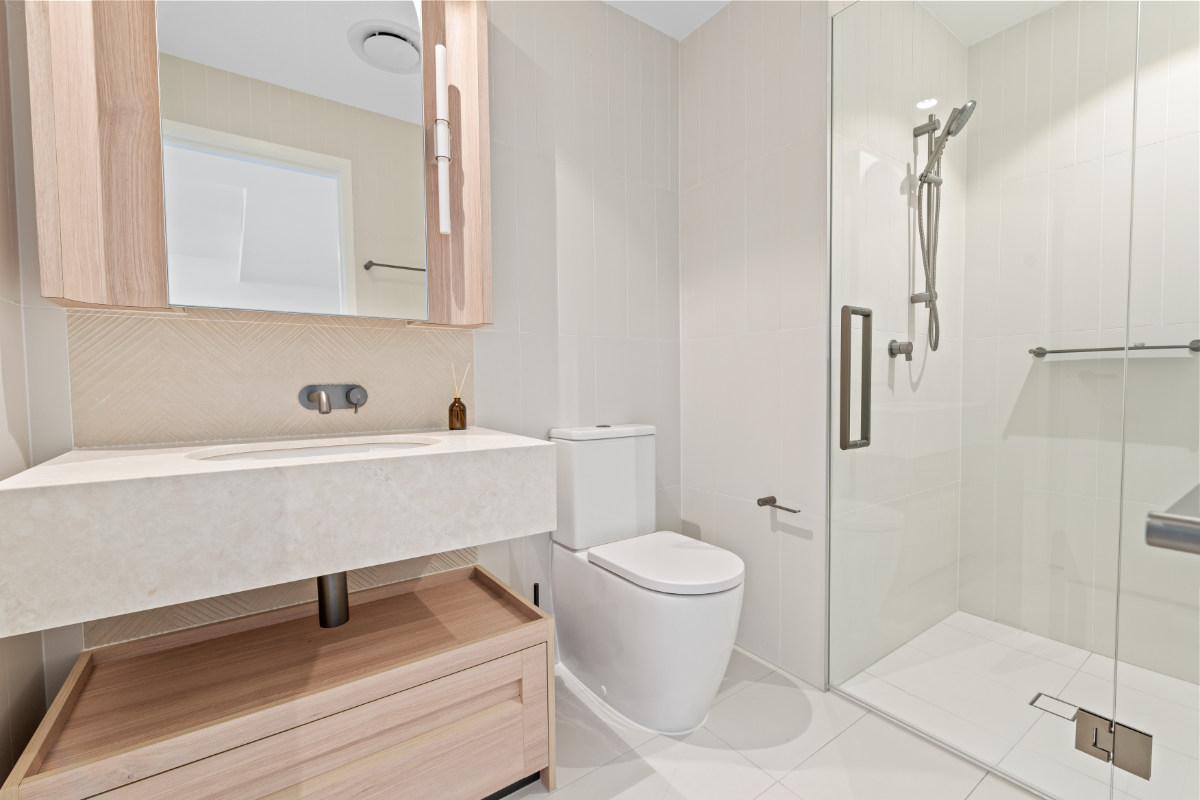
- Extreme minimalism: Use a single focal point, such as a small vase with a single botanical stem beside a high-end soap dispenser.
- Mirror utilization: Frame the shot to capture the depth reflected in the vanity mirror, making the room feel larger than its physical boundaries.
- Door positioning: Shoot through an open door frame, using the door jamb as a subtle foreground element to establish spatial context without cramping the composition.
4.3. Historic and vintage bathrooms: Honoring architectural integrity
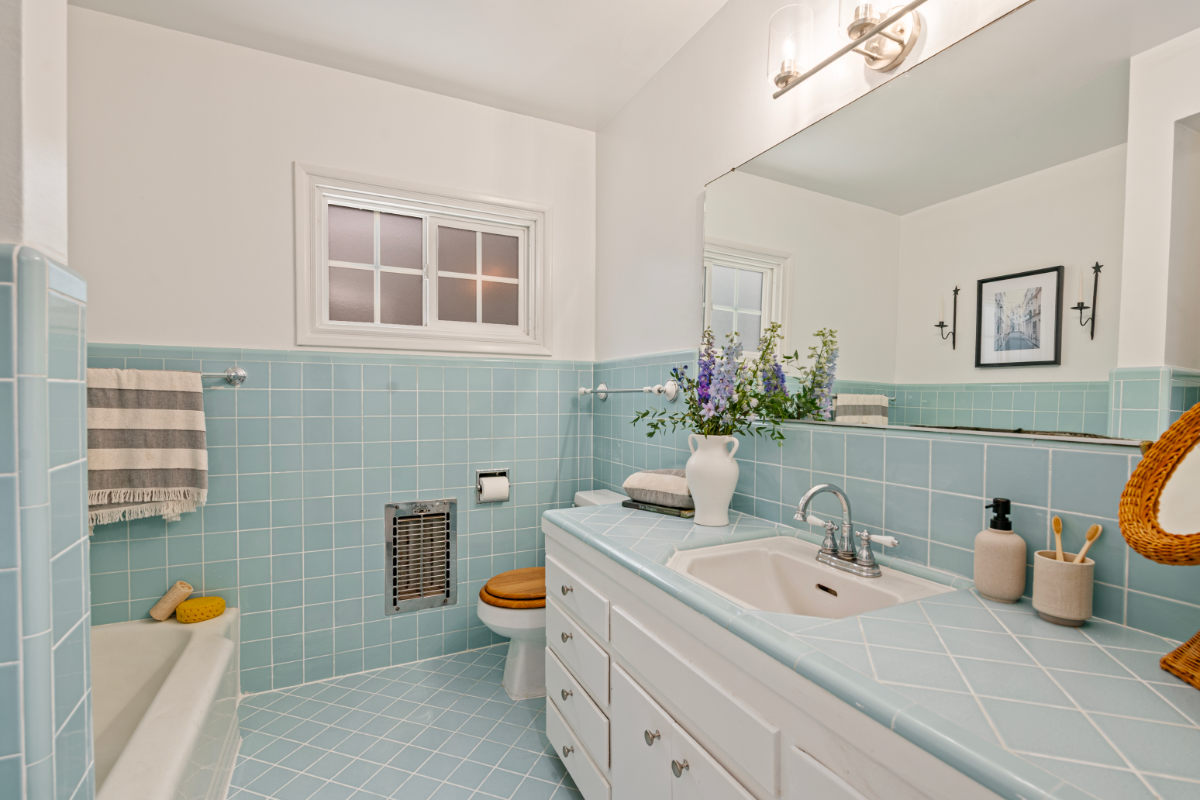
When staging clawfoot tubs, historic subway tile, or period brass fixtures:
- Complement, don't modernize: Avoid hyper-modern acrylic props in a craftsman or Victorian bathroom. Choose traditional waffle-weave towels, classic glass apothecary jars, and antique wooden stools.
- Highlight restored finishes: Angle your lighting to accentuate unique textures like exposed brick, handmade ceramic glaze, or brass hardware patinas.
5. Pro strategies to optimize visual impact when staging a bathroom
To raise your media from standard real estate quality to editorial-grade architectural imagery, implement these production-level optimizations.
5.1. Mirror management and reflection control
Mirrors are the ultimate technical hurdle in bathroom media. They frequently catch unwanted camera reflections, off-camera flashes, tripod legs, or bright background distractions.
- Angle of incidence: Position the camera off-center relative to the mirror surface, angling back toward the main subject so the lens stays out of the mirror reflection line.
- Polarizing filters: Attach a Circular Polarizer (CPL) to your lens to control, adjust, or eliminate glare and reflections on glass shower doors and polished countertops.
5.2. Video motion optimization (Slick camera movement)
When shooting real estate video tours or social media reels:
- Gimbal and slider moves: Use slow, linear lateral pushes across the vanity surface, or pull-back shots starting on a detailed vignette and widening to reveal the full master bathroom.
- Speed ramping and parallax: Maintain high shutter speeds to avoid motion blur on polished chrome hardware. Smooth camera paths emphasize space, depth, and luxurious design choices.
5.3. Critical pitfalls: Common bathroom staging mistakes to avoid
Even seasoned real estate professionals fall into visual traps that detract from an otherwise great property photography portfolio. Avoid these critical mistakes:
|
DON'TS OF BATHROOM STAGING |
|
✕ Leaving the toilet seat lid UP (The #1 Real Estate Media Sin) |
- Leaving the toilet lid up: This is the most common mistake in real estate staging. Always lower the toilet lid completely.
- Leaving bath mats on the floor: Rugs break up floor tile continuity, cutting up the spatial layout and making small bathrooms feel much smaller.
- Over-accessorizing: Packing every corner with soaps, plants, folded towels, and tray setups results in visual noise that distracts from the home's permanent architecture.
- Ignoring mirror reflections: Leaving camera equipment, flash brackets, or an open door showing an unlit hallway visible inside a mirror reflection ruins an otherwise professional photo.
- Bold accent towels: Using dark blue, bright red, or heavily patterned towels pulls the viewer's focus away from the built-in finishes and tile craft.
5.4. Summary checklist for staging a bathroom
|
Stage |
Action items |
|
Preparation |
Deep-clean grout/chrome, recaulk edges, clear all floor mats, remove personal toiletries, match bulb color temperatures. |
|
Styling |
Deploy plush neutral towels (tri-folded), add organic elements (plants/eucalyptus), assemble 1–2 minimalist vignettes on vanity/tub. |
|
Shooting |
Frame at chest height, straighten all vertical lines, use 17–24mm focal lengths, control mirror reflections using off-center angles. |
|
Post-production |
Partner with Fotober for HDR blending, color-cast cleanup, mirror-reflection removal, and a complete high-end polish. |
6. Why professional photo editing remains essential after staging a bathroom
You can execute flawless physical staging, perfectly align your camera angles, and carefully adjust your lighting, yet the digital RAW camera file will rarely be market-ready straight out of the camera.
|
RAW CAPTURE VS. POST-PROCESSED MASTER | |
|
RAW capture challenges: |
Fotober post-processing: |
|
Mixed color casts |
Color temp balancing |
|
Mirror flash artifacts |
Reflection removal |
|
Blown highlight windows |
HDR window masking |
|
Grout tone variation |
Flash/Grout correction |
6.1. Cleaning up photos to meet commercial standards
Exposure and flash artifacts: Bathrooms feature high dynamic range (HDR) challenges. Light streaming through a bright window contrasts harshly with dark tile shadows underneath vanities. Multi-exposure bracket blending (HDR) or ambient-flash blending (Flambient) is required to retain crisp window views without blowing out bright marble or losing shadow details.
Color temperature balancing and cast removal: Even with matched light bulbs, light reflecting off green outdoor trees, yellow vanity lighting, and blue window daylight creates competing, unnatural color casts on clean white tiles and polished counters. Professional editors manually isolate these zones to restore natural color balance across the entire image.
Glass, mirror, and detail retouching: Microscopic dust motes caught in flash bursts, unavoidable lens/tripod reflections in intricate mirror designs, and persistent grout discolorations require skilled digital brushwork, clone stamping, and object removal.
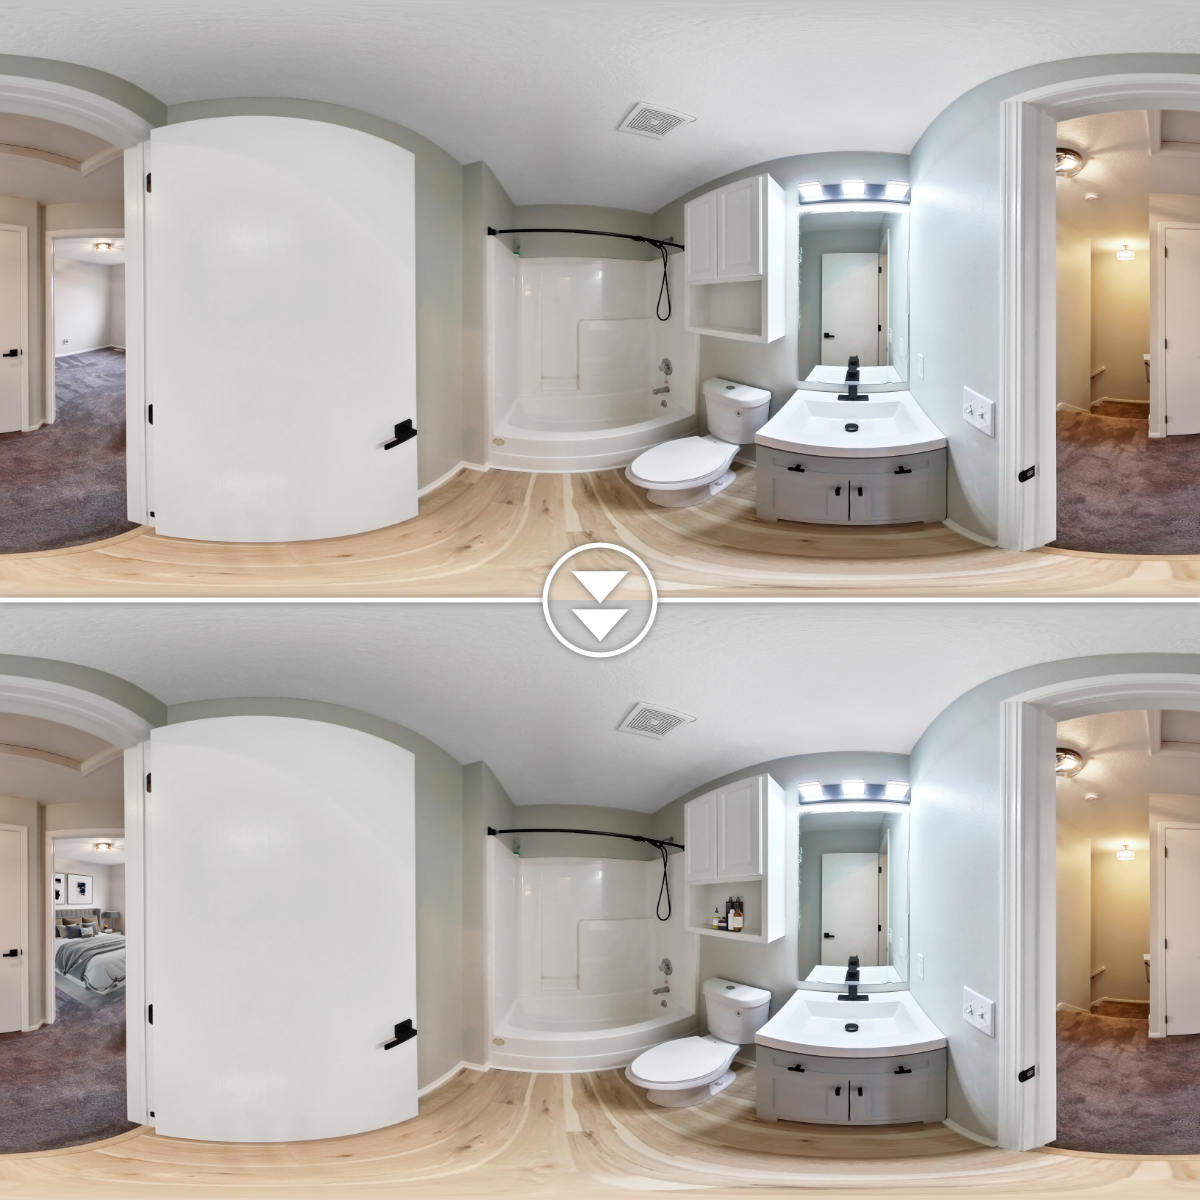
6.2. The Fotober advantage: Bridging physical staging with digital perfection
At Fotober, we understand that physical staging is only the first half of high-converting real estate imagery. Our professional real estate photo editing services specialize in taking your staged bathroom captures and elevating them into magazine-ready visual assets.
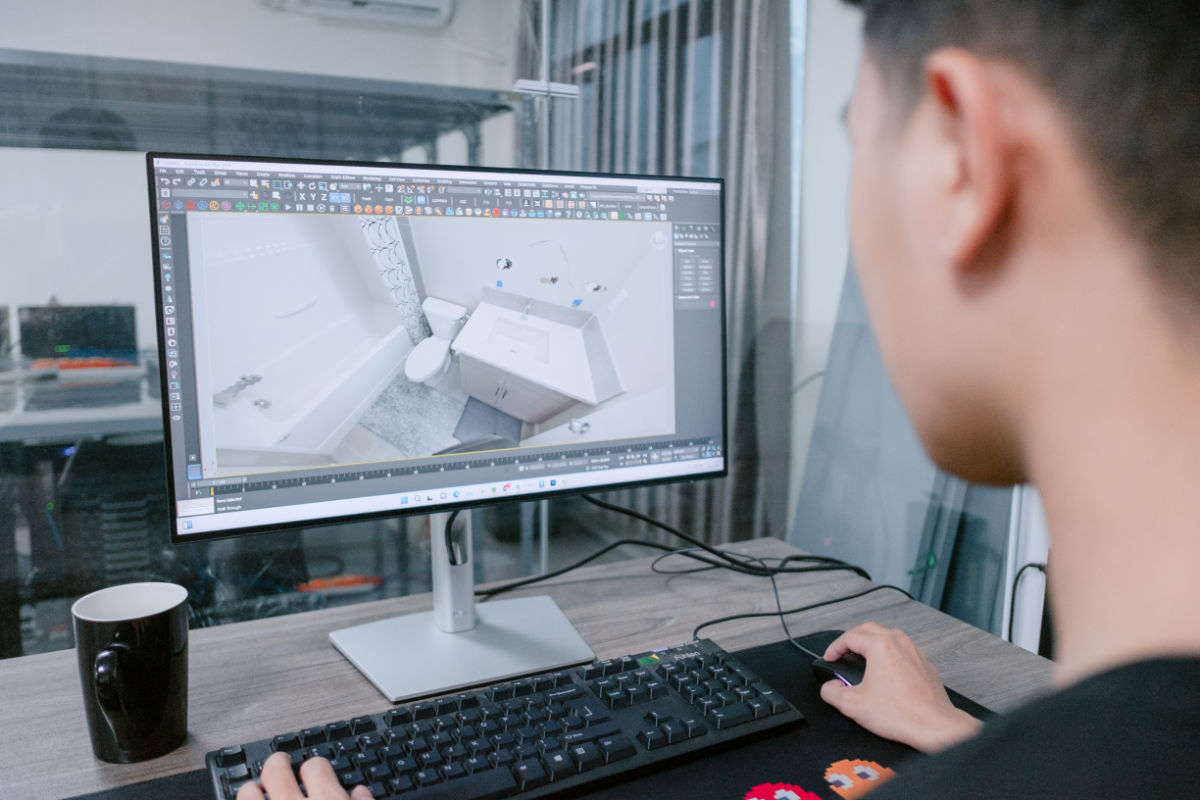
Our specialized editing workflow offers:
- HDR bracket blending & flambient integration: Seamlessly merging multiple ambient and flash exposures to guarantee crisp, evenly lit spaces with flawless window views.
- Color cast neutralization: Correcting mixed ambient light hues so white porcelain, marble, and tiles look accurate, clean, and vibrant.
- Digital mirror retouching & removal: Precision removal of camera reflections, light stands, and unwanted room glares caught in glass or mirror surfaces.
- Virtual staging & detail enhancement: Missing a key staging element? Our team can digitally insert high-end decor, enhance tile grout lines, and clean up lingering imperfections for your bathroom, your living room, or a whole house.
- Partner with Fotober to turn high-quality physical staging into stunning visual media that hooks buyers, elevates your property brand, and closes sales faster.
7. Conclusion
Effective bathroom home staging is far more than a decorative exercise; it is a strategic synthesis of interior design psychology, lighting precision, camera physics, and post-processing excellence. In modern real estate marketing, the bathroom serves as a defining decision point for home buyers. By transitioning these compact spaces from functional utilities into inviting, luxury wellness sanctuaries, real estate professionals can dramatically elevate a property's perceived value and online engagement.
To master staging a bathroom for listing media, remember these core takeaways:
- Preparation is foundational: Deep cleaning tile grout, eliminating personal clutter, clearing floor space, and unifying bulb color temperatures (2700K–3000K or 5000K–5600K) create the pristine canvas required for high-resolution cameras.
- Balance hard surfaces with organic warmth: Soften cold porcelain, tile, and chrome using plush neutral towels (800+ GSM), natural wood textures, and subtle greenery like orchids or eucalyptus.
- Execute with architectural precision: Maintain straight vertical lines, shoot at chest height (4–4.5 ft) with wide-angle lenses (17–24mm tilt-shift), and carefully manage mirror reflections and glare.
- Avoid common listing sins: Always lower toilet lids, remove distracting floor mats, avoid bold primary accent colors, and keep prop arrangements minimalist and intentional.
- Complete the vision in post-production: Even the most immaculate physical staging relies on expert editing to resolve mixed light casts, balance high-contrast window views (HDR/Flambient), and polish mirror reflections.
By combining meticulous physical preparation on site with Fotober’s professional real estate photo editing services, realtors and photographers can consistently produce magazine-quality listing photos that capture buyer attention, increase click-through rates (CTR), and close sales faster.
Related posts

Modern Luxe Interior Design: Elements, Style Guide and How to Stage It
October 10, 2026

Minimalist Interior Design: Characteristics, Style Guide, and Staging
October 8, 2026

Coastal Interior Design: Style Definition & Staging Guide
September 30, 2026

Contemporary Interior Design: Key Elements and How to Stage This Style
September 30, 2026
