
How to Edit Real Estate Videos: A Simple Step-by-Step Guide 2026

Share:
Table of Contents
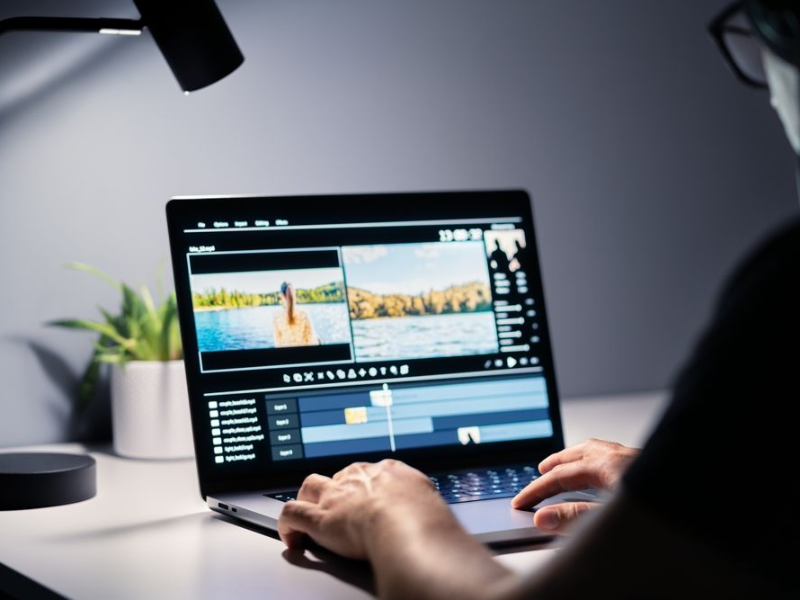
Real estate video editing turns basic footage into engaging property stories that grab buyers' attention. Knowing how to edit real estate videos lets you show off properties in the best way and create effective marketing content. For beginners, the best app to make real estate videos can provide ready-to-use templates that simplify the editing process. To guarantee professional quality and save valuable time, see how Fotober can streamline your real estate video editing workflow.
1. Impact of professional editing on viewer engagement
Professional real estate video editing software plays a big role in how buyers view and connect with property listings. Studies show that well-edited videos get up to 60% more watch time than unedited footage. This extra attention gives properties a better chance to make a strong impression on buyers.
- Storytelling and Focus: Knowing how to edit real estate videos effectively turns simple property walkthroughs into engaging stories. Clean cuts, real estate video transitions, and steady pacing let viewers focus on the property, not the video. Editing also removes distractions like shaky cameras or bad lighting that could hurt the property's appeal.
- Building Trust and Professionalism: Quality editing builds immediate trust in both the property and the agent. When buyers see polished content, they feel more confident in the property's value and the agent's professionalism, often leading to more inquiries and serious leads.
- Increased Interaction: Engagement data confirms that well-edited videos lead to more interactions. Viewers are more likely to share the content, read full descriptions, and take action like contacting the agent or requesting a showing. This increased engagement helps speed up the entire sale process.
2. Pre-Editing Preparation
Effective preparation is key to knowing how to edit real estate videos efficiently. Streamlining your workflow before opening the editing software will save significant time and ensure a smoother editing process.
2.1. Create a Storyboard
A storyboard acts as your editing guide, establishing the narrative flow and helping you visualize the final product.
- Plan the Flow: Start by planning the sequence, moving logically from exterior shots to interior spaces, and ending with a strong real estate intro video that leaves a strong impression.
- Mark Key Elements: Note exactly where text overlays, feature highlights, or specific cuts should occur to match the real estate video scripts could improve the experience.
2.2. Organize Your Footage
Effective footage organization is vital for a streamlined post-production process when learning how to edit real estate videos.
- Folder Structure: Create a clear folder structure, sorting clips logically by room or feature (e.g., "Kitchen-Wide," "Master-Detail").
- Label Files: Label files with descriptive names that identify location and shot type.
- Review and Rate: Before starting the edit, review and rate your footage. Mark your best shots and identify any areas needing color correction or stabilization. Remove any clips with blur, shake, or poor exposure to ensure you are only working with your strongest material.

3. Essential Editing Techniques
Mastering these core techniques is fundamental to knowing how to edit real estate videos that are engaging, polished, and professional.
3.1. Keep It Concise
Property video length directly impacts viewer engagement. Focus on creating tight edits that showcase each space efficiently.
- Optimal Length: Typically keep final videos between 2–3 minutes.
- Remove Clutter: Remove repetitive shots and unnecessary transitions that cause viewers to lose interest.
- Visibility: Use short teasers or free real estate video content can also help boost visibility on social media.
3.2. Smooth Transitions
Professional transitions ensure the viewer focuses on the property, not the editing itself.
- Use Simple Cuts: Opt for simple dissolves or direct cuts to create a natural flow between scenes.
- Match Motion: Match movement direction between shots (e.g., if exiting one room moving right, enter the next room moving right). This continuity helps viewers maintain spatial orientation.
- Capture Attention: Add real estate video hooks at the beginning can also capture attention instantly.
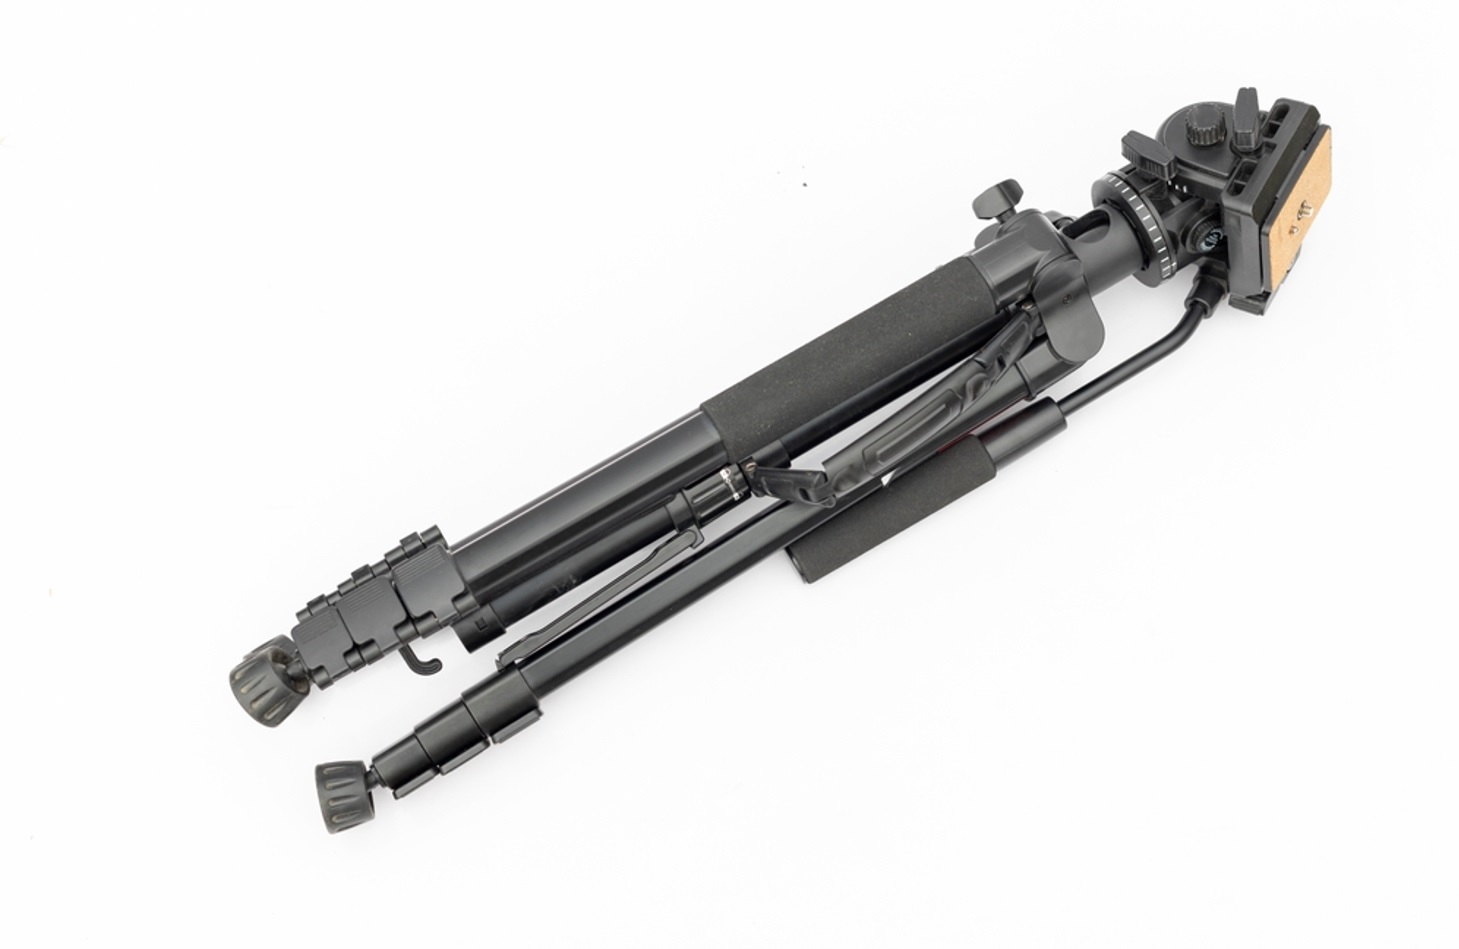
3.3. Stabilize Footage
Stable footage creates a professional viewing experience. Apply stabilization effects to minimize any camera shake or unwanted movement. Be careful not to over-stabilize, as this can create artificial-looking motion. Tools like Content Aware Fill in After Effects also help clean up distracting elements in footage.
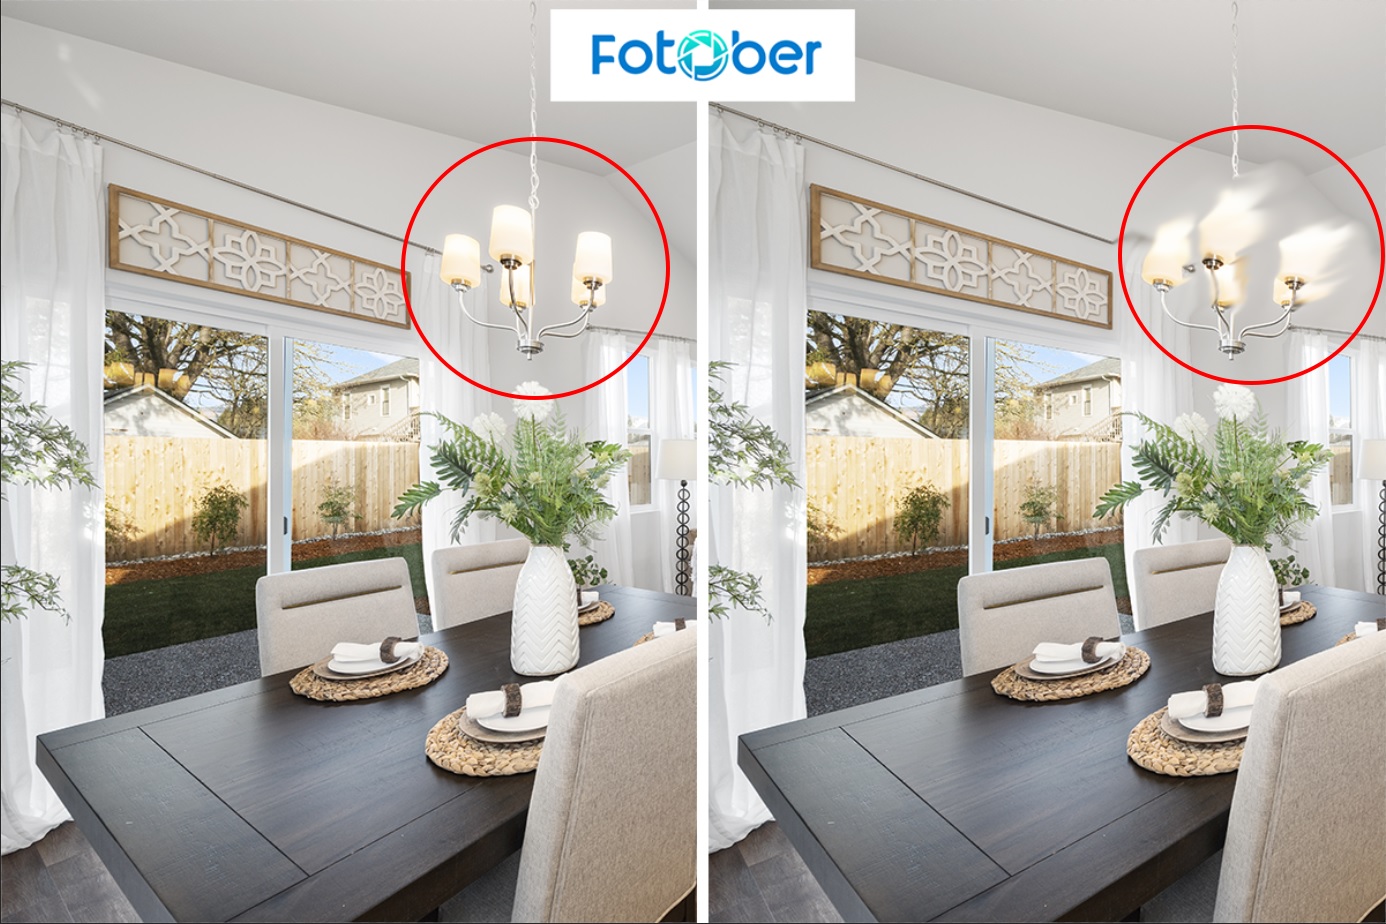
3.4. Color Correction and Grading
Consistent color creates a polished, high-quality look for your real estate video editing.
- Basic Corrections: Start with basic corrections to balance exposure and white balance in every single shot.
- Cinematic Feel: Apply subtle real estate cinematic video editing techniques to add depth and mood, while maintaining a natural appearance.
3.5. Audio Enhancement
Quality audio complements your visual presentation. Choose music for real estate videos that matches your property's style and target market. Keep music volume subtle – it should enhance the viewing experience without overwhelming it. Consider adding gentle sound effects during transitions. Always remember to use License Music for Real Estate Videos to stay compliant with copyright laws.
4. Highlighting Property Features
Knowing how to edit real estate videos effectively means applying strategic editing to highlight the unique selling points (USPs) and best features of a property.
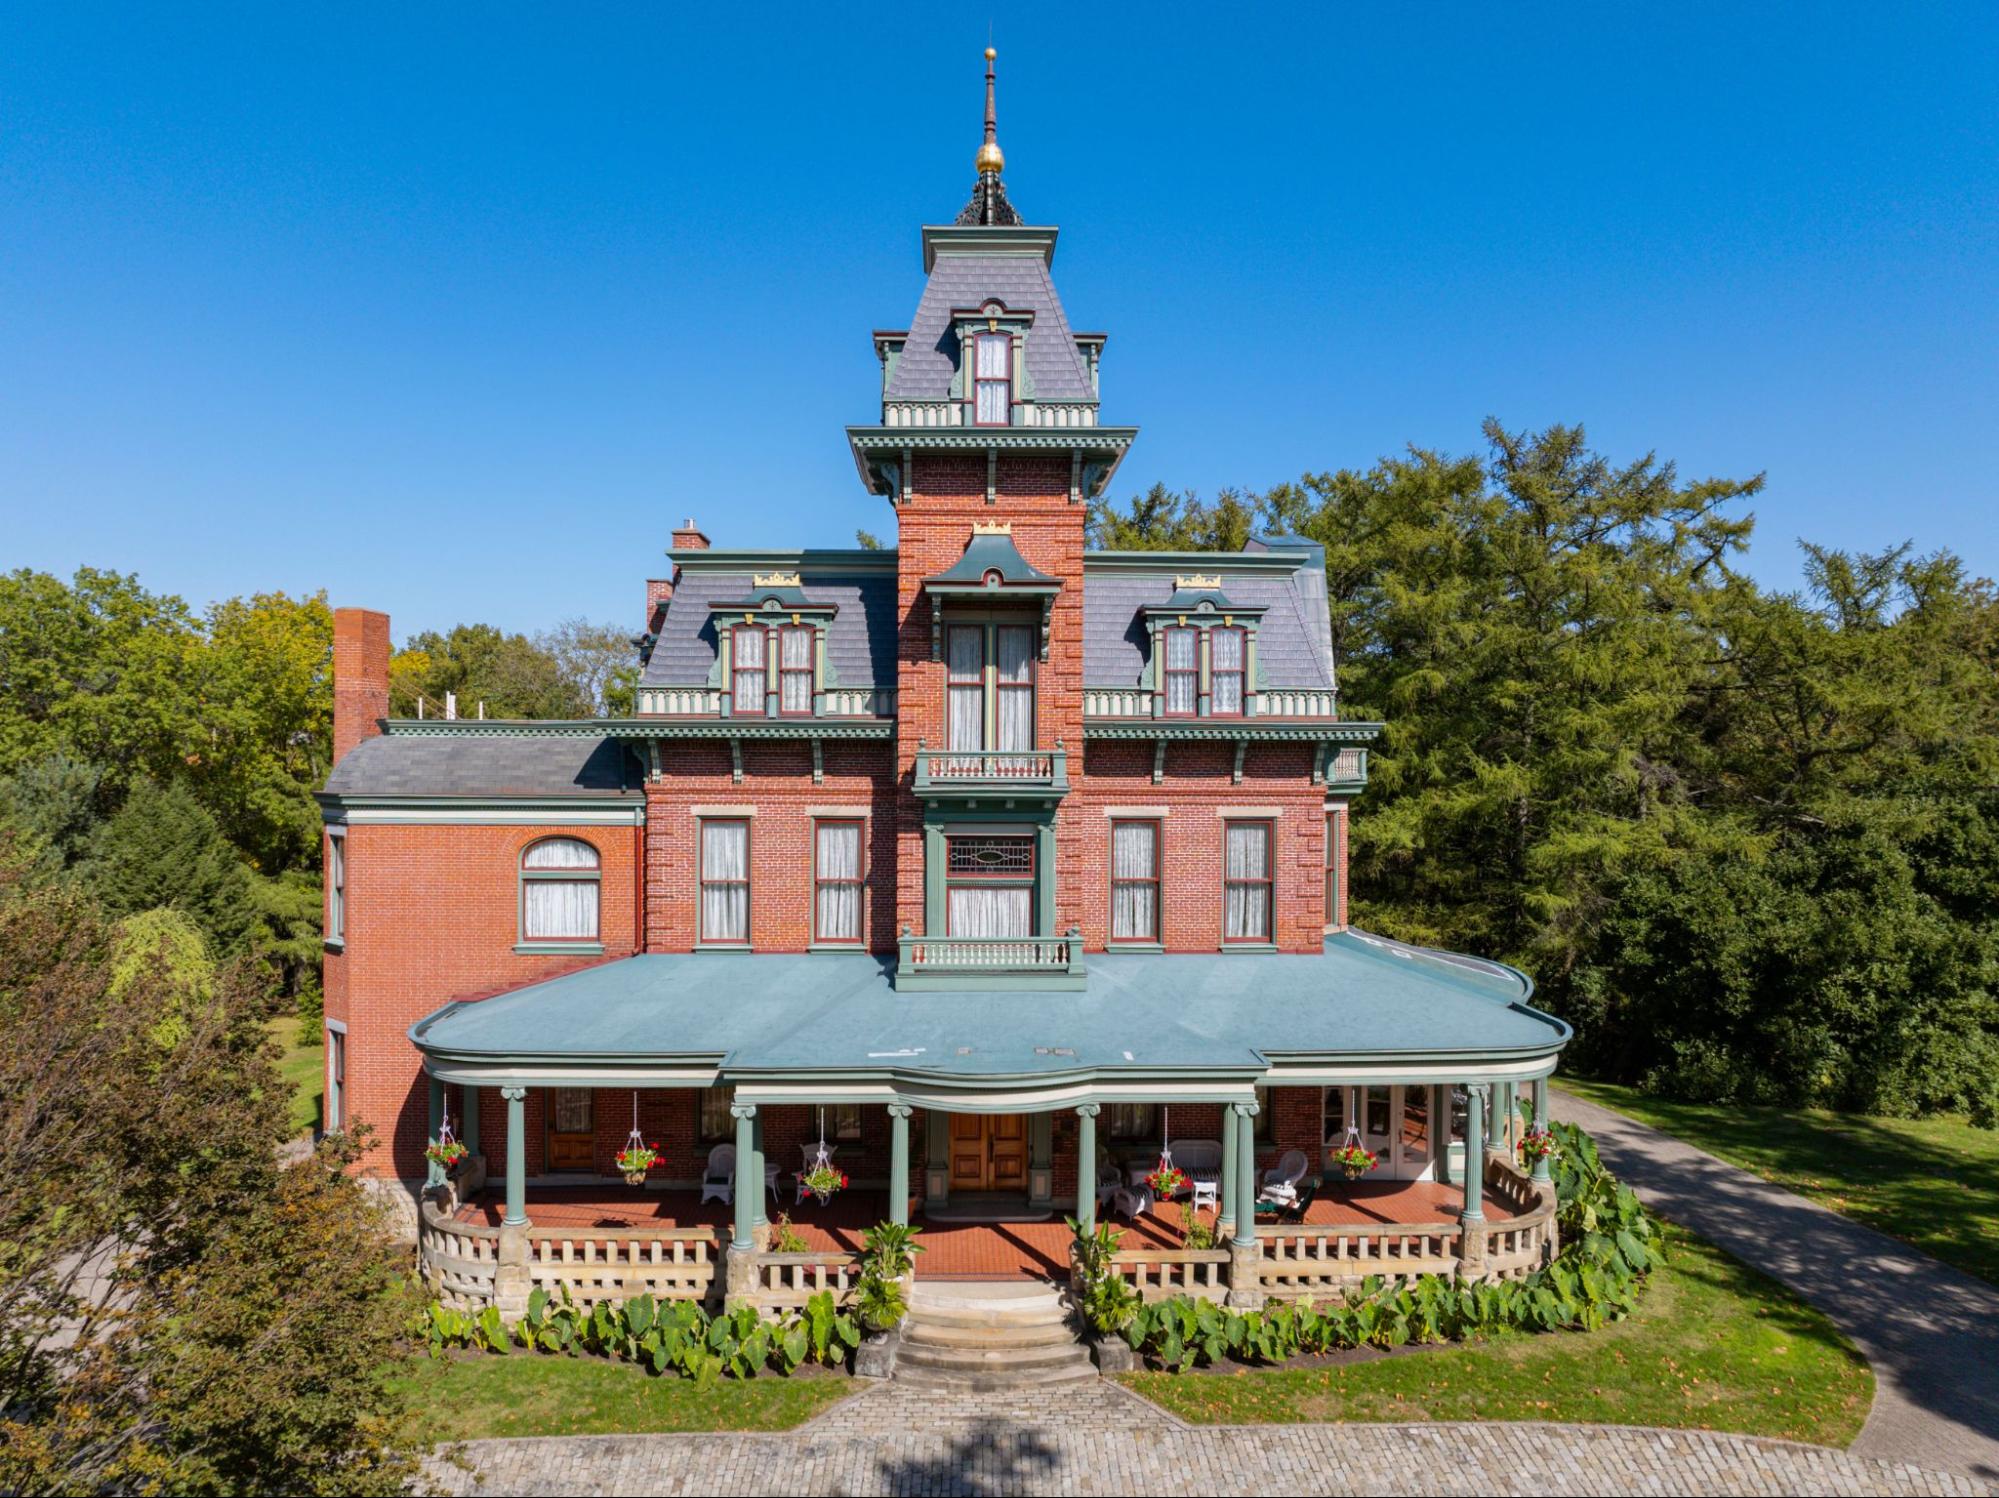
4.1. Showcase Unique Selling Points
The editing pace and shot selection should emphasize the property’s most valuable assets:
- Pacing and Focus: Use slower pacing and longer, steady shots to focus on important elements like custom kitchens, luxurious master suites, or unique architectural details.
- Show Flow: Include shots that visually demonstrate the flow and layout of the space (e.g., smoothly transition from the kitchen to the dining area) to highlight how the spaces work together.
- Variety of Shots: Mix different shot types—wide shots for overall room scale and close-ups for high-end finishes or smart home features—to keep the video visually dynamic.
- Efficiency: Consider using an AI real estate video editor can help generate captions, automate edits, or create highlight reels quickly.
4.2. Incorporate Testimonials
Adding contextual elements and testimonials enhances credibility and helps buyers envision the lifestyle:
- Add Credibility: Include brief quotes from neighbors about the community or statements from design professionals about unique features. Keep text overlays clean and minimal.
- Neighborhood Context: Integrate property context through neighborhood footage or lifestyle elements. Use quick cuts of nearby amenities (parks, coffee shops) or community features to help viewers envision living in the area.
- Relevance: Remember to keep these additions brief and relevant to the property itself to maintain the focus of the main tour.
5. Finalizing and Exporting
5.1. Add Branding Elements
Professional branding elements reinforce your market presence and create recognition. Place your logo subtly in a corner of the frame, ensuring it doesn't obstruct important property views. Use consistent lower thirds for contact information and property details, keeping text clean and readable against any background. Create standardized intro and outro sequences that viewers will associate with your brand.
Opening titles should display essential property information while maintaining visual appeal. Include the property address, key features, and your contact details. Keep closing screens actionable with clear next steps for interested buyers, whether that's visiting your website or contacting you directly.
5.2. Optimize for Various Platforms
Different platforms require specific export settings for optimal playback. Export your main file in high resolution (1080p or 4K) for property websites and client presentations. Create compressed versions for social media platforms while maintaining visual quality. Consider square or vertical crops for Instagram and mobile-first viewing.
Export separate versions optimized for each platform's requirements. YouTube benefits from longer, detailed tours, while Instagram prefers shorter, high-impact cuts. For mobile workflows, the best video editing apps on iPad are ideal for quick edits and exports.
6. Perfect Your Real Estate Videos with Expert Post-Production
Creating great property videos needs both technical skill and creativity. Once you’ve got the basics of editing down, Fotober can help take your videos to the next level. Our team uses the latest editing techniques to turn your footage into engaging stories that grab attention and get results.

Fotober provides a full range of editing services, from simple edits to special effects, including real estate video editing, making sure your content shows off your property in the best way for your target audience.
With Fotober, you can focus on filming great footage, while we take care of the editing. Learn more about how we can improve your real estate videos at fotober.com.
Conclusion
Learning how to edit real estate videos is a vital investment that directly impacts your property marketing success. By mastering the core techniques—from organizing footage and stabilizing shots to highlighting unique features—you create engaging property presentations that capture buyer attention. Remember that great videos come from consistent practice and attention to detail. If editing proves too time-consuming, don't sacrifice quality for speed. Partner with Fotober today to streamline your real estate video editing workflow and deliver professional, high-impact content that sets your listings apart in the competitive market.
FAQs: How to Edit Real Estate Videos
1. What is the first step in learning how to edit real estate videos?
The first step is organizing your footage. Sort clips by room or feature, and create a storyboard that outlines the flow of your video. This preparation makes the editing process faster and ensures your final video tells a clear property story.2. How to edit real estate videos if I’m a beginner?
Beginners can start with simple editing apps like iMovie, CapCut, or Adobe Premiere Rush. These tools offer templates and drag-and-drop features, making it easy to apply transitions, add music, and create polished real estate videos without advanced skills.3. How to edit real estate videos for maximum engagement?
To maximize engagement, keep videos concise (2–3 minutes), use smooth transitions, stabilize footage, and add background music that fits the property style. Always include a clear call-to-action at the end.4. Do I need professional software to learn how to edit real estate videos?
Not necessarily. While professional editors often use Adobe Premiere Pro, Final Cut Pro, or DaVinci Resolve, many free or affordable apps are enough for basic editing. The choice depends on your goals, budget, and experience level.5. How to edit real estate videos for social media platforms?
When editing for social media, create shorter cuts (15–60 seconds), use vertical or square formats, and add captions for better accessibility. Highlight the property’s unique features quickly to capture attention within the first few seconds.
Related posts
Best Aperture for Real Estate Photography: The Range for Sharp Photos
July 18, 2026
Short-Term Rental Photography: Shoot & Edit Photos That Gain Bookings
July 17, 2026
Airbnb Virtual Staging: How to Fill Rentals and Win World Cup Bookings
July 17, 2026
Capture Spain vs Argentina Heat: New York World Cup Short-Term Rentals Guide
July 16, 2026
