




Short-Term Rental Photography: Shoot & Edit Photos That Gain Bookings
Share:
Table of Contents
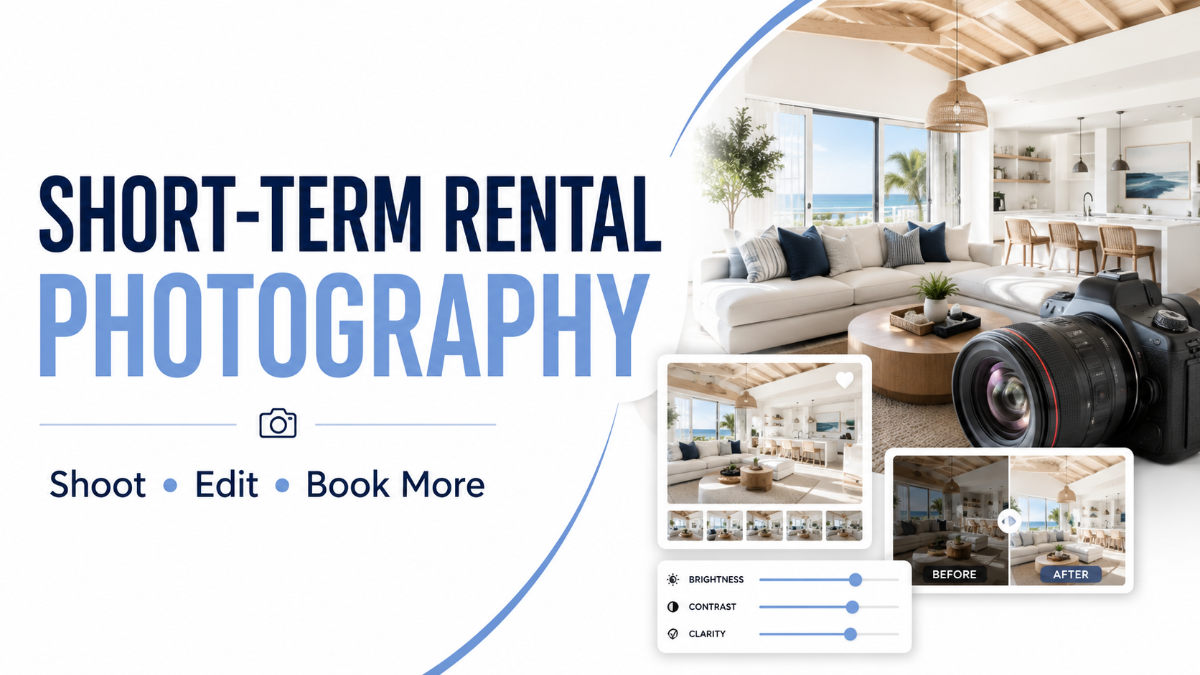
Short-term rental photography is one of the most effective ways to attract attention, increase perceived value, and generate more bookings on platforms such as Airbnb, Vrbo, and Booking.com. Strong images help guests understand the space quickly, justify the nightly rate, and encourage them to click instead of scrolling past. This guide provides hosts, property managers, agents, and investors with a practical workflow covering property preparation, essential equipment, room-by-room shot planning, and post-production techniques to create professional listing photos that consistently convert views into bookings.
Key takeaways
- Short-term rental photography is a revenue lever, not a cosmetic one; better images lift click-through, bookings, and the nightly rate you can defend.
- Preparation beats equipment: a decluttered, deep-cleaned, lightly staged space photograph is better than a messy room shot on a pricier camera.
- A tripod, a moderate wide-angle lens, and window-aware bracketed exposures produce sharp, bright, honest rooms.
- Post-production: HDR blending, color correction, straight verticals, and day-to-dusk are where amateur frames become professional ones.
- Empty or half-furnished units still photograph well when you use Airbnb virtual staging instead of listing bare rooms.
1. Why short-term rental photography drives bookings
Short-term rental photography drives bookings because images are the first signal guests use to judge a property. Travelers scan thumbnails and choose listings that appear bright, clean, and spacious. A strong lead image earns more clicks, which can also improve visibility in platform search results.
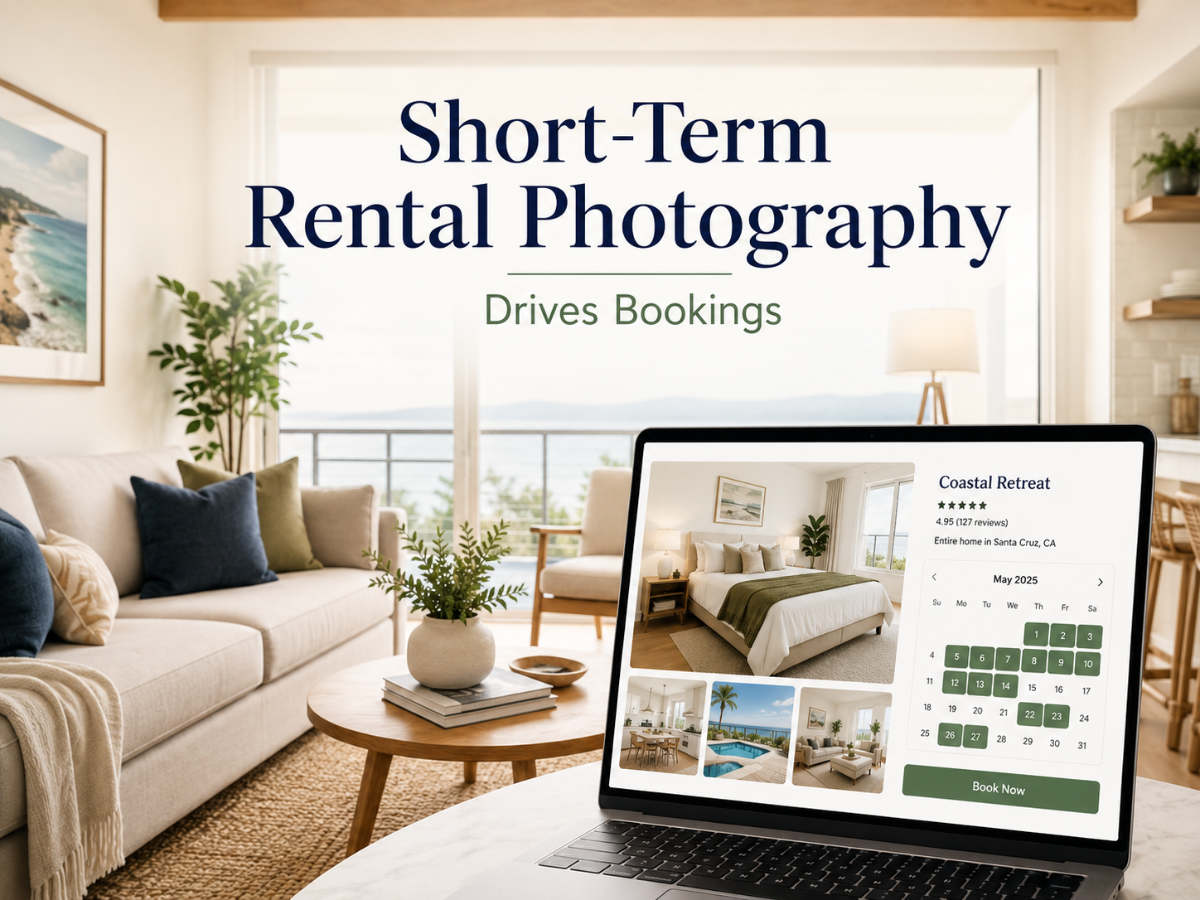
The wider property market supports this. The data across the wider property market backs this up plainly. According to the National Association of Realtors (NAR), around 95% of buyers search online, and photos remain one of the most useful listing features. Airbnb also reports that professionally photographed listings tend to earn more and attract more bookings than comparable phone-shot properties. With more than one million active US short-term rentals, according to AirDNA, an average photo gallery is no longer enough to stand out.
Professional images also build trust. Guests cannot inspect a rental before booking, so clear, accurate photos must prove that the property is clean, genuine, and worth the nightly rate. Poor or misleading images can reduce bookings, create unrealistic expectations, and lead to damaging reviews.
This becomes even more important during demand spikes. The FIFA World Cup 2026 will take place across 16 North American host cities from June through July 2026, increasing competition and nightly rates in nearby markets. Listings with polished, standout photos are more likely to secure bookings early and maintain premium pricing throughout the tournament.
2. How to shoot a rental listing that stands out
Great short-term rental photography is roughly 60% preparation, 30% light, and 10% clever angles, in that order. The best camera on the market cannot rescue a cluttered room or a dim afternoon, and the most expensive lens ever made cannot straighten a leaning wall after the fact. Get the fundamentals right, and even mid-range gear will produce images that look like they cost several times more than they did. That is the good news for hosts on a budget: the biggest gains are free.
2.1. Gear, light, and prep
Start with the room, not the camera, because staging and cleaning clear the way for the best final image more than any hardware choice. Deep-clean every surface, remove personal clutter and stray cords, open blinds fully to let light in, switch on every lamp for warmth, and add small hospitality cues, folded towels, a set table, a vase of fresh flowers that suggest a stay rather than a vacancy. These simple vacation rental photography tips cost nothing and consistently do more for the finished frame than a lens upgrade would. A spotless, thoughtfully staged room photographs beautifully on modest gear, while a messy one looks messy no matter how good the sensor is.
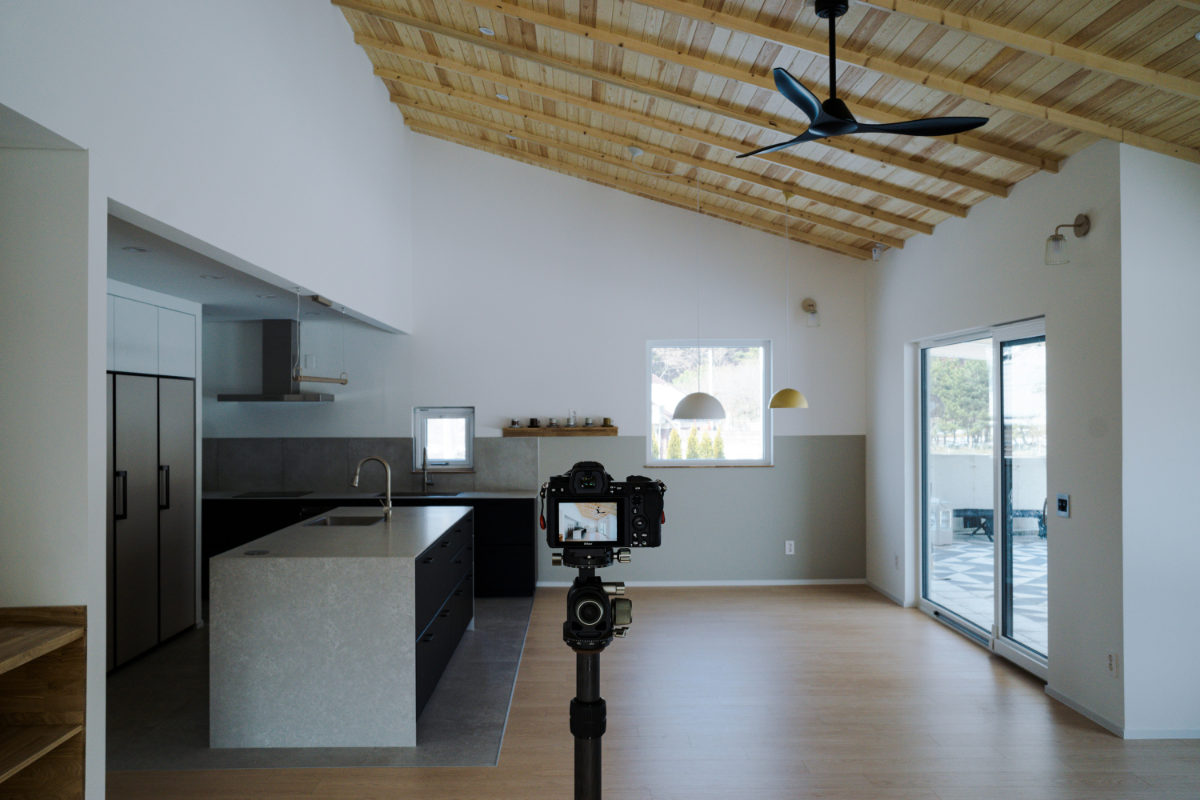
For hardware, a tripod is the single most valuable tool you can own, because it holds the camera perfectly level and lets you shoot longer, steadier exposures that keep both the room and the bright windows properly lit. Pair it with a moderate wide-angle lens in the 16–24mm full-frame-equivalent range to convey space honestly and deliberately avoid ultra-wide or fisheye looks that stretch rooms into cartoons and get flagged by guests as misleading. Shoot from roughly chest height, keep the camera dead level so vertical lines stay vertical, and bracket every scene, capturing several frames from dark to bright, so the highlights and shadows can be blended later, favoring natural light over harsh on-camera flash.
2.2. Room-by-room: getting professional photos for Airbnb
Getting professional photos for Airbnb means covering every space a guest cares about, in a logical order, with at least one strong frame each. Lead with your single best "hero" image, usually the living room, a striking kitchen, or a signature view, because that shot becomes the thumbnail that wins or loses the click in search. Then work through the property the way a guest mentally walks it: entry, living area, kitchen, each bedroom, each bathroom, then outdoor space and any amenity that justifies your nightly rate. A logical sequence helps guests build a floor plan in their heads, which increases confidence and reduces pre-booking questions.
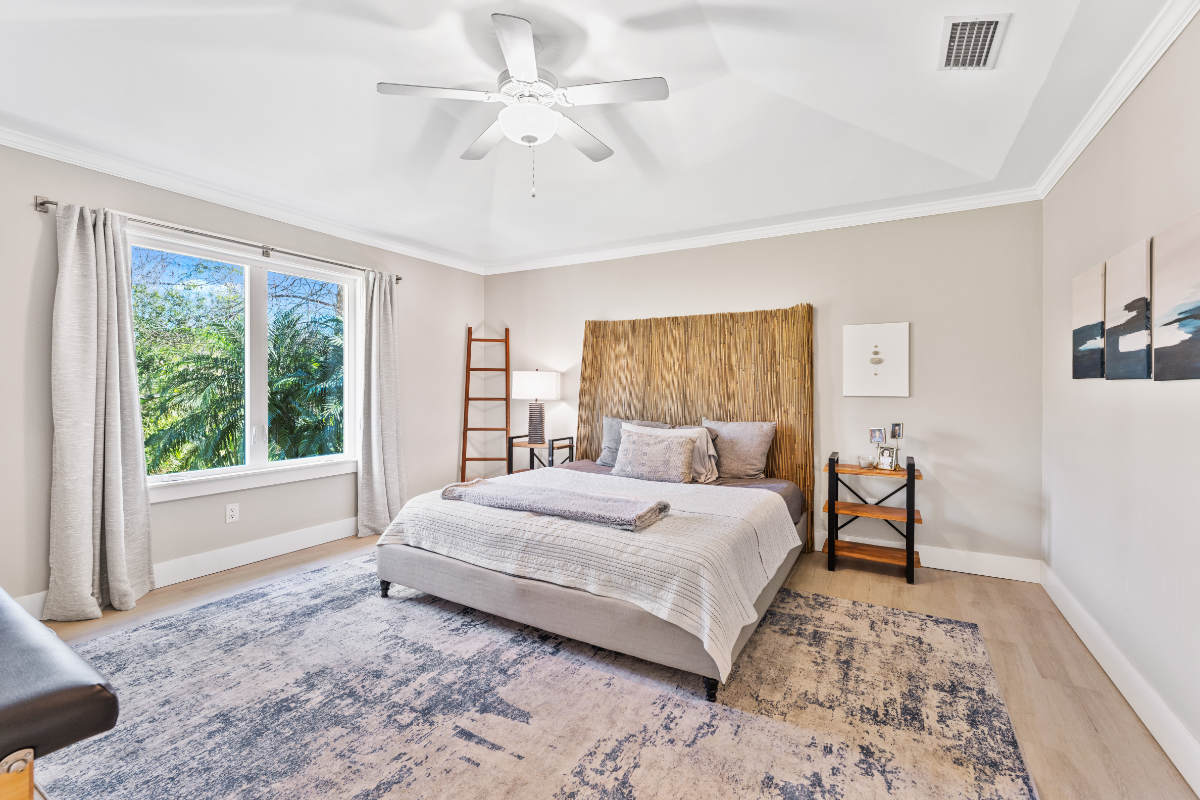
Bedrooms should look rested and hotel-crisp, so make each bed tightly, layer the pillows, and shoot from a corner to show both the bed and the room's breathing space. Kitchens sell on cleanliness and function, so clear the counters, hide the dish rack, wipe every reflective surface, and capture one wide frame plus a detailed shot of coffee gear or a welcome basket. Bathrooms need to look spotless above all else, which means closing the toilet lid, rolling fresh towels, removing every stray bottle, and checking the mirror for streaks before the shutter fires. These are small disciplines, but guests scrutinize kitchens and bathrooms harder than any other rooms.
Do not neglect the exterior and the amenities that command a premium, because those are frequently the difference-makers in a crowded market. Photograph the facade, the entrance, the yard or balcony, and any pool, hot tub, deck, grill, or view that adds real value to a stay. Shoot these when the light flatters them, a pool at golden hour, a patio in warm evening glow, since exterior appeal often decides whether a browser even opens the full gallery. Amenities left unphotographed are amenities you are not being paid for.
2.3. Composition and the hero shot
Good short-term rental photography captures more than you think you need, including a few lifestyle-leaning frames that hint at the experience of staying there, coffee on the balcony, the pool at golden hour, a board game mid-play on the table. Composition is what separates a flat real-estate snapshot from a listing that feels genuinely aspirational, so shoot straight into a corner rather than flat at a wall to reveal depth, and keep your verticals dead straight throughout. Frame each room so the eye is led toward its best feature, a fireplace, a view, an island, instead of wandering across clutter. Consistency ties the set together: a cohesive run of level, evenly bright frames reads as professional, while a mix of tilted, differently colored shots reads as amateur even when the individual photos are fine.
Volume protects you in the edit, so capture more frames and angles than you expect to use and cull ruthlessly afterward. Aim to publish 25 to 40 finished images for a typical whole-home listing, front-loaded with your strongest work so the first five thumbnails carry the sale. Those lifestyle frames matter more than hosts assume, because they invite a scroller to picture their own trip, and that act of imagination is what converts a browse into a confirmed booking.
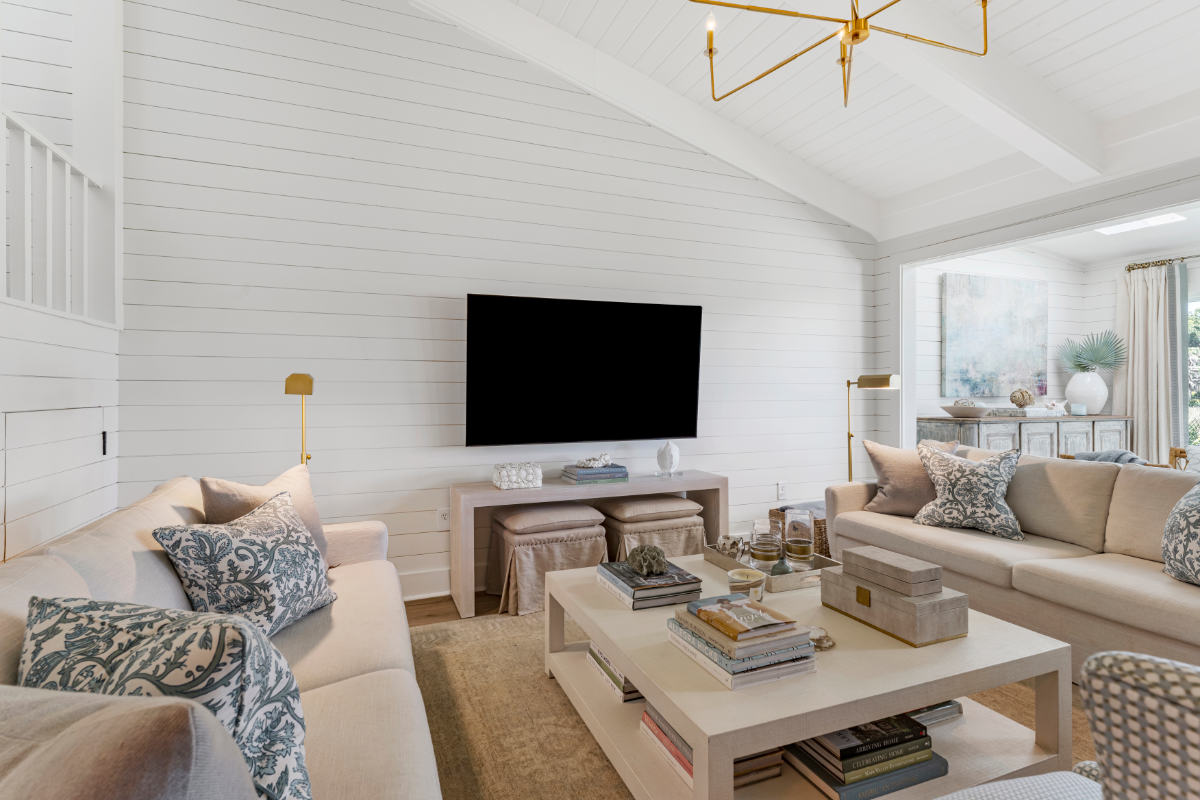
For a more in-depth breakdown and instruction, read our article for more Airbnb photography tips.
3. Post-production for short-term rental photography that seals the booking
Post-production is where short-term rental photography moves from just being accurate to being irresistible, and skipping it quietly leaves bookings on the table every single night. Even a technically clean capture leaves the camera looking flat, slightly cold, and darker than the room felt in person, because sensors compress the dynamic range your eyes handle effortlessly. The goal of editing is not to fake the space but to make the photograph match the bright, warm, spacious impression a guest would form standing in the doorway. Done right, editing is honesty restored, not deception added.
3.1. Short-term rental photo editing: HDR, color, and straight verticals
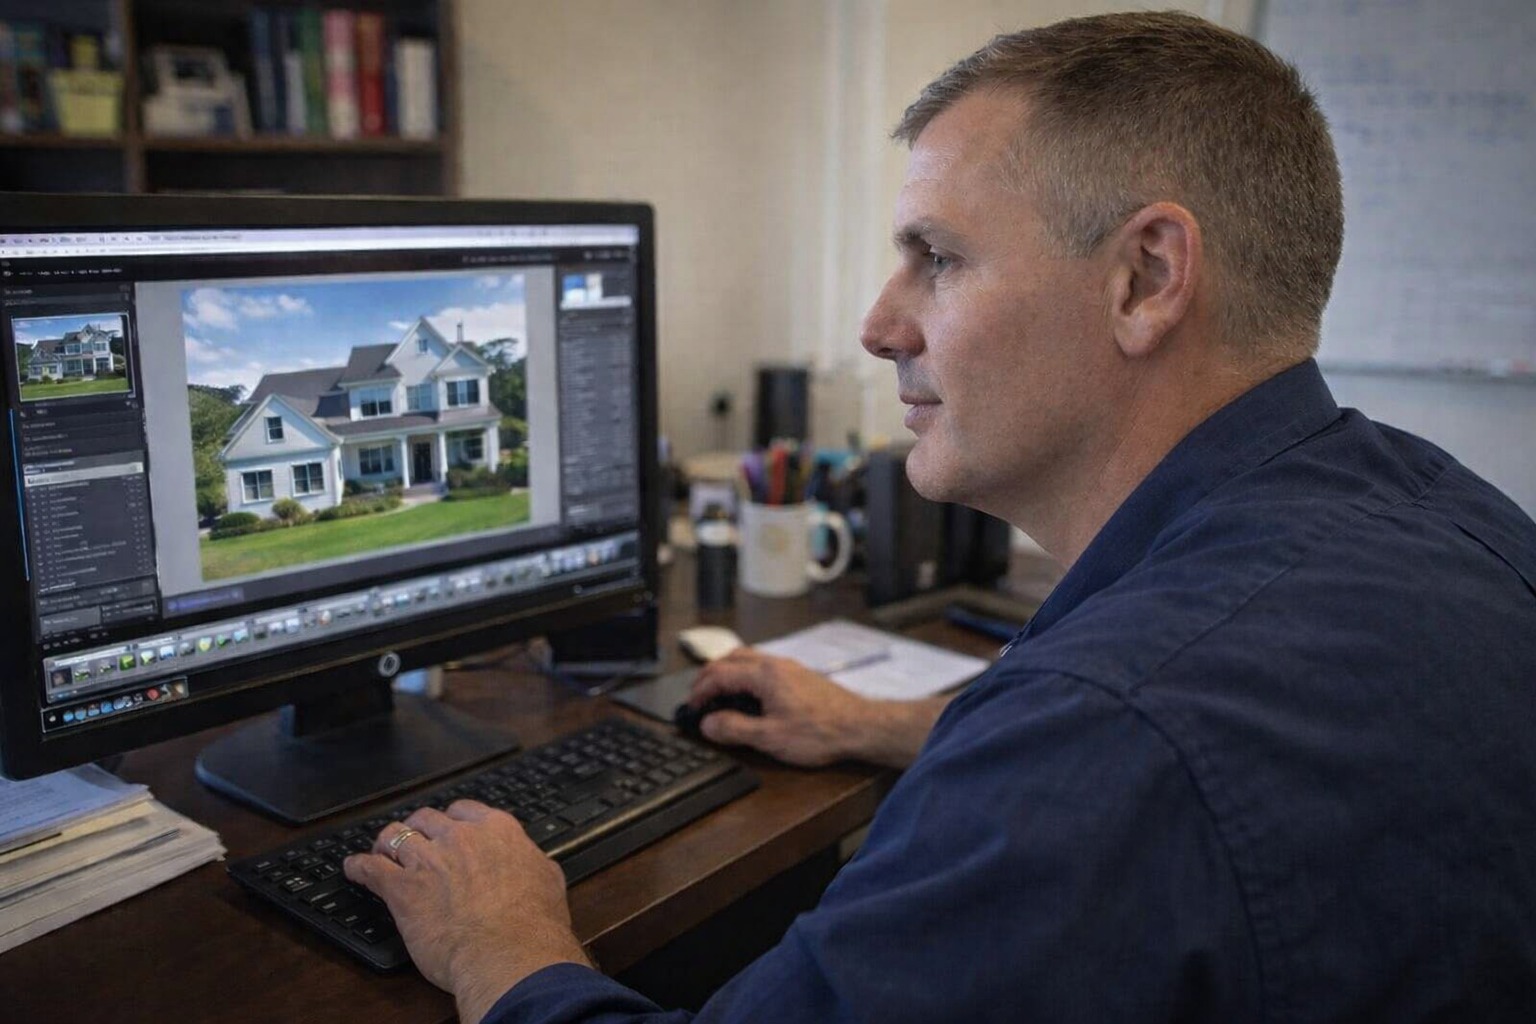
Effective short-term rental photo editing starts with HDR blending: merging your bracketed exposures so the room reads bright and open while the windows still show the view instead of blowing out to featureless white. From there, correct the white balance so whites are neutral rather than orange or blue, lift the shadows for an airy feel, and add just enough clarity to make textures and materials pop without tipping into an artificial, over-processed look. Finally, straighten every vertical and horizontal line, since leaning walls and tilted door frames are the fastest giveaway of an untouched amateur photo. Small touches finish the job, removing a stray cord, evening out a patchy lawn, cleaning a smudged mirror.
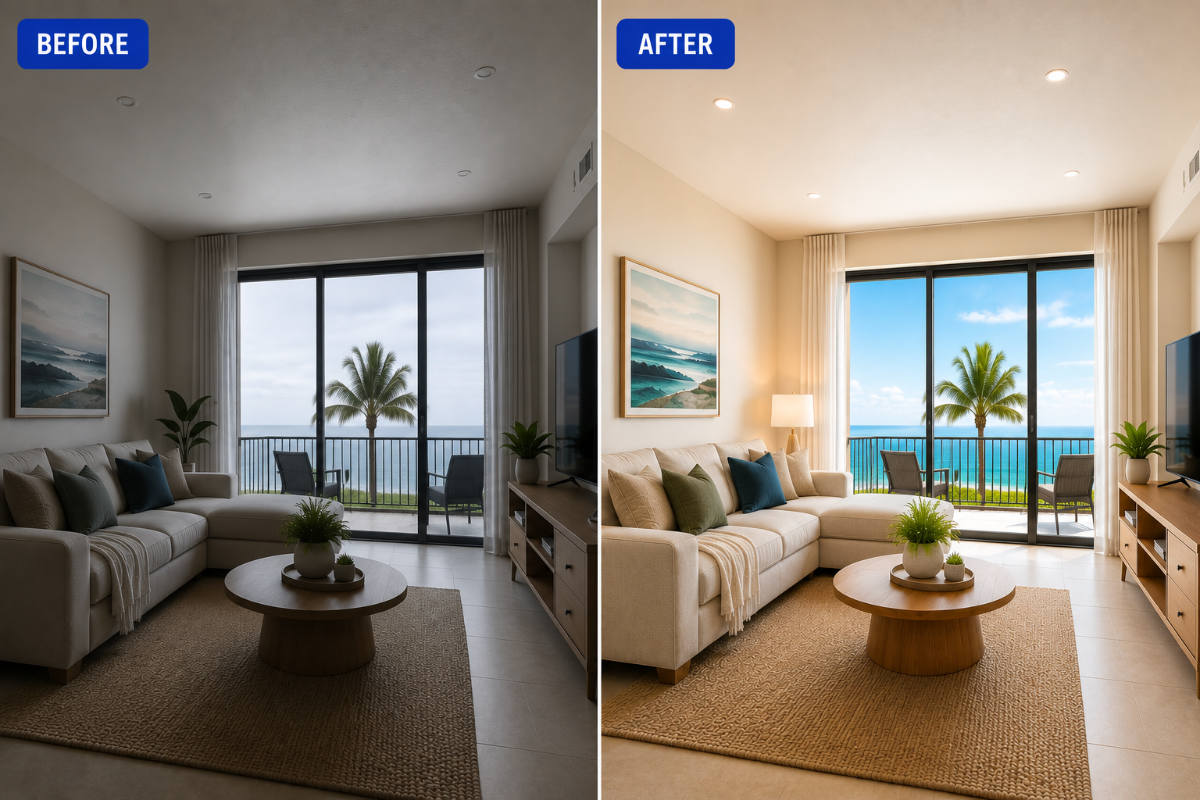
This is precise, repetitive work, and doing it consistently across dozens of frames per property is exactly where most hosts and agents run out of time. A dedicated professional real estate photo editing partner can turn raw brackets into polished, color-matched sets typically within 12 to 48 hours, so your calendar reopens fast without you learning to blend HDR by hand at midnight. Outsourcing the edit also keeps a whole portfolio of listings visually consistent, which matters enormously when guests compare several of your units side by side. For managers running volume, that consistency is a brand, not just a convenience.
3.2. Day-to-dusk exteriors
Exteriors carry a listing's curb appeal, yet you rarely control the weather or the hour you actually get access to shoot. Day-to-dusk editing solves this by converting a flat, gray daytime exterior into a warm twilight scene with a glowing sky and softly lit windows, the single most engaging exterior look in real estate marketing. It is especially powerful for properties with pools, patios, decks, or skyline views, where the golden-hour version dramatically outperforms a harsh midday shot in both clicks and perceived value. One strong twilight hero frame can lift engagement across the entire gallery.
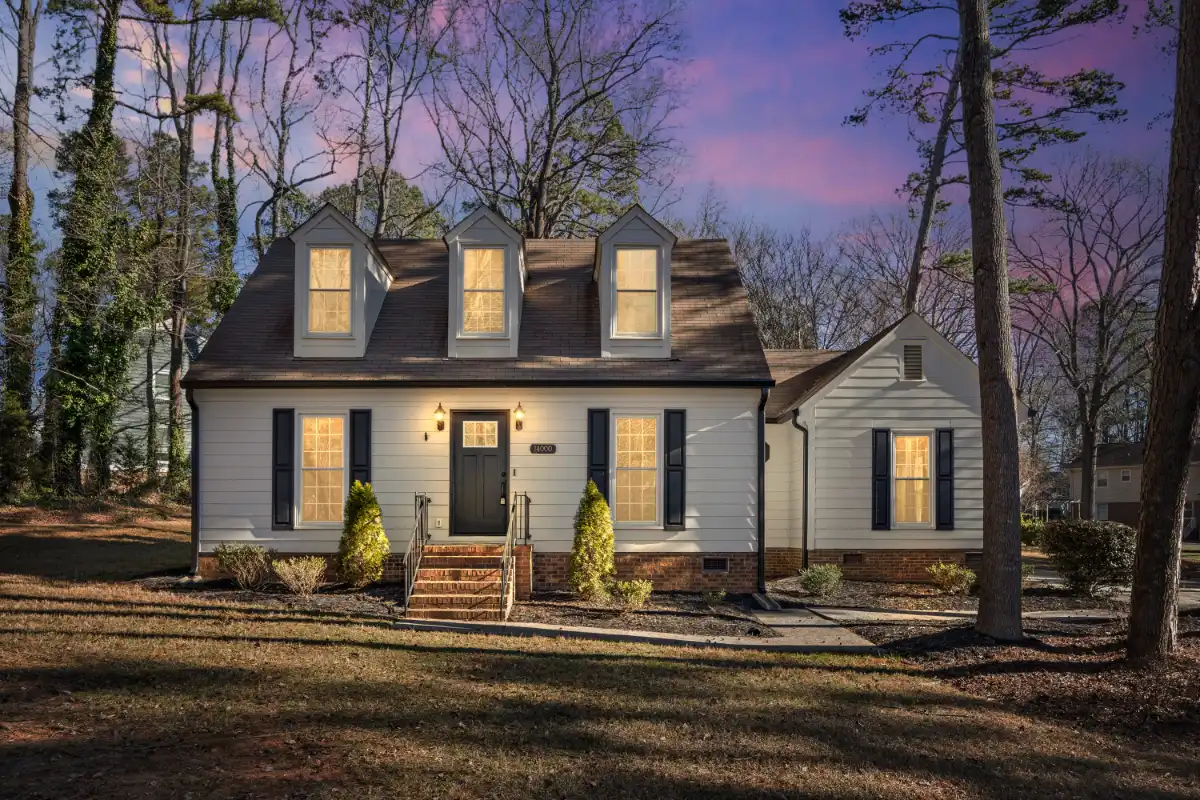
Because true twilight lasts only a few minutes and rarely lines up with your check-in and cleaning schedule, editing the effect in post is far more reliable than chasing the real thing on location. A convincing conversion keeps the light natural and the sky-to-window transition believable, so the image reads as a genuinely beautiful evening rather than an obvious filter slapped on top. Used with restraint on your hero exterior, it signals a premium property before a guest reads a single word of your description. Overused or done crudely, though, it undercuts trust, so subtlety wins.
3.3. Staging vacant units with Airbnb virtual staging
Vacant, half-furnished, or awkwardly furnished units are a common headache for investors and managers turning a property into a rental, and empty rooms almost always photograph as cold, small, and forgettable. Airbnb virtual staging solves this by digitally adding realistic furniture, décor, and warmth to bare spaces, so guests can picture themselves living there before a single physical item is delivered to the door. It is dramatically faster and cheaper than renting real furniture for a shoot, and it lets you test different furniture styles for different guest audiences without moving a couch. For a between-tenants turn or a brand-new build, it keeps the listing live instead of dark.
The key to believable staging is restraint and realism, furniture scaled correctly to the room, styles that match the property's era and price point, and lighting and shadows that sit naturally inside the original photo. Done well, a staged image is effectively indistinguishable from a physically furnished room and every bit as persuasive to a scrolling guest. Pair virtual staging with clean, well-lit base photography, and you can confidently list a new or between-tenants unit without waiting on a furniture delivery. Always keep the staging honest to what the space can actually hold, so the in-person stay matches the listing.
4. Frequently asked questions about short-term rental photography

Do I really need professional short-term rental photography, or is my phone enough?
Modern phones can produce usable frames, but they struggle badly with the two hardest parts of interior work: balancing bright windows against darker rooms and holding straight lines while shooting wide. Short-term rental photography done with a leveled tripod, bracketed exposures, and proper editing consistently produces brighter, more spacious, more bookable images than a handheld phone shot. For a unit you rent by the night, the return on a proper shoot and edit almost always outweighs the cost within a booking or two.
How many photos should a short-term rental listing have?
For a typical whole-home listing, aim for 25 to 40 finished images, led by your single strongest hero shot. Cover every room plus outdoor spaces and any amenity that adds value, and resist padding the gallery with weak or repetitive frames. Quality and consistency matter far more than raw count, since both the platforms and your guests reward a clean, cohesive set.
What is the difference between photo editing and virtual staging?
Photo editing improves an existing photo, exposure, color, sharpness, straight lines, sky, and twilight, without changing what is physically in the room. Virtual staging goes further by digitally adding furniture and décor to empty or sparsely furnished spaces. Many listings use both: editing to perfect the capture and staging to fill the emptiness so rooms feel lived-in.
How fast can I get my rental photos professionally edited?
A dedicated editing service typically returns polished images within 12 to 48 hours, depending on volume and the work involved. That turnaround lets you shoot, edit, and relist quickly, which matters most during demand surges when every day the calendar sits open is money left on the table. In-house editing, by contrast, tends to stall because it competes with everything else on your plate.
5. Conclusion
Winning bookings comes down to two things you control completely: shooting a clean, honest, well-lit property, and finishing those images so they actually sell. Strong short-term rental photography is the difference between a listing that gets scrolled past and one that fills its calendar at the rate you want, and with demand events like the 2026 World Cup pushing host-city markets to new highs, the properties with standout images will capture that wave first. Nail the preparation and the shoot, then let disciplined post-production carry the frame the rest of the way, a repeatable workflow that compounds across every property you list.
That final mile of HDR blending, color correction, straight verticals, day-to-dusk exteriors, and virtual staging is exactly what Fotober handles for real estate and rental professionals, with fast turnaround, transparent per-image pricing, and dedicated editors who keep your galleries consistent across every unit. Send us your raw frames and get back polished, guest-ready images without surrendering your evenings to the edit. When you are ready, place an order or start a free trial and see how much stronger your listings look with a professional edit standing behind every shot.
Connect with Fotober
- Facebook: fotobermedia.co
- YouTube Channel: Fotober
- TikTok Channel: @fotober
- Instagram: fotober_media
- Email support: [email protected]
- Hotline: +84 942 110 297
Related posts

Coastal Interior Design: Style Definition & Staging Guide
September 30, 2026

Contemporary Interior Design: Key Elements and How to Stage This Style
September 30, 2026

Scandinavian Interior Design: Key Elements, Style Guide, and Staging
September 30, 2026
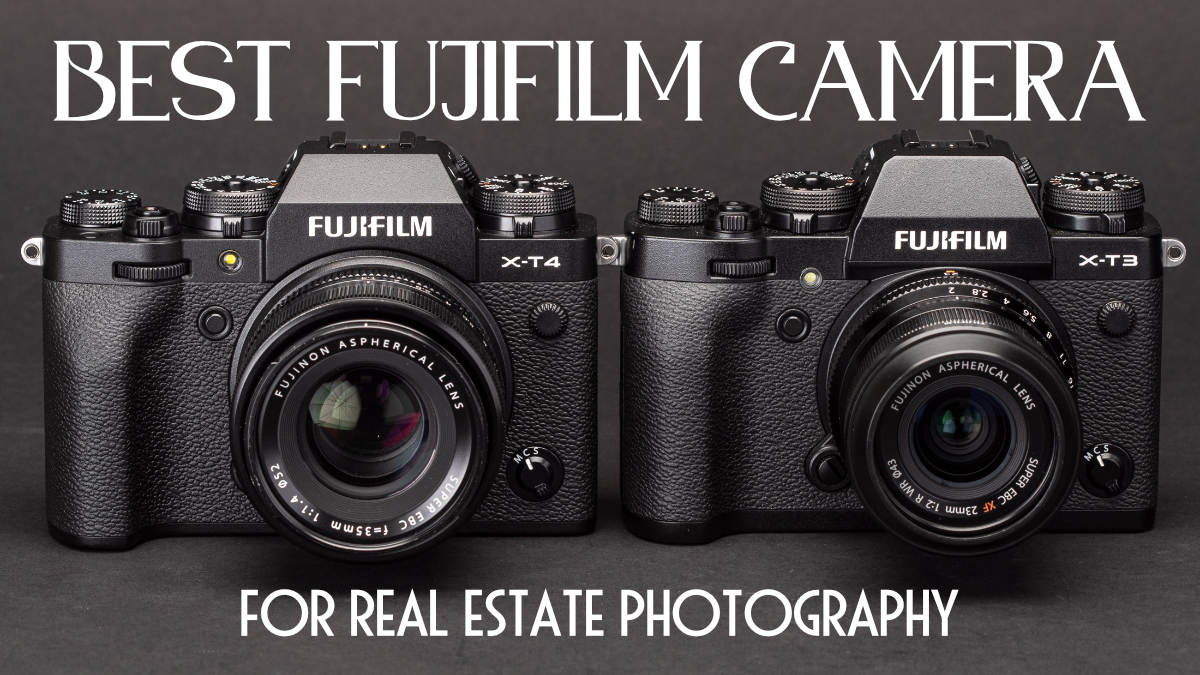
Best Fujifilm Cameras for Real Estate Photography: 2026 Buying Guide
September 30, 2026
