
Multicamera Real Estate Video Production Explained

Share:
Table of Contents
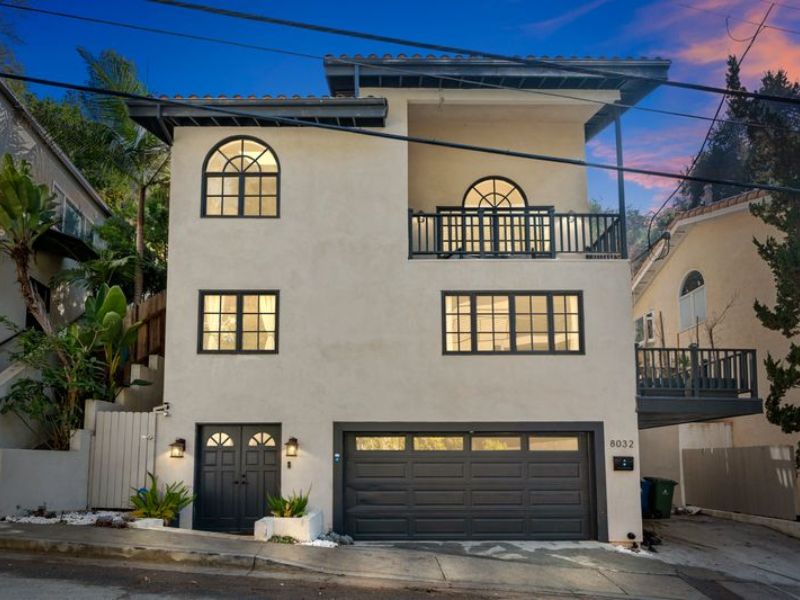
Multicamera real estate video production offers unmatched versatility and cinematic quality for showcasing properties. By using multiple camera angles - wide, detailed, and aerial - you can capture every perspective that matters to potential buyers. From the planning stage to post-production, this guide walks you through each step to ensure efficiency, consistency, and stunning visual storytelling. Whether you're a solo creator or a full team, mastering multicam workflows can elevate your real estate marketing content significantly.
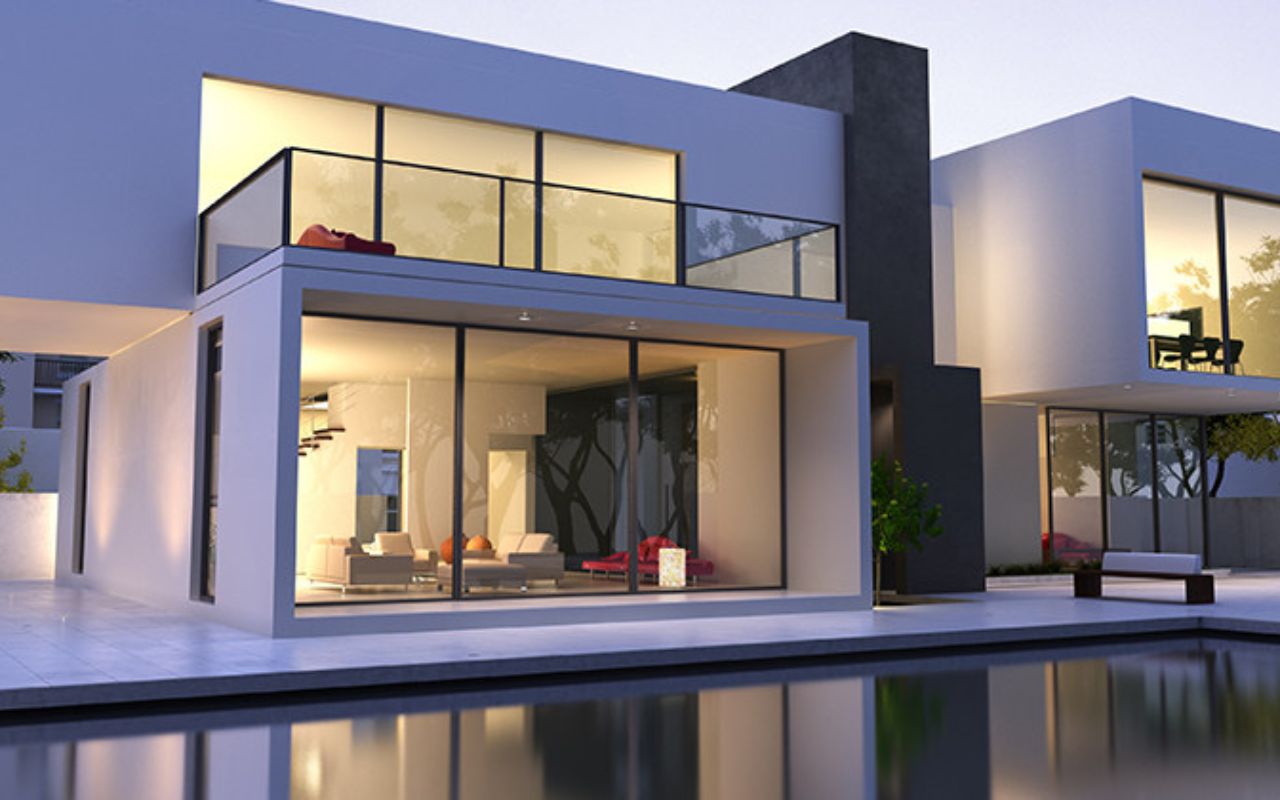
1. Why Multicamera Approach Works for Property Videos
In real estate marketing, visual impact is everything. A multicamera real estate video production strategy enhances this impact by combining multiple perspectives into one cohesive, engaging video. Instead of relying on a single point of view, you can showcase the property’s scale, details, and flow all at once.
Here’s why this approach works so well:
- Multiple perspectives: Use wide-angle shots to show room layouts, close-ups for design features, and drone views to capture exteriors.
- On-Set efficiency: Capture all angles in one take without having to reset the scene multiple times.
- Cinematic storytelling: Seamlessly guide the viewer through the space while highlighting key selling points.
For example, imagine a walkthrough video where one camera follows the agent through the home, another captures detailed shots of the finishes, and a drone provides dramatic context from above. This layered storytelling approach holds viewers' attention longer - and leaves a more memorable impression.
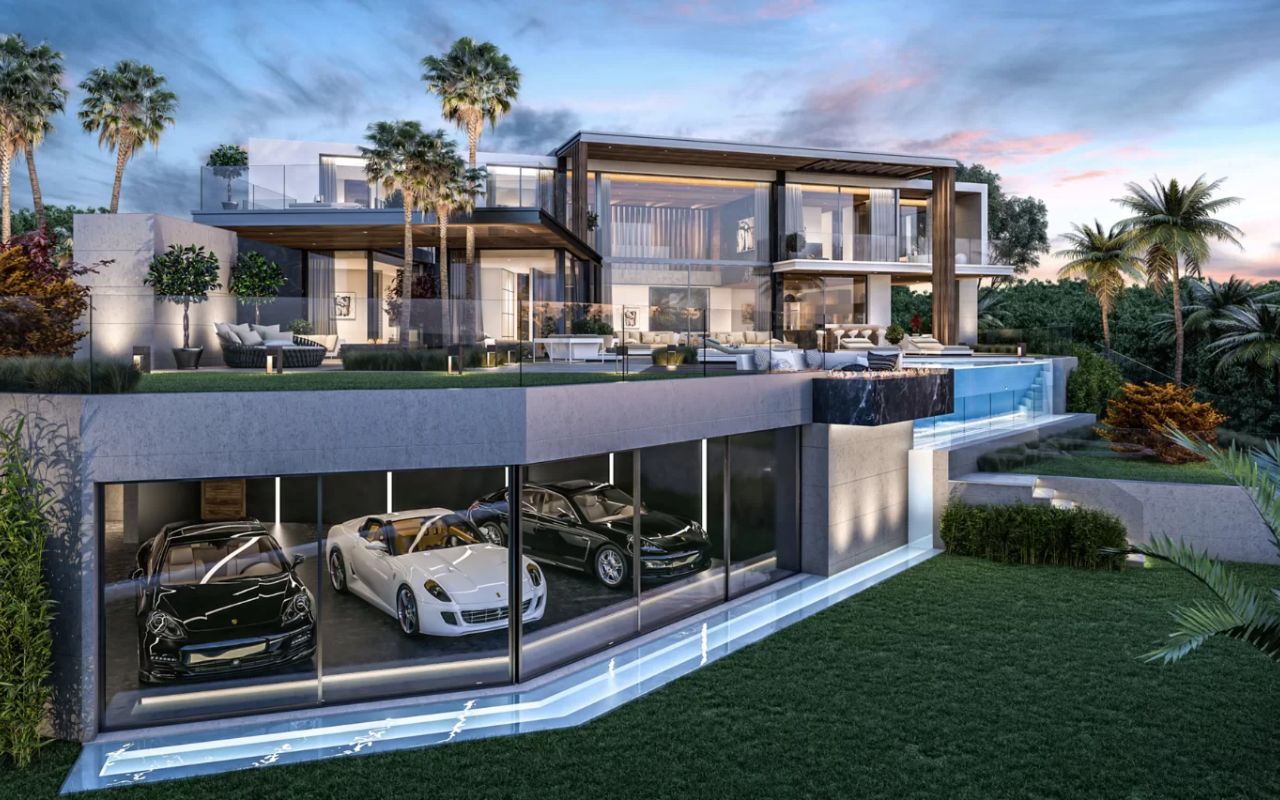
2. Planning Your Shot List and Camera Placement
A successful multicamera real estate video production doesn’t start with the press of a record button - it starts with strategic planning. Careful shot planning and smart camera placement not only streamline the filming process but also ensure that each angle serves a storytelling purpose. Without a clear plan, even the best gear and crew can produce disjointed or redundant footage.
When learning how to shoot a real estate video, this planning phase becomes even more important. Assigning camera roles, mapping room-by-room shots, and preparing transitions ahead of time ensures that the final product feels smooth, professional, and engaging.
Step 1: Define Camera Roles Based on Coverage
Assigning specific roles to each camera will help maintain consistency and avoid overlap. Here’s a typical 3-4 camera breakdown:
- Camera 1 – Primary walktbhrough camera: Follows the agent or flows naturally through the property, capturing wide-angle room layouts and transitions.
- Camera 2 – Detail and design elements: Focuses on features like countertops, fixtures, flooring, appliances, or architectural accents.
- Camera 3 – Lifestyle or B-roll: Captures decorative vignettes, natural light patterns, or abstract compositions for transitions.
- Drone – Aerial view: Showcases the neighborhood, landscaping, rooflines, and lot size.
Each camera should have a clear function in the video’s narrative. That way, when the footage is brought into post-production, you’ll have comprehensive coverage without duplication.
Step 2: Create a Room-by-Room Shot Schedule
Breaking the shoot into blocks helps keep the team organized and maximizes efficiency on set. For each major area (living room, kitchen, bedroom, etc.), prepare a mini shot list that outlines:
- Primary movement path: Where the main camera will travel and what perspective it should follow.
- Secondary angles: Where to position static or roaming cameras to complement the main shot.
- Feature highlights: What design or functional elements need extra coverage.
Example:
In the kitchen, Camera 1 follows the agent walking in from the hallway. Camera 2 picks up on the quartz countertops and smart appliances, while Camera 3 records a slow pan across the backsplash for B-roll.
Step 3: Plan for Transitions and Flow
To ensure smooth cuts during editing, camera movement should mimic how someone would naturally move through the space. This means anticipating transitions between rooms and planning overlapping angles. For instance, as the main camera exits one room, a secondary camera can already be positioned in the next room to pick up the flow.
Also, always consider how the footage will fit together in the timeline. Maintaining consistent direction (e.g., always moving forward through a house) helps the final video feel coherent and easy to follow.
Planning is the invisible engine of every great multicamera real estate video production. By assigning clear camera roles, structuring a zone-based shot schedule, and pre-visualizing transitions, you give your crew a roadmap for success - and your editor everything they need to craft a seamless, high-impact final product.
3. Gear and Setup Coordination
The quality and consistency of your multicamera real estate video production depend heavily on your gear setup. Using multiple cameras means you’re not just capturing footage - you’re managing angles, movement, exposure, sync, and sound all at once. To avoid mismatched footage or post-production headaches, your gear must be compatible, reliable, and designed for efficiency.
Recommended Cameras for Multicamera Real Estate Shoots
Choosing the right mix of cameras ensures visual consistency while giving you the flexibility to cover tight interiors and expansive exteriors:
- Mirrorless cameras (e.g., Sony A7S III, Canon EOS R6): Ideal for main angles, thanks to excellent image quality, low-light performance, and interchangeable lenses.
- Action cameras (e.g., GoPro Hero12, DJI Action 4): Useful for capturing small spaces like closets, bathrooms, or corners where larger cameras can’t fit.
- Drones (e.g., DJI Air 3, Mavic 3 Pro): Add dynamic aerial footage to highlight lot size, property shape, and surrounding areas.
Essential Accessories and Support Tools
Even the best cameras need support to operate effectively in a multicam setup. Consider including the following tools:
- Tripods and gimbals: Keep your footage stable and smooth, especially for walkthroughs.
- Sliders or motorized dollies: Add subtle movement and cinematic motion to kitchen counters, living spaces, or long hallways.
- Wireless audio recorders (e.g., Zoom F2-BT, Tascam DR-10L): Capture agent narration or ambient room sound from any angle.
- Lighting kits: Portable LED panels help maintain color balance and exposure in rooms with mixed lighting conditions.
Synchronization Methods for Multicam Footage
Proper syncing is what makes multicamera editing possible. Without it, even beautiful shots can be difficult to align in post.
- Timecode syncing: Best for professional shoots. Timecode devices like Tentacle Sync make syncing footage in post fast and accurate.
- Clapperboard or hand clap: A simple and effective visual/audio cue when timecode tools aren’t available.
- Audio waveform syncing: Software like Adobe Premiere Pro and Final Cut Pro can auto-sync clips based on similar audio waveforms.
- When your cameras are synced and properly supported, your multicamera production gains a new level of speed, accuracy, and creative freedom - reducing friction both on set and in the editing room.
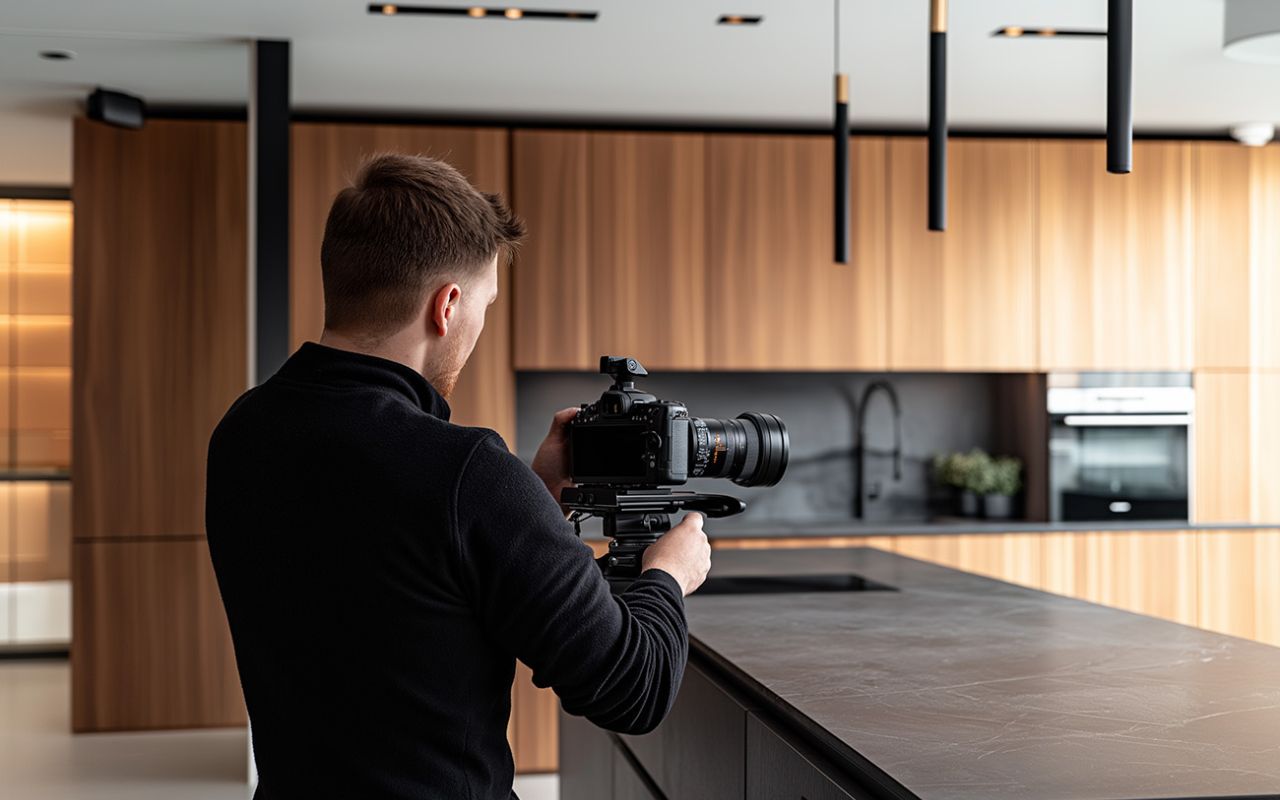
4. Shooting Workflow and On-Site Tips
Once planning is complete and your gear is ready, the shoot day is where everything comes together. A smooth multicamera real estate video production requires coordination, timing, and attention to the flow of both the property and the team.
Without clear workflow guidelines, you risk missed angles, footage gaps, or jarring transitions. Below are key tips to keep your shoot organized and efficient.
Positioning for Flow and Coverage
The way you position your cameras directly affects how natural and immersive your footage feels. Focus on mimicking a buyer’s experience walking through the property.
- Place the primary camera at entry points to follow the natural tour path of the home.
- Set the secondary camera at opposing or diagonal angles to capture design details, lighting, or spatial relationships.
- If using a drone, plan exterior shots during golden hour or breaks in the walkthrough to avoid overlapping noise or distraction.
Avoid abrupt jumps in perspective by planning camera movement that respects the architecture’s layout - especially in open-concept spaces or multilevel homes.
Managing Multiple Cameras Efficiently
When working with two or more camera operators, communication and timing are everything. Here are a few ways to stay in sync:
- Assign camera zones or room responsibilities to each operator so they aren’t shooting the same scene from the same angle.
- Use hand signals, walkie-talkies, or headsets to coordinate movements, especially during walkthroughs or transitions between floors.
- Rotate batteries and memory cards at planned intervals to avoid downtime and data loss.
Also, check footage regularly throughout the day to confirm that exposure, white balance, and composition remain consistent across cameras.
Monitor and Adjust in Real Time
For a professional outcome, always review your multicamera feeds during the shoot:
- Use wireless monitoring tools or a multiview monitor to check angles live and adjust framing if needed.
- Check audio levels from all devices - ensure no microphone peaking or environmental noise ruins key moments.
- Keep continuity notes or mark good takes, especially during transitions and complex movements.
Shooting with multiple cameras may feel more complex at first, but with the right structure in place, it allows you to capture the property thoroughly and creatively - without backtracking or guesswork.
5. Post‑Production Techniques for Multicamera Edits
Once you’ve completed your shoot, the real magic of multicamera real estate video production happens in post-production. This is where separate camera feeds are transformed into one polished, cohesive video that tells the full story of the property. A well-organized edit not only enhances viewer engagement but also reflects the professionalism of your brand.
Syncing Multiple Camera Feeds
The first step is syncing all your footage. Depending on how your production was set up, you can use:
- Timecode syncing if all cameras were timecode-enabled.
- Clapperboard or hand clap markers to align visual and audio peaks.
- Audio waveform syncing via software tools like Adobe Premiere Pro, DaVinci Resolve, or Final Cut Pro, which detect similar sound patterns to match clips automatically.
- Once your footage is synced, it’s essential to label and organize it by room, angle, and camera for a more efficient workflow.
Selecting the Best Angles for Storytelling
With all perspectives available, the editor becomes the storyteller. The goal is to guide the viewer naturally through the space while showcasing its best features.
- Use wide-angle shots to introduce rooms and their layout.
- Cut to close-up/detail shots to highlight materials, finishes, or smart features.
- Insert aerial footage at key transition moments or to provide exterior context.
- Be intentional with your cuts. Avoid rapid switching between angles unless it adds energy or clarity to the scene.
Enhancing the Final Video
Post-production is not just about cutting and syncing – it’s also where style, branding, pacing, and real estate video editing techniques come into play to create a polished final product.
- Color matching ensures that footage from different cameras looks cohesive. Use LUTs (Look-Up Tables) or manual grading for consistent tones.
- Audio leveling keeps voiceovers, ambient sound, and music balanced and pleasant to the ear.
- Pacing continuity matters. Maintain a steady, natural flow - don’t rush through spaces, but avoid lingering too long unless there's a feature to highlight.
- Optional creative elements like split screens, text overlays (e.g., room dimensions), and background music can further enhance the professionalism and marketability of your video.
Conclusion
Multicamera real estate video production is no longer reserved for high-end film sets - it’s now an accessible, highly effective method to elevate property marketing. By planning your shots carefully, coordinating your gear, working efficiently on site, and editing with precision, you can produce videos that are not only visually compelling but strategically designed to convert interest into action.
This approach gives real estate agents, developers, and marketing teams a powerful tool to present properties in their best light - both literally and figuratively. It brings together storytelling, efficiency, and production quality to meet the demands of today’s visual-first audience.
If you're looking to create professional, high-impact property videos using a multicamera approach, Fotober is ready to help. With expertise in both real estate photo editing and video production, we ensure your content not only looks stunning but also performs.
Related posts
Best Aperture for Real Estate Photography: The Range for Sharp Photos
July 18, 2026
Short-Term Rental Photography: Shoot & Edit Photos That Gain Bookings
July 17, 2026
Airbnb Virtual Staging: How to Fill Rentals and Win World Cup Bookings
July 17, 2026
Capture Spain vs Argentina Heat: New York World Cup Short-Term Rentals Guide
July 16, 2026
