
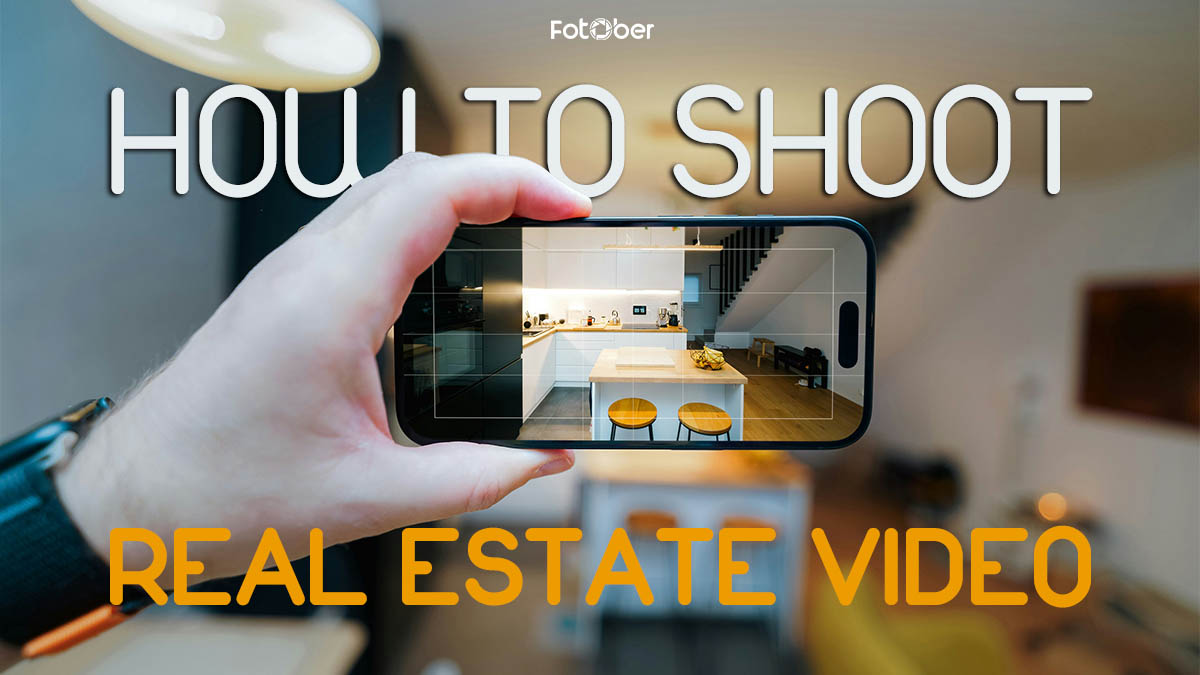
How to Shoot Real Estate Video That Actually Sells Homes in 2026

Share:
Table of Contents
- 1. Why should filmmakers know how to shoot a real estate video?
- 2. The pro’s toolkit: Essential real estate video equipment list
- 3. Pre-production: Setting the stage for success
- 4. Professional shooting techniques and real estate video shooting tips
- 5. Real estate video shooting tips: The magic of post-production
- 6. Scaling your business with Fotober: Outsourcing high-end real estate video editing
- 7. Conclusion
- Frequently asked questions about how to shoot real estate video
While having a real estate video will gain you a competitive edge in the 2026 market, creating a usable one may overwhelm you: it’s a blend of technical precision, strategic planning, and creative storytelling. This comprehensive guide will guide you on the path of mastering how to shoot real estate video, from selecting the right gear to executing smooth movements, to help you transform any property into a compelling visual narrative that closes deals faster.
1. Why should filmmakers know how to shoot a real estate video?
In the digital-first era of property marketing, motion is the ultimate differentiator. While high-resolution photography captures the beauty of a home, videography captures its soul. The primary benefit of real estate videography lies in its ability to provide an immersive storytelling experience. Unlike a static image, which offers a fragmented view, video allows potential buyers to understand the "flow" and layout of a property. It guides them through the corridors, reveals the true scale of open-plan living areas, and illustrates exactly how the kitchen connects to the outdoor terrace, creating a cohesive mental map that photos simply cannot replicate.
Knowing how to shoot real estate video effectively is now essential because video marketing makes property listings significantly more engaging and effective. Investing in video offers several key advantages over traditional photography:
 Videos serve as powerful assets in modern real estate marketing.
- Enhanced visualization: A real estate walkthrough video helps them visualize the space and decide if it suits their needs before visiting.
- Emotional connection: Unlike static photos, videos use cinematic storytelling, movement, and sound to create an emotional connection, making it easier for buyers to picture themselves living in the home. For example, a drone video of real estate at sunset can showcase the backyard’s full potential.
- Saves time and filters leads: Real estate video tours let buyers explore properties anytime, reducing unnecessary in-person showings and attracting more serious leads.
- Content versatility: Video content is highly versatile. It can be shared across social media, property websites, and email campaigns, with shorter clips optimized for platforms like Instagram and TikTok. Virtual open houses even help reach out-of-state buyers, expanding the market potential dramatically.
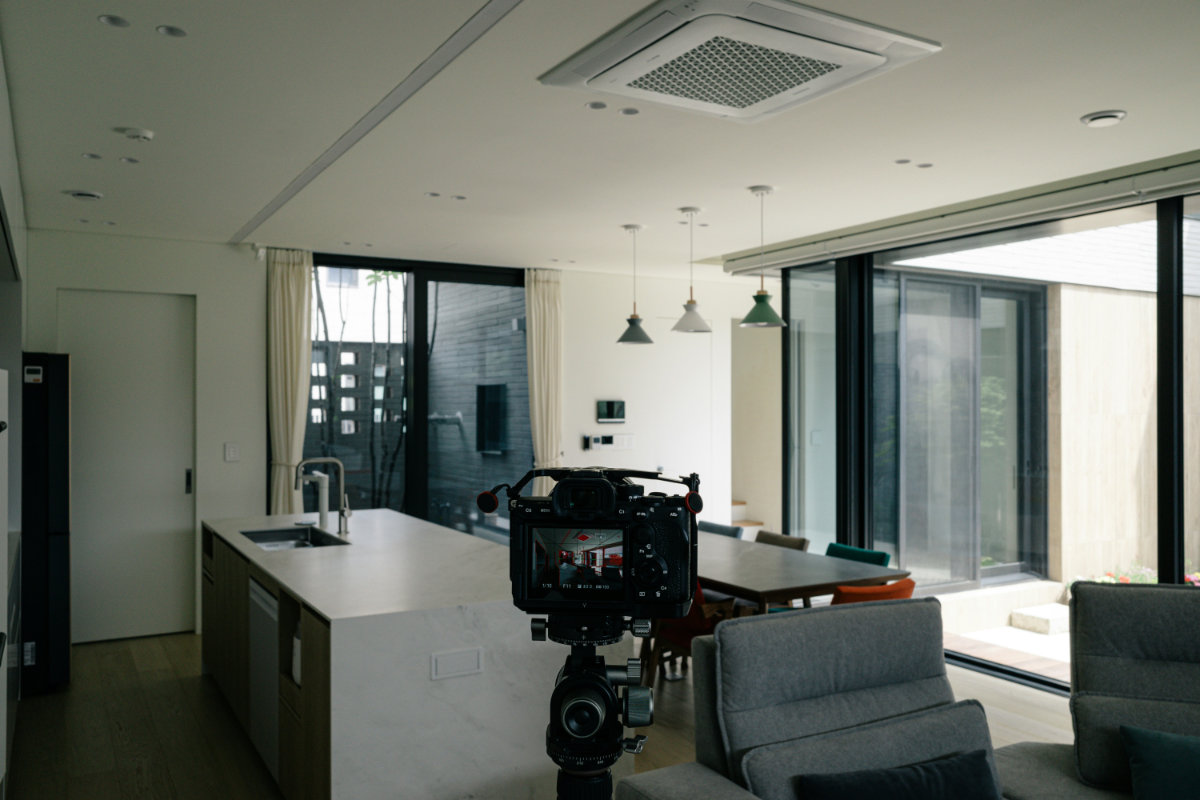
2. The pro’s toolkit: Essential real estate video equipment list
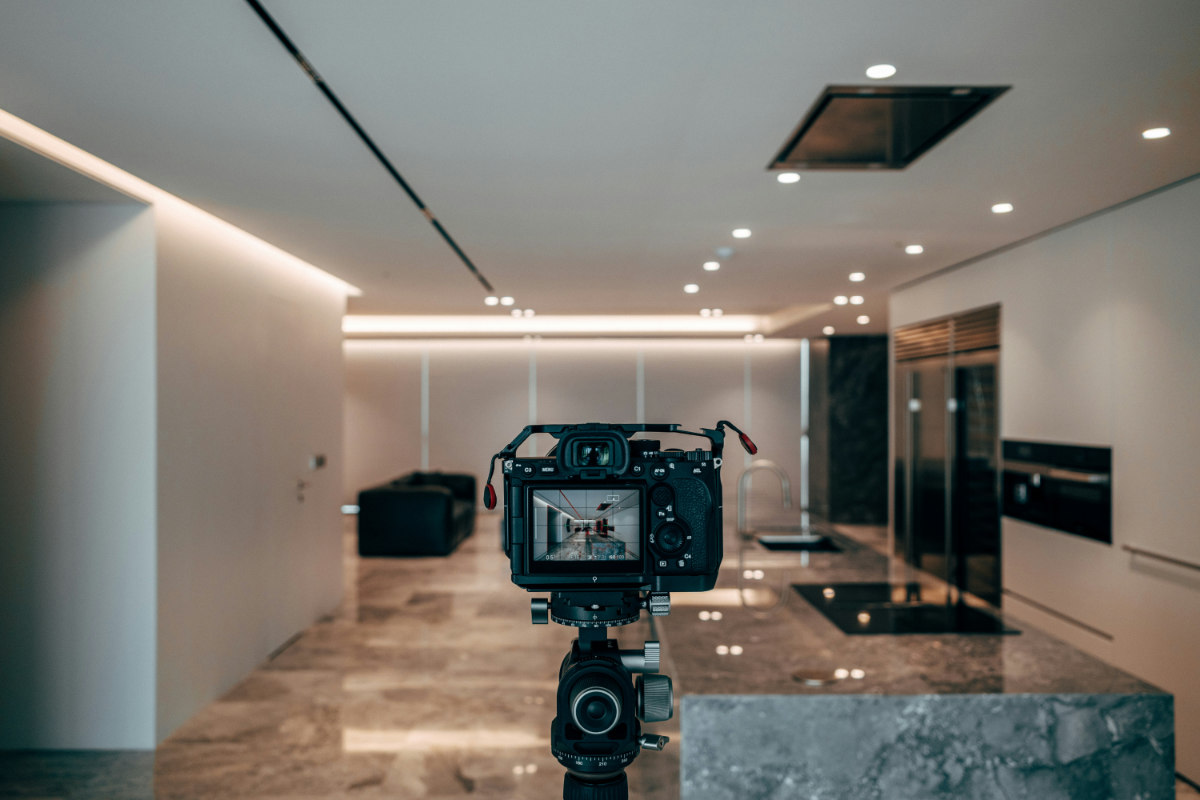
To produce high-end real estate video that competes in today's luxury markets, you need a specialized kit that balances portability with professional-grade output. Investing in the right gear is the foundation of learning how to shoot real estate video and establishing a successful production workflow, ensuring your footage is sharp, stable, and easy to edit.
2.1. The camera and lens foundation
The industry standard for real estate videography in 2026 is a full-frame mirrorless system. Cameras like the Sony A7S III, Canon R6 Mark II, or Nikon Z8 are highly recommended due to their exceptional dynamic range and low-light performance. These sensors allow you to capture detail in both the bright windows and the darker corners of a room simultaneously.
 Choosing the right gear can save you some headaches in achieving professional results.
Your choice of glass is equally critical. You need a wide-angle lens, typically within the 14mm to 20mm range. A 16-35mm zoom is often considered the "gold standard" for this niche, providing the flexibility to capture tight powder rooms and expansive open-plan living areas. However, a key technical note for pros is to avoid "fish-eye" lenses that cause extreme barrel distortion; you want the space to look large, but the walls must remain perfectly vertical and straight.
2.2. Stabilization and aerial perspectives
Nothing ruins a professional tour faster than shaky, handheld footage. A 3-axis gimbal, such as the DJI RS 3 or RS 4 series, is non-negotiable. It provides the signature "floating" cinematic movement that allows the camera to glide through hallways and doorways, mimicking the smooth motion of a high-end Hollywood dolly.
 Movements in real estate videos should be smooth and pleasant to the eye.
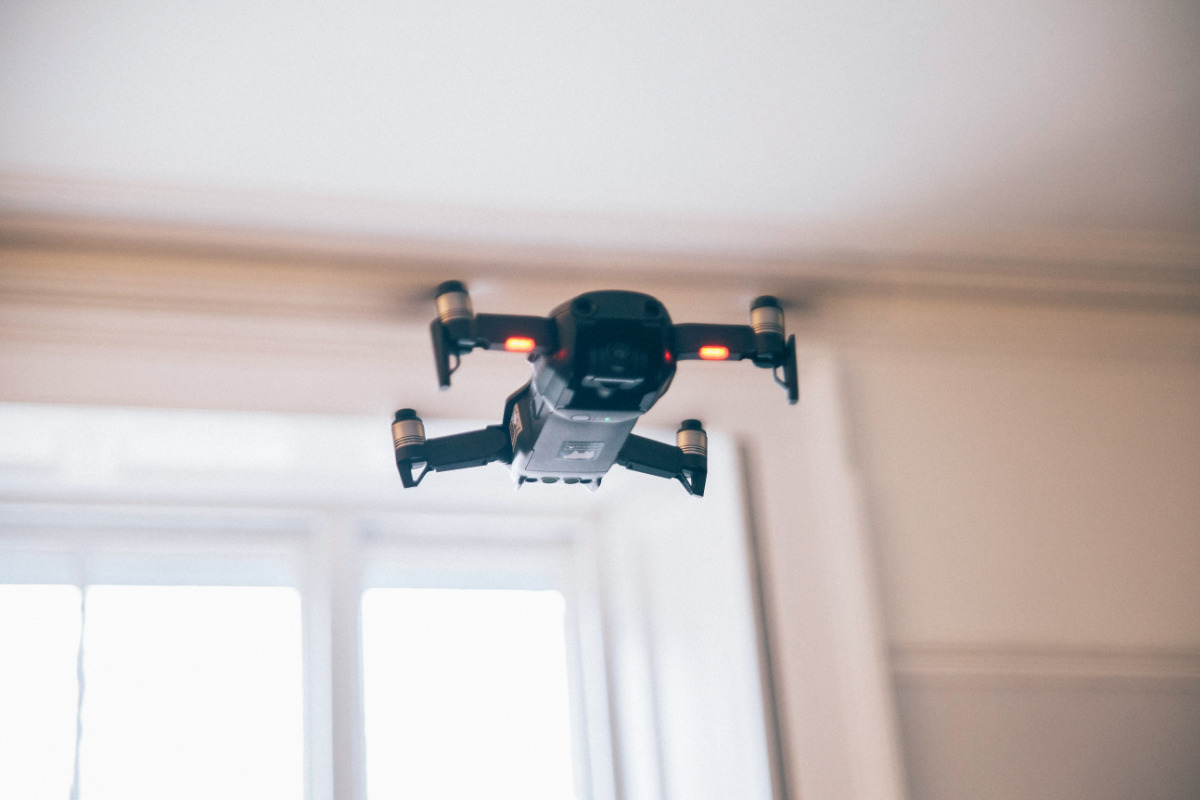
To truly showcase a property’s context, nothing beats a drone in a real estate video equipment list. Models like the DJI Mavic 4 Pro or DJI Air 3 allow you to capture the "bird’s eye view," highlighting property boundaries, roof conditions, and proximity to local amenities like parks or waterfronts.
2.3. Lighting and audio
While natural light is often the preferred choice, professional shooters always carry portable LED panels (like the Aputure Amaran series) to fill in deep shadows in windowless bathrooms or walk-in closets. Furthermore, if the video features an agent-led walk-through, high-quality audio is a must. A wireless lavalier microphone system, such as the DJI Mic 2, ensures the agent’s voice is crisp and clear, free from the distracting echoes common in empty houses.
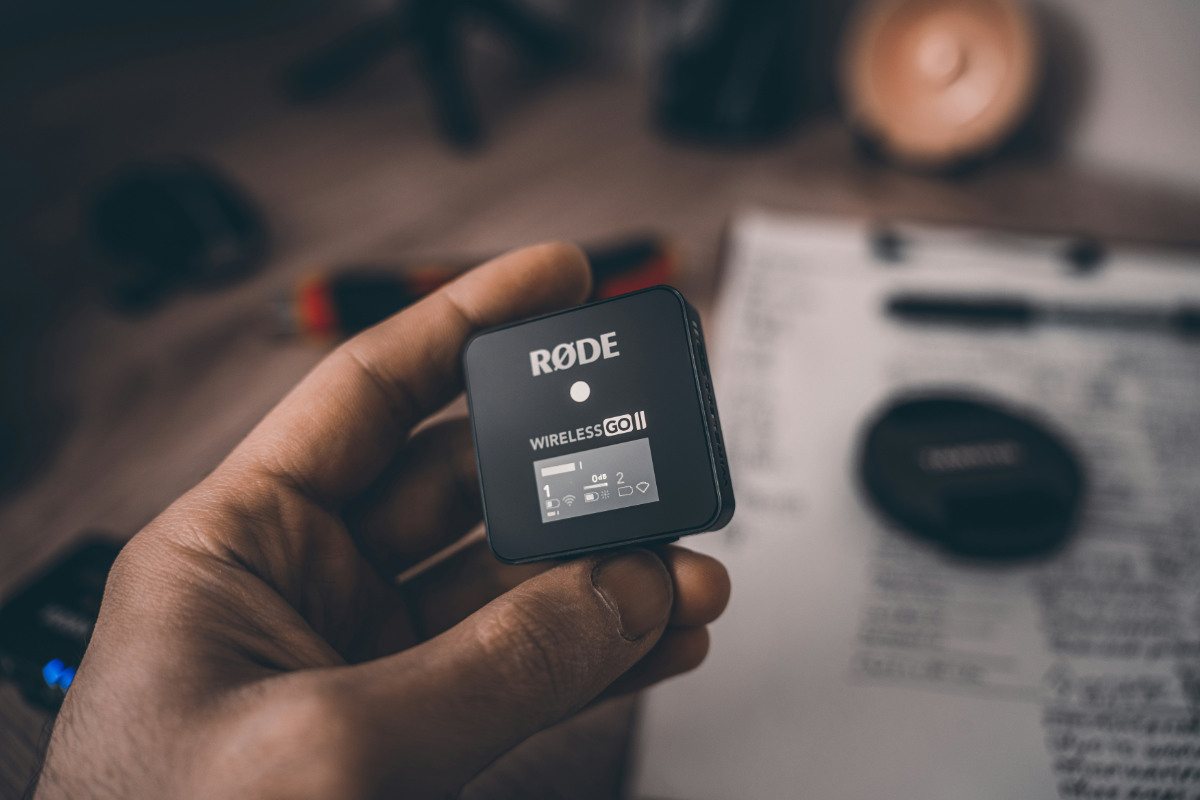 A high-quality mic is expected when you shoot a video with the agent’s voiceover.
By assembling this professional toolkit, you ensure that every frame you capture serves the ultimate goal: making the property look irresistible to potential buyers.
3. Pre-production: Setting the stage for success
A well-planned shoot improves efficiency and ensures all key property features are captured. A detailed real estate video shot list helps stay organized and cover essential angles.
Preparing the property in advance sets clear expectations for homeowners. A pre-shoot checklist includes decluttering, staging, and ensuring proper lighting. Clearing outdoor spaces and coordinating access details streamline the process. Simple steps like hiding personal items or moving cars from the driveway enhance video quality.
 Scouting the set beforehand is essential for those learning how to shoot real estate video as it helps foster the right timing, shot list, and equipment choices.
Scheduling must factor in weather, lighting, and noise. Exterior and drone shots should align with optimal conditions, while off-peak hours help avoid traffic and interruptions. Twilight shots require precise timing for the best golden-hour effect. The optimal timeframe is brief, so be sure to get all your gear ready when the sunlight hits right.
Technical scouting will minimize last-minute issues. Checking power sources, assessing lighting challenges, and taking test shots in tricky areas ensure smooth filming on the main shoot day.
Pre-production checklist suggestion:
1-2 weeks before:
- Schedule a property visit for an initial walkthrough
- Create a shot list and storyboard
- Send preparation guidelines to homeowners
- Check the weather forecast for the shoot day
2-3 days before:
- Confirm shooting schedule with all parties
- Check and charge all equipment
- Review property photos to plan shots
- Check sunrise/sunset times for exterior shots
Day before:
- Final weather check
- Confirm access details
- Pack and test all equipment
- Review shot list and timeline
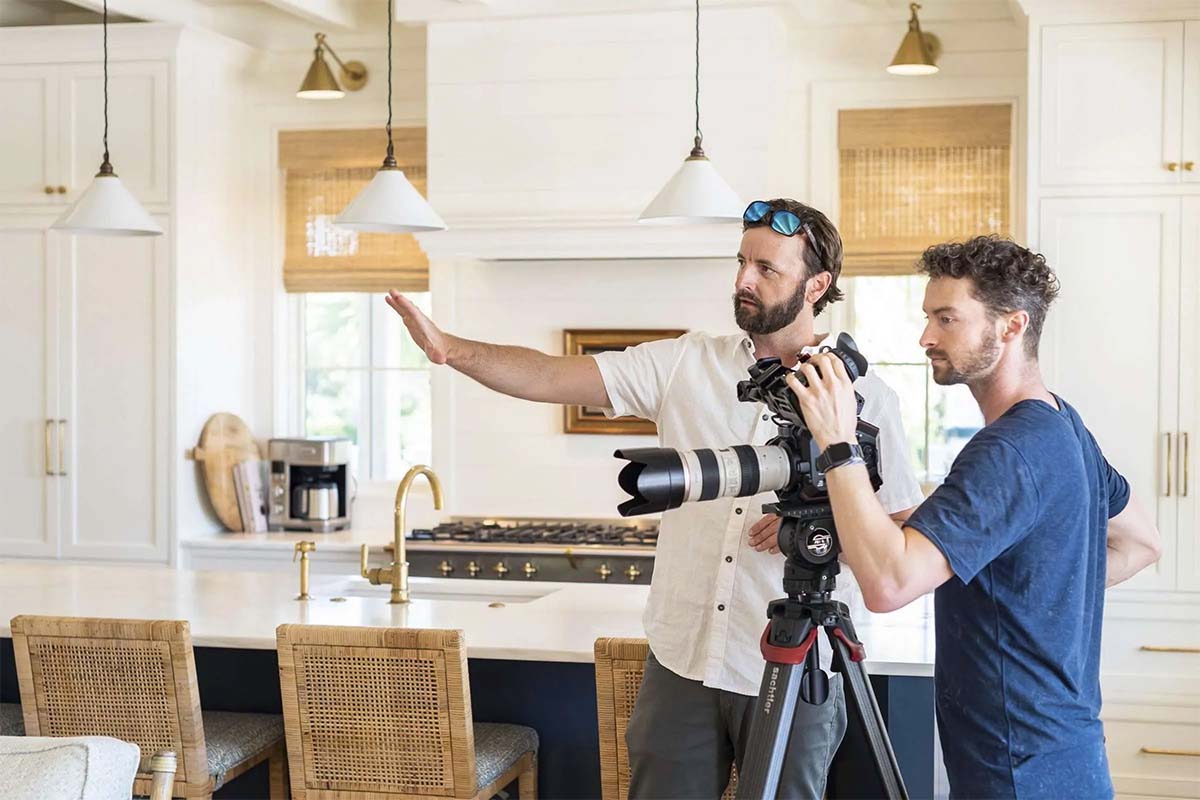
4. Professional shooting techniques and real estate video shooting tips
Mastering the art of real estate videography requires a transition from simply "recording a room" to "directing a space." This masterclass level of production is achieved through a combination of strict technical settings and intentional camera choreography.
4.1. Precision camera settings for real estate video
To achieve that signature cinematic look, your technical foundation must be rock-solid. One of the most important settings is your frame rate. Professionals that got the basics of how to shoot real estate video typically shoot at 60fps (frames per second). This allows you to slow the footage down to a “normal” 30 or 24fps in post-production, resulting in a buttery-smooth slow-motion effect that masks minor gimbal jitters and gives the property a dreamlike, high-end feel.
 Proper settings ensure the video’s exposure and sharpness are decent from the source.
Equally vital is your depth of field. While portrait photographers love a blurry background at f/2.8, architectural work demands clarity. You should aim for an aperture range between f/5.6 and f/11. This ensures that the foreground furniture and the distant windows remain sharp, providing the viewer with a comprehensive understanding of the room’s dimensions. To maintain the "180-degree shutter rule," your shutter speed should remain double your frame rate (e.g., 1/120 for 60fps) to ensure natural motion blur.
4.2. The art of intentional movement
Static shots are for photography; video is about the journey. There are three essential movements every pro must master:
- The push-in: Slowly walking toward a focal point (like a view or a kitchen island). This acts as a psychological invitation, drawing the viewer deeper into the home.
- The lateral slide: Moving the gimbal perfectly sideways. This is the most effective way to showcase the scale of "Great Rooms" or expansive open-concept floor plans.
- The parallax (orbit): This involves moving the camera in a semi-circle while keeping a specific feature centered in the frame. It creates a stunning 3D effect that emphasizes depth and high-end finishes.
4.3. Compositional integrity
The "Golden Rule" of real estate visuals is vertical alignment. You must keep your vertical lines (corners of walls, door frames, window edges) perfectly straight. If the camera tilts up or down even slightly, the walls will appear to "lean," creating a dizzying and amateurish effect. Use your camera’s built-in level or grid lines to ensure the sensor is perfectly perpendicular to the floor.
4.4. Elevated drone cinematography
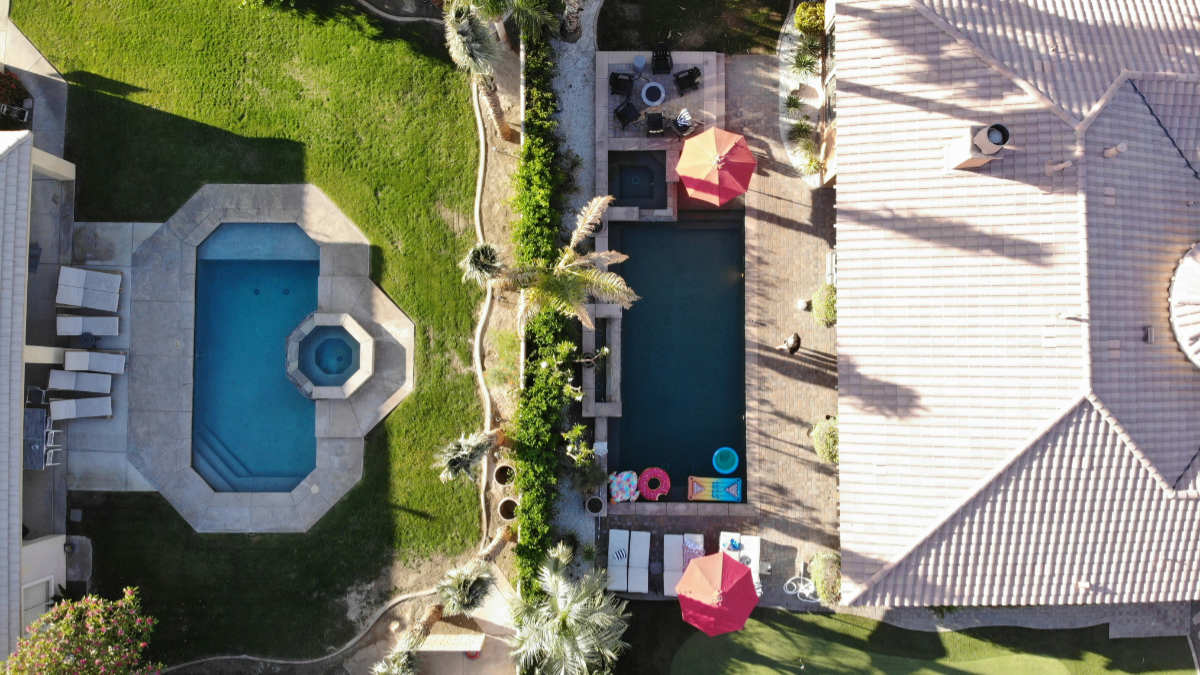
For the aerial segments, avoid basic "flying forward" shots. Instead, execute an Orbit around the house to reveal the property in relation to its neighborhood. Alternatively, use a Top-Down (90-degree) shot to show the exact layout of the backyard, pool, or acreage. These perspectives provide the "big picture" that ground-level footage simply cannot capture, adding immense perceived value to the listing.
 Drone footage provides a premium perspective from the sky to make a listing video stand out.
4.5. Essential checklist for a beginner videographer
Camera settings for real estate photography:
- Shoot in 4K 60fps for maximum quality
- Set white balance manually for consistent color reproduction
- Use a neutral picture profile like S-Log for better editing flexibility.
Movement guidelines:
- Walk heel-to-toe for smoother handheld shots
- Count to 5 for each transition between rooms
- Keep movements slow and steady on gimbals.
Composition rules:
- Frame vertical lines parallel to edges
- Position the horizon line at 1/3 or 2/3 height
- Lead viewers through spaces with intentional movements.
5. Real estate video shooting tips: The magic of post-production
So you may have grasped some knowledge of how to shoot real estate video at this point. Let’s be frank: it’s just the first half of the story, and your dream video is still a long way from being presentable. Post-production is the stage where raw footage is transformed into a polished, persuasive marketing tool. It is often said that while the shoot captures the house, the edit sells the home. This phase bridges the gap between a standard recording and a cinematic experience, turning a series of clips into a cohesive narrative.
The first critical step in real estate video editing is color grading. Real estate videos must look inviting, typically achieving a "bright and airy" aesthetic. This involves balancing the exposure so that views through the windows are visible while the interior remains well-lit and warm. Accurate color representation is essential; potential buyers need to see the true tones of the hardwood floors and kitchen cabinetry to maintain the trust established by the listing.
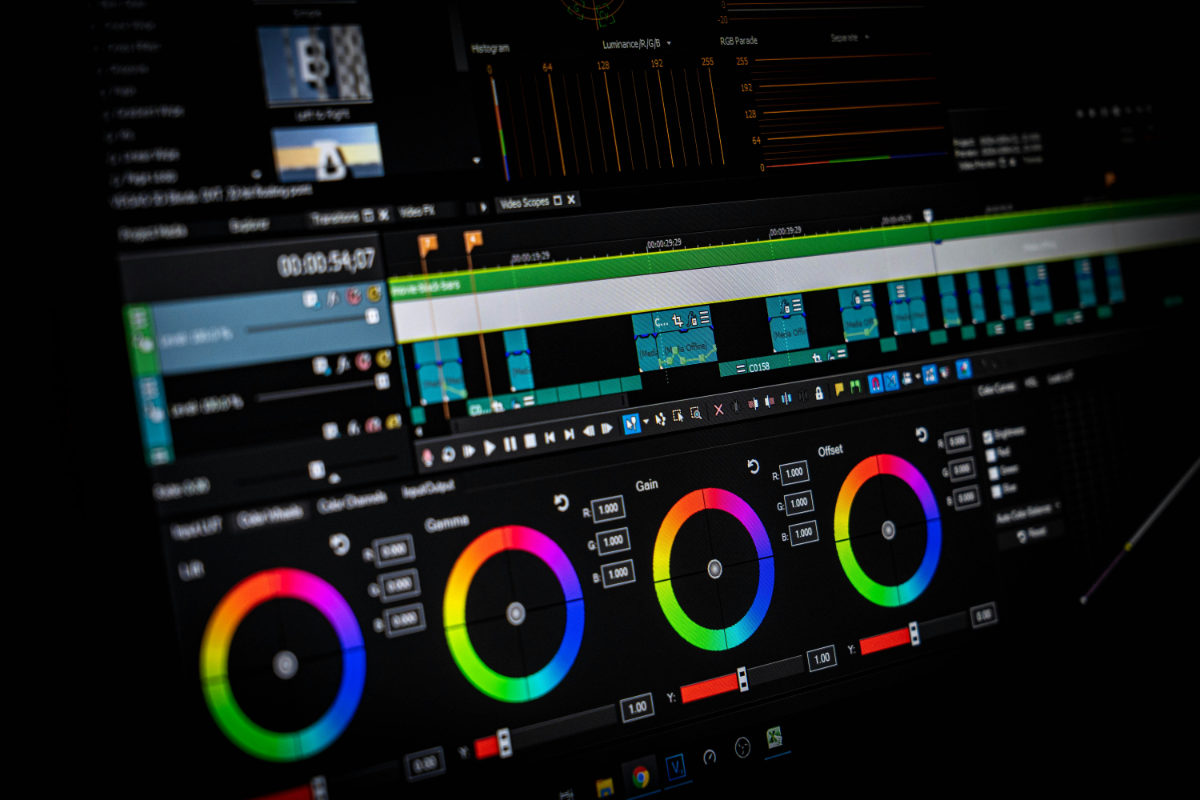 Video editing is a craft and an art in itself.
Another professional secret is the use of speed ramping. Instead of a constant, monotonous pace, editors use variable speeds to keep the viewer engaged. By speeding up transitions through hallways and slowing down as the camera glides into a luxury master suite, you create a rhythmic, cinematic flow that highlights the property's best features without lingering on less important areas.
Furthermore, the "magic" often involves advanced visual fixes. Even with perfect pre-production, minor distractions like a neighbor’s car or a gray, overcast sky can dampen the appeal. Expert editors utilize sky replacement techniques to insert a brilliant blue sky or a "virtual twilight" sunset, instantly elevating the property’s prestige. When combined with a curated soundtrack that matches the home’s personality, post-production creates an emotional connection that makes the viewer feel truly "at home."
6. Scaling your business with Fotober: Outsourcing high-end real estate video editing
After learning how to shoot real estate video, you should know that the real labor after shooting a property begins at the workstation. For professional videographers, the "editing bottleneck" is the single greatest obstacle to business growth. While a standard on-site shoot might take two hours, a high-end cinematic edit, including meticulous color grading, sound design, and sky replacements, can easily consume an entire day. If you are tied to your desk editing, you aren't in the field shooting new listings or building valuable relationships with real estate agents.
By delegating the post-production phase to a dedicated team like Fotober, you can double or even triple your weekly shoot volume without sacrificing quality. Our team is a global leader in real estate media editing, providing a seamless back-office solution for videographers aiming to scale their operations. Our specialized team understands the nuances of the U.S. and European markets, ensuring your cinematic tours meet the highest professional standards of commercial real estate visuals. We specialize in sophisticated techniques such as masking video transitions, seamless object removal, and high-dynamic-range color grading that make every property shine.
 Fotober brings the commercial quality to every real estate videographer, learning how to shoot real estate video and studio with limited time and resources.
By partnering with Fotober, you benefit from a guaranteed 24-to-48-hour turnaround, allowing you to deliver premium content to your clients faster than the competition. Whether you are capturing a luxury estate in Florida or a modern apartment in New York, we handle the technical heavy lifting of post-production. Our commitment to consistency and quality means you can spend more time behind the lens and less time behind the screen. Elevate your portfolio and streamline your workflow with Fotober’s expert video editing services today.
7. Conclusion
Mastering how to shoot real estate video is a journey that blends technical proficiency with a creative vision. From selecting the perfect wide-angle lens to executing seamless gimbal movements, every detail contributes to telling a property’s unique story. However, true success in this industry requires balancing high-quality production with a scalable business model.
By combining your expertise behind the lens with Fotober’s world-class editing services, you can deliver breathtaking cinematic tours that captivate buyers and satisfy the most demanding agents. Ready to elevate your real estate media business? Partner with Fotober today and transform your raw footage into high-converting marketing masterpieces.
Follow us on social media for more practical real estate videography tips and updated insights into the property market.
- Facebook: fotobermedia.co
- YouTube: Fotober
- TikTok: @fotober
- Instagram: fotober_media.
Frequently asked questions about how to shoot real estate video
1. What equipment do I need to shoot a real estate video?
To shoot a real estate video, you’ll need a DSLR or mirrorless camera, a wide-angle lens, a tripod or gimbal for stabilization, and optional drones for aerial shots.
2. How long should a real estate video be?
The ideal length is 1 - 3 minutes for property tours and 30 - 60 seconds for social media teasers. Longer videos work best for virtual walkthroughs.
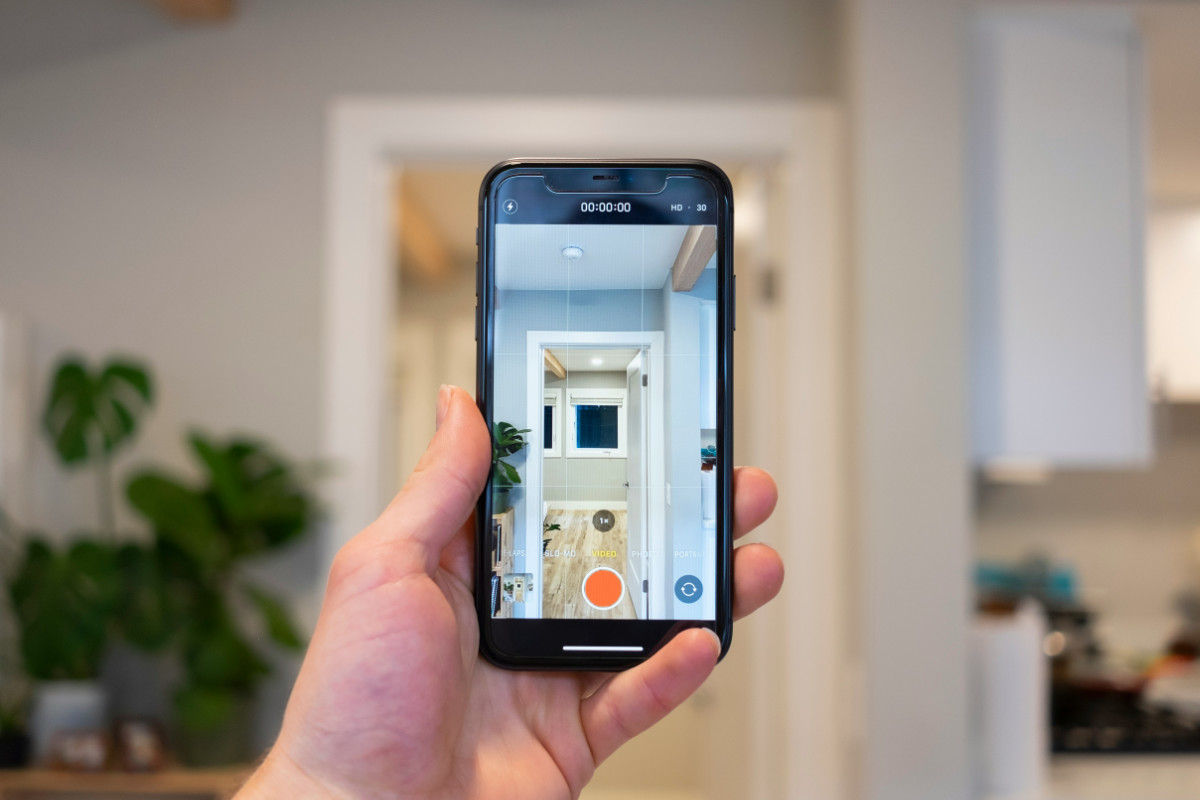
3. Can I shoot a real estate video with an iPhone?
Yes. With the right setup (tripod, gimbal, wide-angle lens attachment), you can shoot high-quality real estate videos on an iPhone. Editing tools make results professional.
4. What’s the difference between real estate photography and videography?
Photography captures still images of a property, while videography creates motion-based tours with music, narration, or drone footage, helping buyers better visualize the space.
5. Do real estate videos really help sell properties faster?
Yes. Listings with video receive up to 403% more inquiries (NAR 2024 report). Videos increase engagement, build trust, and attract serious buyers.
6. How much does real estate video production cost?
Costs range from $200 to $1,000+ per property, depending on equipment, location, editing complexity, and whether drones or virtual staging are included.
7. What editing software is best for real estate video editing?
Popular options include Adobe Premiere Pro, Final Cut Pro, and DaVinci Resolve. Fotober also offers professional real estate video editing services for faster results.
Related posts
Las Vegas Virtual Staging: Best Platforms to Enchant Your Listings
July 23, 2026
Best Austin Real Estate Photography Options for Perfect Listing Photos
July 22, 2026
Best Aperture for Real Estate Photography: The Range for Sharp Photos
July 18, 2026
Short-Term Rental Photography: Shoot & Edit Photos That Gain Bookings
July 17, 2026
