Best Camera Settings for Real Estate Photography
.png)

Share:
Table of Contents
- 1. Understanding the Exposure Triangle for Light Settings
- 2. What Do You Need for Perfect Real Estate Photos?
- 3. Camera Setting for Interior Real Estate Photography
- 4. Camera Setting for Exterior Real Estate Photography
- 5. Outsourcing Real Estate Professional Photography with Fotober
- Conclusion
- FAQs about camera settings for real estate photography
Join Fotober in exploring the best camera settings for real estate photography to capture stunning property images. From choosing the best aperture for real estate photography to optimizing shutter speed and ISO, these expert tips will help you create sharp, eye-catching photos. If you need professional editing to enhance your real estate listings, Fotober is here to provide top-quality photo editing services.
1. Understanding the Exposure Triangle for Light Settings
Before diving into the specific best camera settings for real estate photography, it's essential to master the fundamentals of the Exposure Triangle: Aperture, Shutter Speed, and ISO. These three settings work together to control the brightness, sharpness, and overall quality of your images. A strong understanding of this balance is key to ensuring your interior and exterior shots produce professional-grade results, even when using the best affordable camera for real estate photography.
Aperture
Aperture, the size of the lens opening, dictates the depth of field—how much of the scene is in sharp focus.
- Real Estate Rule: Unlike portraiture, real estate photography requires clarity across the entire frame.
- Recommendation: Use a higher f-stop (e.g., f/8 – f/11). This range ensures maximum depth of field, keeping rooms, furniture, and architectural details consistently crisp from front to back.
For camera settings for indoor real estate photography, an aperture between f/8 and f/11 is recommended. This range ensures optimal sharpness while allowing sufficient light into the camera. When shooting exteriors, adjusting the aperture based on lighting conditions can help maintain image clarity.
Shutter Speed
Shutter speed dictates the duration the camera sensor is exposed to light. It controls motion blur, which is a major concern when shooting handheld indoors.
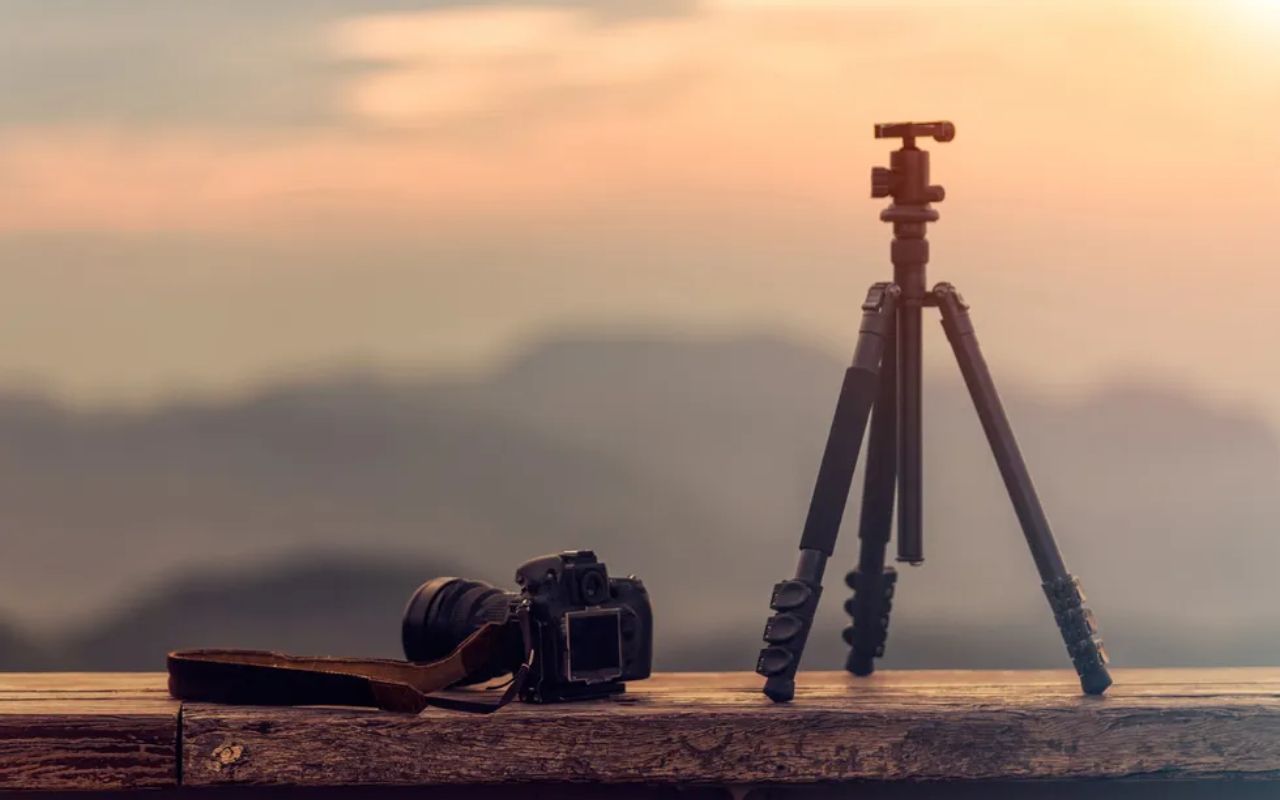
- Interior Settings: A slower shutter speed (e.g., 1/60s down to 1/2s) is typically needed to allow sufficient light into dimly lit rooms. Crucial Tip: A tripod is mandatory at these slower speeds to prevent camera shake and motion blur.
- Exterior Settings: Shutter speed should be faster (often automatically adjusted on bright days) to prevent overexposure.
When using slower shutter speeds, a tripod and remote shutter release are highly recommended to maintain sharpness and prevent unintended blurring.
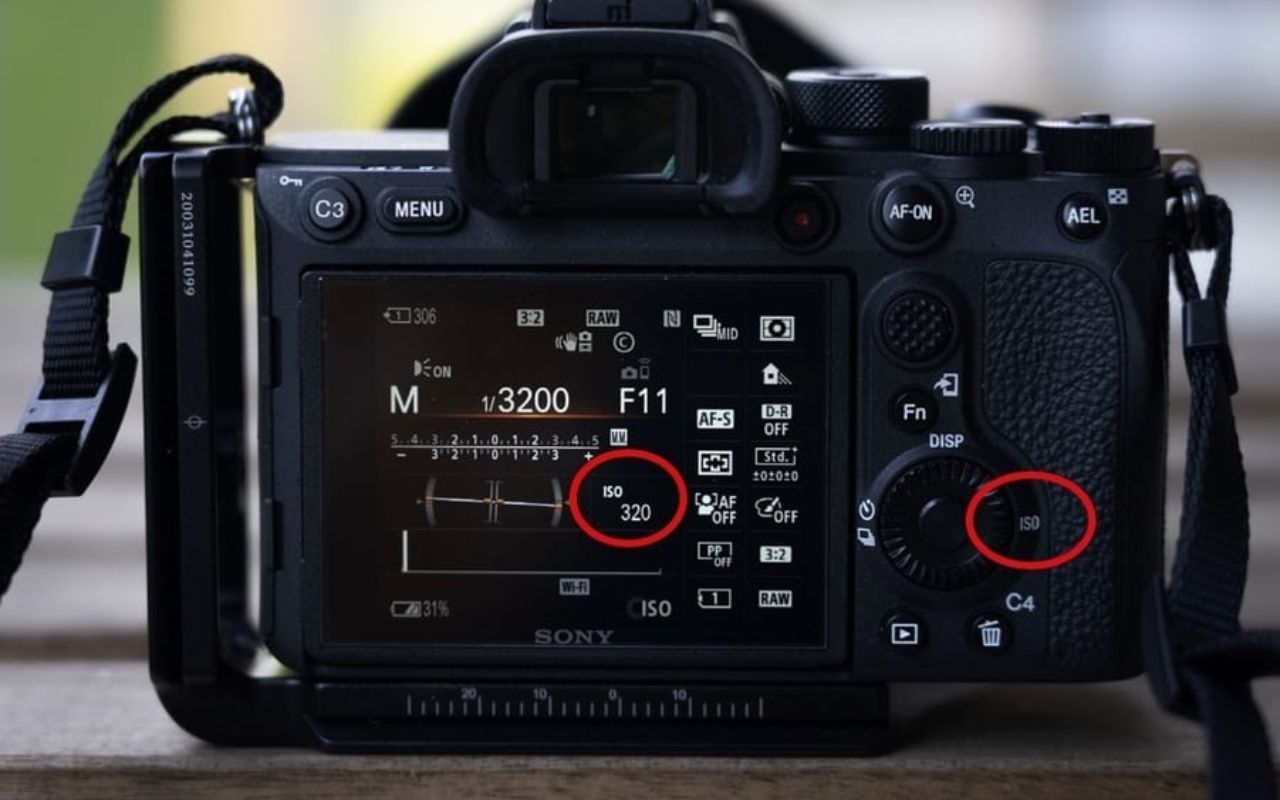
ISO
ISO controls the camera sensor’s sensitivity to light. While increasing ISO brightens an image, it also introduces digital noise (grain), which degrades image quality.
- Optimal Base: Always aim for the lowest possible setting, typically ISO 100, as it produces the cleanest images with minimal noise.
- Indoor Limit: For indoor real estate photography camera settings, an ISO between 200 and 400 is generally recommended.
- Safety Limit: Avoid increasing ISO beyond 800. Higher values result in grainy, unusable images, making your property look low-quality.
By carefully adjusting this triangle, you can find the best settings for real estate photography to achieve perfect exposure and professional quality.
2. What Do You Need for Perfect Real Estate Photos?
Achieving stunning, professional real estate photos requires pairing the best settings for real estate photography with the right equipment. High-quality gear is essential for capturing the crisp, well-lit images that attract buyers.
Here’s the essential equipment needed to master your camera settings for real estate photography:
- A High-Resolution Camera Body (DSLR or Mirrorless): A full-frame or cropped-sensor camera with high resolution ensures exceptional image quality, allowing you to capture fine details. The quality of the sensor directly impacts the camera's ability to handle the specific settings (like low ISO) needed for professional results.
- A Sturdy Tripod: This is non-negotiable for stability. A tripod is absolutely essential when using the slow shutter speeds required for low-light interiors, helping to eliminate camera shake and ensure blur-free shots.
- A Wide-Angle Lens: To effectively showcase spaciousness, use a wide-angle lens (typically 16-17mm for full-frame or 12-15mm for cropped sensor). This allows you to capture more of the room in a single frame, making spaces appear larger and more inviting.
- An External Flash System: While natural light is great, an external flash helps balance exposure in darker rooms and counteracts challenging light. Consider investing in the best flash for real estate photography to provide soft, consistent illumination without harsh shadows.
- Mastering Flambient real estate photography: This hybrid approach is a critical technique that combines HDR and flash lighting. By blending the natural ambient light with the controlled precision of flash, Flambient real estate photography allows photographers to produce stunning, balanced images that showcase both interior details and bright outdoor views, even in challenging lighting conditions.
By combining these essential tools with the knowledge of the best settings for real estate photography, you can significantly enhance your property images and increase the chances of a successful sale.
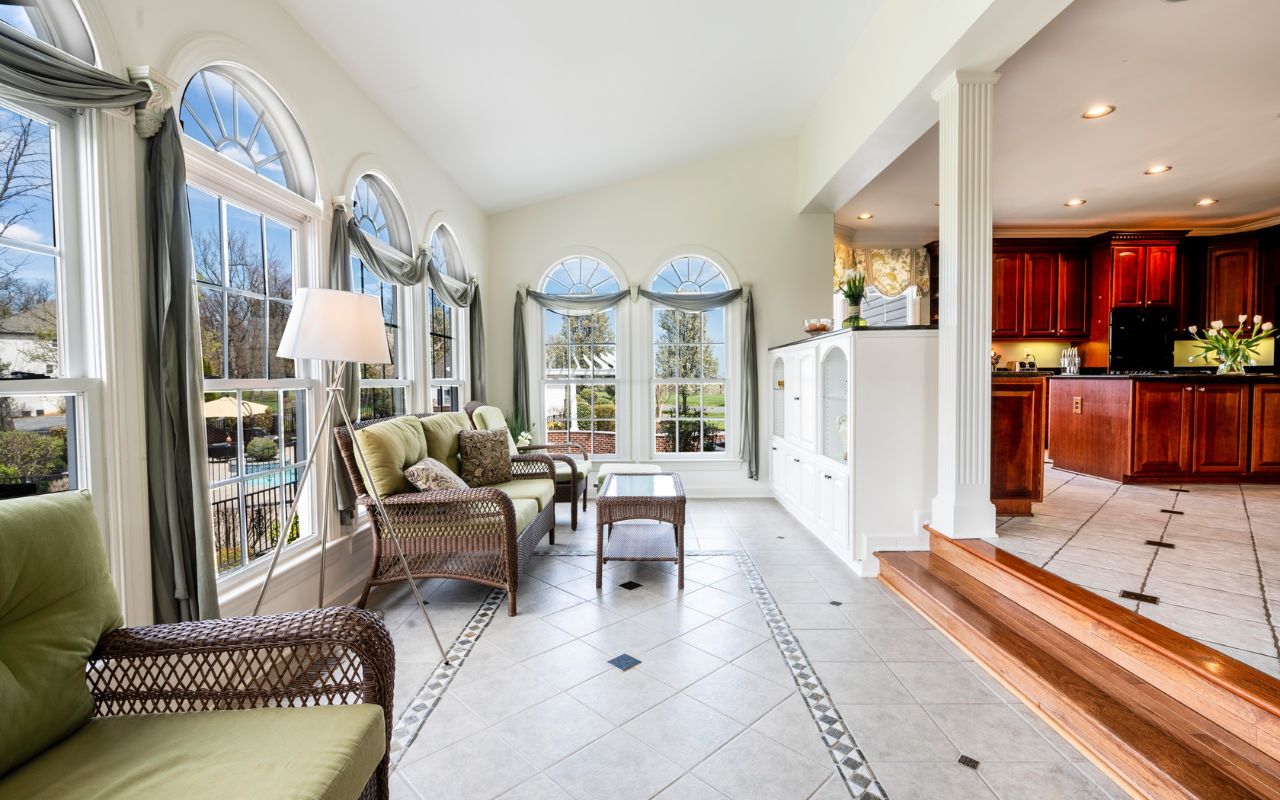
3. Camera Setting for Interior Real Estate Photography
Photographing interiors presents challenges such as uneven lighting, deep shadows, and reflective surfaces. To capture high-quality images, using the best camera settings for real estate photography is essential. Here’s how to optimize your setup for crisp, well-balanced interior shots:
- Exposure Mode: Set your camera to Aperture Priority (Av mode) to control depth of field while allowing the camera to adjust the shutter speed automatically.
- Aperture: The best aperture for real estate photography is between f/8 and f/11, ensuring sharp details from foreground to background while maintaining optimal lighting.
- Shutter Speed: Use a slower shutter speed between 1/60s and 1/2s to allow more light in, especially in dimly lit rooms. A tripod is necessary to avoid motion blur.
- ISO: Keep ISO between 200 and 400 to minimize grain and maintain image clarity. Lower ISO settings (around 100) are ideal if enough natural light is available.
- Focus Mode: Use Single-Shot Autofocus (AF-S) for precise focusing, ensuring all elements in the room are sharp and well-defined.
- Metering Mode: Choose Matrix metering (or Evaluative metering) to achieve balanced exposure across the entire frame, preventing overexposed windows or dark interior corners.
To further enhance image quality, use a remote shutter release or the camera’s built-in timer to eliminate vibrations. Additionally, HDR blending during post-processing can help balance exposure between bright and dark areas, creating professional, high-quality real estate photos.
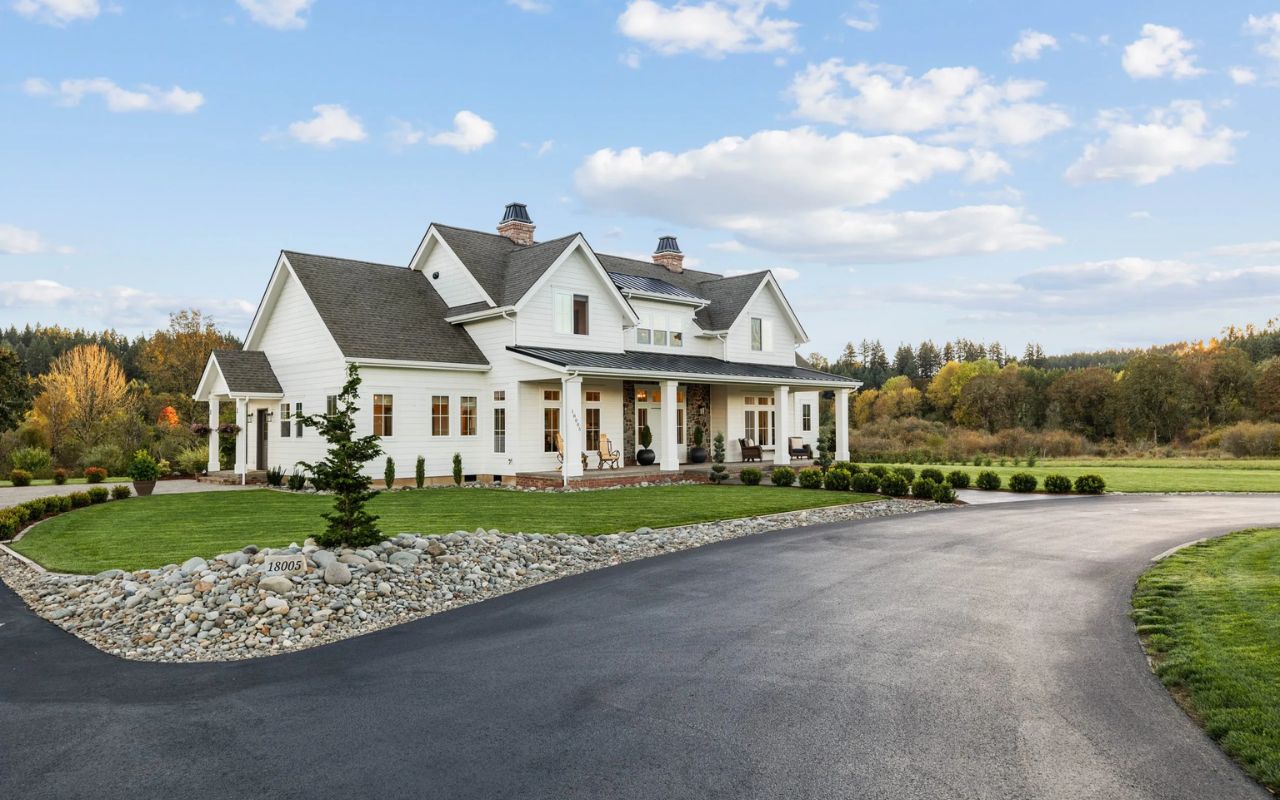
4. Camera Setting for Exterior Real Estate Photography
Capturing high-quality exterior real estate photos requires a strategic approach, as natural light is the primary exposure factor. Unlike interior settings, your exterior camera settings for real estate photography must constantly adjust to the intensity of the sun. Adjusting exposure settings appropriately ensures that each property is showcased with clarity and visual appeal.
4.1. Daytime Exterior Photography
Daylight provides ideal conditions for capturing sharp and well-exposed real estate images. The best settings for real estate photography during the day prioritize maximum depth of field and minimal noise.
- Exposure Mode: Use Aperture Priority (Av/A). This allows you to control the depth of field, which is essential for sharpness.
- Aperture: Set the f-stop to f/11 for maximum sharpness across the entire exterior scene.
- ISO: Use ISO 100 to maintain the highest image quality with virtually no noise.
- Shutter Speed: This will be automatically adjusted by the camera to prevent overexposure.
- Focus Mode: Use Single-Shot Autofocus (AF-S) for precision focusing on a key element, like the front door.
- Adjustment Tip: If images are too bright, slightly narrow the aperture (e.g., f/13) or raise the ISO to 200.
4.2. Nighttime Exterior Photography
Photographing exteriors at night introduces challenges due to limited light. Achieving the best camera settings for real estate photography at night means balancing a slower shutter speed with noise reduction. For optimal results, consider shooting during the Blue Hour (just after sunset) to achieve a natural, warm ambiance.
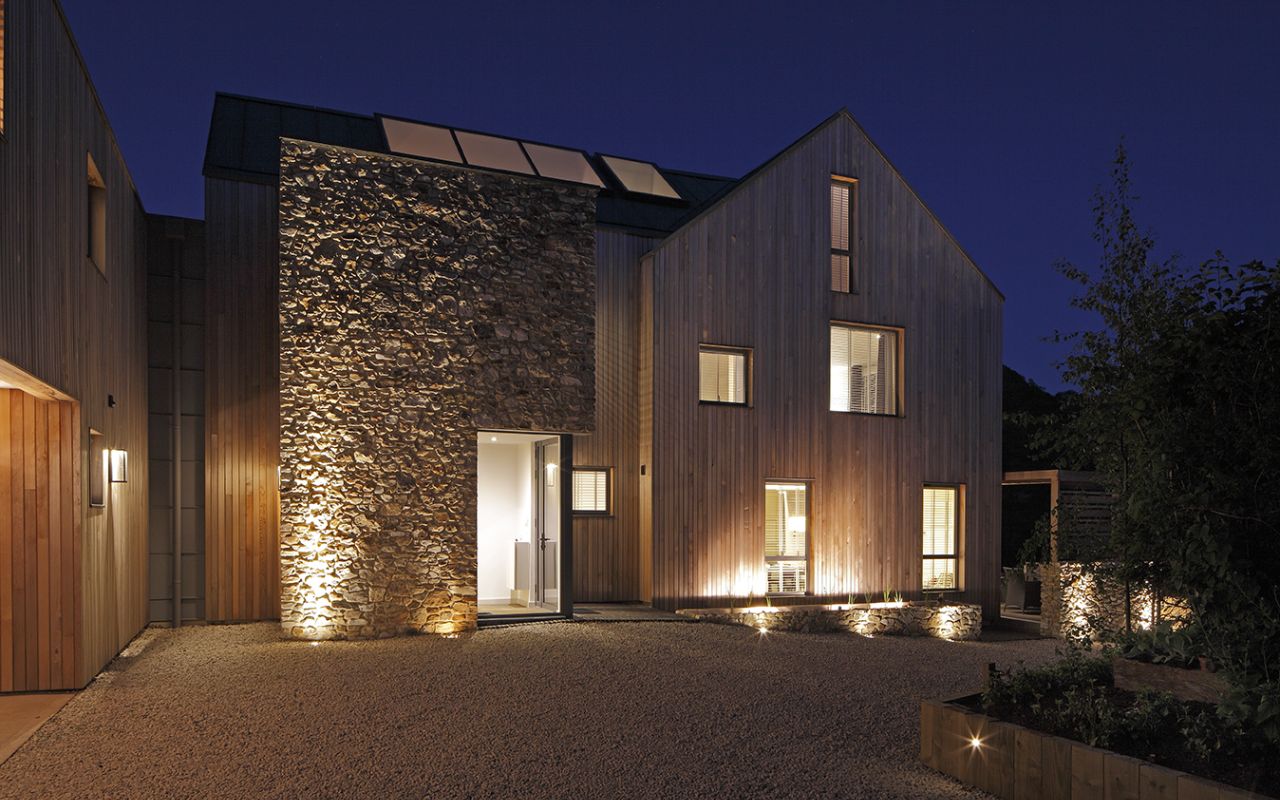
Recommended settings for nighttime exterior photography include:
- Exposure Mode: Continue using Aperture Priority (Av/A) to control light intake.
- Aperture: Set the f-stop to f/8. This is wider than daytime to allow more light in, but still maintains decent depth of field.
- ISO: Set to ISO 200 – 400. This increases sensitivity to light without introducing excessive grain (avoid going beyond ISO 800).
- Shutter Speed: Determined automatically by the camera, resulting in a slower speed (a tripod is mandatory).
- Focus Mode: Use Single-Shot Autofocus (AF-S) for accurate focusing in low light conditions.
In very low-light situations, slight modifications can enhance image quality. A wider aperture, such as f/7.1 or f/6.3, can let in more light, while increasing the ISO slightly can further improve exposure. Post-processing techniques like image enhancement can also refine brightness, contrast, and color balance to ensure professional-looking real estate photos.
5. Outsourcing Real Estate Professional Photography with Fotober
Editing real estate photos is just as important as capturing them. Instead of spending hours on post-production, real estate professionals can rely on Fotober, a trusted real estate photo editing service.
Fotober’s Professional Services:
- Photo Enhancement: Our experts fine-tune images by adjusting the best camera settings for real estate photography, correcting color, exposure, and contrast, and removing unwanted objects for a polished look.
- Video Editing for real estate: We enhance property videos with smooth transitions, text overlays, and background music to create engaging marketing content.
- Virtual Staging: Fotober digitally furnishes empty properties, helping buyers visualize the space’s potential.
By outsourcing to Fotober, real estate agents get high-quality visuals optimized with the best aperture for real estate photography, ensuring listings stand out and attract more buyers.
Conclusion
Mastering your best camera settings for real estate photography is the single most critical factor in creating stunning, professional property images. By deeply understanding the Exposure Triangle (Aperture, Shutter Speed, and ISO) and applying the best settings for real estate photography for both interiors and exteriors, you unlock your gear's full potential. Every camera is unique, so don't hesitate to experiment until you find the perfect balance. If you've captured the perfect shots but need professional finishing, partner with Fotober today to ensure every listing shines with flawless, expert editing.
FAQs about camera settings for real estate photography
1. What are the best camera settings for real estate photography?
The best camera settings include using aperture f/8–f/11, ISO 100–400, and a shutter speed between 1/60s and 1/2s depending on available light. Shooting in RAW, using a tripod, and enabling Single-Shot Autofocus also help produce sharp, professional images.
2. What aperture should I use for interior real estate photography?
Aperture f/8 to f/11 is ideal for interiors because it creates maximum depth of field, ensuring the entire room—from foreground to background—remains sharp and well-defined.
3. How do I choose the right ISO for real estate photography?
Always start at ISO 100 for the cleanest results. For interiors, ISO 200–400 works well. Avoid going above ISO 800 to prevent noise, grain, and reduced image quality.
4. What equipment is necessary to get the best real estate photos?
Essential gear includes a high-resolution DSLR or mirrorless camera, a wide-angle lens (16–17mm for full-frame), a sturdy tripod, an external flash system, and tools for flambient or HDR lighting techniques.
5. Does Fotober offer professional editing for real estate photos?
Yes. Fotober provides high-quality editing services including exposure correction, HDR blending, perspective adjustments, color balancing, object removal, video editing, and virtual staging—ensuring every property listing looks polished and professional.
Related posts
.png)
.png)