




Best Aperture for Real Estate Photography: The Range for Sharp Photos

Share:
Table of Contents
Capturing a spacious interior with edge-to-edge clarity can be challenging, leaving many photographers asking the same fundamental question: what aperture is best for real estate photography? Finding that technical "sweet spot" is crucial to ensuring that everything, from the foreground styling elements to the furthest corner of the room, remains perfectly crisp and in sharp focus.
Yet, setting your camera to the ideal f-stop is only half the battle. While the correct aperture provides a flawless, sharp foundation, achieving a truly premium, magazine-ready result requires a seamless marriage of on-site technical skill and meticulous post-processing. In this guide, we will break down the best aperture for real estate photography and explore why even a technically perfect raw shot still relies heavily on professional editing to truly stand out in a competitive market.
1. Understanding aperture in the context of real estate
To master interior photography, you must first understand how aperture behaves inside a home. Simply put, aperture is the physical opening inside your lens that regulates two critical things: the amount of light hitting your camera sensor and the depth of field (the zone of acceptable sharpness within an image). In portrait or wedding photography, professionals often use a wide aperture like f/1.8 or f/2.8 to create a beautifully blurred background that isolates the subject. In the housing market, however, that artistic blur is your worst enemy.
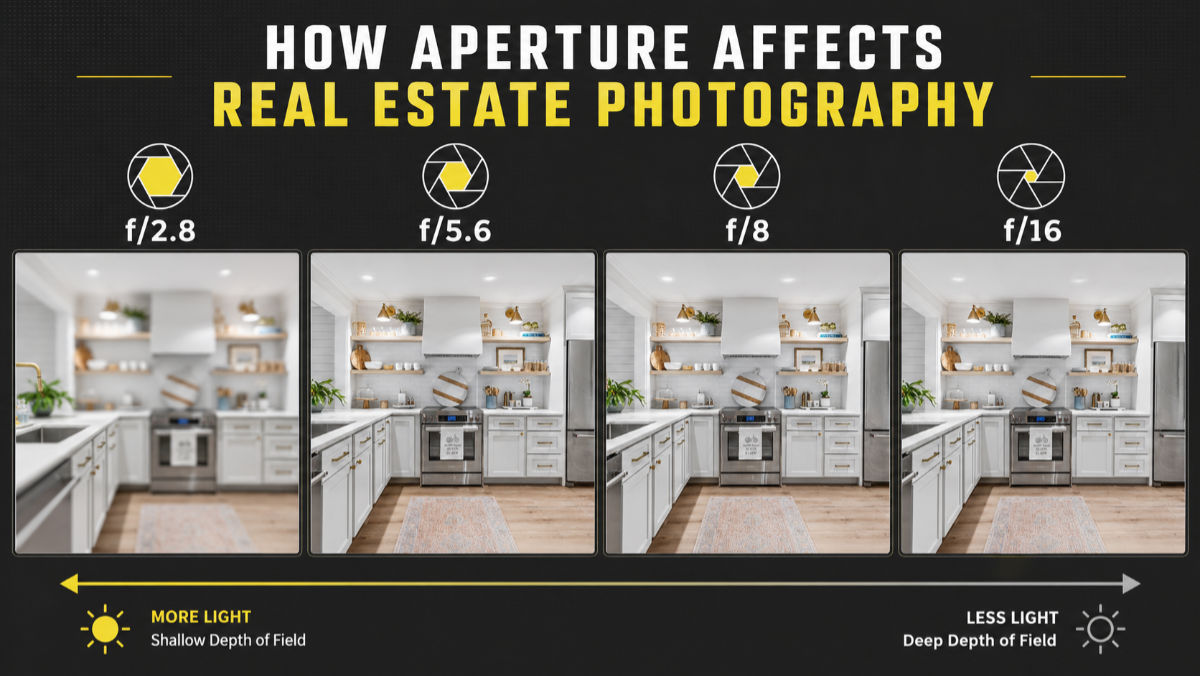 Aperture settings affect the depth of field and the amount of light the camera receives.
When shooting a property, your goal is to showcase the entire space accurately, clearly, and transparently. Real estate photography heavily demands a deep depth of field. Consider the layout of a standard open-concept living room: you might have a styled coffee table just three feet in front of your wide-angle lens, a luxury sofa in the middle ground, and a fireplace or large windows fifteen feet away in the background. If your depth of field is too shallow, only one of these areas will be in focus. The rest of the room will look hazy and uninviting, failing to give buyers a true sense of the home's actual layout and flow.
This is exactly why finding the best aperture for real estate photos requires a completely different technical approach. You aren't trying to hide details; you are trying to display them. Online home buyers want to inspect every aspect of the property, from the texture of the hardwood floors in the foreground to the crown molding in the furthest corner of the ceiling. Every square inch needs to be tack-sharp. Achieving this uniform, corner-to-corner clarity across a wide-angle perspective is a fine technical balancing act, and it is the primary reason why choosing the right f-stop is the foundation of a successful property shoot. Let's look at the exact numbers that deliver this crisp perfection.
2. The sweet spot: What is the best aperture for real estate photography?
When setting up your camera for an interior or exterior shoot, you cannot simply guess your settings. Every lens has an optical characteristic known as the "sweet spot", the specific f-stop range where the glass produces the sharpest possible image with the least amount of aberration. For high-end property marketing, uncovering this optimal setting is what separates a standard listing from a luxury portfolio. So, what is the best aperture for real estate photography?
2.1. The golden range: f/8 to f/11
The absolute sweet spot for almost every wide-angle lens on the market lies firmly between f/8 and f/11. When you set your camera within this golden range, you achieve a deep, forgiving depth of field that keeps the entire room crisp.
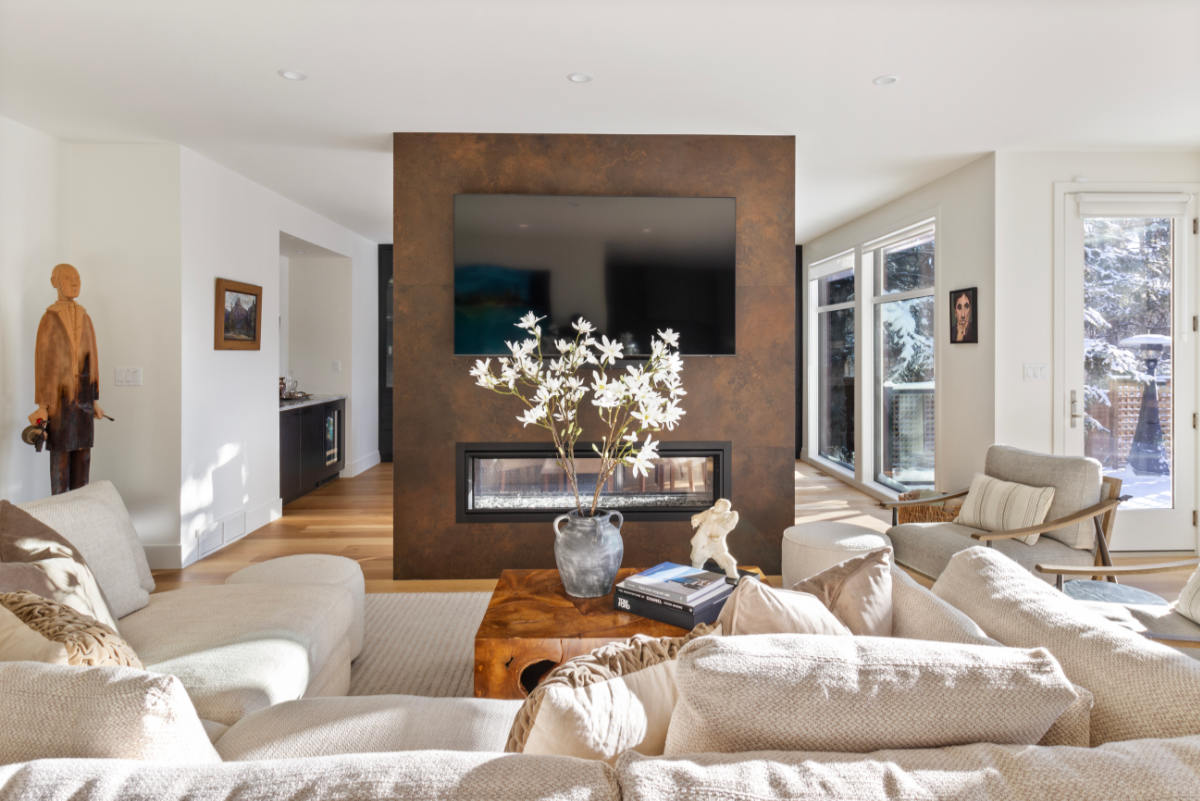 Most real estate photos should be shot in the f/8 to f/11 range to ensure optimal sharpness.
More importantly, f/8 and f/11 maximize optical performance by minimizing lens distortion and vignetting (the darkening of image corners). At these settings, the glass elements focus light cleanly across the entire landscape of the camera sensor. This ensures that architectural details at the extreme edges of your frame, such as crown molding, baseboards, and window trim, remain just as sharp as the furniture sitting directly in the center of the shot.
2.2. The trap of wide apertures (f/2.8 to f/4)
A common mistake among photographers transitioning from portraits or lifestyle photography to architecture is relying on wide apertures like f/2.8 or f/4. While these wide openings are fantastic for low-light environments or creating a soft background blur, they are highly unsuitable for real estate photography due to an insufficient depth of field.
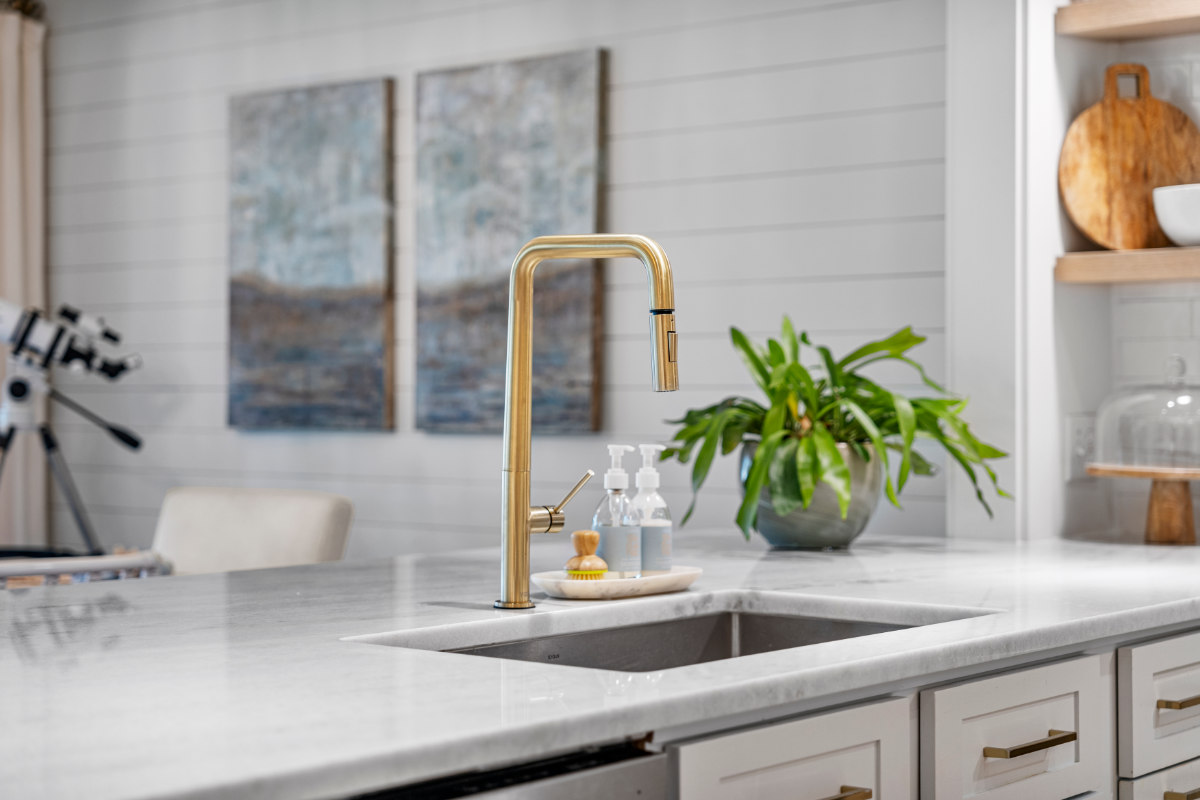 Using wide aperture settings sparsely, or your real estate photos will look blurry.
If you focus on a kitchen island at f/2.8, the premium backsplashes, custom cabinetry, and high-end appliances in the background will inevitably fall out of focus and look hazy. In architectural marketing, blur translates to a lack of visual information. Buyers want to inspect the details of the property, and a shallow depth of field deprives them of that transparency, making the space feel closed-in and amateurish.
2.3. The danger of too narrow apertures (f/22 and beyond)
If a deep depth of field is the goal, it is tempting to think that locking the lens at f/22 will yield even better results. However, this introduces a physical limitation called lens diffraction.
As light is forced to squeeze through an extremely microscopic opening, the light waves bend and bleed into one another. Instead of making the image sharper, diffraction softens the entire photograph, causing a noticeable loss of fine textures, crisp lines, and micro-contrast.
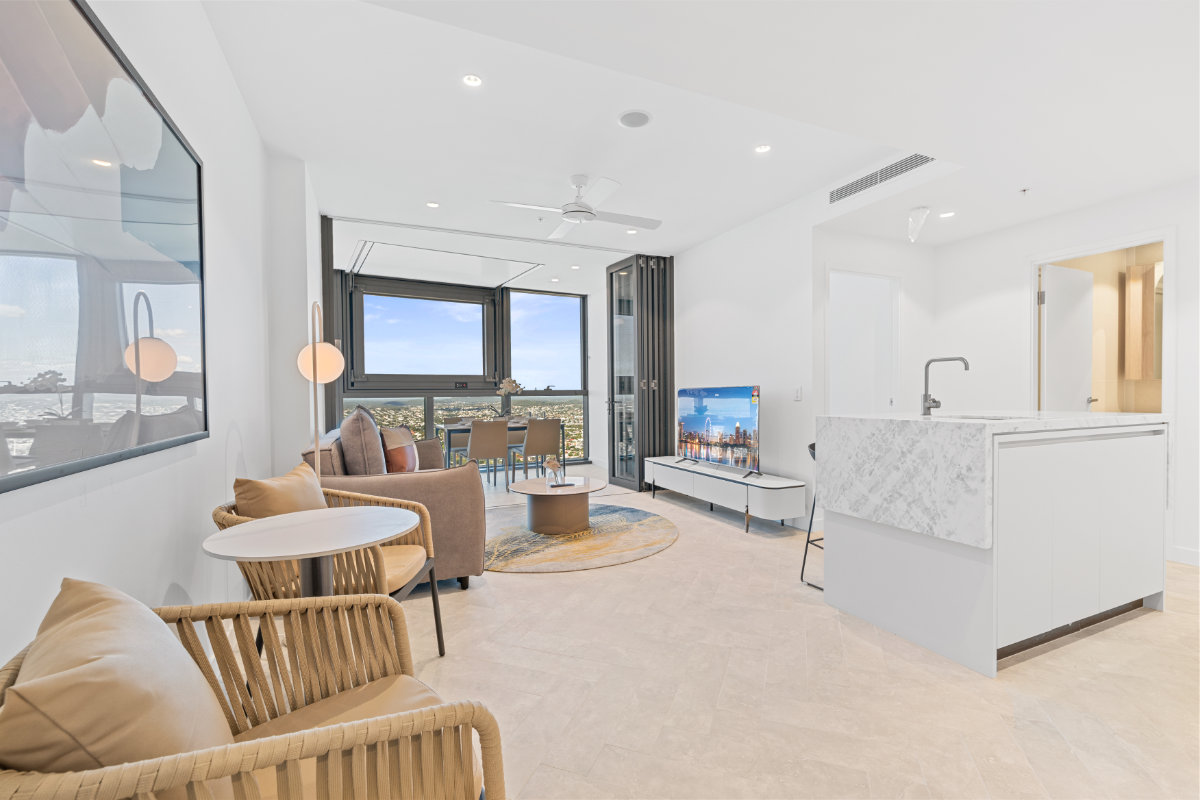 An extremely wide aperture doesn’t get you extreme sharpness; instead, the resolution deteriorates because of diffraction.
By staying anchored within the f/8 to f/11 sweet spot, you successfully bypass both the edge blur of wide apertures and the softness of diffraction. This delivers a pristine, high-fidelity RAW file that serves as the perfect canvas for professional editing.
3. Other camera settings to pair with the best aperture for real estate photography
Locking your lens into the f/8 to f/11 sweet spot is a fantastic start, but aperture does not work in a vacuum. To capture pristine property images, you must balance the exposure triangle by pairing your chosen f-stop with the correct ISO and shutter speed, backed by a flawless stabilization technique.
3.1. Keep your ISO at the base level
First and foremost, your ISO should always be kept at its native base, ideally ISO 100 or 200. High-end real estate media demand clean, smooth surfaces. Boosting your ISO introduces digital noise and grain, which destroy the crisp textures of painted drywall, polished marble countertops, and sleek hardwood flooring. Keeping the ISO low ensures that your camera sensor captures the absolute maximum dynamic range and color accuracy possible.
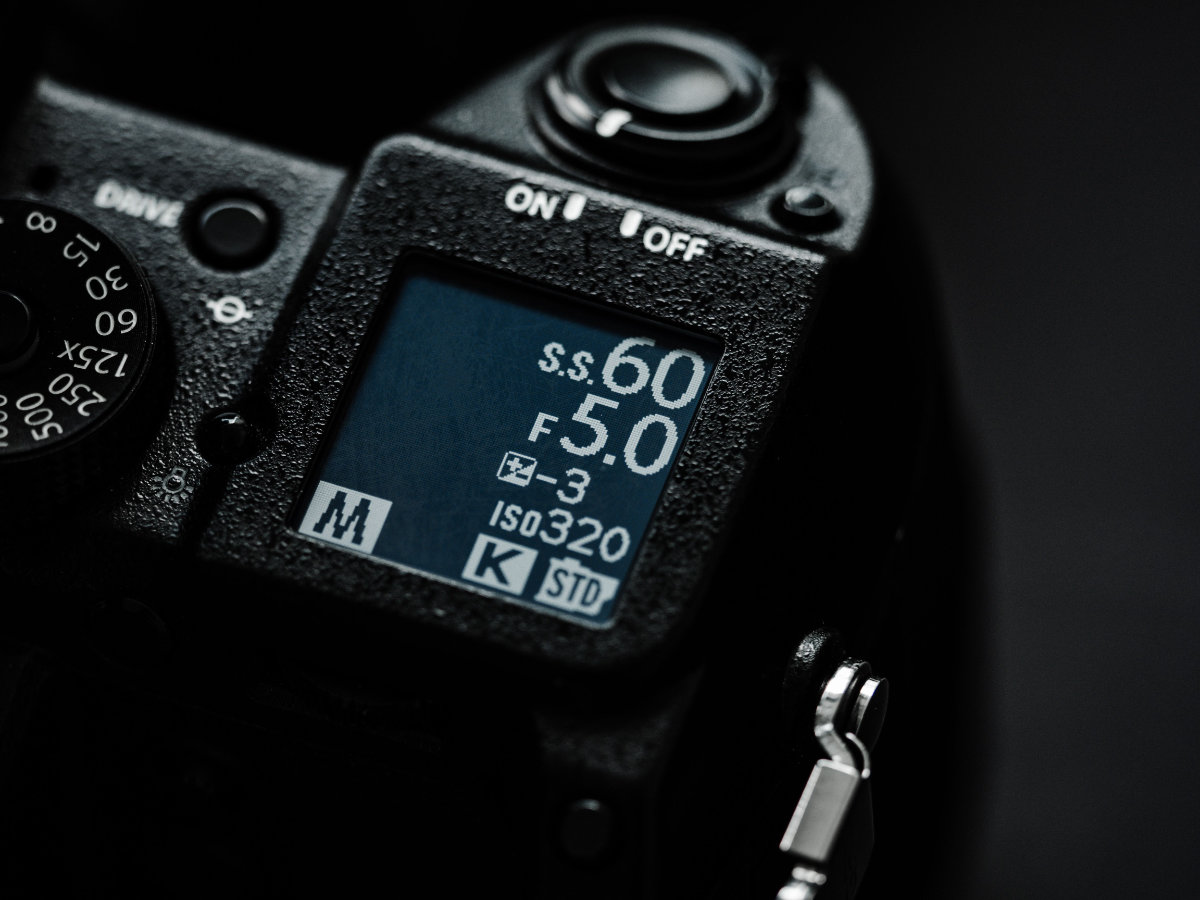 Lower ISOs introduce less digital noise, which makes your images more detailed.
3.2. Manage shutter speed with a solid tripod
Because you are shooting at a relatively narrow aperture (like f/8) and a rock-bottom ISO, the physical amount of light reaching your camera sensor is heavily restricted. To compensate and achieve a bright, welcoming interior exposure, your camera must utilize a slower shutter speed. Indoors, this speed can easily drop to 1/10th of a second, half a second, or even longer.
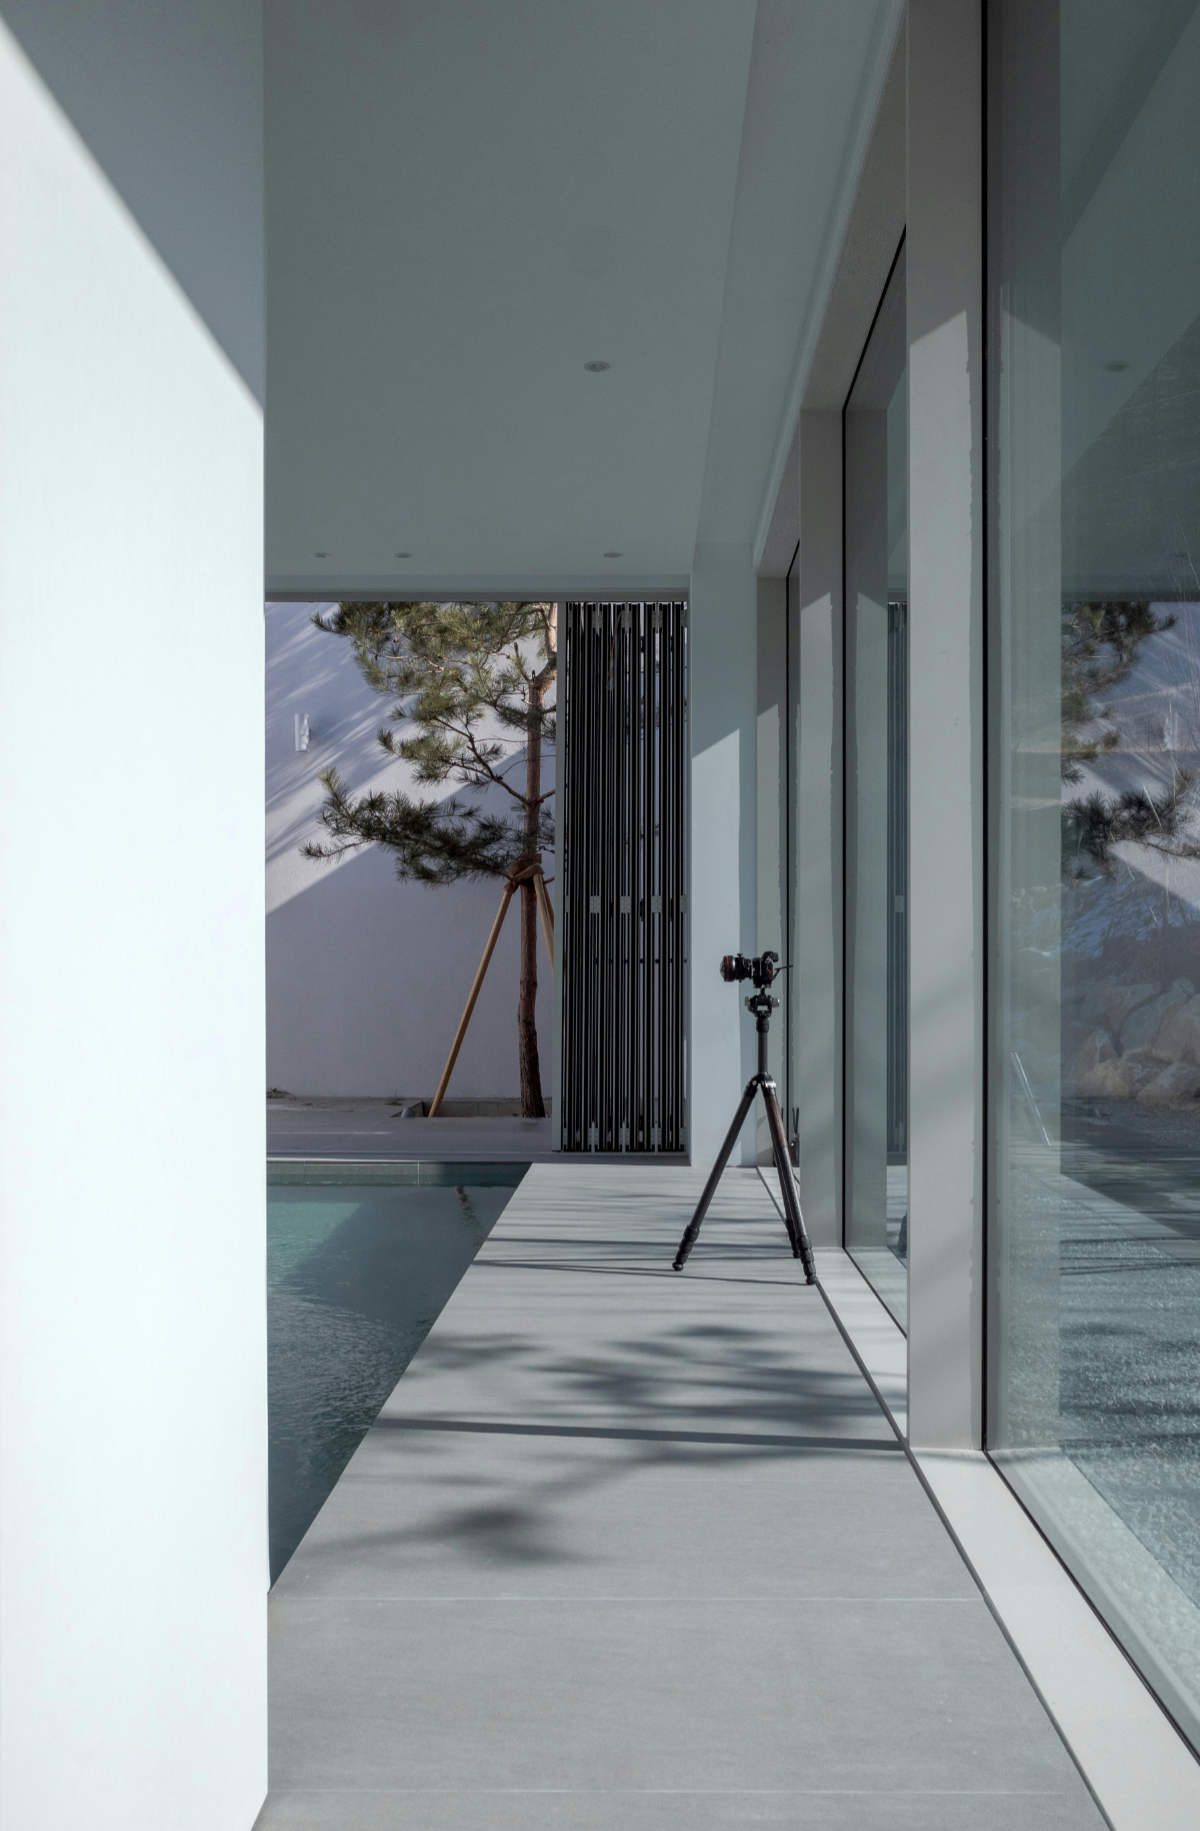 A tripod provides the stability for longer exposures that real estate photos need.
At these speeds, shooting handheld is completely out of the question; even the slightest hand tremor will cause catastrophic motion blur. Therefore, a heavy-duty tripod is an absolute non-negotiable requirement. It anchors the camera for long exposures at the best aperture for real estate photography and allows you to perfectly align your vertical and horizontal lines.
3.3. Use a shutter delay or remote trigger
To eliminate the final variable of camera shake, never press the physical shutter button with your finger. The pressure of your touch introduces micro-vibrations that soften the shot. Instead, activate a 2-second exposure delay timer in your camera settings, or use a wireless remote trigger. This guarantees the camera remains completely motionless the exact millisecond the shutter opens.
For a more complete list of camera settings for real estate photography, check out our blog section right now.
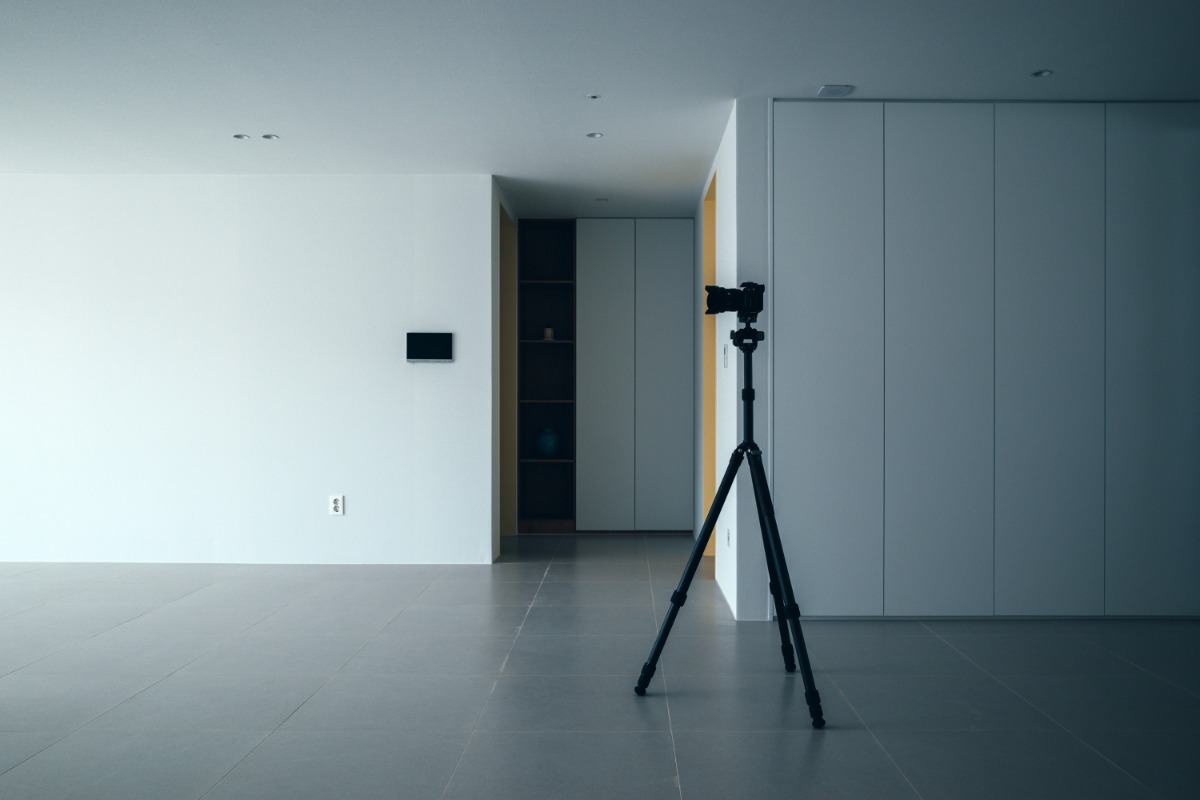 Shooting with a remote trigger will eliminate the last bit of vibrations of hand shake from your photos.
4. Beyond the lens: Why a great photo still needs professional editing
Here is a truth that every seasoned industry pro knows: a raw image straight out of the camera is just a canvas, not a final product. Even if you have meticulously dialed in the best aperture for real estate photography and paired it with a flawless ISO, camera sensors simply do not see the world the way human eyes do. The camera captures raw data; professional editing transforms that data into an emotional, high-conversion marketing asset.
4.1. Overcoming the dynamic range barrier
The biggest hurdle in interior photography is dynamic range, the contrast between the darkest shadows inside a room and the brightest highlights outside a window. If you expose your shot so the indoor furniture looks bright and welcoming, the windows will completely "blow out" into a blinding white glare. Conversely, if you expose for the beautiful backyard view, the interior falls into pitch darkness.
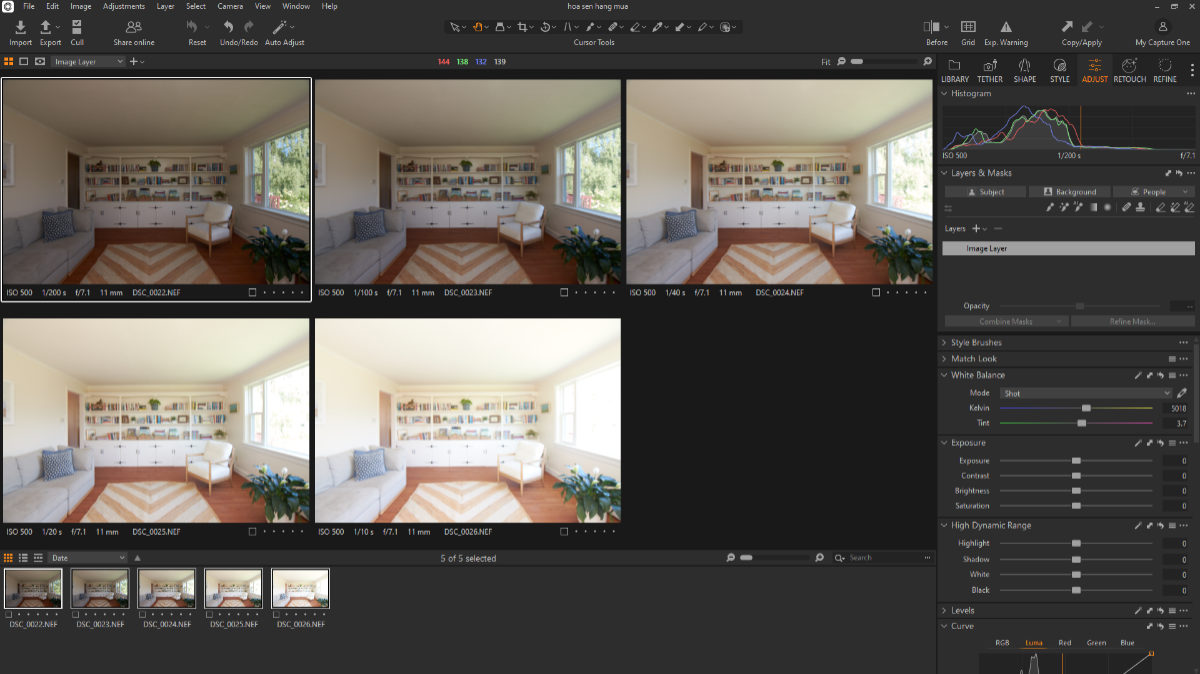 Cameras have very limited dynamic range compared to human eyes, so blending multiple exposure levels is a must for a balanced image.
To fix this, professionals use a technique called exposure bracketing, taking three to five shots at different brightness levels. In post-production, an editor blends these layers together using advanced digital blending or "window pulls." The result is a single, striking image where the indoor living space is perfectly lit, yet the vibrant outdoor view remains completely clear and visible through the glass.
4.2. Fixing lens distortion and vertical lines
To capture an entire room in a single frame, you must use an ultra-wide-angle lens. While these lenses are essential for making spaces look grand, they inherently introduce optical distortion. Walls appear to tilt backward, and straight columns look warped, a phenomenon known as barrel distortion.
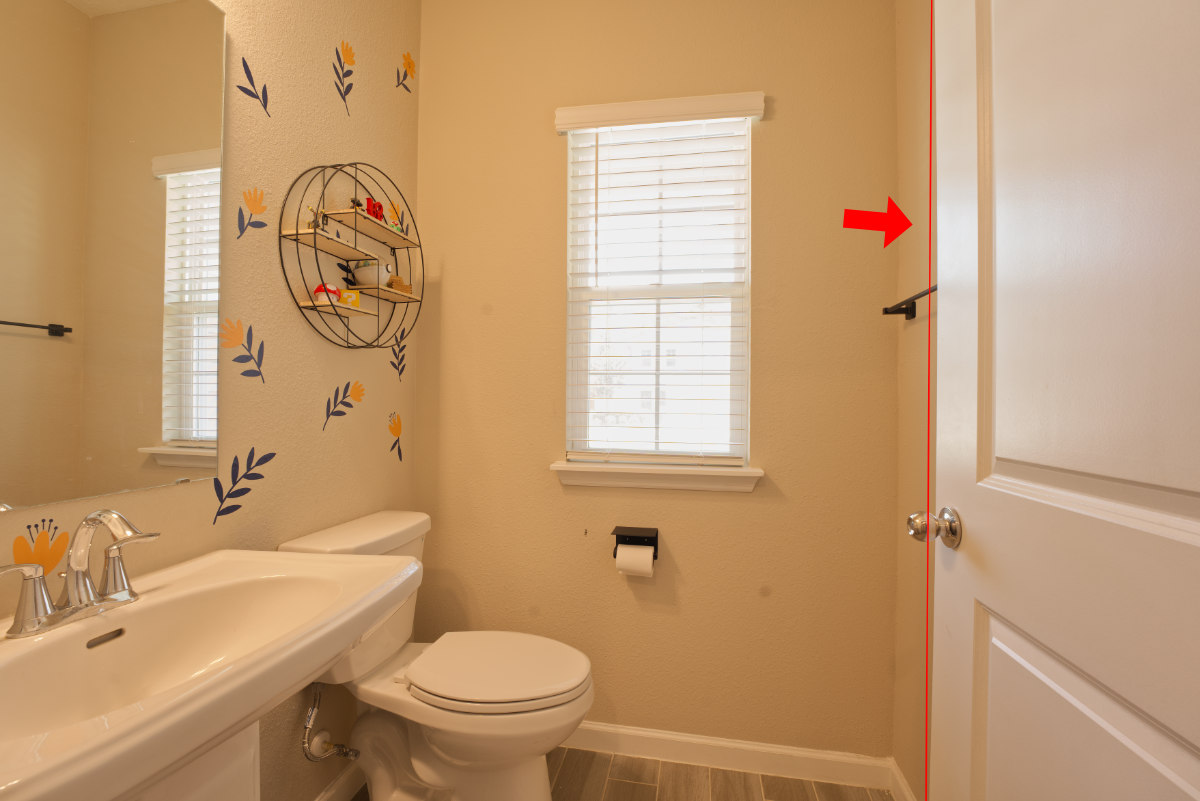 Wide-angle lenses are prone to barrel distortion that results in warped straight lines in photos.
No matter what aperture is best for real estate photography to keep things sharp, it cannot fix these physical optical traits on its own. During editing, specialized software corrections are applied to realign the vertical and horizontal axes. Ensuring that walls are perfectly vertical at a 90-degree angle is crucial; it establishes structural integrity and prevents the space from looking unnatural or dizzying to potential buyers.
4.3. Eradicating mixed color casts
Real estate interiors are a battlefield of conflicting light temperatures. You routinely have cool, blue daylight streaming in from a window, mixing with the warm, yellow glow of indoor incandescent or LED bulbs. This chaos leaves ugly, patchy color stains on pristine white walls and ceilings.
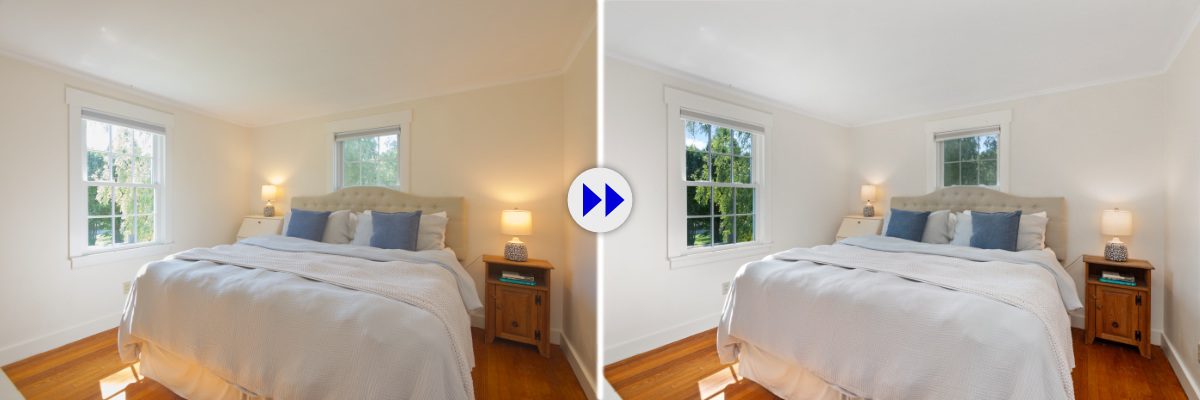 Indoor real estate photos often suffer from strong color casts that require precise corrections.
Professional editors can remove unwanted color casts by meticulously neutralizing these conflicting light sources. They balance the white balance across different zones of the image, ensuring that a white wall looks truly white, stone countertops retain their natural tones, and the overall color palette feels cohesive and true to life. Ultimately, professional editing doesn't fake reality; it restores the authentic beauty of the home that a single camera click fails to capture.
5. Conclusion
Ultimately, mastering property photography requires a balance of technical execution and post-production artistry. Securing the best aperture for real estate photography: the f/8 to f/11 golden range guarantees that your RAW images possess the foundational, corner-to-corner sharpness needed to showcase a home accurately.
However, a sharp photograph is only half the battle. High-end real estate media is built on a strict 50/50 rule: 50% of the magic happens on-site through smart camera choices, while the remaining 50% is unlocked through skilled professional editing. From blending bracketed exposures for perfect window views to fixing lens distortion and neutralizing chaotic color casts, editing breathes life into a flat RAW file. By combining precise technical execution behind the lens with meticulous post-processing, you will deliver stunning, high-converting images that make listings stand out, capture buyer attention, and elevate your brand in a competitive housing market.
Follow us on social media to stay updated with the latest tips for making better real estate photos and find the best solutions for leveling up your property marketing game.
- Facebook: fotobermedia.co
- YouTube: Fotober
- TikTok: @fotober
- Instagram: fotober_media.
Related posts

Coastal Interior Design: Style Definition & Staging Guide
September 30, 2026

Contemporary Interior Design: Key Elements and How to Stage This Style
September 30, 2026

Scandinavian Interior Design: Key Elements, Style Guide, and Staging
September 30, 2026
Best Fujifilm Cameras for Real Estate Photography: 2026 Buying Guide
September 30, 2026
