




Best Tripod for Real Estate Photography: Buying Guide & Height Tips
Share:
Table of Contents
- 1. Quick recommendation overview of tripods for real estate photography
- 2. What to look for in a tripod for real estate photography?
- 3. Essential requirements: Tripod height for real estate photography
- 4. Best tripod head for real estate photography: Geared vs. ball head vs. 3-way
- 5. Top recommendations: Best tripod & head combos for real estate photography
- • 5.1. Best overall setup: Manfrotto 055 Carbon Fiber + Benro GD3WH geared head
- • 5.2. Best value/budget setup: Vanguard Alta Pro 263AB + 3-Way Head
- • 5.3. Best heavy-duty & extra tall: Benro Mach3 Extra Tall Carbon Fiber (TMA48CXL)
- • 5.4. Best ultra-portable for high-volume shooters: Peak Design Travel Tripod (Carbon)
- 6. Practical setup & shooting tips on location with a tripod for real estate photography
- 7. Frequently asked questions about tripods for real estate photography (FAQ)
- 8. Conclusion
In real estate photography, clean verticals, sharp focus, and accurate exposure bracketing make the difference between a listing that sits on the market and one that gets immediate bookings. While many photographers invest heavily in full-frame cameras and ultra-wide-angle lenses, they often underestimate the importance of their support system. Investing in the best tripod for real estate photography is not just about holding your camera steady; it is about speeding up your workflow on location and guaranteeing straight, distortion-free lines. Everything you need to know will be broken down here: material choices, height guidelines, head mechanics, and top product recommendations for every budget.
1. Quick recommendation overview of tripods for real estate photography
|
Category |
Recommended model |
Key feature |
Ideal for |
|
Best overall setup |
Manfrotto 055 Carbon Fiber + Benro GD3WH |
Geared precision head & 90° center column |
Professional real estate photographers |
|
Best value/budget |
Vanguard Alta Pro 263AB + 3-Way Head |
Multi-angle center column at an affordable price |
Beginners and budget-conscious shooters |
|
Best extra tall/heavy-duty |
Benro Mach3 Extra Tall (TMA48CXL) |
Reaches over 85 inches (216 cm) without center column extension |
High ceilings, staircases, and exterior elevated shots |
|
Best ultra-portable |
Peak Design Travel Tripod Carbon |
Extremely compact, lightweight, fast deployment |
High-volume agents and travel shooters |
2. What to look for in a tripod for real estate photography?
When photographers ask what tripod for real estate photography delivers the best results, they are often surprised to learn that standard travel or landscape tripods are not always ideal. Real estate interiors present unique physical challenges: polished wood floors that slip, tight powder rooms, high kitchen islands, and delicate furniture that must not be scratched.
To choose the right tripod for real estate photography, you need to evaluate four fundamental technical criteria:
|
KEY CRITERIA FOR REAL ESTATE TRIPODS | |||
|
Load capacity: min. 15-20 lbs |
Material: carbon vs. aluminum |
Leg locks: flip vs. twist |
Center column: Lateral/90-deg |
2.1. Load capacity
Your tripod legs and head combination must comfortably hold your full-frame camera body, a wide-angle zoom lens (such as a 16-35mm f/2.8 or 17-40mm f/4), an L-bracket, a wireless shutter trigger, and a precision tripod head. The total weight of this rig typically ranges between 5 and 8 lbs (2.3 to 3.6 kg).
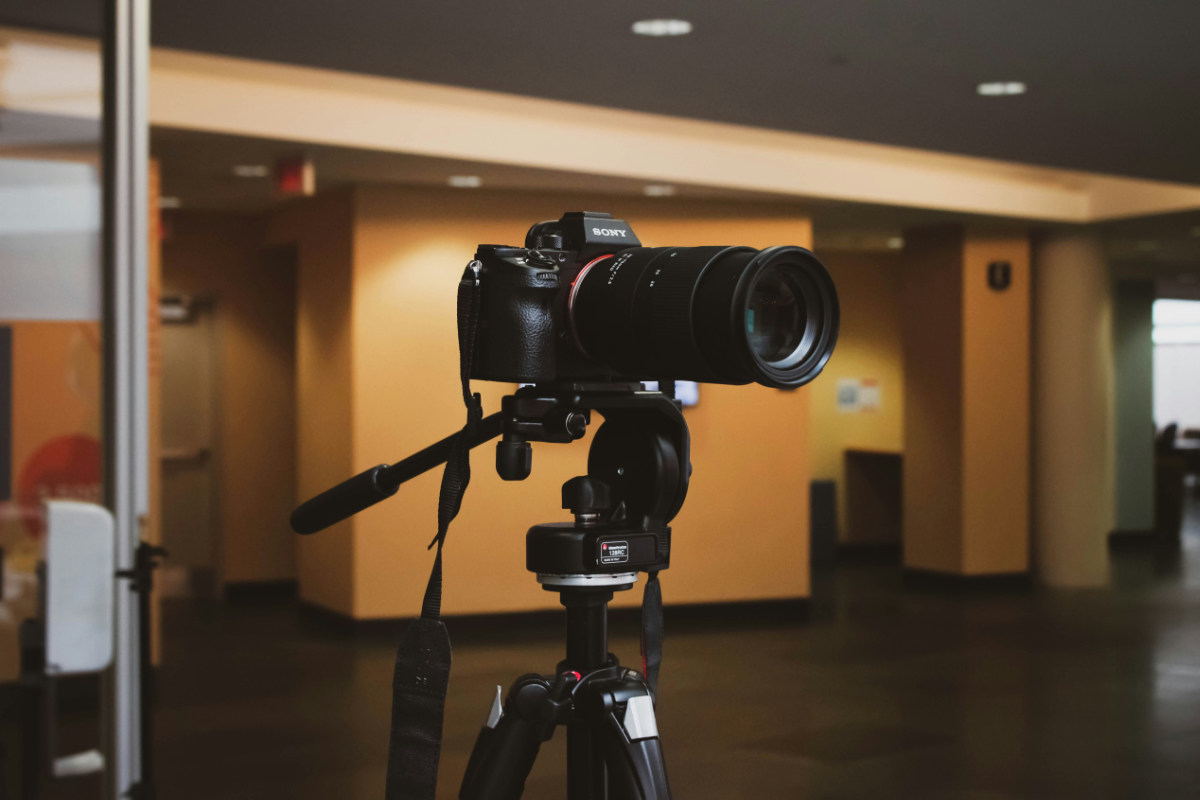
As a general rule, choose a tripod with a maximum payload rating at least 3 times higher than the actual weight of your photography equipment (minimum 15-20 lbs or 7-9 kg capacity). A higher payload rating ensures minimal flex when panning or making micro-adjustments.
2.2. Carbon fiber vs. aluminum construction
The material you select directly impacts durability, weight, and vibration absorption:
|
Feature |
Carbon fiber tripods |
Aluminum tripods |
|
Vibration absorption |
Superior: Dampens floor vibrations and footsteps quickly |
Moderate: Transfers vibrations longer through the legs |
|
Weight |
Lightweight: ~20% to 30% lighter than aluminum |
Heavier: Adds weight to your gear bag |
|
Outdoor stability |
Excellent, though may require a sandbag in high wind |
Heavier weight provides natural resistance against wind |
|
Durability & weathering |
Impervious to rust and cold temperatures |
Can feel extremely cold to hold in winter; risk of oxidation |
|
Price point |
Premium investment |
Budget-friendly |
For real estate photographers who carry their gear room-to-room across multi-story luxury homes, carbon fiber is well worth the extra investment due to its low weight and superior vibration damping.
2.3. Leg locks: Twist locks vs. flip locks
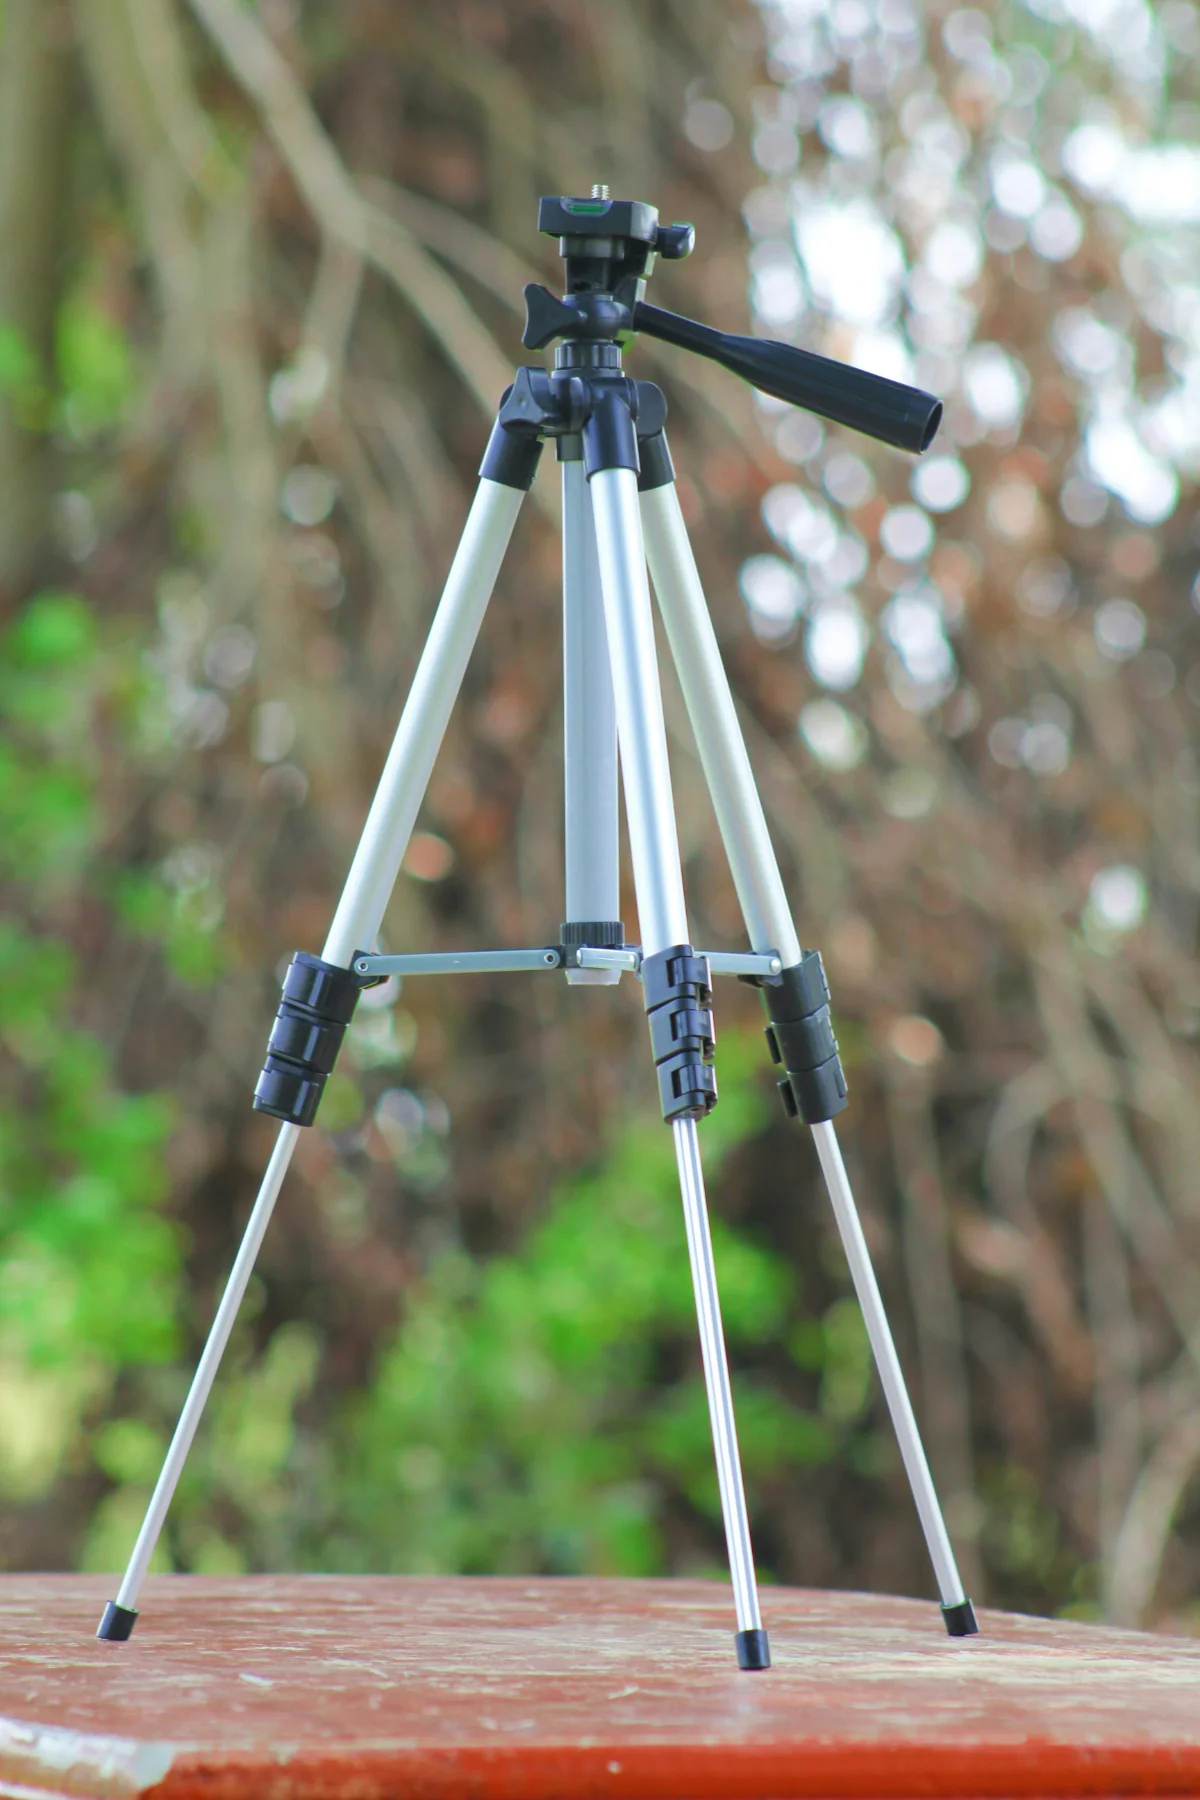
- Flip locks: Allow for rapid deployment. You can unlatch all leg locks simultaneously and extend the legs in seconds. However, flip locks can occasionally catch on furniture edges or snag in tight doorways.
- Twist locks: Sleeker, more compact, and less likely to snag on surrounding items. High-quality rubberized twist locks require only a quarter-turn to lock securely into place and are generally easier to clean.
2.4. Center column functionality
A traditional vertical center column allows quick elevation tweaks, but extending it too high creates a single point of instability. Look for tripods that offer a 90-degree lateral center column mechanism. This allows the column to extend horizontally, enabling you to position the camera directly over kitchen countertops, sinks, or vanity units without the tripod legs blocking your composition.
3. Essential requirements: Tripod height for real estate photography
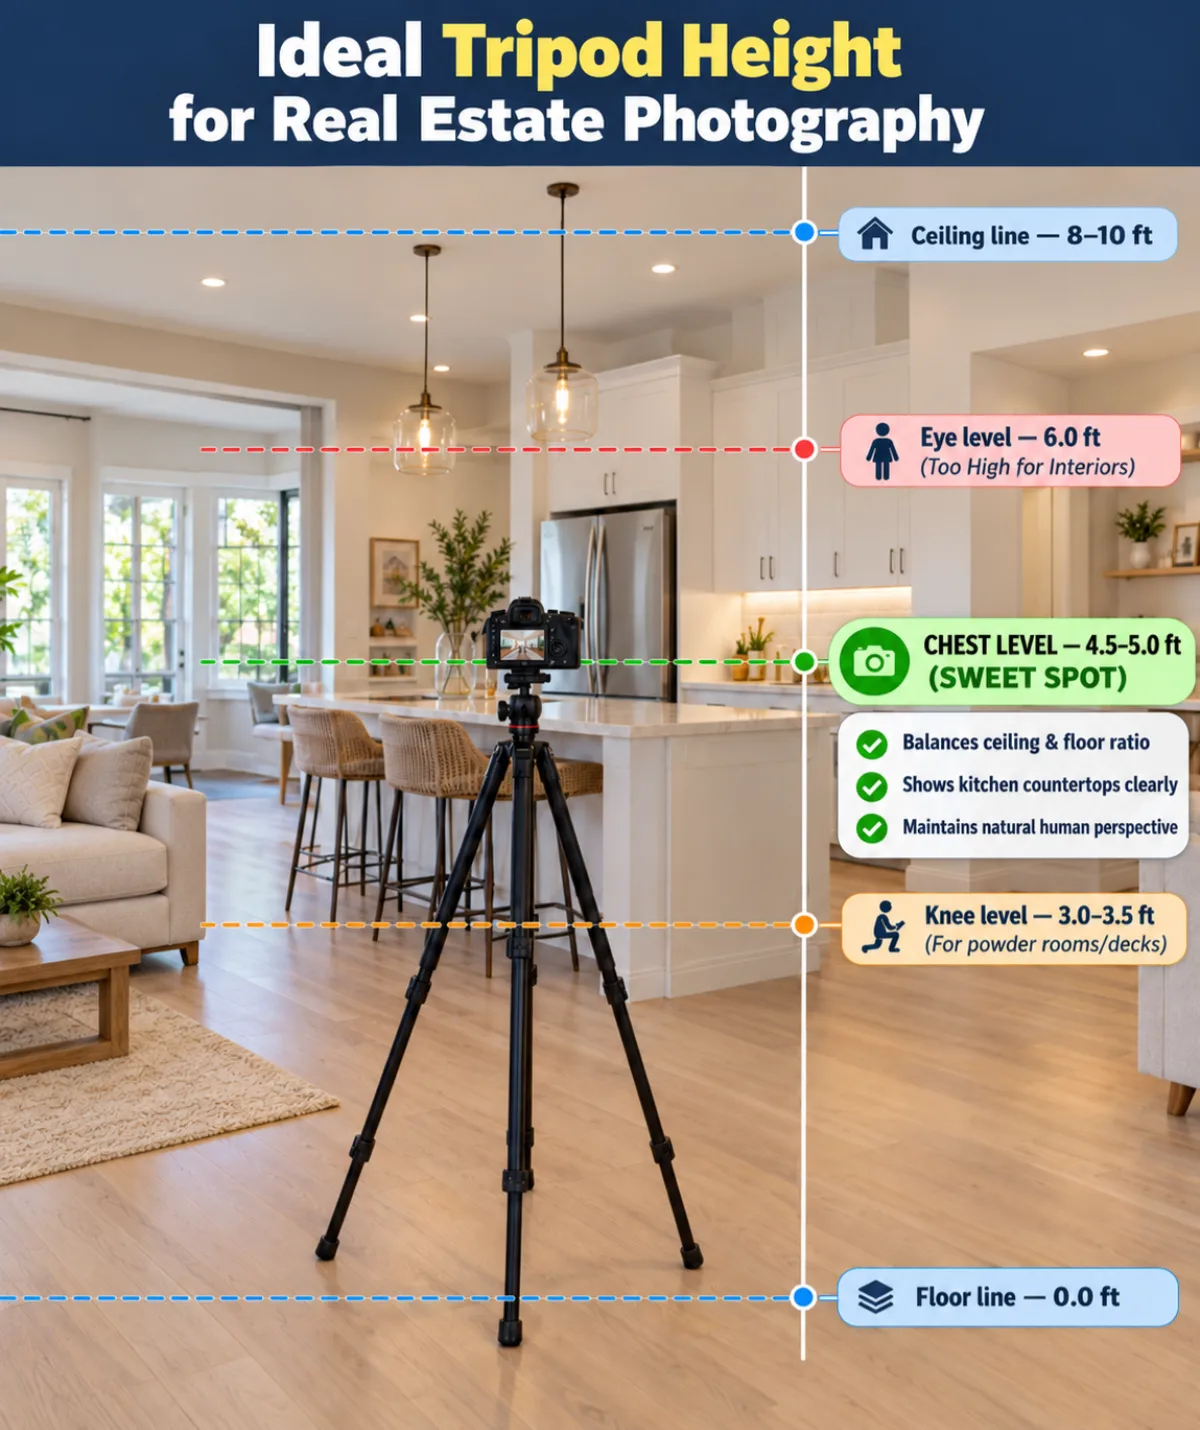
Understanding tripod height for real estate photography is crucial for capturing natural, inviting property interiors. One of the most common mistakes amateur real estate photographers make is shooting from standard standing eye-level (5.5 to 6 feet high). Shooting too high distorts room proportions, makes ceilings look disproportionately large, and hides tabletop surfaces.
|
IDEAL INTERIOR HEIGHT | |
|
Ceiling line |
8-10 ft |
|
Eye level |
6.0 ft (Too high for interiors) |
|
CHEST LEVEL Balances ceiling & floor ratio Shows kitchen countertops clearly Maintains natural human perspective |
4.5 - 5.0 ft (SWEET SPOT) |
|
Knee level |
3.0 - 3.5 ft (For powder rooms/decks) |
|
Floor line |
0.0 ft |
3.1. The standard interior height rule (Chest/eye level)
For most residential interior shoots, the sweet spot for camera height is between 4.5 feet and 5 feet (135 cm to 150 cm), roughly chest level for an average adult.
Why 4.5 to 5 feet works best: At this height, the camera sits cleanly above kitchen counters, dining tables, and sofa backs without overemphasizing the ceiling. It yields a balanced 50/50 or 60/40 ratio between the floor and ceiling, making rooms feel spacious yet realistic.
3.2. Maximum height needs: Exteriors & high ceilings
While 5 feet is ideal for normal rooms, your tripod legs must be capable of reaching much higher when needed:
Double-height ceilings & great rooms: Rooms with vaulted ceilings require a camera height of 6 to 7 feet (180 to 210 cm) to avoid look-up tilt angles.
Exteriors & sloped lawns: When shooting property exteriors from a downhill driveway or sloped front lawn, the downhill leg of your tripod may need to extend significantly further than the uphill legs. A tripod with a maximum height of at least 65 to 75 inches (165 to 190 cm) is essential for these scenarios.
Over-counter shots: Shooting over a kitchen island toward an open-concept living area often requires raising the camera high enough to clear overhead pendant lights or tall bar stools.
3.3. Minimum height needs: Low-angle detail shots
Conversely, certain architectural features require getting down low:
- Powder rooms & half baths: Small bathrooms look much larger when shot lower (3.5 to 4 feet) to include vanity surfaces while avoiding reflections in mirror glass.
- Patio fire pits & outdoor living: Low-profile seating areas and pool deck details look far more cinematic when photographed from knee-height (2.5 to 3.5 feet).
3.4. Room-by-room height reference table
|
Room / Feature |
Recommended height |
Primary objective |
|
Living room / Great room |
4.5-5.0 ft (135-150 cm) |
Shows seating layout while maintaining straight door frames |
|
Kitchen |
4.8-5.2 ft (145-160 cm) |
Clears island countertops, displays appliances and backsplash |
|
Primary bedroom |
4.5-4.8 ft (135-145 cm) |
Keeps mattress tops flat while showing headboard and windows |
|
Powder room / Small bath |
3.5-4.2 ft (105-130 cm) |
Avoids mirror reflection and captures vanity fixtures |
|
Exterior front elevation |
5.5-7.0 ft (170-210 cm) |
Overcomes sloped terrain and presents a grand street view |
4. Best tripod head for real estate photography: Geared vs. ball head vs. 3-way
When building your kit, many experts argue that choosing the tripod head is even more important than choosing the legs. The head determines how quickly and precisely you can level your camera.
In real estate and architectural photography, vertical lines must be 100% straight. If your camera tilts even half a degree up or down, vertical walls will appear to lean backward or fall forward (converging verticals). Fixing this in Lightroom or Photoshop stretches pixels and degrades edge sharpness.
|
TRIPOD HEAD MECHANICS | ||
|
BALL HEAD (Speed focus) |
3-WAY PAN-TILT (Independent axis) |
GEARED HEAD (Precision focus) |
|
Single lever unlocks all axes |
3 separate handles |
Micro-dial adjustments |
|
Fast, but easy to lose level |
Precise, but bulky handles stick out |
Gold standard, 1° fine-tuning |
4.1. Geared heads (The gold standard)
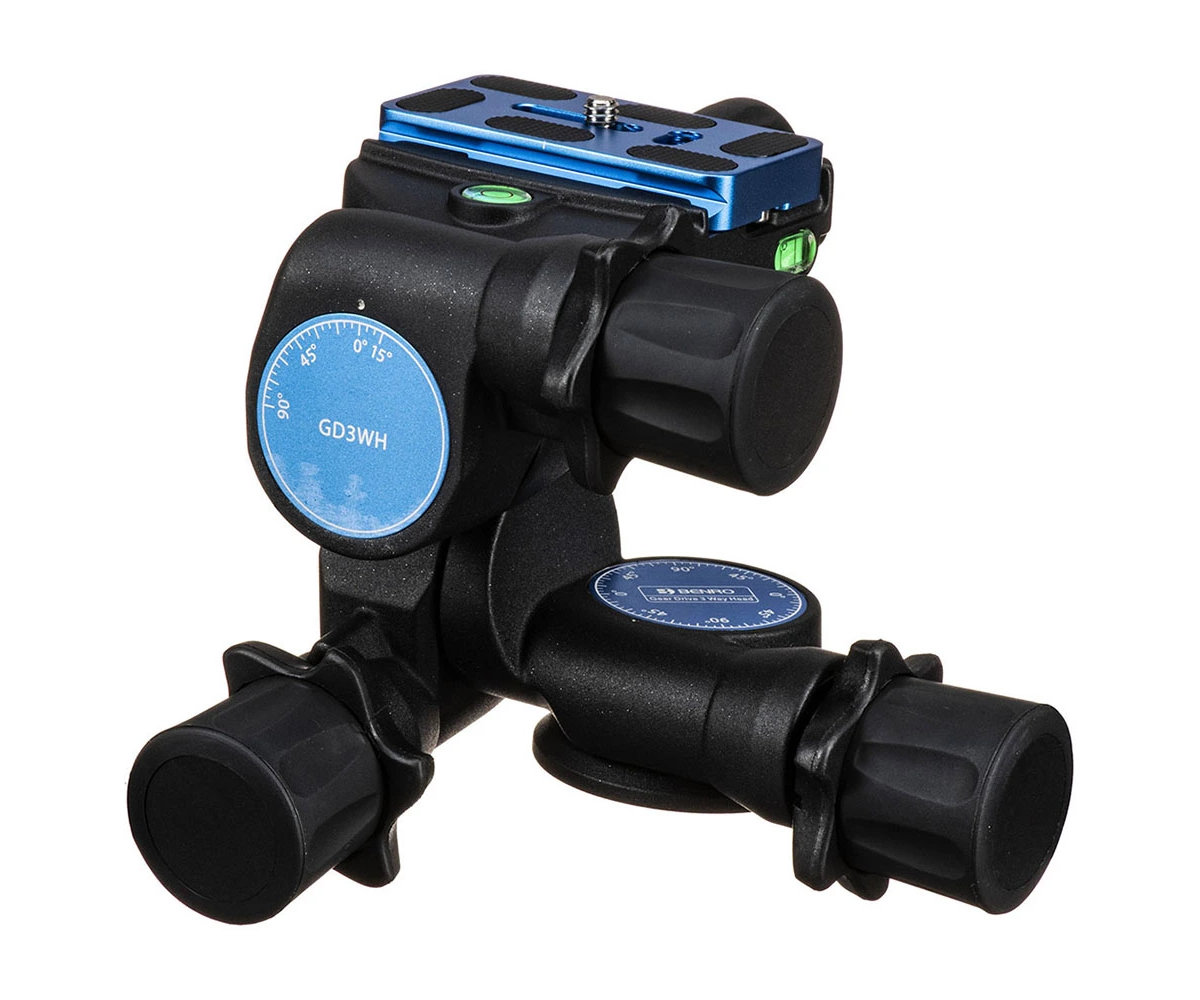
A geared tripod head is universally considered the ultimate tool for real estate photographers.
- How it works: Geared heads feature individual rotational knobs for all three axes (Pitch/Tilt, Roll, and Yaw/Pan). Turning a knob moves the camera in precise micro-increments (often 1 degree per turn) without unlocking the other two axes.
- Why it wins: You can perfectly level the horizon on the roll axis, lock it, and then make a microscopic adjustment to the vertical tilt axis without disturbing your horizontal alignment.
- Top examples: Benro GD3WH, Manfrotto 410 Junior Geared Head, Manfrotto XPRO Geared Head.
4.2. Ball heads
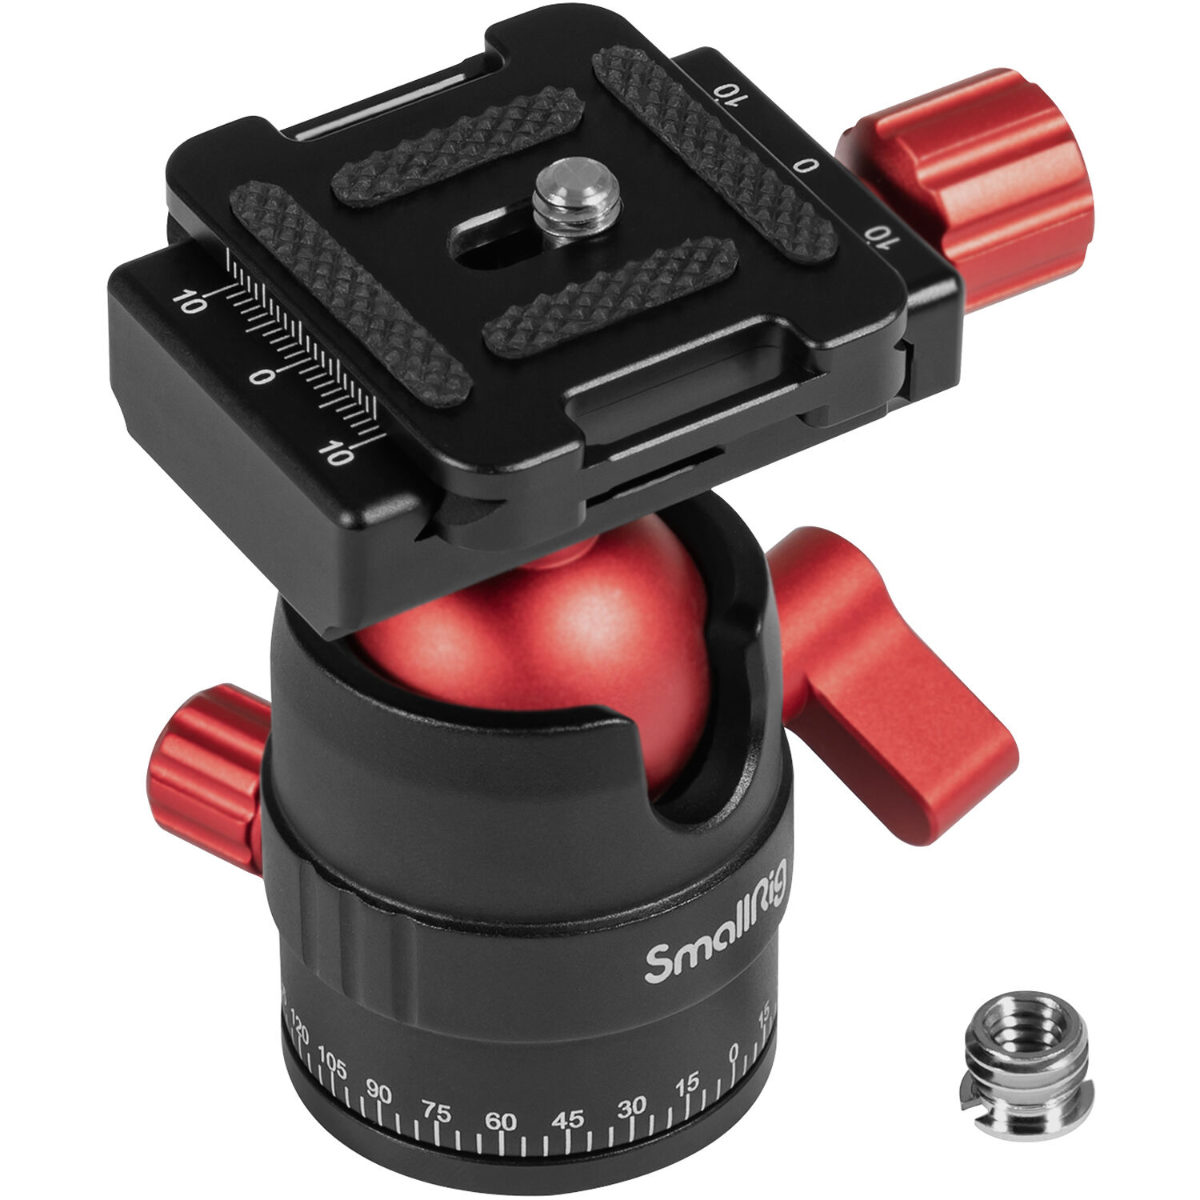
- Pros: Compact, lightweight, and fast to adjust.
- Cons: Unlocking a ball head releases all three axes simultaneously. When you try to adjust a tiny tilt error, you frequently lose your horizontal level. This leads to a frustrating trial-and-error loop on every single shot.
- Verdict: Suitable for fast-paced travel, but inefficient and prone to alignment errors during precision real estate shoots.
4.3. 3-way pan-tilt heads
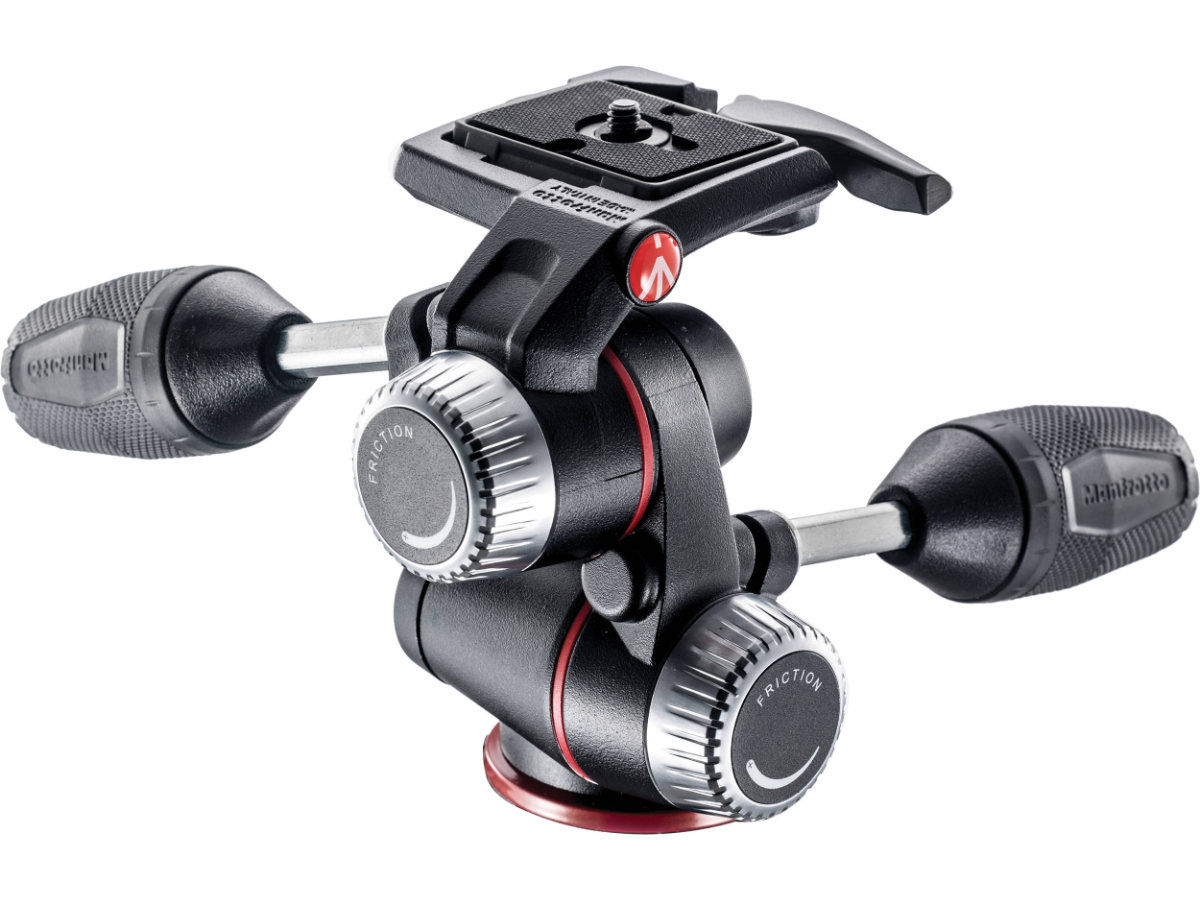
- Pros: Offers independent control over each axis, similar to a geared head, but uses long control handles instead of micro-dials.
- Cons: The protruding handles make the head bulky, awkward to pack into a camera bag, and prone to catching on doorways when navigating tight home interiors.
- Verdict: A workable budget alternative to a geared head, though less refined.
5. Top recommendations: Best tripod & head combos for real estate photography
Combining high-grade legs with a precision tripod head creates the ultimate workhorse. Here are the top four recommended combinations for real estate photographers in 2026.
5.1. Best overall setup: Manfrotto 055 Carbon Fiber + Benro GD3WH geared head
The Manfrotto 055 Carbon Fiber legs paired with the Benro GD3WH Geared Head are widely regarded as the benchmark combination for professional real estate and architectural photographers.
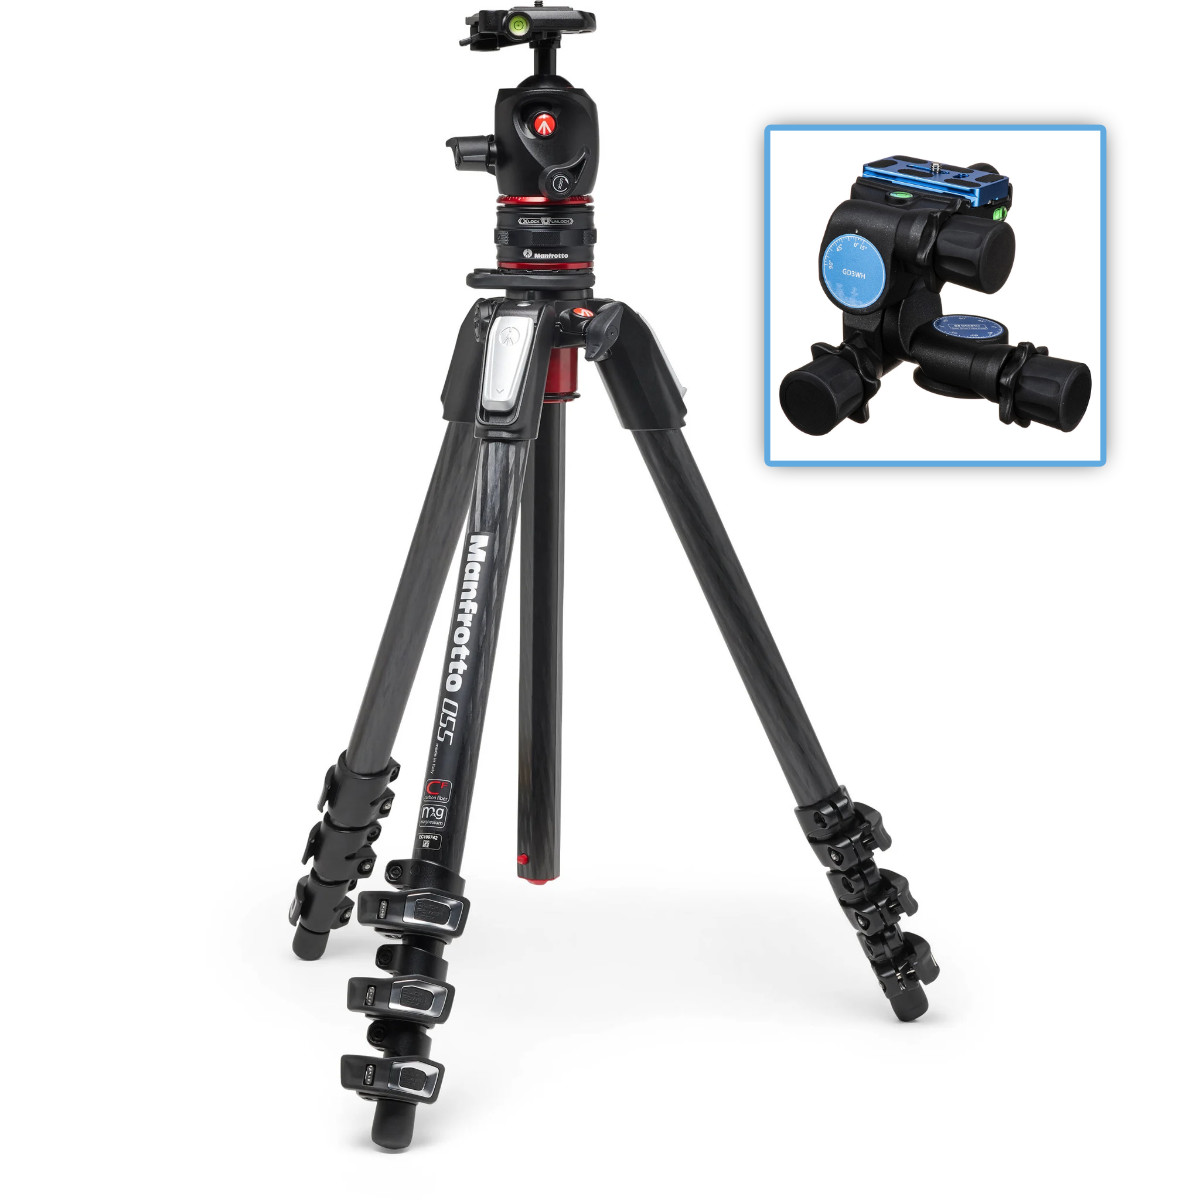
Key specifications:
- Max height (Legs): 66.9 inches (170 cm) with column extended / 55.1 inches (140 cm) with column down
- Weight (Legs + head): ~6.2 lbs (2.8 kg)
- Max payload: 13.2 lbs (6 kg) on the head
- Head type: 3-axis geared head (Arca-Swiss compatible)
Why it excels for real estate:
- The Manfrotto 055 features a patented 90-degree center column mechanism that pops out horizontally at the press of a button. This allows you to position your camera over counters, bathtubs, and sinks with ease.
- The Benro GD3WH head uses Arca-Swiss quick-release plates, making it compatible with standard L-brackets. Its precision gears eliminate unwanted tilt drift.
Pros:
- Exceptional rigidity and vibration damping.
- Fast horizontal column switching.
- Micro-gear adjustments save minutes on every room setup.
Cons:
- Higher price point than basic aluminum kits.
5.2. Best value/budget setup: Vanguard Alta Pro 263AB + 3-Way Head
For photographers entering the real estate industry or working on a tight budget, the Vanguard Alta Pro 263AT offers high-end features at a fraction of the cost.
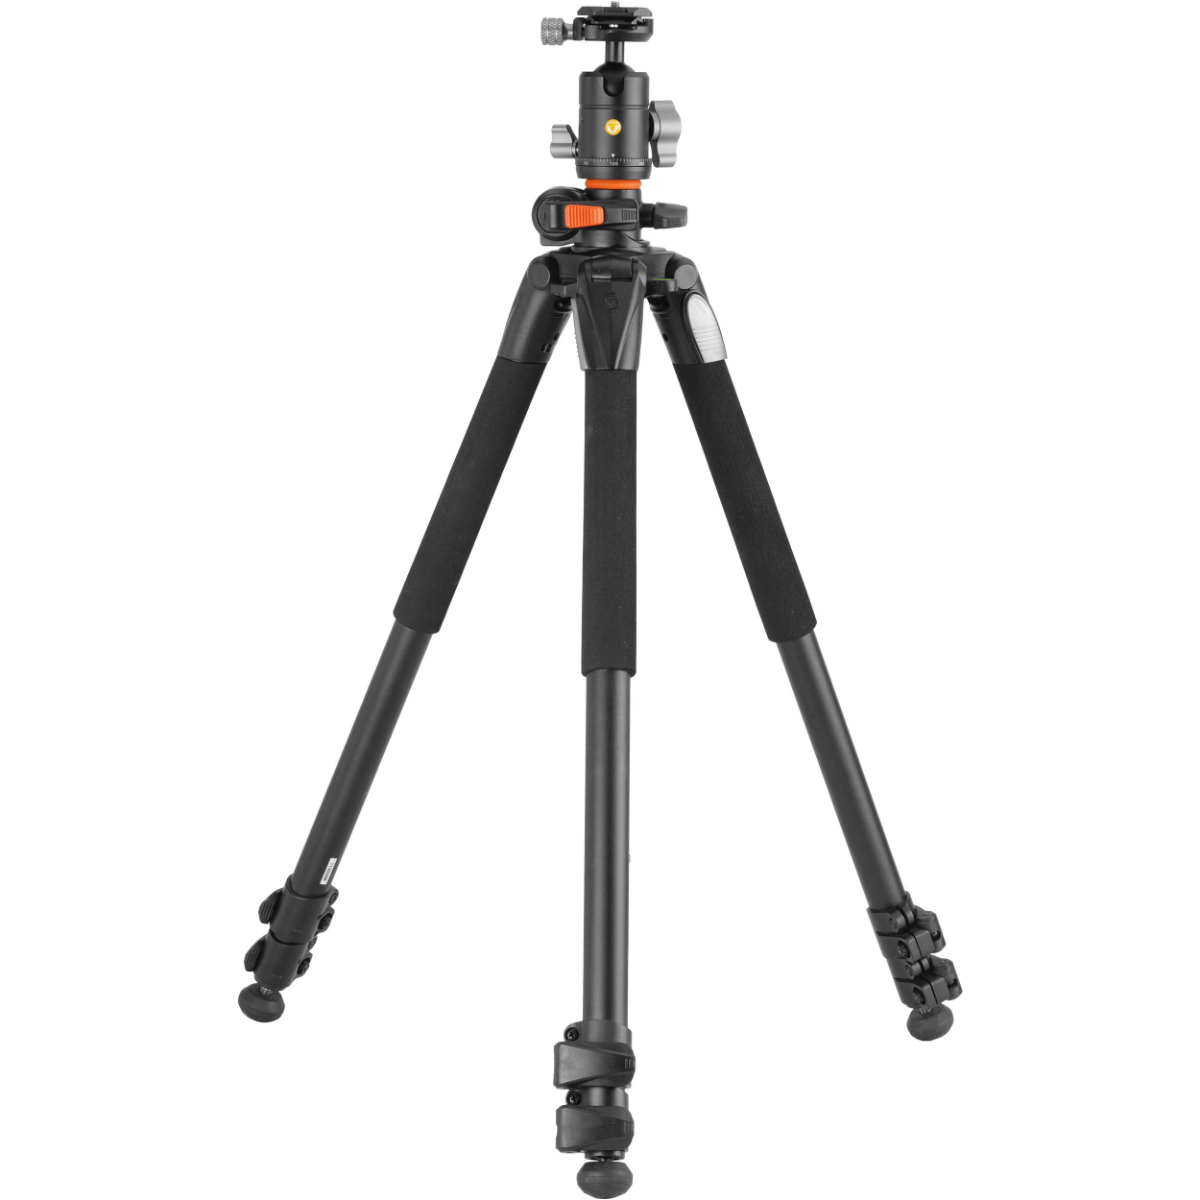
Key specifications:
- Max height: 68.1 inches (173 cm)
- Weight: 5.3 lbs (2.4 kg)
- Max payload: 15.4 lbs (7 kg)
- Special feature: Multi-Angle Central Column (MACC) system
Why it excels for real estate:
- The MACC system allows you to position the central column at flexible angles from 0 to 180 degrees. This makes it effortless to capture low-angle hearths, detailed cabinetry, and tight powder room angles.
- Instant swivel leg locks allow independent leg spread at 25, 50, and 80-degree angles for stability on uneven outdoor steps.
Pros:
- Outstanding value for money.
- Multi-angle center column offers creative positioning.
Cons:
- Aluminum construction is slightly heavier to carry.
5.3. Best heavy-duty & extra tall: Benro Mach3 Extra Tall Carbon Fiber (TMA48CXL)
When photographing luxury estates, grand foyers with 20-foot ceilings, or sloped exterior lots, standard 60-inch tripods fall short. The Benro Mach3 Extra Tall (TMA48CXL) provides unmatched vertical reach and rock-solid stability.
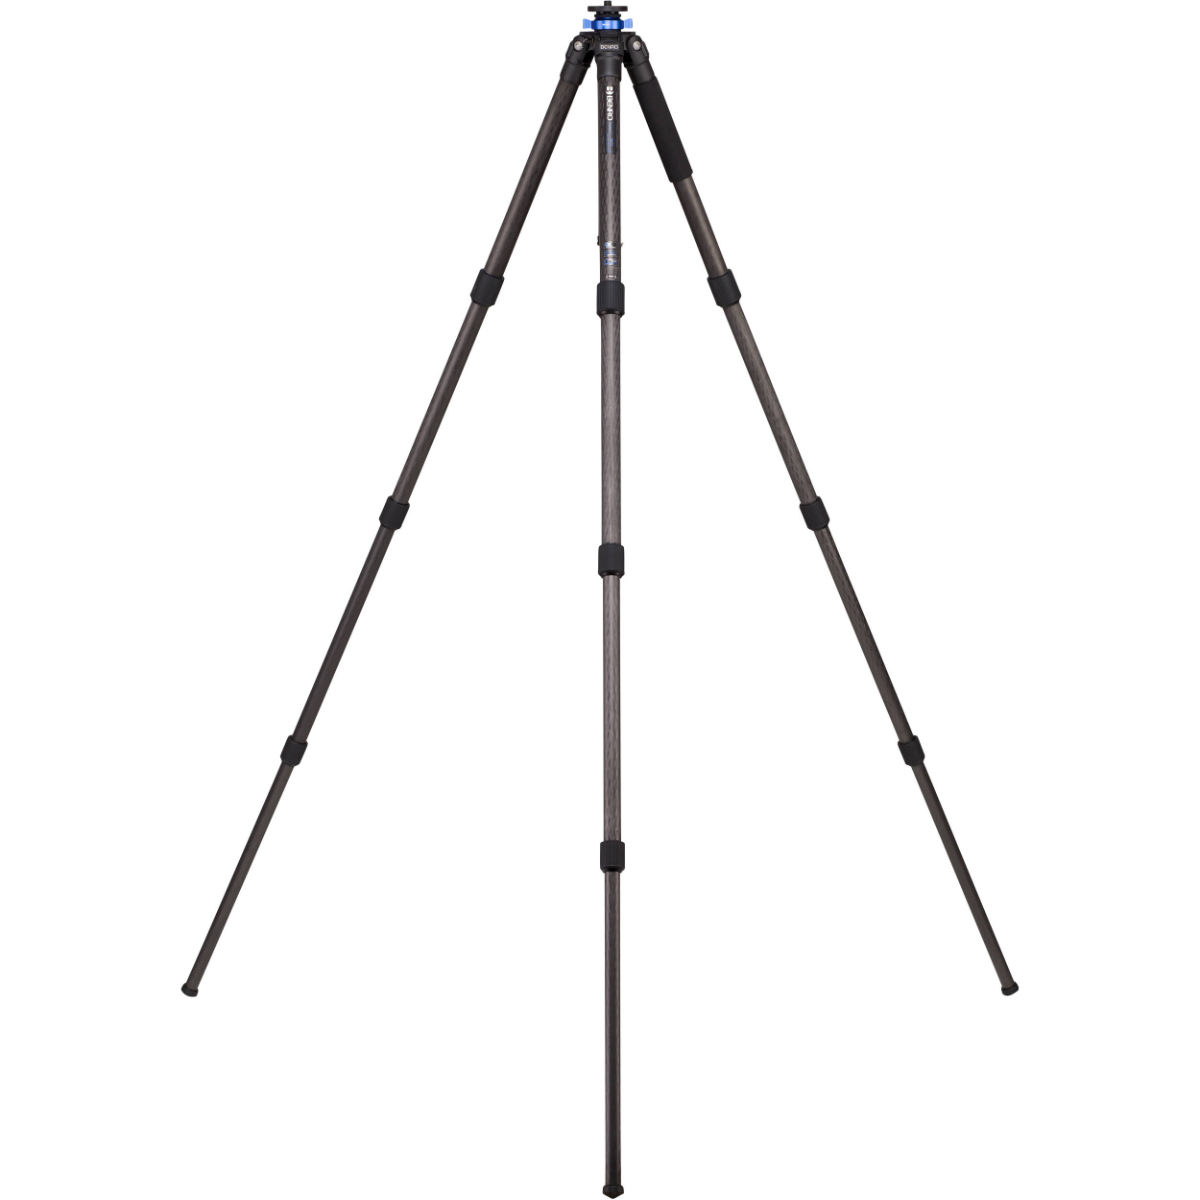
Key specifications:
- Max height: 85.0 inches (216 cm) without extending a central column
- Weight: 5.7 lbs (2.6 kg)
- Max payload: 44.1 lbs (20 kg)
- Leg sections: 4-Section Carbon Fiber
Why it excels for real estate:
- Reaching 85 inches purely on its leg extensions means you get zero center-column wobble, even when shooting outdoors in heavy wind.
- It allows you to elevate the camera high above porch railings, fences, and outdoor patio furniture for clean exterior twilight compositions.
Pros:
- Massively impressive height range.
- Massive load capacity handles heavy gear setups easily.
Cons:
- Longer folded length takes up more room in vehicle trunks.
5.4. Best ultra-portable for high-volume shooters: Peak Design Travel Tripod (Carbon)
If you photograph 5 to 8 residential listings a day, speed and portability become paramount. The Peak Design Travel Tripod Carbon packs down to the diameter of a water bottle while providing remarkable stability.
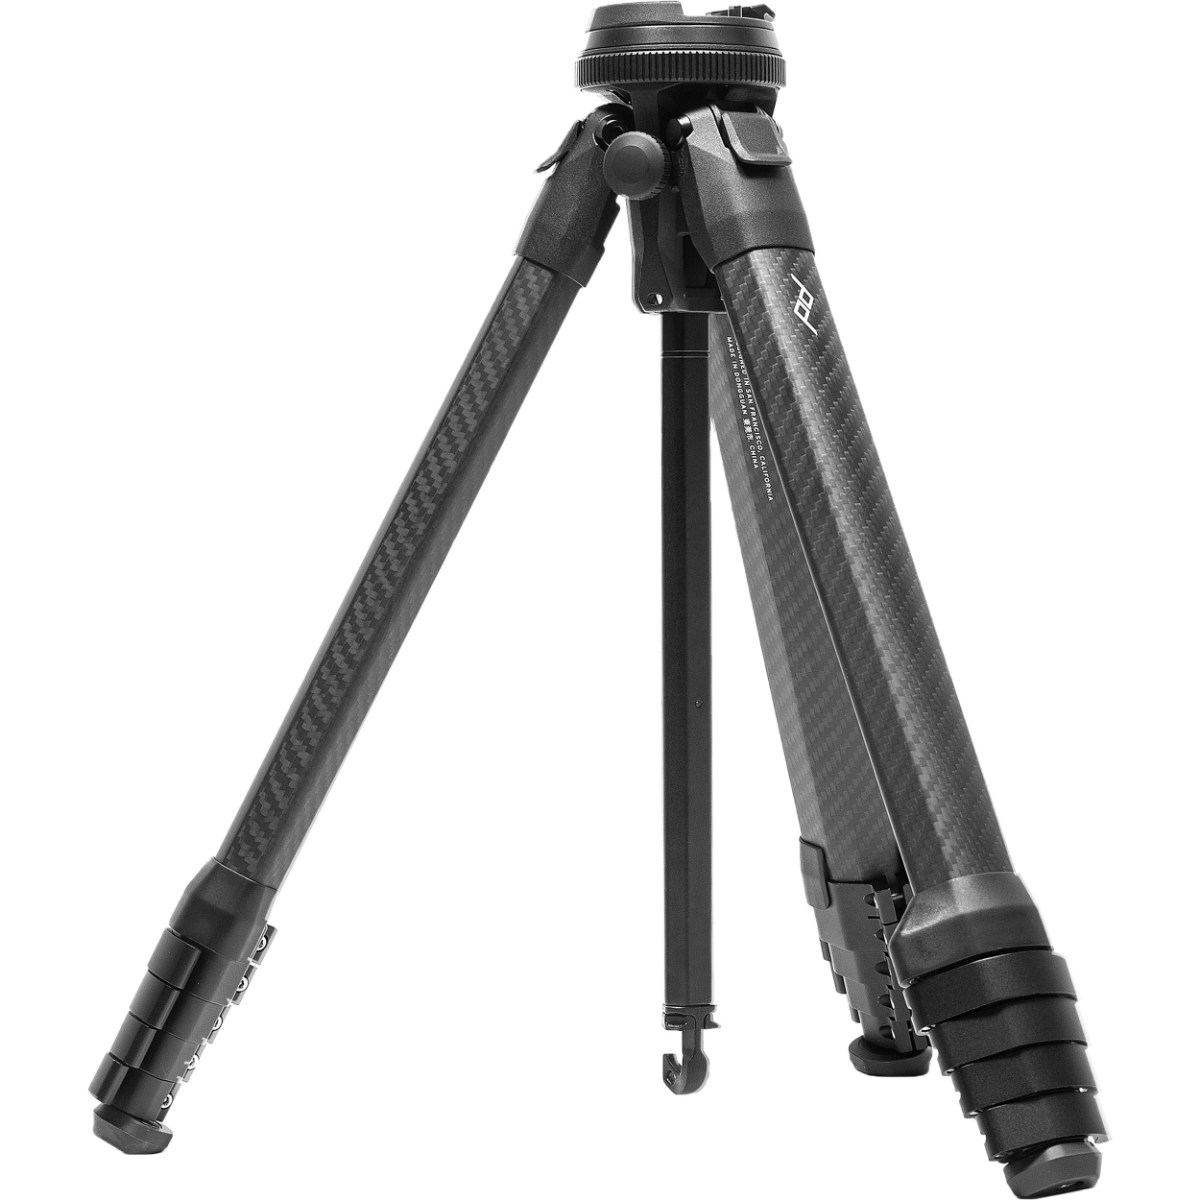
Key specifications:
- Max height: 60.0 inches (152 cm)
- Folded diameter: 3.25 inches (8.3 cm)
- Weight: 2.81 lbs (1.27 kg)
- Max payload: 20 lbs (9.1 kg)
Why it excels for real estate:
- Spatial efficiency is unmatched. The legs nest together tightly, eliminating wasted volume.
- Fast-deploying lever locks let you set up and move room-to-room in half the time of conventional tripods.
Pros:
- Incredibly light; reduces fatigue during long shoot days.
- Integrated mobile device mount for quick virtual tour capture.
Cons:
- Built-in ball head lacks geared micro-adjustments (requires adding an Arca adapter for a geared head).
6. Practical setup & shooting tips on location with a tripod for real estate photography
Having the right tripod for real estate photography is only half the battle. How you use it on location determines whether your vertical lines are laser-straight and your exposures align seamlessly.
|
ON-LOCATION TRIPOD SETUP FLOW | |||
|
1. LEVEL LEGS |
2. SET HEIGHT |
3. FINE-TUNE HEAD |
4. ZERO VIBRATION |
|
Extend legs to firm footing |
Adjust to 4.5 - 5.0 ft rule |
Use geared dials + grid |
Use 2s timer / Shutter app |
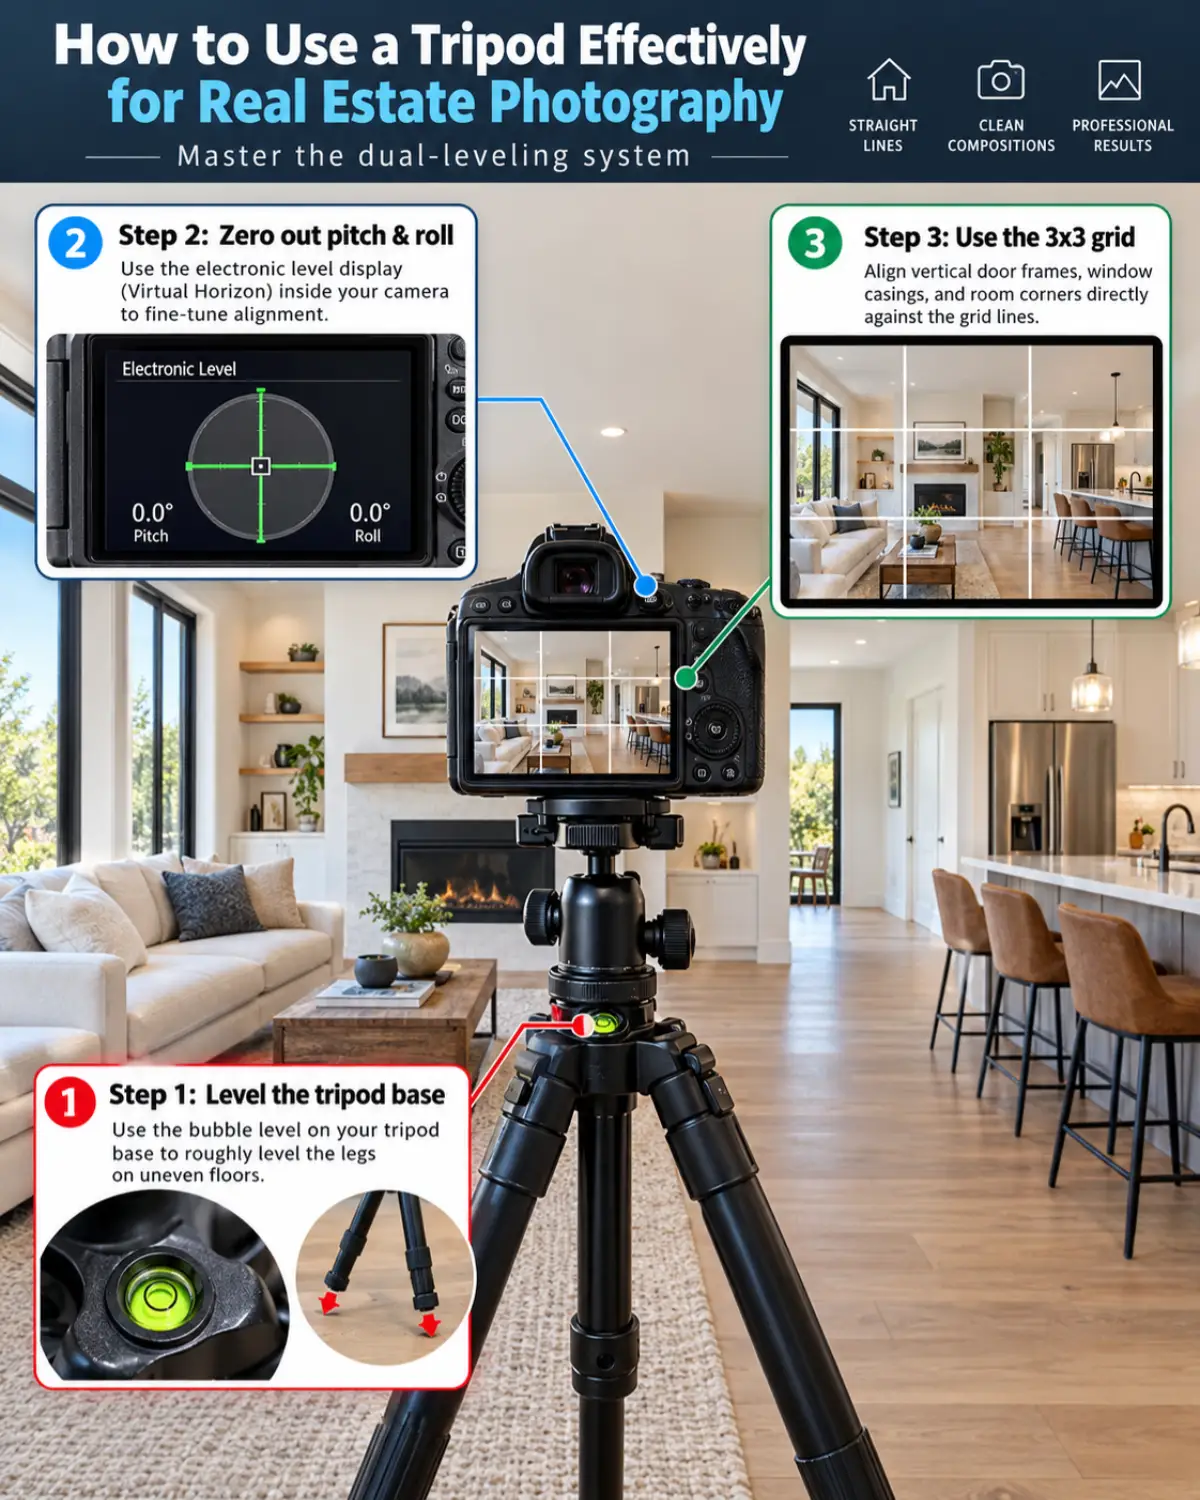
6.1. Master the dual-leveling system
Never rely on a single bubble level. For perfect compositions:
- Step 1: Use the bubble level on your tripod base to roughly level the legs on uneven floors.
- Step 2: Use the electronic level display (Virtual Horizon) inside your camera's viewfinder or LCD screen to zero out pitch and roll.
- Step 3: Enable the 3x3 grid display overlay on your camera monitor. Align vertical door frames, window casings, and room corners directly against the grid lines.
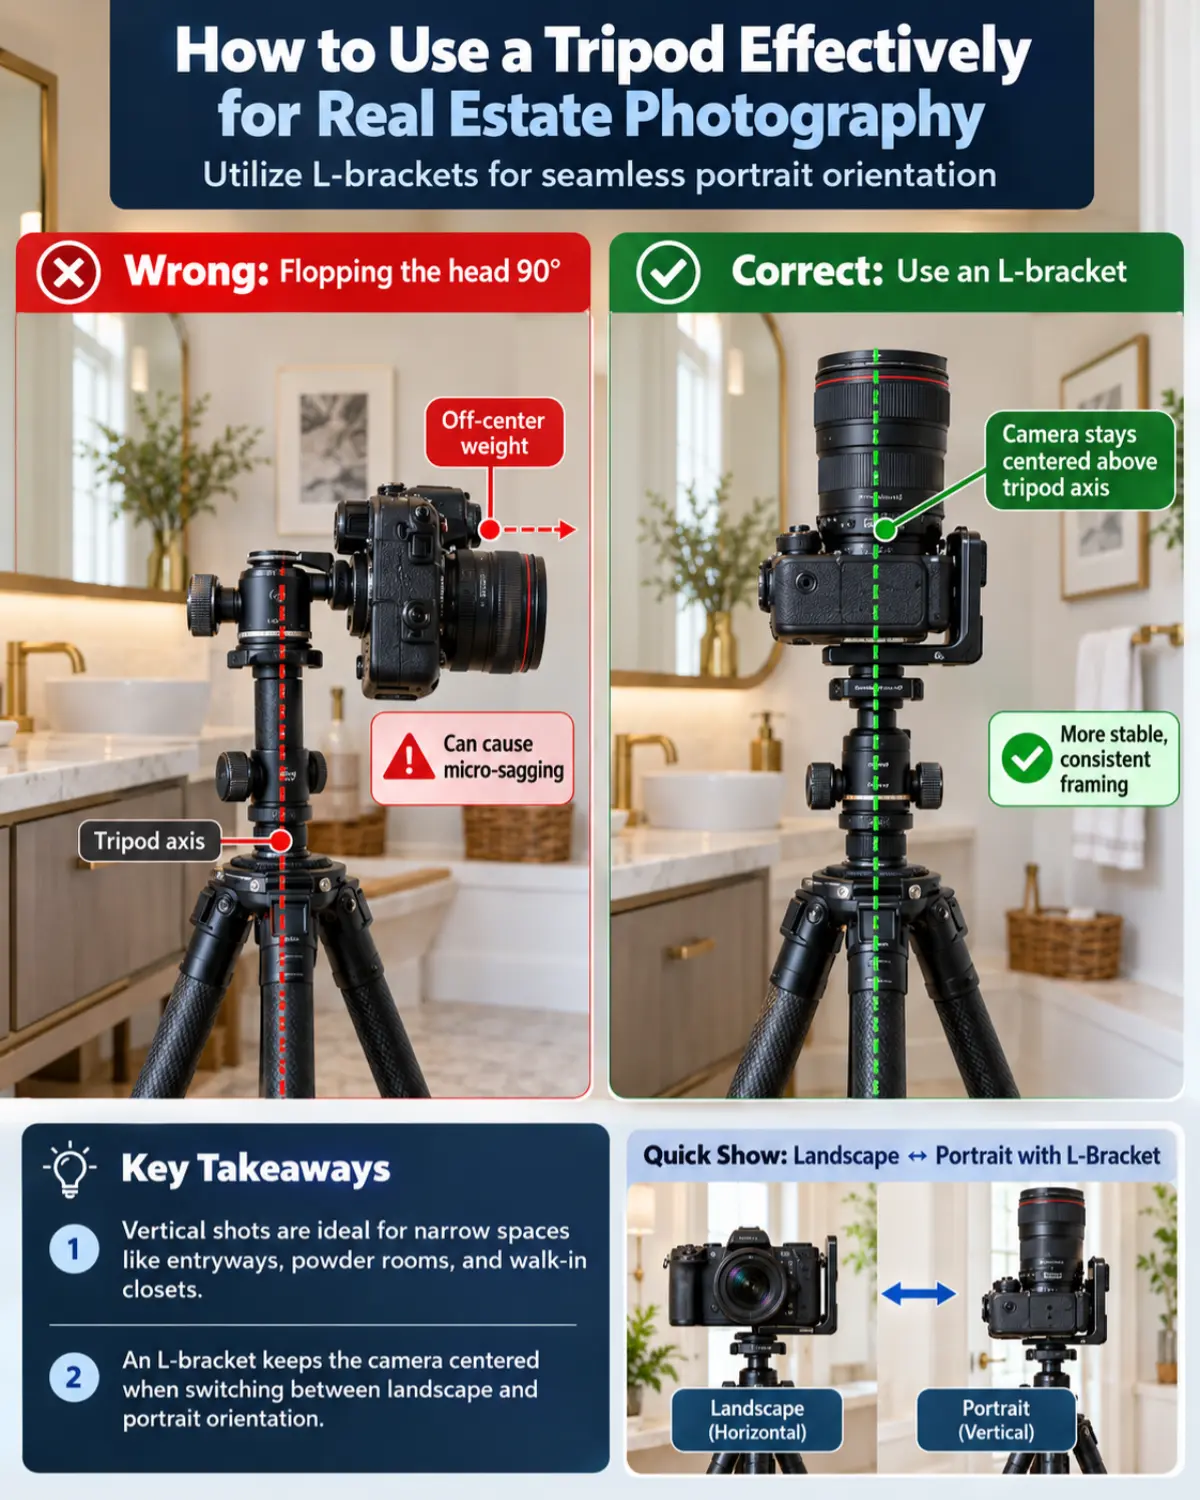
6.2. Utilize L-brackets for seamless portrait orientation
Shooting narrow spaces like entryways, powder rooms, or walk-in closets often requires switching to vertical orientation.
- Flopping a standard tripod head 90 degrees to the side shifts the camera's center of gravity off the tripod axis, causing micro-sagging.
- Always mount an L-bracket to your camera body. This keeps the camera centered directly above the tripod head when switching between landscape and portrait orientations.
6.3. Eliminate micro-shake during HDR bracketing
Real estate photography requires bracketed sequences (e.g., 5 frames spaced 2 EV apart) to capture both dark indoor corners and bright exterior windows. If you touch the camera shutter button manually between frames, you risk moving the camera by fractions of a millimeter.
- Always use a 2-second shutter delay, a wireless Bluetooth/cable remote release, or camera tethering software (such as Lightroom or Capture One on an iPad/laptop).
- Turn off lens image stabilization (IS/VR/IBIS) when your camera is mounted on a sturdy tripod. Leaving stabilization active can cause the sensor to compensate unnecessarily, creating subtle blur.
There are also many more camera settings to adjust if you want to get absolute control of your output quality.
7. Frequently asked questions about tripods for real estate photography (FAQ)
Q1: Is a carbon fiber tripod really worth it for real estate photography?
Answer: Yes. Carbon fiber tripods offer superior vibration damping compared to aluminum, which helps settle camera shake faster on wooden floors. They are also significantly lighter, reducing physical fatigue when carrying your gear across large properties during multi-hour shoots.
Q2: What tripod height is best for interior real estate photography?
Answer: The ideal camera height for most interior rooms is between 4.5 and 5.0 feet (135 cm to 150 cm), approximately chest level. This height maintains a balanced perspective between floor and ceiling while avoiding distortion on kitchen countertops and furniture.
Q3: Can I use a regular ball head for real estate photography?
Answer: While you can use a ball head, it is far less efficient. Adjusting one axis on a ball head unlocks all movement, making it difficult to keep your horizon level while tweaking vertical tilt. A geared tripod head is recommended because it permits independent micro-adjustments on each axis.
Q4: Do I need a center column on my real estate tripod?
Answer: A center column is helpful for minor elevation tweaks, but extending it fully reduces stability. Look for tripods with a 90-degree lateral center column, which allows you to extend the camera horizontally over kitchen islands, counters, and bathroom sinks.
8. Conclusion
Finding the best tripod for real estate photography comes down to balancing structural rigidity, adjustability, and speed. A flimsy tripod or imprecise ball head will add unwanted friction to your workflow, cause alignment errors in your HDR composites, and slow down your photo editing process.
To build the ideal real estate setup:
- Choose sturdy carbon fiber legs with a high load capacity (minimum 15-20 lbs) and a maximum height of at least 65 inches.
- Pair your legs with a precision geared tripod head (such as the Benro GD3WH or Manfrotto 410) to make effortless 1-degree adjustments to your vertical and horizontal lines.
- Keep your camera at chest height (4.5-5 feet) for interior rooms to capture natural, balanced property perspectives.
By investing in a high-quality tripod and head combination, you ensure clean vertical lines, tack-sharp bracketed exposures, and a faster, more enjoyable workflow on every property listing you photograph.
Follow us today for more expert real estate marketing strategies and the latest real estate techniques for capturing every home better.
- Facebook: fotobermedia.co
- YouTube: Fotober
- TikTok: @fotober
- Instagram: fotober_media.
Related posts

San Antonio Housing Market Forecast 2026: Prices & Trends
October 30, 2026

What Drives Mortgage Rates? Explain The Forces Behind 2026's Numbers
October 29, 2026

Dallas vs. Los Angeles Housing Market: Comparing Prices & Supply
October 29, 2026

Orlando Population Growth in 2026: Trends & Housing Demand
October 26, 2026
