
Real Estate Photography Tips: Master Sunlight Angles
.png)

Share:
Table of Contents
Capturing exceptional property photos requires more than a good camera-it demands a deep understanding of how sunlight shapes your shots. From golden hour glows to overcast perfection, light management is at the heart of real estate photography success. These professional real estate photography tips sunlight will help you master each scenario effortlessly. Elevate your portfolio and showcase properties at their very best.
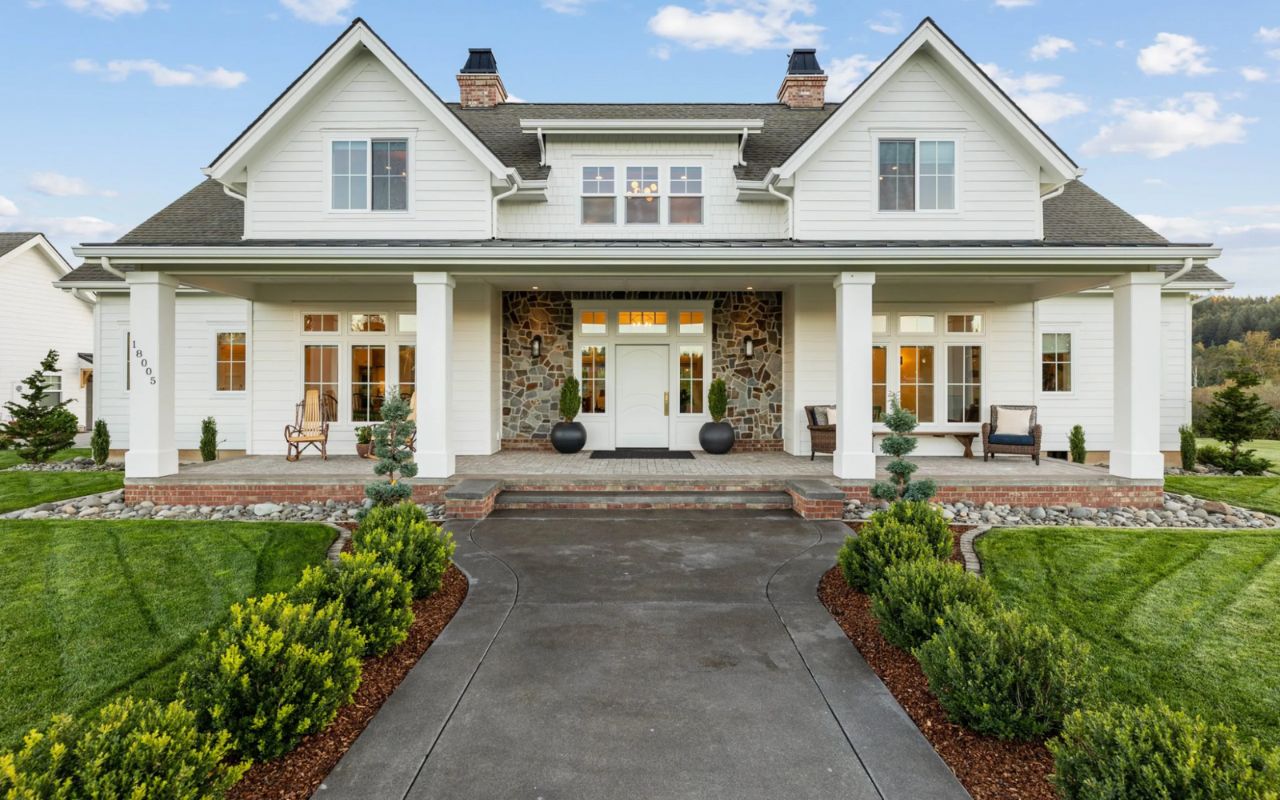
1. Use the Golden Hour for Exterior Shots
One of the most impactful real estate photography tips sunlight professionals emphasize is knowing exactly when to shoot. Timing can transform ordinary property photos into extraordinary showcases that highlight a home’s unique features.

Golden Hour Explained
The golden hour is the brief period just after sunrise and right before sunset when sunlight is soft, warm, and beautifully diffused across the landscape. Unlike midday glare, this light gently wraps around the property, enhancing colors and textures without casting deep, distracting shadows.
Why It Works
Golden hour light naturally flatters both exteriors and surroundings. It softens hard edges, reduces contrast, and brings out inviting golden tones that make listings look vibrant and welcoming. This effect helps potential buyers connect emotionally with the property, seeing it in its very best light.
Tip
Schedule exterior photo shoots early in the morning or in the late afternoon to align with golden hour conditions. Arrive at the location ahead of time to set up and plan your angles, ensuring you make the most of this fleeting but powerful lighting window. This technique is a staple in every professional real estate photography guide, where natural light is leveraged to maximize curb appeal.
2. Avoid Harsh Midday Sun
Among the most essential real estate photography tips sunlight experts always share is understanding when not to shoot. Even the most beautiful property can lose its appeal if captured under the wrong lighting conditions.
Challenges of Midday Sunlight
When the sun sits directly overhead around midday, it produces extremely strong, directional light. This creates harsh shadows, intense highlights, and significant contrast that can obscure important details. Exterior walls may look washed out, while landscaping loses its natural color and dimension. For interior shots, midday light streaming through windows often results in overexposed patches and uneven brightness.
Solutions to Overcome Midday Challenges
- Reposition Your Camera: Change your shooting angle to minimize direct sunlight entering the lens or reflecting off surfaces.
- Seek Shaded Areas: Use nearby trees, structures, or portable shades to soften exposure when shooting outdoors during midday hours.
- Adjust Your Schedule: If possible, reschedule your session for the morning or late afternoon when the sun is lower and the light is gentler.
3. Make the Most of Overcast Days
It might surprise many, but cloudy skies can be a secret weapon in your photography toolkit. When it comes to real estate photography tips sunlight experts trust, learning to embrace overcast conditions is a valuable skill that ensures beautifully balanced images.
Why Overcast Works So Well
Cloud cover acts as a natural light diffuser, scattering sunlight evenly across the scene. This soft, filtered light minimizes harsh shadows and prevents overexposed highlights, creating a clean and uniform look that flatters both exterior and interior spaces. Overcast lighting brings out natural colors and details that might be lost in strong sunlight.
Ideal Use Cases
- Exteriors: While golden hour may add warmth, overcast light is perfect for neutral, true-to-life colors-especially useful for homes with reflective surfaces or light-colored exteriors.
- Interiors: Soft daylight filtering through windows eliminates harsh contrasts between bright windows and darker indoor spaces, allowing rooms to feel more open and inviting.
Tip
Don't postpone your shoot just because the sun isn’t out. Overcast days offer consistent, diffused lighting throughout the day-perfect for extended sessions and multi-room interior shoots. Leveraging this real estate photography tips sunlight technique ensures your photos are evenly lit, professional-looking, and visually appealing in any weather.
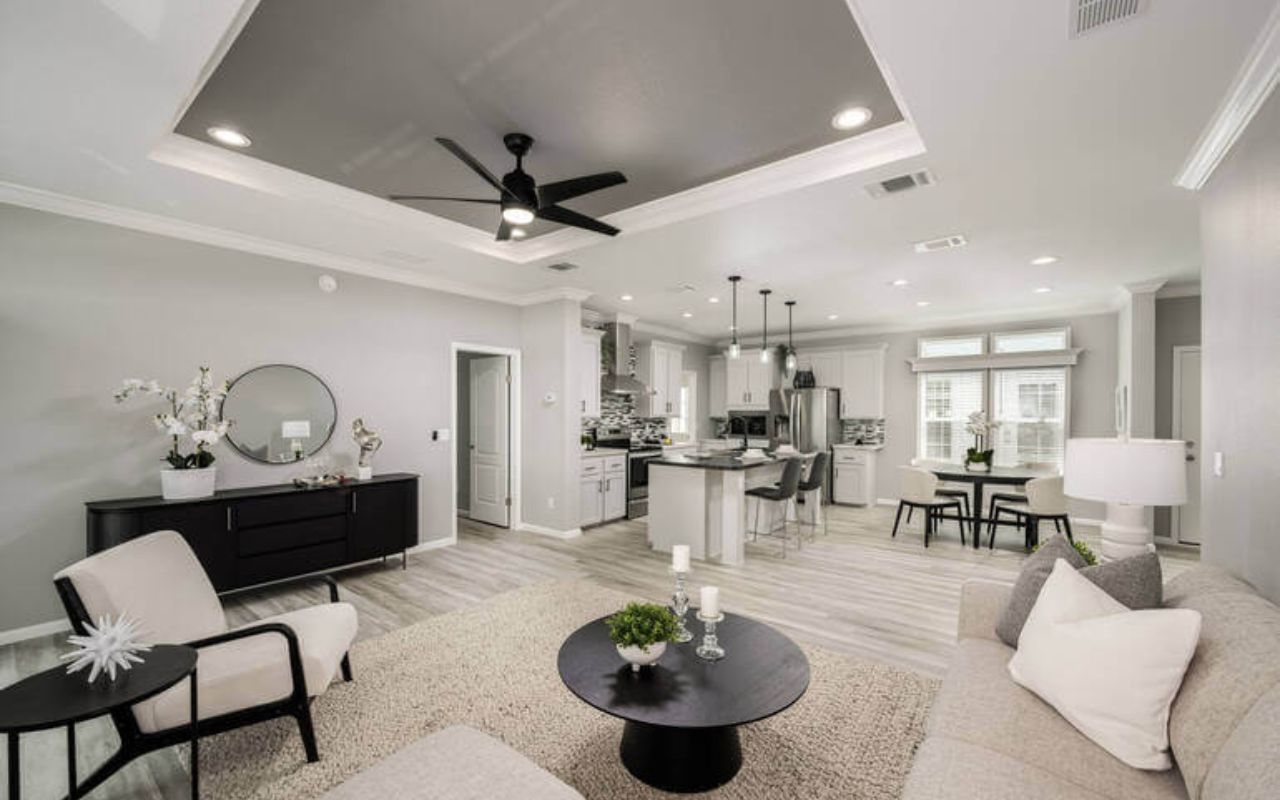
4. Managing Interior Light from Windows
Capturing interiors flooded with natural sunlight can be both a gift and a challenge. Among the most valuable real estate photography tips sunlight professionals rely on is knowing how to balance bright window light with the darker areas inside a room.

The Challenge of Mixed Lighting
When strong sunlight pours through windows, it often causes two problems: the exterior view becomes overexposed, while the interior remains underexposed and shadowed. This high-contrast situation makes it difficult to showcase both the room’s details and the outdoor scenery in a single shot.
Solutions to Create Perfectly Balanced Photos
- Use HDR Photography: High Dynamic Range (HDR) techniques allow you to capture multiple exposures - one for the bright windows, one for the mid-tones, and one for the darker interior. Merging these exposures results in a single image with balanced brightness and full detail throughout.
- Adjust Camera Settings Manually: Instead of relying on auto-exposure, switch to manual mode to fine-tune shutter speed, aperture, and ISO. This gives you precise control to correctly expose both interior spaces and window views.
- Consider Window Treatments: If the sunlight is too intense, partially close blinds or sheer curtains to diffuse the light and soften highlights without making the space feel dark.
Mastering the right camera settings for real estate photography - from ISO to white balance - plays a crucial role in handling high-contrast indoor scenes with bright windows. To further refine interior images, especially those with mixed lighting, professional real estate photo editing can correct exposure differences and restore balanced tones across the entire frame.
5. Use Reflectors and Diffusers to Control Light
Even the best natural lighting sometimes needs a little help. One of the most practical real estate photography tips sunlight professionals recommend is using simple tools like reflectors and diffusers to control and enhance ambient light-especially when conditions aren’t ideal.

Why Light Control Matters
Natural sunlight, while beautiful, is unpredictable. It may cast deep shadows in the wrong places or create uneven lighting that distracts from your subject. Reflectors and diffusers give you the power to manage this light on location, helping you produce more consistent and visually appealing photos.
How Reflectors Work
Reflectors bounce sunlight into areas that would otherwise be in shadow-such as corners of a porch, shaded entryways, or dark sides of an interior room. They come in different surfaces (white, silver, gold) to modify the color and intensity of the reflected light. A silver reflector, for example, enhances brightness and contrast, while a white one provides a softer, more neutral fill.
The Role of Diffusers
Diffusers soften harsh sunlight before it hits the subject. This is especially useful during bright conditions where direct light can cause glare or harsh highlights. By placing a diffuser between the sun and your subject-be it a window, patio, or living room-you’ll achieve softer shadows and a more even exposure across the frame.
Tip
These tools are lightweight, affordable, and incredibly effective. Incorporating them into your workflow is one of the smartest real estate photography tips sunlight enthusiasts can apply to elevate image quality without complicated setups.
6. Get Professional Help with Real Estate Photography
While mastering these real estate photography tips sunlight can dramatically improve your photos, sometimes the most effective approach is to collaborate with professionals or hire real estate photo editing services that specialize in capturing and refining property visuals at their finest.
Why Professional Expertise Matters
Real estate photographers and editors bring years of technical skill, advanced equipment, and an expert eye for composition. They understand how to work with natural light in every situation-from bright midday sun to overcast skies-and can consistently produce high-impact visuals that showcase a property’s best features.
Benefits of Professional Support
- Consistent Quality: Professional photographers have refined processes to create a cohesive look across all images in your listing.
- Time Savings: Delegating photography frees you to focus on staging, client relationships, and sales.
- Post-Processing Excellence: Advanced editing techniques, including HDR blending and color correction, ensure photos are polished, vibrant, and ready to attract buyers.
- Competitive Advantage: High-quality visuals make your listings stand out in crowded marketplaces, helping you sell faster and at better prices.
Tip
When you need to guarantee exceptional results-especially for luxury listings or time-sensitive projects-partnering with experienced professionals is an investment that pays for itself many times over.
Conclusion
Controlling natural light is a vital skill for any real estate photographer. From capturing the golden hour to overcoming midday glare, using reflectors and diffusers, or balancing tricky interior light, these real estate photography tips sunlight provide the foundation for stunning, professional property images. But when excellence is non-negotiable, collaborating with industry specialists like Fotober - Real Estate Photo Editing And Video Editing ensures your visuals are not only technically perfect but emotionally engaging-helping you attract more buyers, faster.
Related posts

Double Your Booking: Airbnb Photography Tips for World Cup Host Cities
July 15, 2026

The Legacy of Sam Neill Real Estate: Vineyard & His Private Sanctuary
July 14, 2026

World Cup 2026 Host City Real Estate: Overview & Marketing Strategies
July 13, 2026

Most Common Photography Mistakes California Realtors Should Avoid
July 10, 2026
