
How to Scale an Image in Photoshop Without Losing Quality (2026 Guide)
Share:
Table of Contents
- 1. Understanding image scaling in photoshop
- 2. How to Scale an Image in Photoshop (Step-by-Step)
- 3. How to scale images in Photoshop without losing quality
- 4. Keyboard shortcuts for faster image scaling in Photoshop
- 5. Common scaling problems and How to fix them
- 6. Advanced scaling techniques used by professionals
- 7. When to outsource image scaling and editing
Photoshop provides powerful scaling tools that preserve image quality while achieving your desired dimensions. Whether preparing photos for print, designing for the web, or creating compositions, understanding these scaling methods ensures professional results.
This guide walks you through how to scale an image in Photoshop, from basic transformations to advanced techniques. You'll learn step-by-step processes, workflow shortcuts, solutions for common problems, and professional tips. Mastering these techniques gives you complete control over image dimensions while maintaining quality.
1. Understanding image scaling in photoshop
1.1. What image scaling means
Image scaling refers to adjusting the visual size of an image by either enlarging it (upscaling) or reducing it (downscaling). In Photoshop, scaling affects several technical factors, including pixel density, resolution, and overall image clarity.
When an image is enlarged, Photoshop must generate additional pixels to fill the new space. When the image is reduced, the software combines existing pixels to maintain visual consistency. Because of this process, scaling can influence both the sharpness and file size of the final image.
Photoshop uses sophisticated resampling algorithms to help preserve details during these adjustments. Compared with basic image resizing tools, these algorithms allow designers and photographers to scale images while maintaining a more natural look.
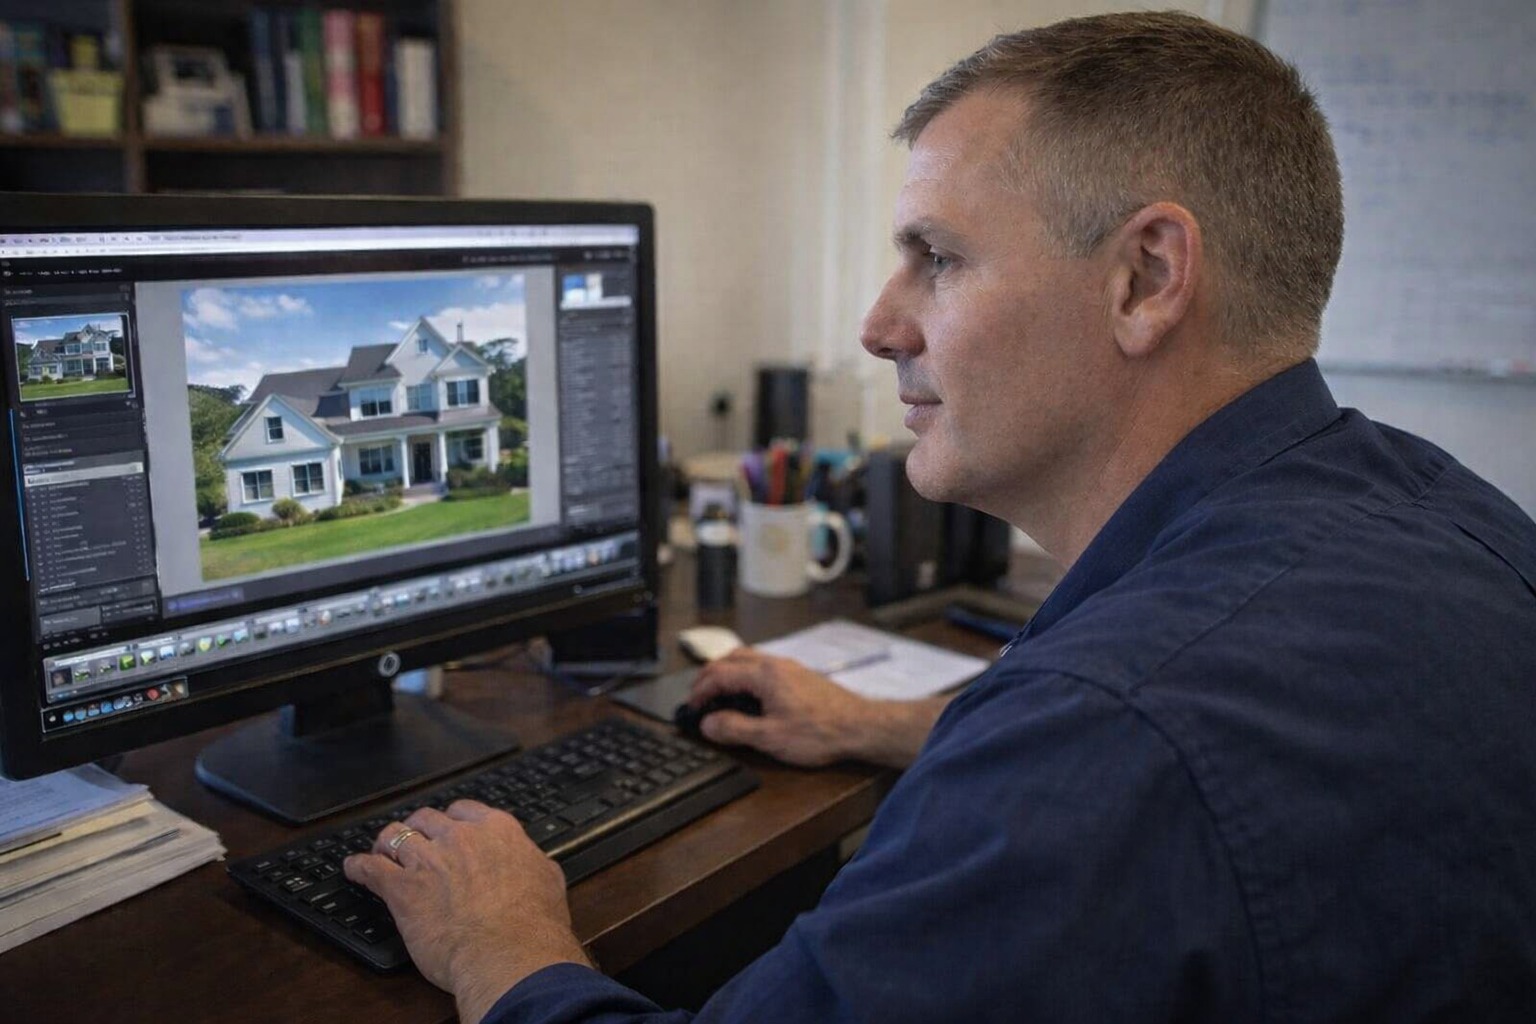
For best results, it’s recommended to start with the highest-resolution image available. This is particularly important for professional work such as marketing visuals or real estate photography, where image clarity directly affects presentation quality.

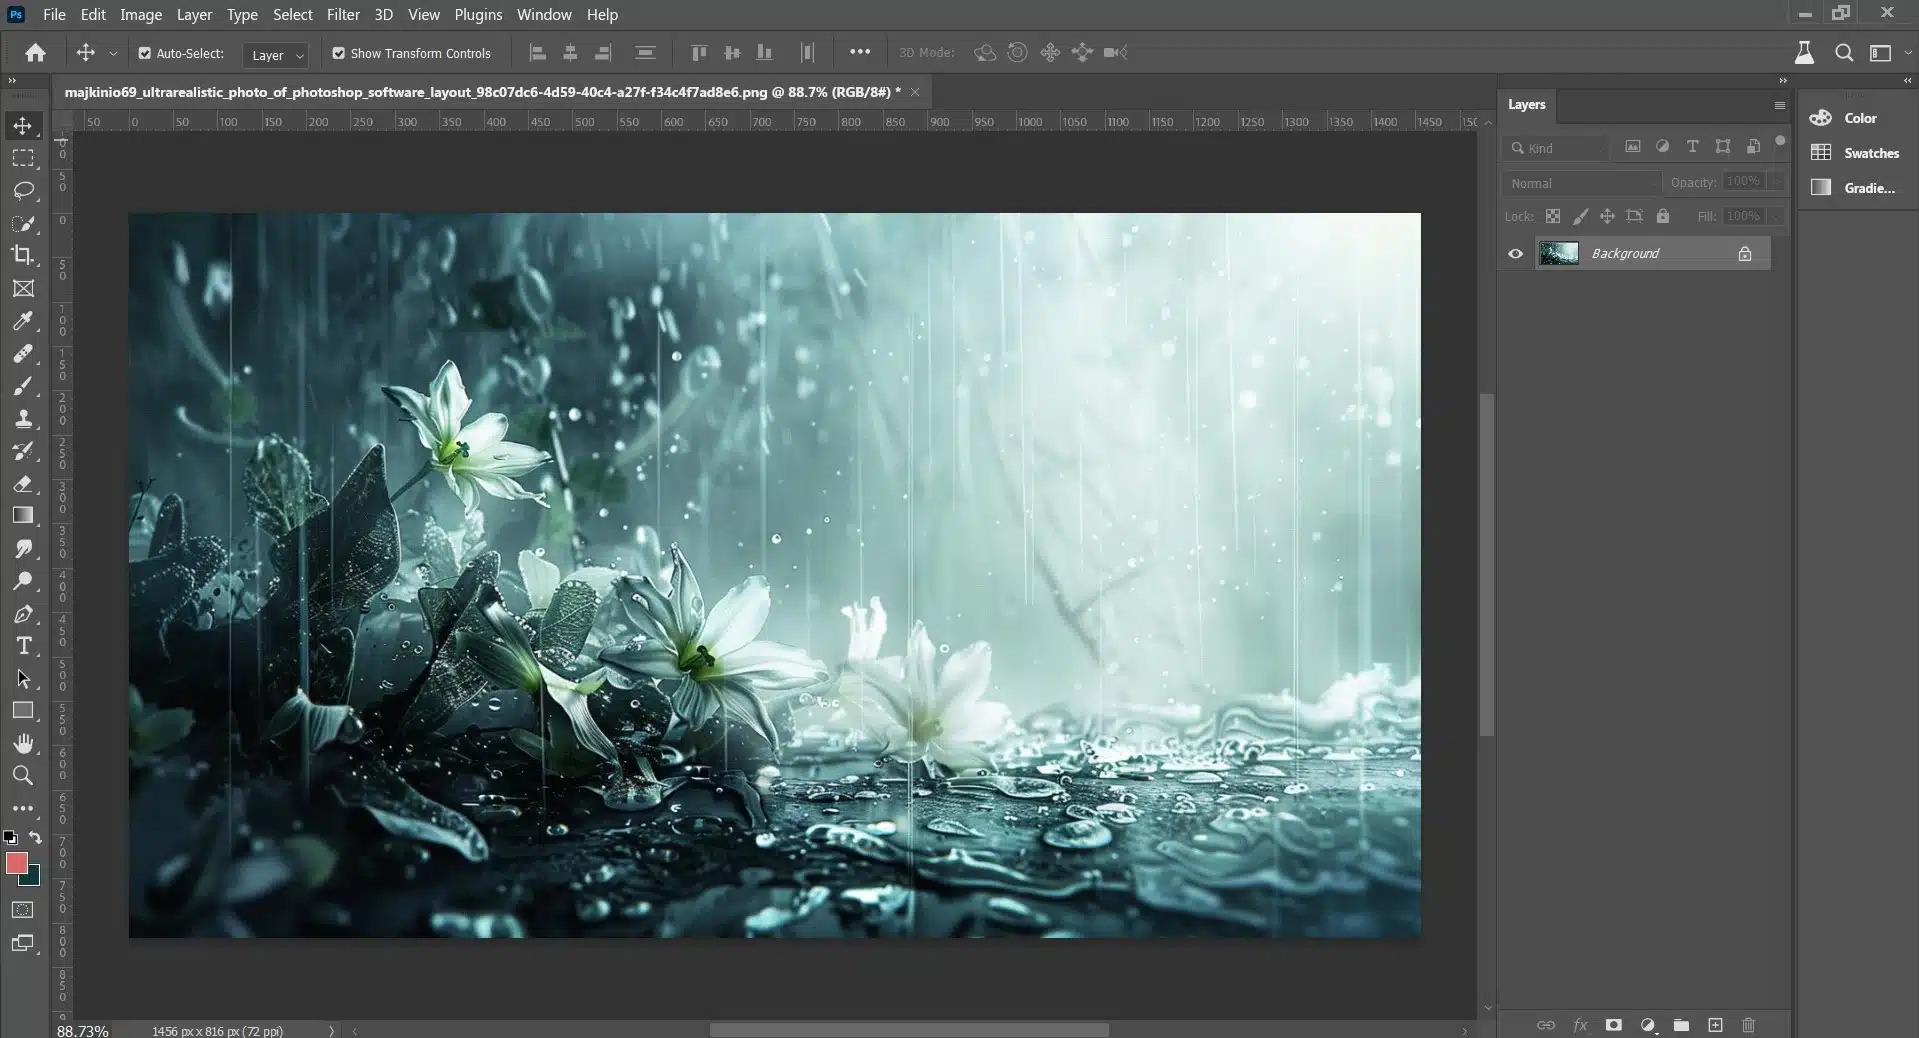
Image: Master the basics of image scaling for better quality.
1.2. Scaling vs resizing vs cropping
These terms are often used interchangeably, but they affect images in different ways. Understanding the differences helps you choose the right tool when editing photos in Photoshop.
|
Method |
What it changes |
|
Scaling |
Adjusts the size of an object or layer within an image |
|
Resizing |
Changes the overall dimensions of the entire image file |
|
Cropping |
Removes parts of the image to change composition or aspect ratio |
For example, designers may scale individual elements when adjusting layouts, while photographers often resize an entire image before exporting it for web or print. Cropping, on the other hand, is typically used to improve composition or fit specific aspect ratios.
Understanding how these techniques differ will make it easier to choose the right method when learning how to scale an image in Photoshop efficiently.
2. How to Scale an Image in Photoshop (Step-by-Step)
If you're wondering how to scale an image in Photoshop, the fastest method is using Free Transform (Ctrl/Cmd + T) to resize a layer. For precise dimensions, Photoshop’s Image Size tool allows you to adjust resolution and pixel dimensions. When resizing complex scenes, Content-Aware Scale helps protect important subjects while stretching background areas.
2.1. Using the Scale Function (Transform > Scale)
The Scale function provides targeted scaling for selected layers or objects without affecting the entire composition. Commonly used in the best photo editing software for real estate, the Scale tool maintains the object's center point while providing corner handles for adjusting dimensions.
Follow these steps:
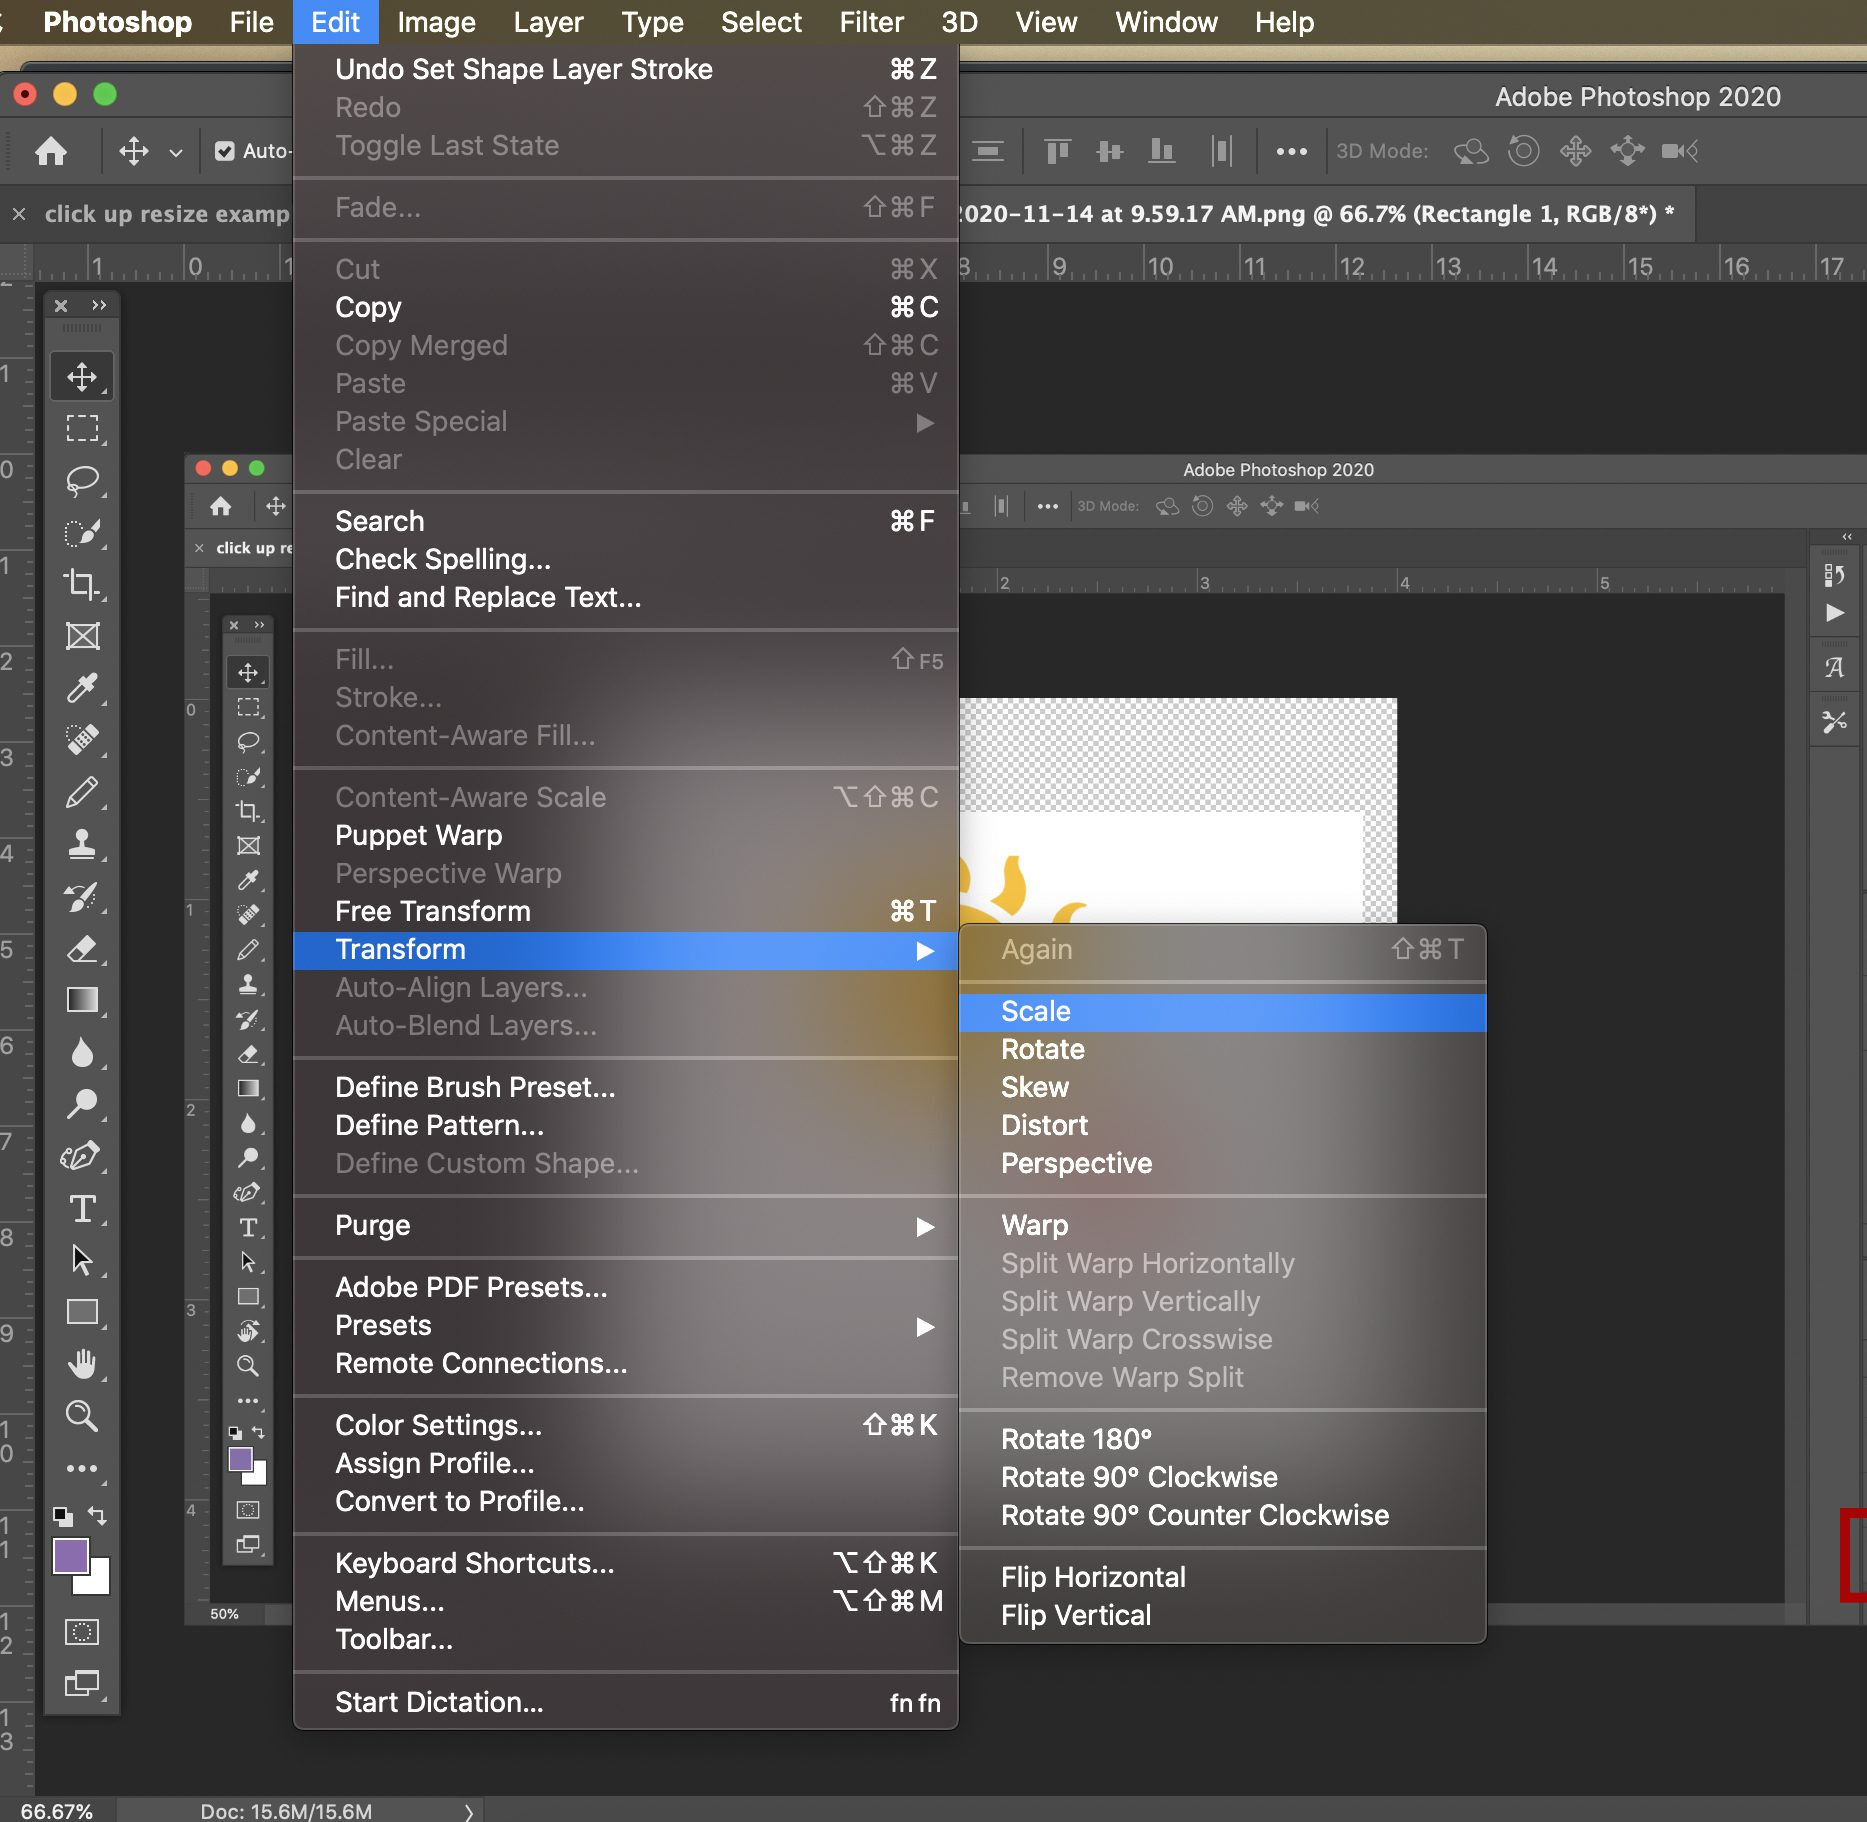
- Select the layer you want to scale
- Go to Edit > Transform > Scale (or press Ctrl+T/Cmd+T)
- Drag any handle to resize (hold Shift to maintain proportions)
- Double-click inside the transform box or press Enter to apply
Control the transformation origin by moving the reference point in the center of the transform box. This determines which part of the image remains fixed during scaling.
2.2. Using Free Transform (Edit > Free Transform)
Free Transform combines multiple transformation tools into one versatile command. This unified tool lets you scale, rotate, skew, distort, and apply perspective without switching between different tools.
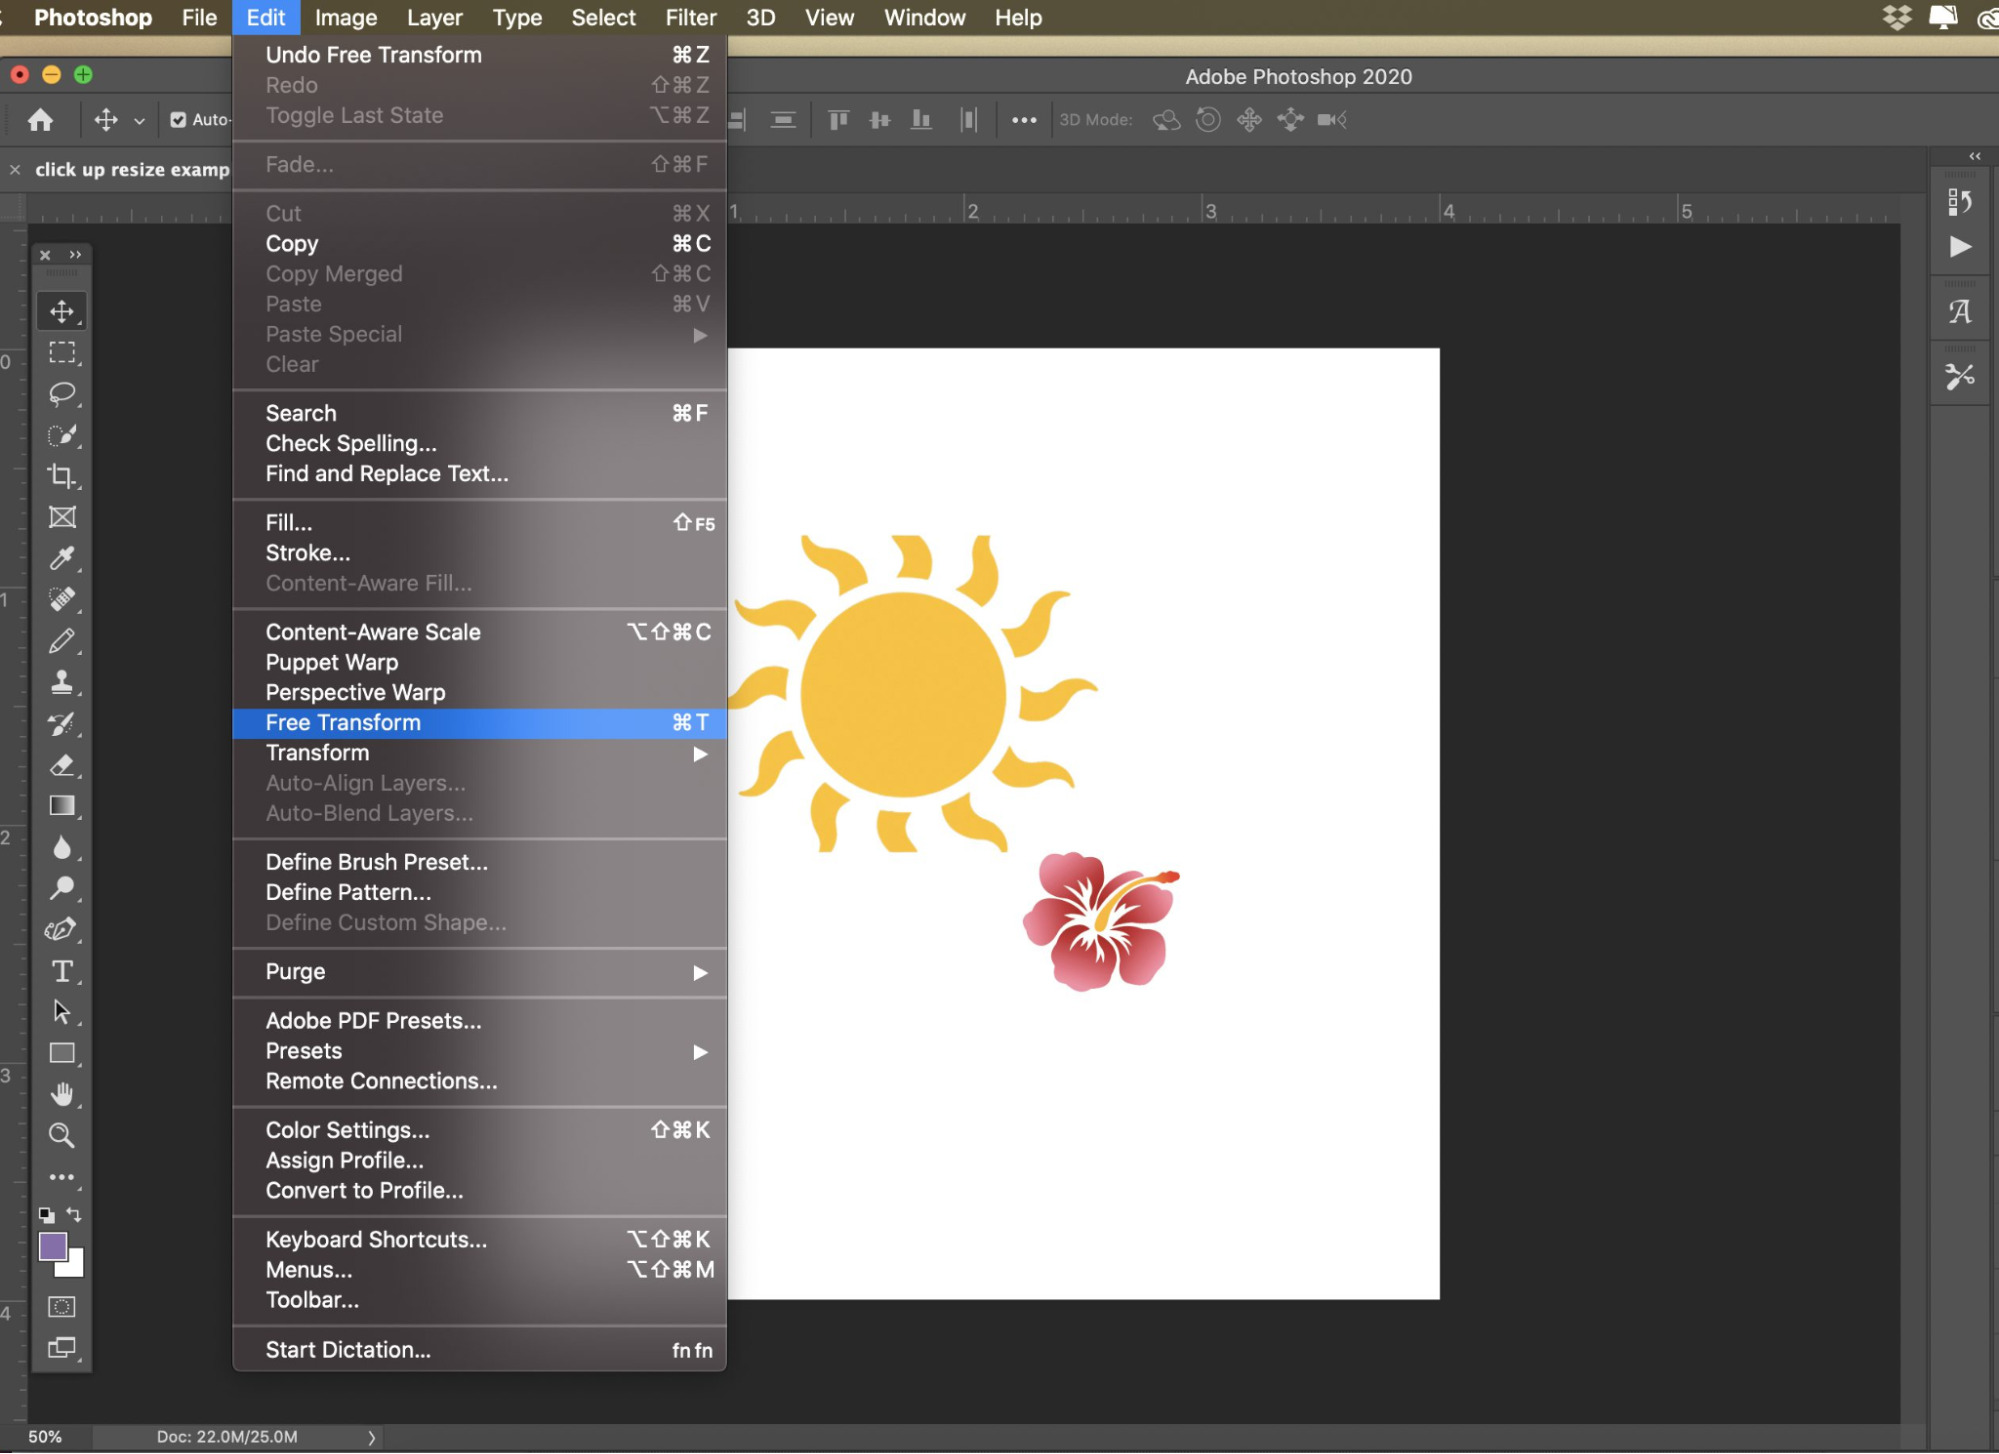
Access Free Transform by pressing Ctrl+T (Windows) or Cmd+T (Mac). Once activated, you can:
- Drag corner handles to scale (hold Shift for proportional scaling)
- Place cursor outside handles and drag to rotate
- Right-click inside the transform box for additional options
- Hold Ctrl/Cmd while dragging corners for perspective or distortion
The options bar displays numerical values for width, height, and rotation. Enter exact values in these fields for precise transformations.
2.3. Using Content-Aware Scale for Smart Resizing
Content-Aware Scale intelligently resizes images while protecting important visual elements. This feature analyzes your image to identify key subjects and background areas, then preferentially scales less important regions.
To apply Content-Aware Scale:
- Select the layer to scale
- Choose Edit > Content-Aware Scale
- Drag the handles to adjust dimensions
- Toggle the "Protect" option for skin tones or create an alpha channel to protect specific areas
- Press Enter to apply
This technique works best on images with clear subjects and expandable background elements like landscapes with sky or water areas.
2.4. Resizing via Image Size Adjustments
Image Size adjustments scale the entire document including all layers. This method works best when you need specific output dimensions, changed resolution, or files prepared for particular media types.
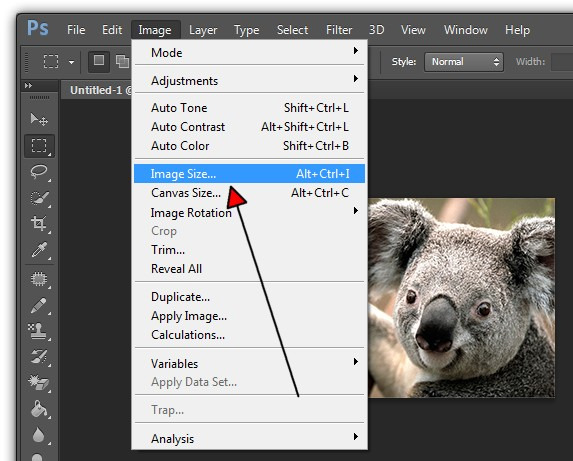
Access Image Size by selecting Image > Image Size or pressing Alt+Ctrl+I (Windows) or Option+Cmd+I (Mac). The dialog box offers:
- Pixel dimensions for width and height
- Document size settings for physical output
- Resolution controls for print quality
- Resampling options that affect how pixels are added or removed
Always enable "Resample" when changing dimensions and choose the appropriate algorithm for your needs:
- "Preserve Details 2.0" for upscaling
- "Bicubic Sharper" for reducing size
- "Bicubic Smoother" for enlarging
2.5. Cropping to Maintain Proportions
Cropping combines scaling with content removal to achieve desired dimensions. Unlike pure scaling, cropping eliminates parts of the image outside your specified boundaries. This maintains image quality by avoiding unnecessary resampling.
The Crop tool offers several features:
- Select the Crop tool from the toolbar
- Drag to create a crop boundary
- Enable "Delete Cropped Pixels" or disable to preserve them
- Set specific dimensions and resolution in the options bar
- Press Enter to apply
Photoshop's overlay guides improve composition while cropping. These guides help you make aesthetically pleasing adjustments that enhance your resized images.
2.6. Using Transform Sub-options
Transform sub-options provide specialized capabilities beyond simple resizing. These advanced transformations adjust scale along with other spatial properties:
- Rotate: Changes orientation while maintaining dimensions
- Skew: Tilts elements along horizontal or vertical axes
- Distort: Moves corner points independently
- Perspective: Creates the illusion of depth and distance
- Warp: Applies flexible mesh-based deformations
Access these through Edit > Transform or right-click while in Free Transform mode. Perspective is particularly useful for product photography, while Warp excels at subtle adjustments in portrait retouching.
3. How to scale images in Photoshop without losing quality
One of the biggest concerns when resizing photos is how to scale without losing quality. When images are enlarged incorrectly, they often become blurry, pixelated, or lose important details. Fortunately, Photoshop offers several tools that allow you to upscale in Photoshop while preserving sharpness and clarity.
Start with the highest resolution possible: Scaling works best when the original image contains enough pixel data. If you begin with a small or compressed photo, enlarging it will inevitably stretch the available pixels. High-resolution images provide Photoshop with more visual information to work with, which helps maintain detail during resizing.
Convert layers to Smart Objects before scaling: A professional workflow often includes converting the image layer into a Smart Object. This allows Photoshop to perform non-destructive transformations, meaning you can resize the image multiple times without permanently degrading the original pixels. It’s especially helpful when you’re experimenting with different dimensions for marketing materials or listing photos.
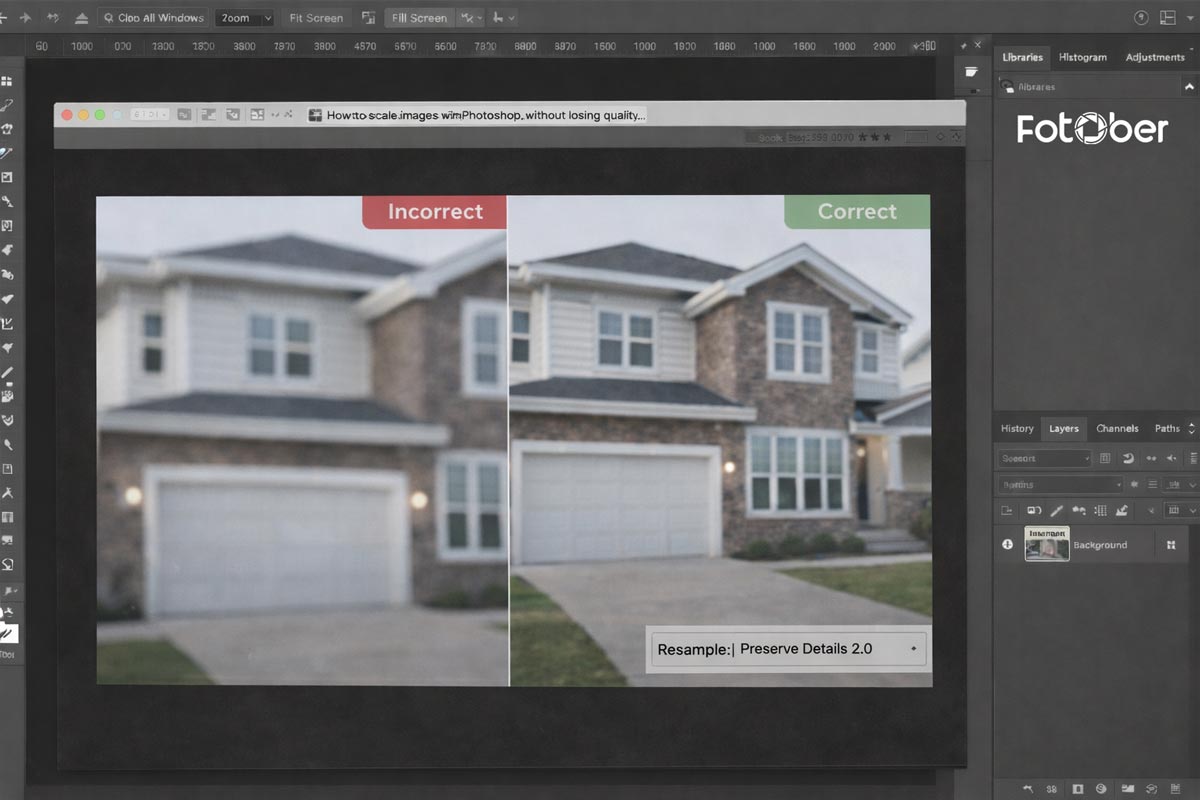
Choose the right resampling method: Photoshop includes several resampling algorithms designed for different resizing needs. For enlarging images, Preserve Details 2.0 is often the best option because it analyzes textures and edges to maintain clarity. If you're reducing image size, Bicubic Sharper helps retain crisp edges and prevents the photo from looking soft.
By combining high-resolution source files, Smart Objects, and the correct resampling method, you can confidently scale without losing quality in most scenarios. However, when images need to be significantly enlarged-such as for professional real estate marketing or large web displays-advanced editing techniques or professional image processing may still produce better results than basic resizing alone.
4. Keyboard shortcuts for faster image scaling in Photoshop
When working with large batches of images, knowing a few shortcuts can significantly speed up your workflow. Instead of navigating through multiple menus, these quick commands allow you to scale images efficently in Photoshop while keeping the editing process smooth and precise.
The most commonly used shortcuts for scaling include:
|
Method |
What it changes |
|
Scaling |
Adjusts the size of an object or layer within an image |
|
Resizing |
Changes the overall dimensions of the entire image file |
|
Cropping |
Removes parts of the image to change composition or aspect ratio |
|
Shift + Alt / Shift + Option |
Scale proportionally from the center point |
|
Arrow keys |
Make small positional adjustments during transformation |
|
Enter / Return |
Apply the transformation |
|
Esc |
Cancel the transformation |
Once Free Transform is active, you can also enter exact values in the options bar to control the scaling more precisely. Photoshop allows measurements in pixels, percentages, or inches, which is useful when preparing images for web listings, marketing materials, or print layouts.
Using these shortcuts helps maintain a faster editing rhythm, especially when you're repeatedly resizing images or preparing visual assets for real estate marketing. Efficient scaling ensures images stay sharp while saving valuable editing time.

With Free Transform active, the options bar displays current dimensions. Type specific values followed by "px" for pixels, "%" for percentage, or "in" for inches to set exact measurements.
5. Common scaling problems and How to fix them
Even when using powerful tools like Photoshop, image scaling can sometimes lead to visual issues. Understanding the most common problems helps you scale images without losing quality and maintain professional-looking results.
5.1. Pixelation after scaling
Pixelation usually appears when an image is enlarged beyond its original resolution. When there aren’t enough pixels available, Photoshop must generate new ones, which can cause blocky or rough textures.
To minimize this issue when you upscale images in Photoshop, use high-resolution source files whenever possible. Selecting advanced resampling methods such as Preserve Details 2.0 can also help maintain more natural textures when enlarging images.
5.2. Distorted proportions
Images may appear stretched or squashed if proportions are not maintained during scaling. This typically happens when resizing freely without locking the aspect ratio.
When using Free Transform, hold Shift while dragging to keep the image proportions consistent. Maintaining the correct ratio is especially important for real estate or product images, where visual accuracy directly impacts presentation quality.
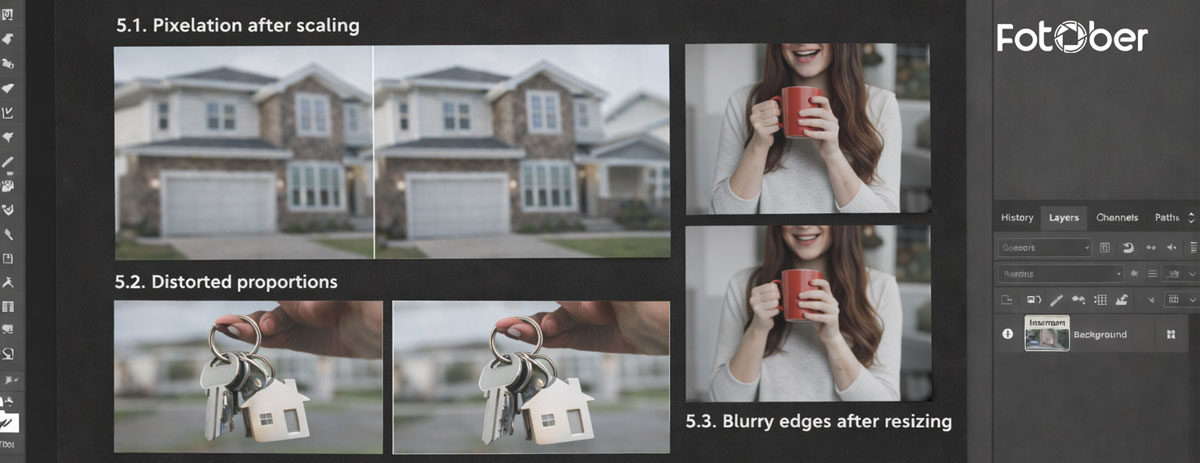
5.3. Blurry edges after resizing
Another common issue is softness or blurry edges after scaling down or up. This can happen when the wrong resampling method is applied.
For sharper results, choose a resampling option designed for the task-for example, Bicubic Sharper when reducing image size, or Preserve Details 2.0 when enlarging images.
To further protect image quality, convert layers to Smart Objects before scaling. This allows Photoshop to perform non-destructive transformations, preserving the original pixel data even after multiple adjustments.
For professionals working with large batches of images-such as product catalogs or real estate listings-manually fixing scaling issues can quickly become time-consuming. In these cases, professional editing workflows or dedicated photo editing services can help ensure consistent image quality across hundreds of images while saving valuable production time.
6. Advanced scaling techniques used by professionals
Professional editors rarely rely on basic resizing alone. To scale images without losing quality, they typically combine non-destructive workflows, high-resolution files, and newer AI-powered tools available in modern versions of Photoshop.
6.1. Work with high-resolution source files
One of the simplest but most important practices is starting with the highest resolution available. Even if the final image will be used online, beginning with a high-quality source gives you more flexibility when scaling, cropping, or adjusting composition later. It is generally safer to scale down from a large image than to upscale a low-resolution file in Photoshop, which can introduce noise and pixelation.
6.2. Use smart objects for non-destructive scaling
Professional workflows often rely on smart objects before any transformation is applied. Converting a layer to a smart object allows Photoshop to retain the original pixel data. This means you can scale the image multiple times without permanently degrading image quality, making it much easier to experiment with layout or composition changes.
6.3. AI upscaling with super resolution
Modern versions of Photoshop also include AI-powered tools that improve how images are enlarged. super resolution, available through Adobe Camera Raw, uses machine learning to intelligently increase pixel density while preserving details and textures. This feature is especially useful when you need to upscale images in Photoshop for larger displays or high-resolution marketing materials.
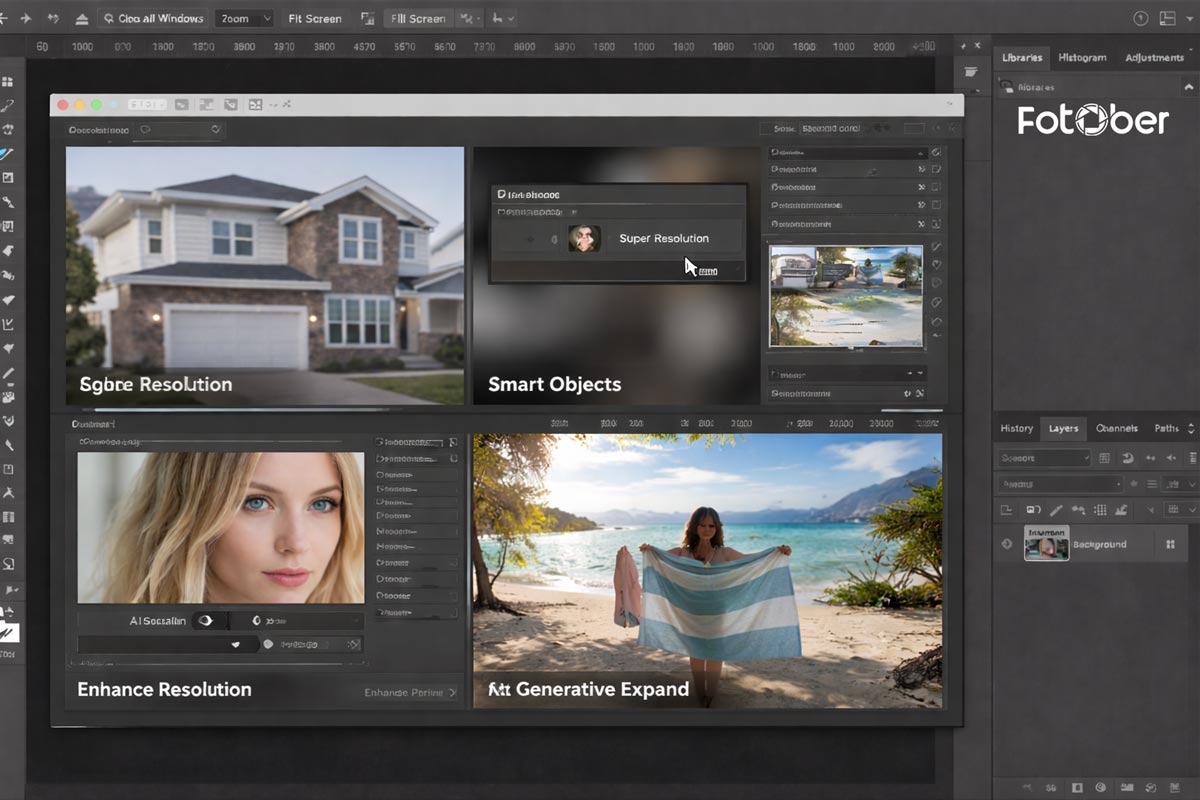
6.4. Extend images with generative expand
Another advanced technique gaining popularity is generative expand. Instead of simply stretching existing pixels, this AI tool can extend the edges of an image and generate new visual content that blends naturally with the original photo. Designers often use it to adjust framing, create additional background space, or adapt images to different aspect ratios.
These advanced techniques help professionals maintain sharp, high-quality visuals even when images need to be resized or adapted for multiple platforms. In industries that rely heavily on visual presentation-such as marketing, product catalogs, or real estate listings-consistent image scaling plays a critical role in maintaining a polished and professional look.
Learning how to scale images in Photoshop is a valuable skill, but in many real-world workflows the challenge is not just scaling a single image-it is managing large volumes of files while maintaining consistent quality.
7. When to outsource image scaling and editing
When manual editing becomes inefficient?
Manual editing can quickly become time-consuming when dealing with large image libraries. This often happens in situations such as:
-
Real estate photo batches that require consistent dimensions for listing platforms
-
E-commerce catalogs with hundreds of product images
-
Marketing campaigns where visuals must fit multiple formats for web, social media, and print
In these cases, repeatedly adjusting size, proportions, and sharpness for each image can slow down production and introduce inconsistencies.
How professional editing services help
Professional editing workflows focus on efficiency and consistency. Instead of handling every file individually, editing teams typically apply structured processes that ensure:
-
Consistent image dimensions across platforms
-
Optimized sharpness when you scale images without losing quality
-
Additional improvements such as color correction and image enhancement
This approach helps maintain visual consistency, which is particularly important for brand presentation and online listings.

Fotober editing support
For photographers, real estate professionals, and marketing teams working with large image sets, outsourcing editing can be a practical solution. Professional editing teams like Fotober help ensure images are properly scaled, enhanced, and optimized for different platforms while maintaining consistent quality across hundreds of images.
By combining careful resizing, image enhancement, and workflow efficiency, professional support can help teams focus more on content creation and marketing while ensuring their visuals remain sharp and presentation-ready.
8. Conclusion
Understanding how to scale an image in Photoshop is a fundamental skill for designers, photographers, and marketing teams working with digital visuals. Whether you are resizing a single image or preparing graphics for multiple platforms, knowing the right scaling techniques helps preserve clarity and maintain a professional appearance.
Throughout this guide, we explored several key approaches, including using free transform, adjusting dimensions through image size, and applying smarter workflows that help scale images without losing quality. Combining these tools with non-destructive techniques-such as smart objects and proper resampling settings-can significantly improve the final results.
As visual content continues to play a central role in online marketing, mastering image scaling becomes an essential part of any creative workflow. With the right methods and consistent practice, you can confidently resize and upscale images in Photoshop while keeping them sharp, balanced, and ready for professional use.
Follow us:
-
Facebook: fotobermedia.co
-
YouTube: Fotober
-
TikTok: @fotober
-
Instagram: fotober_media.
Related posts

Best Aperture for Real Estate Photography: The Range for Sharp Photos
July 18, 2026

Short-Term Rental Photography: Shoot & Edit Photos That Gain Bookings
July 17, 2026
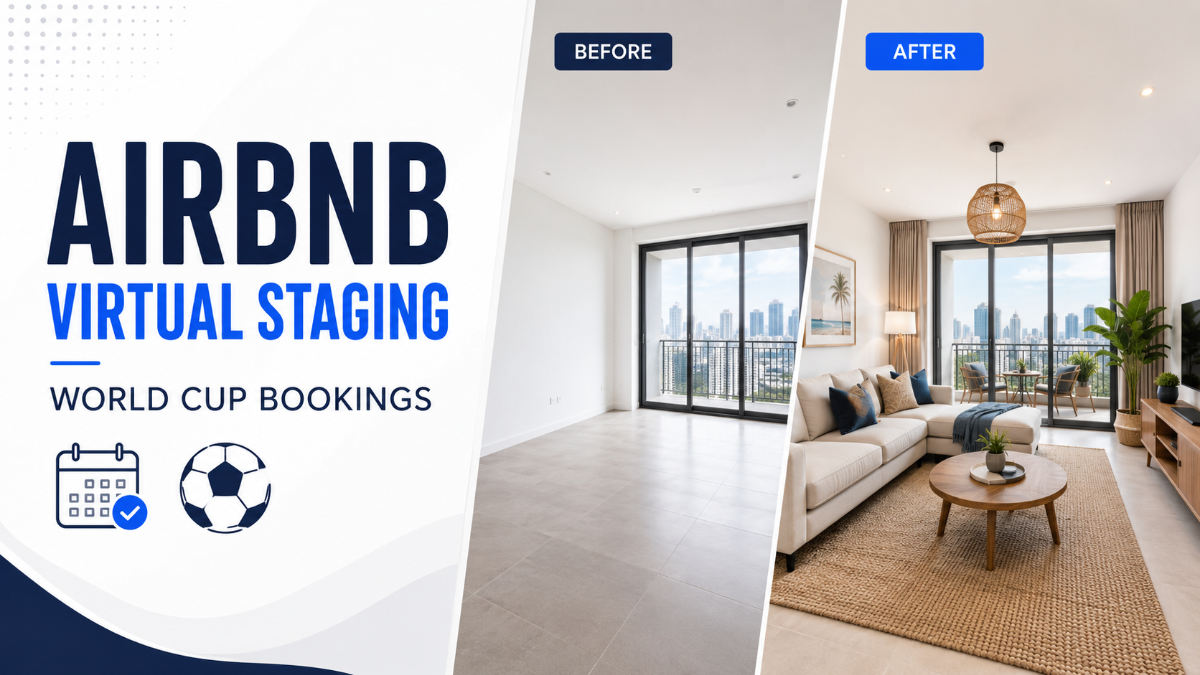
Airbnb Virtual Staging: How to Fill Rentals and Win World Cup Bookings
July 17, 2026

Capture Spain vs Argentina Heat: New York World Cup Short-Term Rentals Guide
July 16, 2026
