
How to Make a Real Estate Video with iPhone: A Step-by-Step
.png)

Share:
Table of Contents
- 1. Why iPhones Are Ideal for Real Estate Videos
- 2. Step 1: Preparing Your iPhone for Optimal Filming
- • 2.1. Selecting the Right iPhone Model for Video Filming
- • 2.2. Key iPhone Settings for Professional Video Quality: Resolution, Frame Rate, and HDR
- • 2.3. Essential Accessories for Stable Shots: Tripod, Gimbal, and External Microphone
- • 2.4. Cleaning the iPhone Camera Lens and Ensuring Optimal Clarity
- 3. Step 2: Best Practices for Shooting Real Estate Videos
- 4. Step 3: Editing Your Real Estate Video on iPhone
- 5. How Fotober Can Elevate Your Real Estate Video
- Conclusion
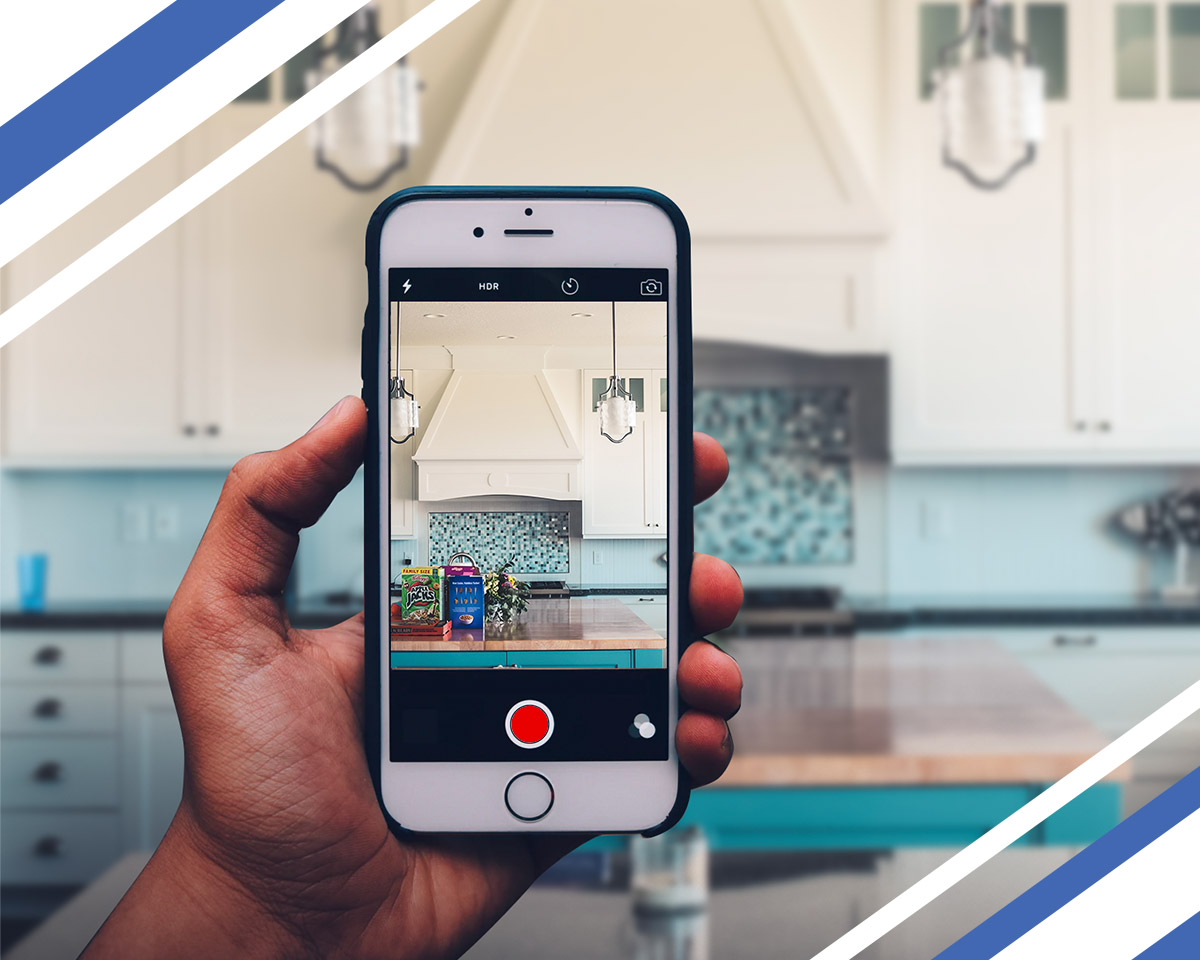
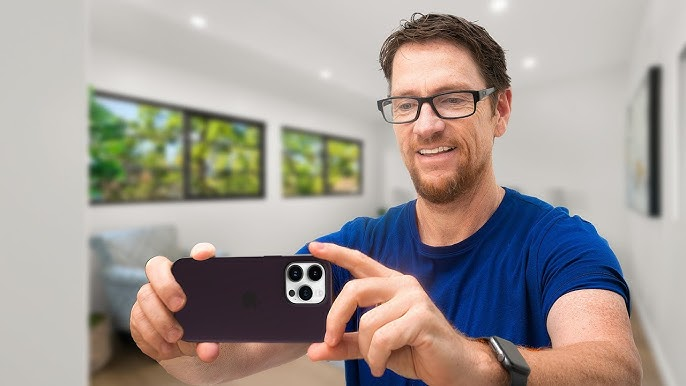
In today’s visual-driven real estate market, knowing how to make a real estate video with iPhone can give agents a competitive edge. Thanks to powerful camera technology and intuitive editing tools, iPhones are now a go-to solution for creating professional property walkthroughs. At Fotober – Real Estate Photo Editing And Video Editing, we help agents turn mobile footage into high-converting video content. This guide will walk you through each step to shoot, edit, and optimize real estate videos using just your iPhone—no expensive gear required.
1. Why iPhones Are Ideal for Real Estate Videos
Modern iPhones have become powerful tools for real estate professionals looking to create high-quality video content without investing in bulky camera gear. With features like 4K video recording, optical image stabilization, and cinematic modes, iPhones are more than capable of delivering polished, professional-looking property walkthroughs.
One of the biggest advantages is their multi-lens systems, which allow for wide and ultra-wide shots - ideal for showcasing spacious interiors and full property views. The iOS interface is also highly intuitive, making it easy for users of all skill levels to frame shots, adjust settings, and shoot video confidently.
If you're wondering how to make a real estate video with iPhone, start by planning your key angles and movements. Use a gimbal or tripod for smooth, steady footage, and make the most of natural lighting to enhance space and detail. After filming, apps like iMovie allow you to trim clips, add text overlays, and fine-tune pacing—all from your phone.
This simplified mobile workflow enables real estate agents to create engaging, professional property videos quickly and efficiently, helping listings stand out and capture more buyer interest.
2. Step 1: Preparing Your iPhone for Optimal Filming
Before diving into the actual filming, you'll want to ensure that your iPhone is set up for optimal video production. This involves selecting the right model, adjusting essential settings, utilizing accessories, and ensuring your camera lens is clean.
2.1. Selecting the Right iPhone Model for Video Filming
Not every iPhone model is created equal, particularly when it comes to video capabilities. If you're keen on making high-quality real estate videos, it’s important to choose the right model that offers excellent video features.
Most of the recent iPhone models—ranging from iPhone 11 and above—come equipped with advanced camera technologies, including ultra-wide lenses and modes that enhance low-light shooting. It's essential to check the specifications of your device, as some models might have features optimized for video capture.
When selecting a model, consider aspects such as:
- Camera Resolution: Higher megapixels usually result in clearer videos.
- Stabilization: Look for models that offer Optical Image Stabilization (OIS), which reduces shake and gives your video a professional look.
- Storage Capacity: Video files can be large, especially when recorded in high resolution. Choose a model with sufficient storage to avoid cutting your filming short.
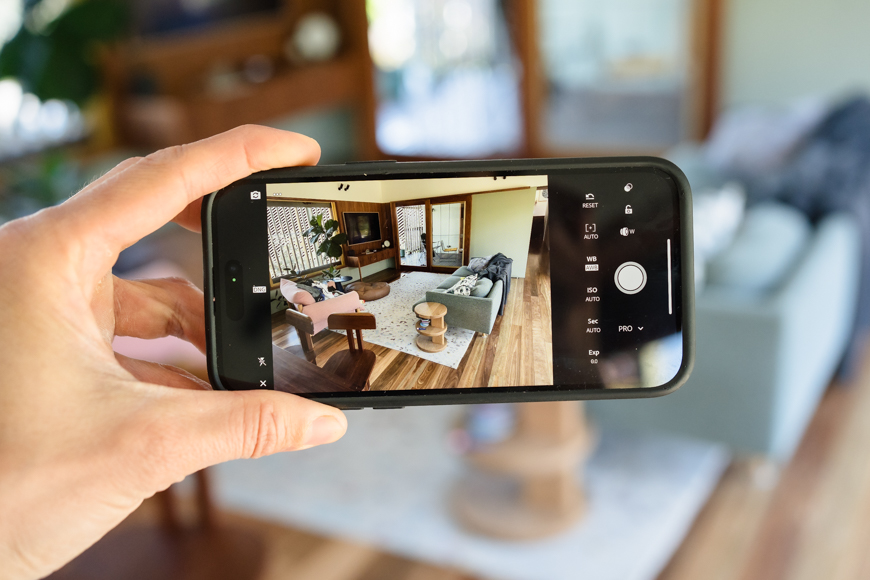
2.2. Key iPhone Settings for Professional Video Quality: Resolution, Frame Rate, and HDR
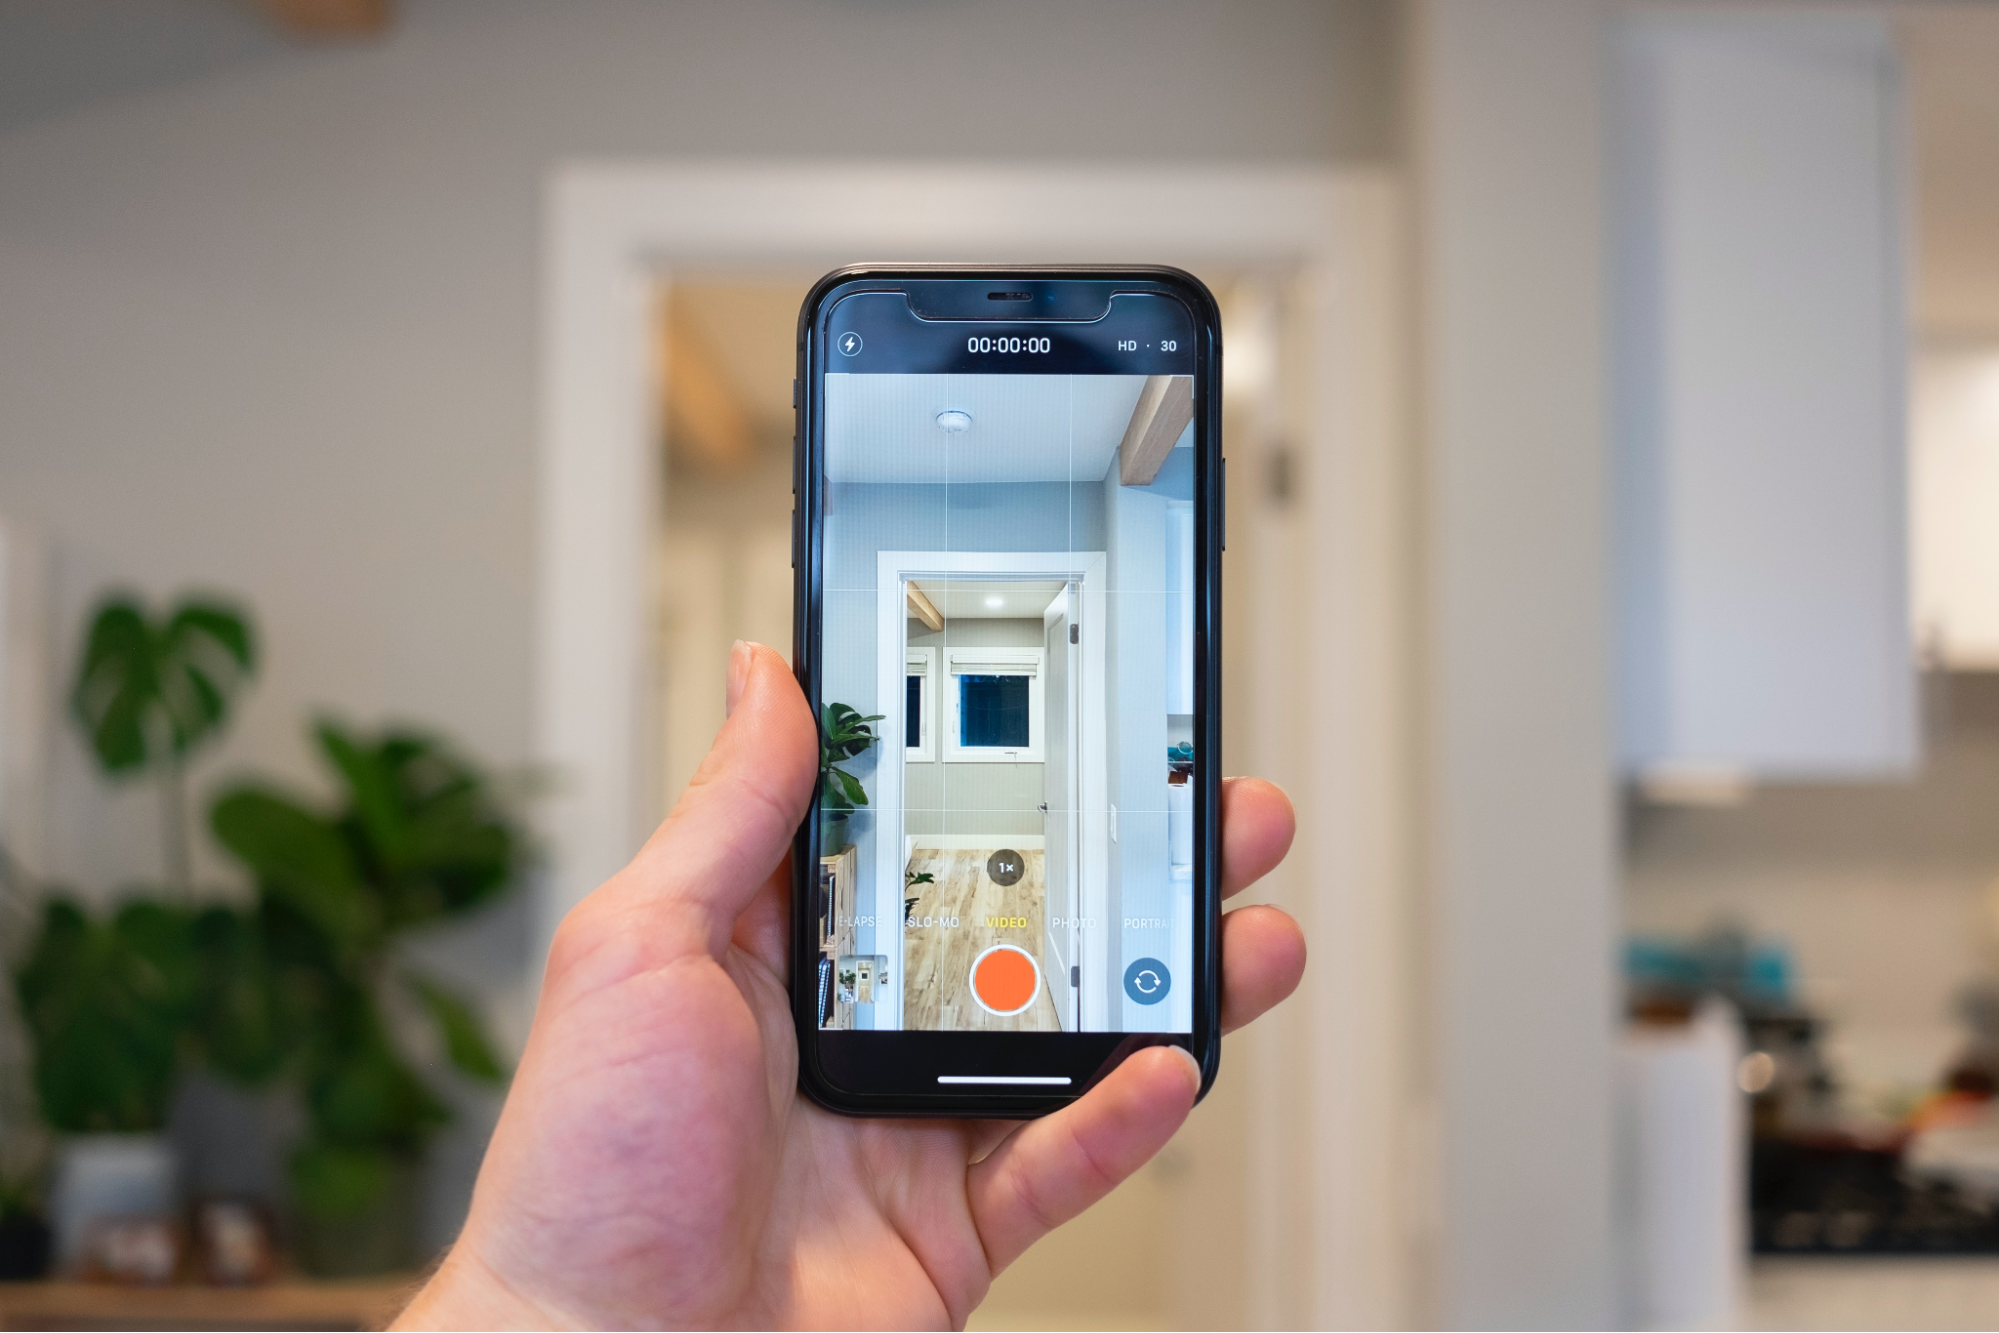
Now that you have the right model, it’s essential to dive into the settings that impact video quality. These include resolution, frame rate, and HDR (High Dynamic Range).
Resolution
The resolution determines how clear your video will be. For real estate videos, it is advisable to shoot in 4K resolution if your iPhone supports it. This setting ensures that your videos capture every detail, making it easier to impress potential buyers with stunning visuals.
To change the resolution:
- Open the Settings app.
- Navigate to Camera.
- Tap on Record Video, and select 4K.
Frame Rate
The frame rate you select can significantly impact the motion quality in your video. A frame rate of 30 frames per second (fps) is suitable for tutorials and general video production, while 60 fps is recommended for capturing more dynamic scenes, such as property walk-throughs.
You can adjust the frame rate in the same Record Video settings menu, and it’s wise to remain consistent to avoid any abrupt changes when editing.
HDR
Activating HDR can improve video quality in high-contrast scenes, making it easier to capture both light and shadow details. If the scene has a bright window and darker interiors, using HDR can help maintain balanced exposure.
Always remember to test your settings in various lighting conditions. Sometimes, the ideal settings may vary based on the environment you’re filming in.
2.3. Essential Accessories for Stable Shots: Tripod, Gimbal, and External Microphone
While taking real estate photos with iphone camera quality is exceptional, stabilization tools and audio equipment can enhance your video content's polish significantly.
Tripod
Using a tripod helps to keep the iPhone steady while filming, ensuring smooth transitions and crisp shots. A tripod is particularly beneficial in showcasing still shots of different rooms, allowing viewers to focus entirely on the space.
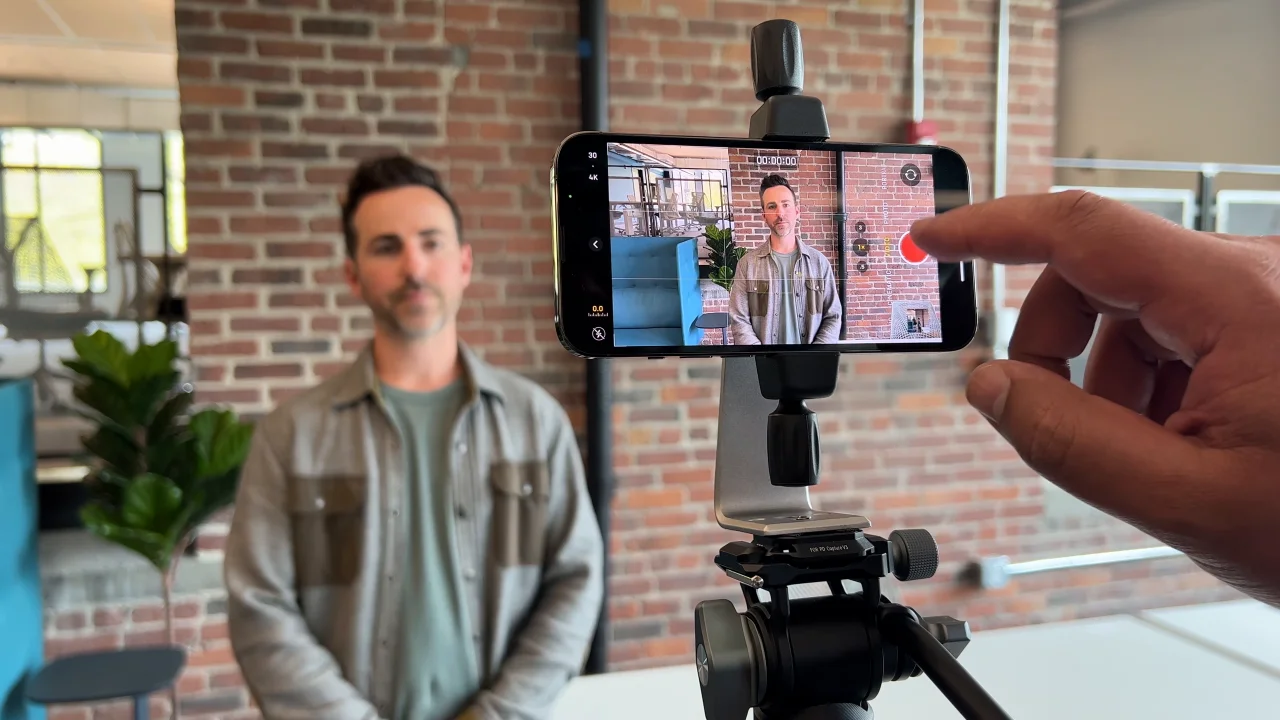
Consider investing in a tripod with adjustable height to capture shots from various angles, which adds depth to your video.
Gimbal
For more dynamic shots such as walk-through tours, utilizing a gimbal stabilizer is a game-changer. Gimbals eliminate the shakiness from handheld filming, producing smooth cinematic shots that look professional and engaging.
When choosing a gimbal, look for options that are lightweight and portable, so you can easily maneuver through tight spaces within the property.
External Microphone
Good audio quality can make or break a video, especially for real estate where you may need to explain certain features as you showcase the property. An external microphone significantly enhances audio quality by reducing background noise.
Consider options like a shotgun microphone or a clip-on lapel mic. Connect it to your iPhone via the Lightning port, and use it to record your voice while walking through the property.
2.4. Cleaning the iPhone Camera Lens and Ensuring Optimal Clarity
The final touch before filming involves ensuring that the iPhone’s camera lens is clean. A smudged lens can detract from video quality, making the content less appealing.
Use a microfiber cloth to gently wipe the lens, removing fingerprints, dust, or any other smudges. This simple action can dramatically improve clarity, ensuring your shots are bright and detailed.
Now that your iPhone is optimized and prepared for filming, you're ready to enter the creative process!
3. Step 2: Best Practices for Shooting Real Estate Videos
Creating an engaging real estate video requires more than just technical know-how. You need to consider the storytelling aspect and how to captivate your audience.
3.1. Filming Techniques
When exploring how to make a real estate video with iPhone, filming technique is one of the most important elements to consider. The way you capture footage can determine how immersive and compelling your final video turns out. For agents still learning how to shoot a real estate video, starting with wide shots and then layering close-ups of key features ensures a balanced, engaging property story.
Start with wide shots to establish the overall layout of the property. Use the iPhone’s ultra-wide lens (if available) to capture full rooms, outdoor spaces, or the surrounding neighborhood. These shots help viewers understand how the spaces connect and flow.
Next, incorporate close-up shots to highlight the unique selling points of the home—such as premium countertops, modern fixtures, or textured finishes. Be intentional with the zoom function to maintain quality while emphasizing these standout details.
Movement adds a dynamic layer to your real estate videos. Walking through the space while filming can simulate an in-person tour. Use a tripod or gimbal to ensure stability and maintain smooth pans as you transition from one room to another. This approach keeps the video engaging and professional while giving potential buyers a virtual sense of walking through the home.
3.2. Lighting Considerations
Lighting can make or break the success of your real estate video. Ideal conditions can brighten spaces and highlight property features effectively.
Utilize Natural Light
Whenever possible, film during the day to take advantage of natural light. Open curtains and blinds to allow sunlight to flood into the space. This not only enhances visuals, making them look more inviting, but also reduces the need for artificial lighting equipment.
Avoid Harsh Shadows
While natural light is beneficial, it can create harsh shadows if not properly managed. If certain areas are overly bright or dark, consider shooting smoother transitions between rooms to minimize abrupt lighting differences.
Using a reflective surface, such as a white wall or a piece of white cardboard, can help bounce light into dark corners, ensuring that the entire space is well-lit.
3.3. Storyboarding Your Video
Before you start filming, create a rough outline or storyboard to organize the flow of your video. This helps ensure that you cover all necessary elements while maintaining a logical and engaging narrative.
- Introduction: Begin with an introduction to the property that highlights its key features.
- Room Sequence: Decide on the order in which you want to showcase different rooms and spaces, and aim for a natural progression.
- Conclusions: Wrap up the video with a brief conclusion reiterating the property’s strengths and inviting potential buyers to reach out for more information.
Having a structured story will provide context and make your video more engaging. It can also help avoid any unnecessary reshoots as you get a clearer direction on what to cover.
4. Step 3: Editing Your Real Estate Video on iPhone
Editing is where your video comes to life. Though it may seem daunting, using built-in iPhone editing features or dedicated applications makes it manageable and fun. Professional real estate video editing can enhance pacing, add branding, and ensure color consistency—turning raw iPhone footage into a compelling marketing tool.
4.1. iPhone Built-In Editing Tools
With the Photos app on iPhone, you can perform basic editing tasks quickly and conveniently. Here’s how to make the most out of these tools.
Trim and Cut
After filming, you may find footage that isn’t necessary or includes shaky takes. The trimming feature allows you to cut out that footage without losing the remainder of your video.
- Open the Photos app.
- Select the video and tap Edit.
- Use the sliders to trim the beginning or end of the video.
Filters
Enhancing your video’s visual appeal can be as simple as applying a filter. Experiment with different filters to find one that complements the property’s aesthetics while retaining a professional tone.
Be cautious with over-editing—subtle adjustments often yield the best results, keeping the focus on the property.
4.2. Utilizing Third-Party Editing Applications
While iPhone’s built-in editing tools are great for quick adjustments, using third-party apps can significantly enhance the final result—especially when aiming for polished, professional real estate videos.
A great starting point is iMovie, Apple’s own app, which offers seamless trimming, transitions, text overlays, and even voiceovers. Its drag-and-drop timeline makes it easy to rearrange clips, narrate property highlights, and add branding or contact info directly within the video.
For even more creative control, apps like InShot and KineMaster provide advanced features such as animated transitions, motion graphics, and sound effects. These tools are user-friendly but powerful, helping agents elevate their video content with dynamic visual storytelling-without needing a background in video production.
By incorporating these apps into your workflow, you’ll maximize the potential of your iPhone and create real estate videos that truly stand out.
4.3. Adding Music and Voiceovers
To make your video more engaging, consider adding background music that matches the mood of the property you’re showcasing. Choose royalty-free music that doesn’t overpower the narration but complements the visuals.
If you're providing insight into features in a voiceover, consider investing in an additional microphone for clearer audio. Be sure to choose a quiet setting for recording, so your voice remains the focal point.
5. How Fotober Can Elevate Your Real Estate Video
If you're looking to take your real estate video to the next level, consider using Fotober. Fotober offers professional-grade video services tailored for real estate, allowing you to produce content that stands out.
One of the standout features of Fotober is its professional editing services. Once you’ve filmed your video, you can upload your footage, and experienced editors can refine it to create a polished final product.

This includes color correction, stabilization, and the addition of engaging transitions or titles, transforming amateur footage into captivating videos that resonate with potential buyers. In addition to video services, Fotober provides marketing solutions that can enhance your real estate business. From social media promotions to website integration, you can utilize their tools to enhance your online presence and reach a broader audience.
Using Fotober, you can maintain consistency in your real estate video branding. Whether it’s through logo placement, color schemes or visual styles, these elements can create a cohesive brand identity that helps you remain recognizable in the marketplace.
Conclusion
Creating a real estate video with an iPhone is an accessible and effective way to showcase properties. By understanding why iPhones are ideal for this purpose, preparing your device, employing best filming practices, and utilizing editing tools, you can produce professional-quality videos that captivate potential clients. Moreover, leveraging services like Fotober can elevate your content to new heights, propelling your real estate video marketing to success. Now, more than ever, investing time and effort into making engaging videos can set you apart from the competition and drive sales.
Related posts
Las Vegas Virtual Staging: Best Platforms to Enchant Your Listings
July 23, 2026

Best Austin Real Estate Photography Options for Perfect Listing Photos
July 22, 2026
Best Aperture for Real Estate Photography: The Range for Sharp Photos
July 18, 2026
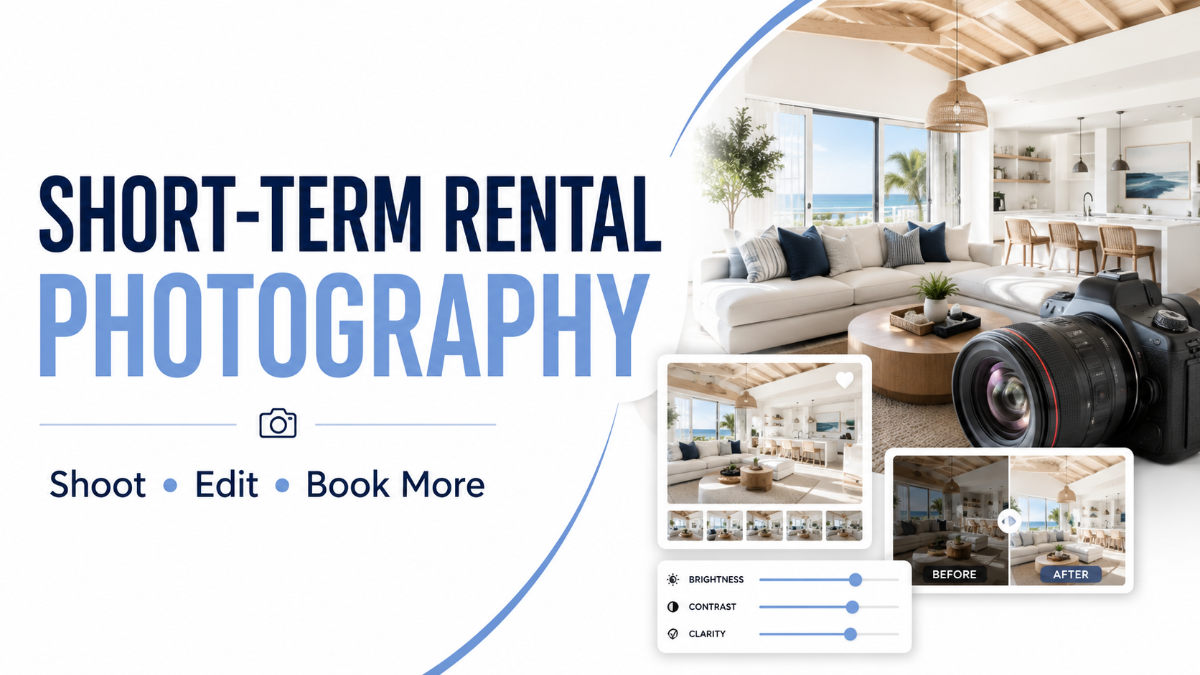
Short-Term Rental Photography: Shoot & Edit Photos That Gain Bookings
July 17, 2026
