How to Add Furniture to a Photo That Actually Sells Homes

Share:
Table of Contents
If you’ve ever tried to market an empty property, you know how difficult it is for buyers to picture themselves living there. Blank rooms feel smaller, colder, and far less valuable than they actually are. That’s exactly why virtual staging has become a go-to strategy in real estate marketing.
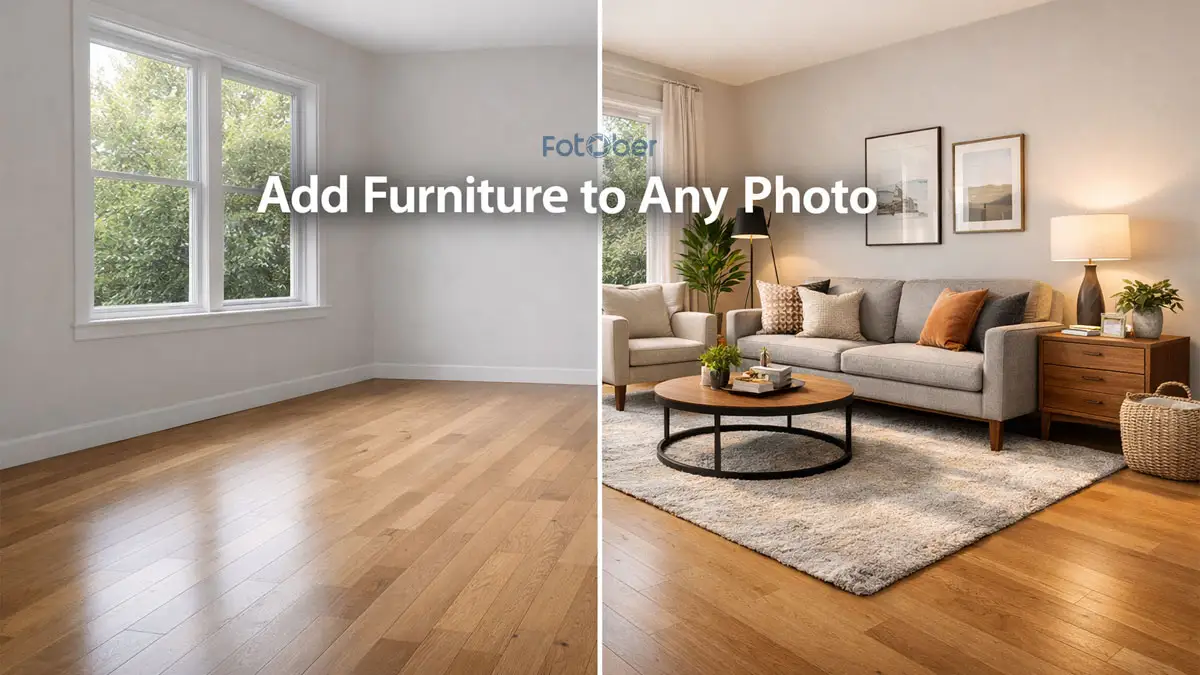
To add furniture to a photo, you can use virtual staging software to place realistic 3D furniture into an empty room, then adjust lighting, shadows, and scale for a natural look. This process helps transform plain listing photos into visually engaging spaces that attract more buyers.
In this guide, I’ll walk you through how to add furniture to a photo step by step, based on what actually works in real estate listings today.
1. Step-by-Step guide to adding virtual furniture to photos
1.1. Step 1: Start with the right photo
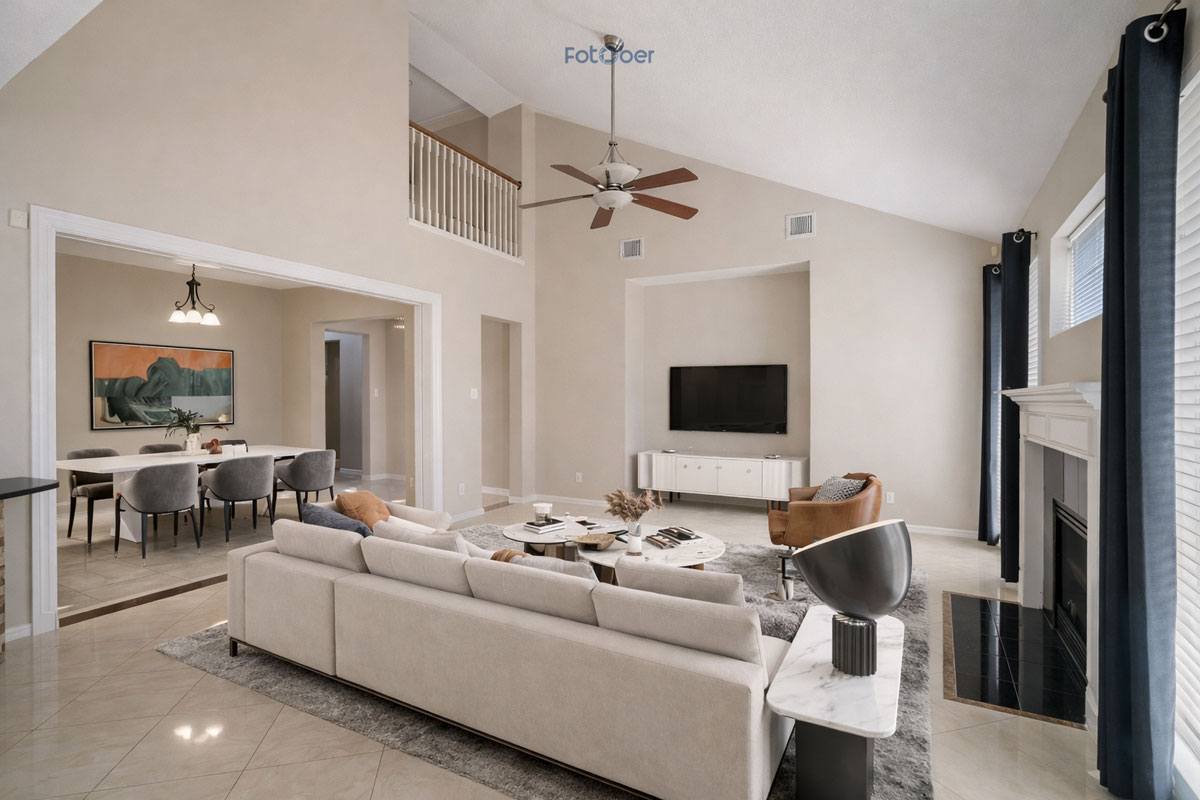
Before you even think about how to add furniture to a photo, you need a solid base image. This is where most beginners go wrong. No matter how good your virtual staging skills are, a poorly shot photo will always look fake.
What you want is a clean, well-lit empty room with natural light. Windows should not be blown out, and the vertical lines (walls, doors) must be straight. According to the National Association of Realtors (NAR), 97% of homebuyers start their search online, which means your listing photos are the first showing for you. If the base image feels off, buyers notice immediately.
Here are a few practical standards professionals follow:
-
Shoot at least 20–24MP resolution
-
Use a tripod to keep lines straight
-
Capture multiple angles of each room
-
Avoid mixing different light temperatures (daylight + tungsten)
Also, take note of room dimensions, ceiling height, and fixed elements like windows or built-ins. These details will directly impact how natural your results look when you later add furniture to a photo.
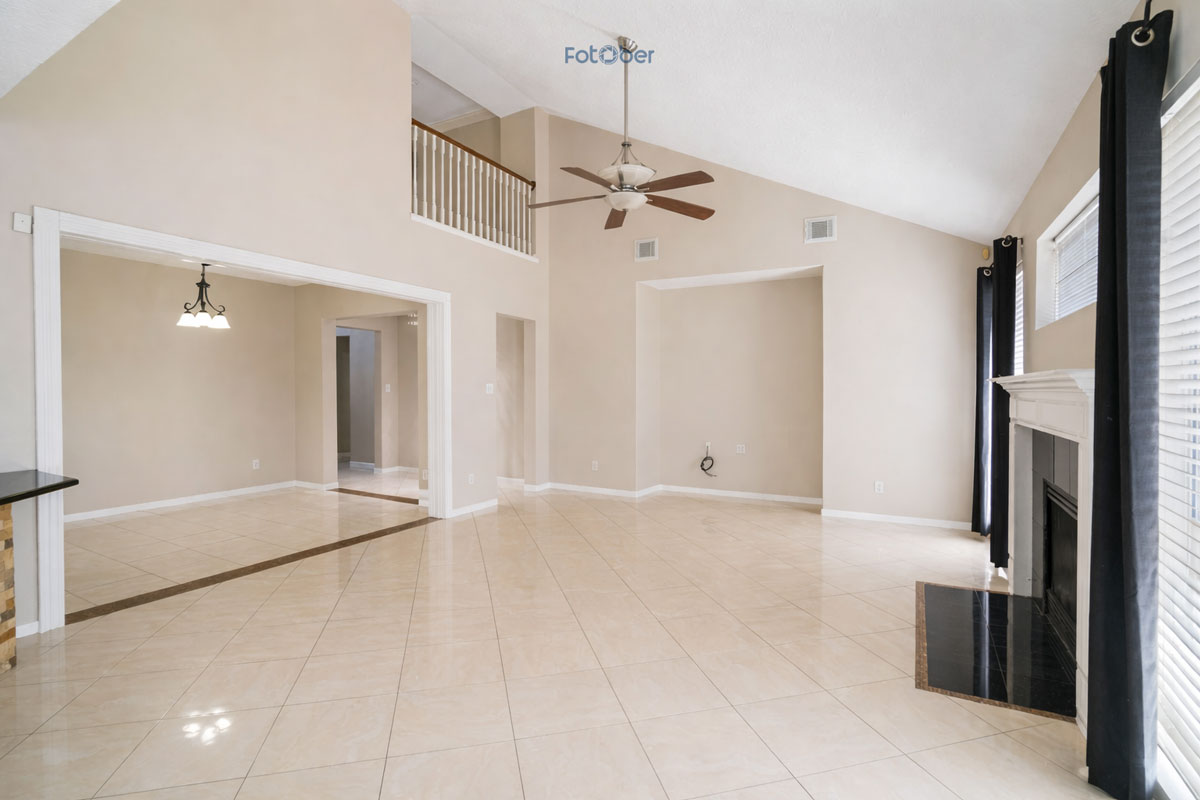
Empty room with balanced natural lighting and straight vertical lines.
1.2. Step 2: Choose the right virtual staging tool
Once your photo is ready, the next step is choosing the right method to add virtual furniture to a photo. There are two main approaches: manual editing (like Photoshop) or dedicated virtual staging platforms.
If you’re going for full control, tools like Photoshop give you flexibility, but they require experience. On the other hand, platforms like Room Sketcher or AI-based staging tools are faster and easier, especially if you’re handling multiple listings.
From a business perspective, the choice depends on volume and speed. Real estate agents working with tight timelines usually prioritize efficiency over perfection.
When you start placing furniture, always begin with the “anchor pieces”:
-
Sofa (living room)
-
Bed (bedroom)
-
Dining table (dining area)
These define the function of the room. After that, layer in smaller items like chairs, rugs, and decor.
A simple rule I always follow: if the furniture doesn’t help a buyer understand how the space is used, it doesn’t belong there.
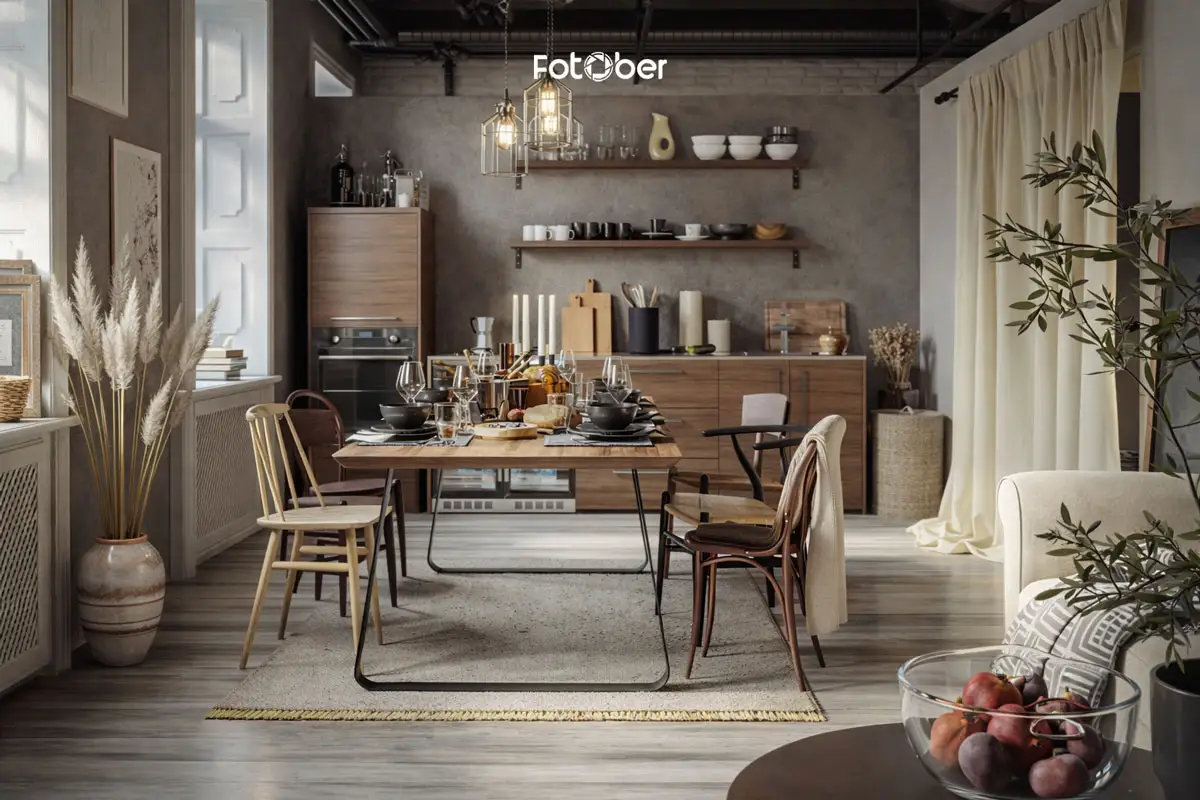
1.3. Step 3: Get the scale and layout right
This is where your image either looks believable-or completely fake.
When you add furniture to a photo, scale is everything. A sofa that’s slightly too large or a table that feels too small will immediately break the illusion.
To avoid that:
-
Match furniture size to real-world dimensions
-
Align furniture with floor perspective lines
-
Leave natural walking space (typically 30–36 inches for pathways)
Think like a buyer walking through the home. Can they move comfortably? Does the layout make sense?
Another key factor is traffic flow. Overcrowding a room is one of the most common mistakes in virtual staging. Ironically, adding too much furniture can make a space feel smaller, which hurts perceived value.
Instead, aim for a clean, functional layout that highlights space-not fills it.

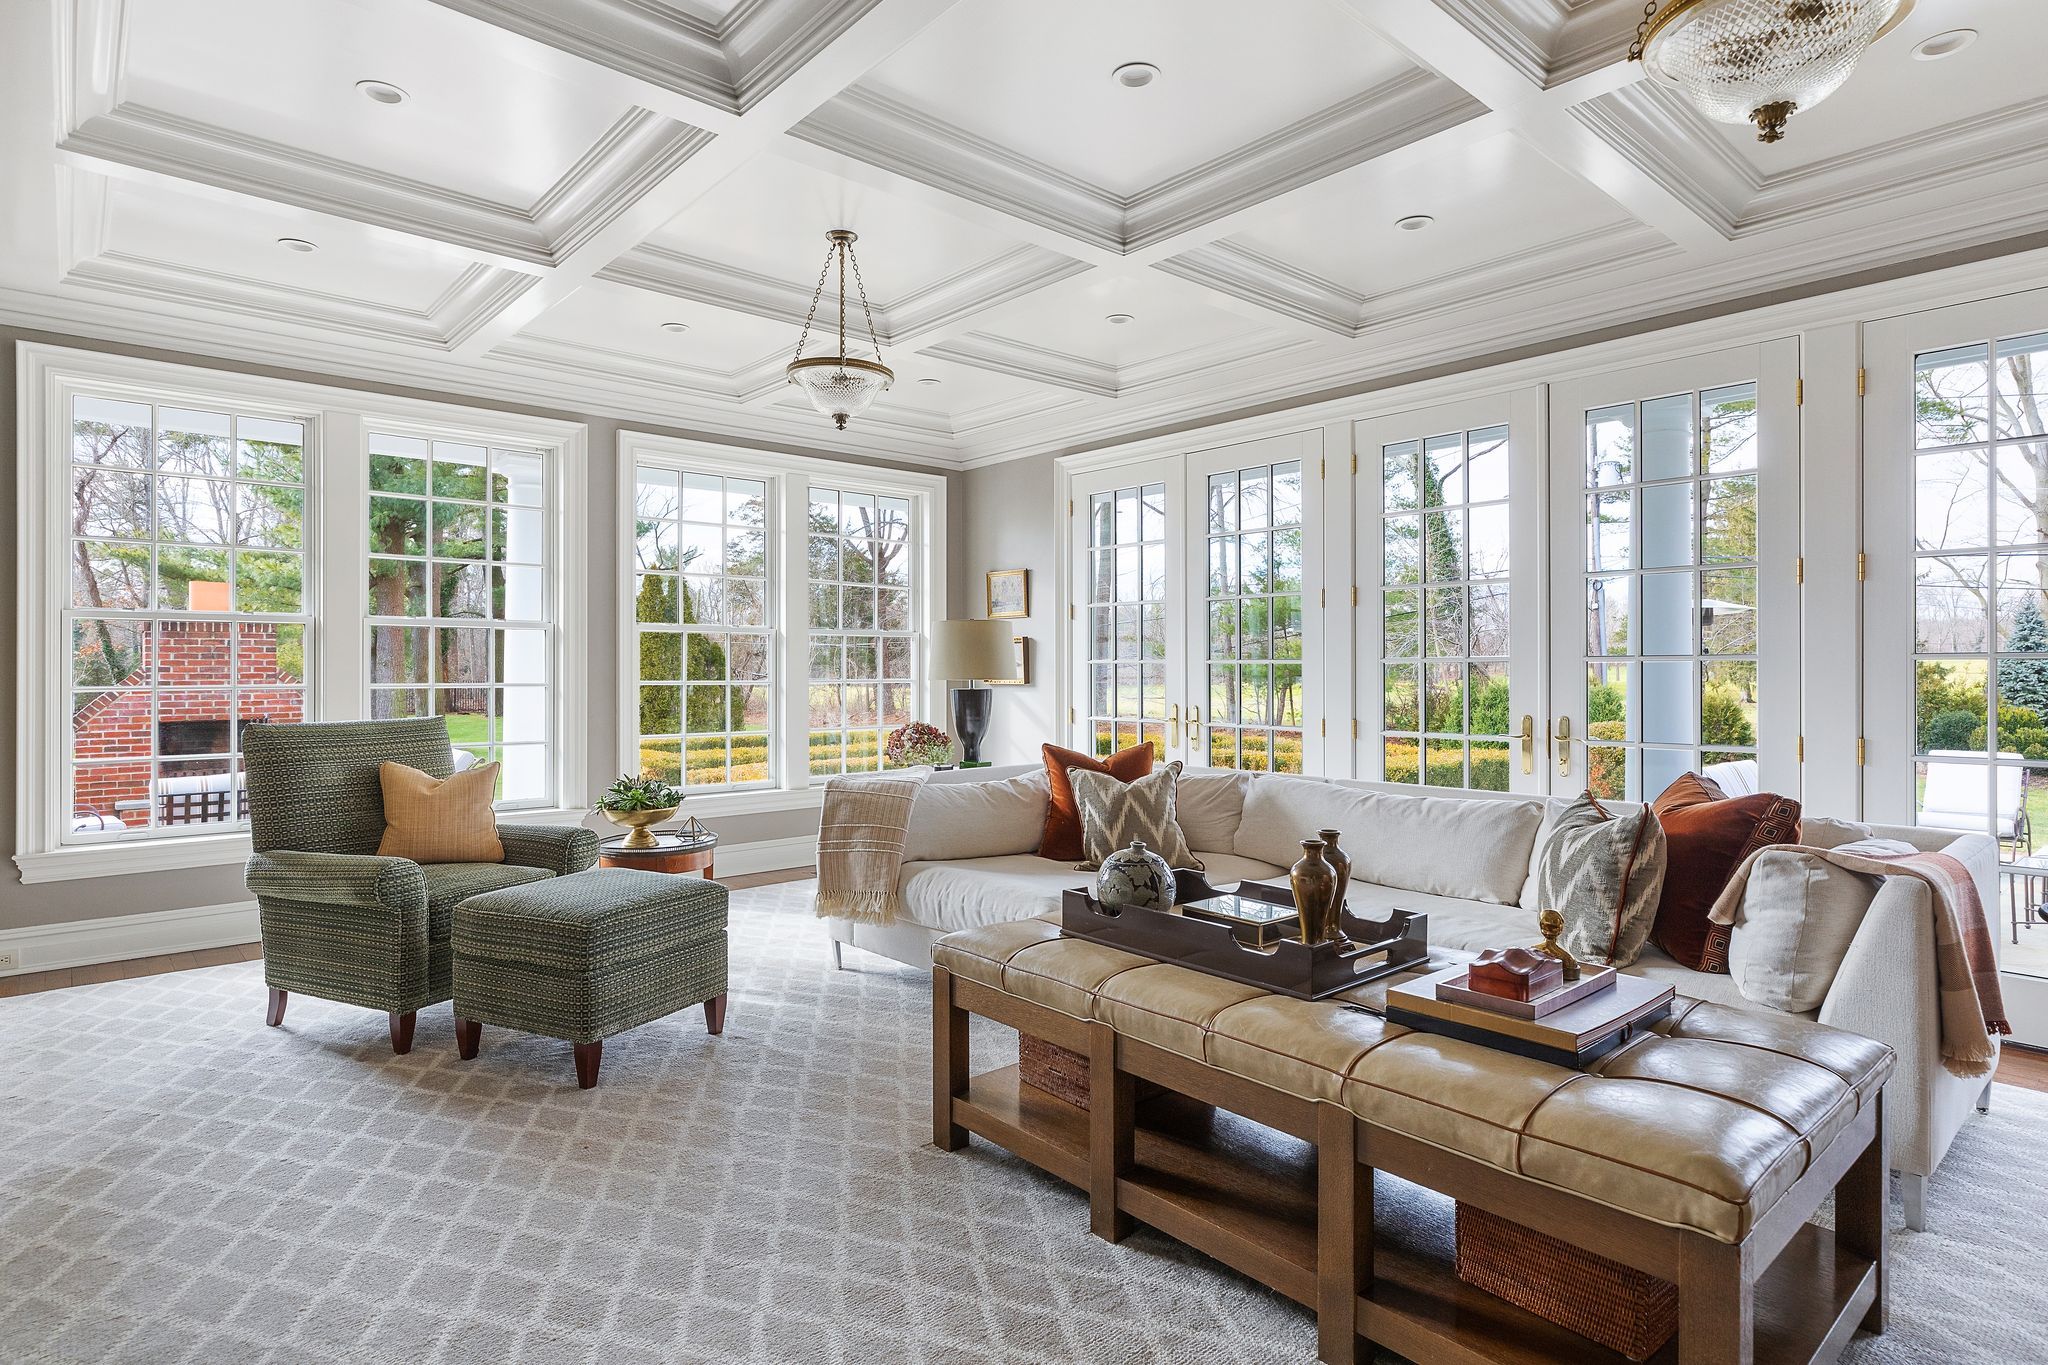
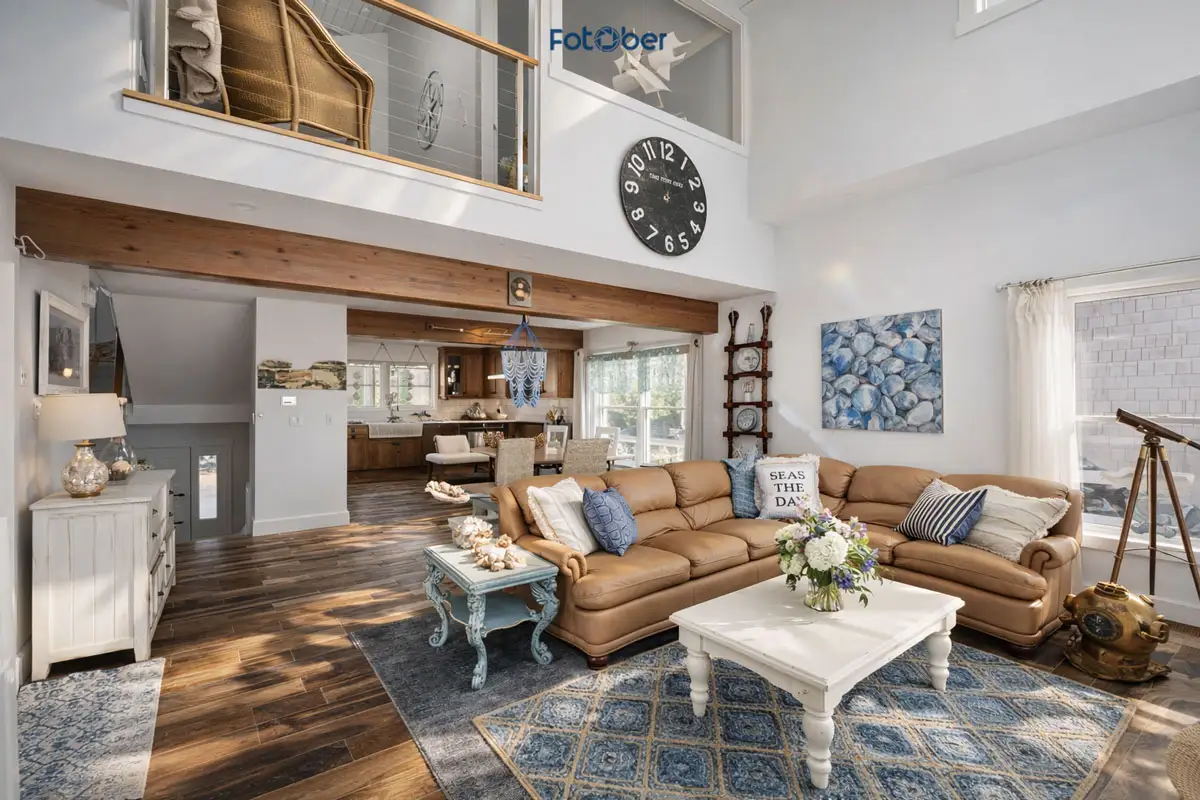
Example of proper furniture scale and spacing in a staged living room
1.4. Step 4: Match lighting and shadows for realism
If there’s one step that separates amateur work from professional results, it’s lighting.
When you add virtual furniture to a photo, the lighting must match the original scene. Buyers may not consciously analyze shadows, but they immediately feel when something looks off.
Start by identifying the main light source:
-
Is it coming from a window on the left?
-
Is the room evenly lit?
-
Are there strong shadows or soft ones?
Then apply that logic to your furniture:
-
Add shadows in the same direction as natural light
-
Adjust shadow opacity (real shadows are rarely pure black)
-
Match color temperature (warm vs cool light)
Materials matter too. A glossy table will reflect light differently than a fabric sofa. Paying attention to these small details is what creates a photorealistic finish.
Lighting and shadow alignment between real room and virtual furniture.
1.5. Step 5: Refine and export like a professional
At this stage, everything is technically in place-but this is where professionals spend extra time.
Zoom in and check:
-
Edges of furniture (no floating or harsh cut lines)
-
Contact shadows (where furniture meets the floor)
-
Color consistency across the entire image
One trick I always recommend: step away for a few minutes, then come back and review the image again. Fresh eyes catch mistakes you didn’t notice before.
When exporting, prepare different versions depending on where the image will be used:
-
High-resolution for print brochures
-
Compressed images for MLS or listing sites
-
Cropped formats for social media
A well-optimized image not only looks better but also loads faster-which directly impacts engagement online.
Learning how to add furniture to a photo is a valuable skill, especially if you’re working with a small number of listings. But as volume increases, maintaining quality and consistency becomes a real challenge.
That’s why many real estate professionals eventually move toward done-for-you virtual staging services-so they can focus on selling, while the visuals are handled at a professional level.
2. Top Tools for Virtual Staging in Real Estate
If you’re serious about learning how to add furniture to a photo in a way that actually looks believable, the tools you choose matter more than most people expect. The difference between a listing that feels flat and one that drives showings often comes down to how realistic your staging looks.
In real estate, buyers don’t just look at photos-they react to them. According to the National Association of Realtors (NAR), 81% of buyers say it’s easier to visualize a property as their future home when it’s staged. That applies to virtual staging just as much as physical staging. If your edits look artificial, you lose that advantage instantly.
Below are some of the most widely used tools professionals rely on to add furniture to photos and create polished, market-ready images.
2.1. Photoshop (Best for full control and high-end results)
If you ask any experienced real estate editor what they use to add furniture to a photo, Photoshop is almost always part of the answer.
What makes it powerful isn’t just the features—it’s the level of control. You can adjust every detail, from perspective alignment to shadow softness, which is critical if you want your virtual furniture to feel like it truly belongs in the space. When done right, this is one of the most effective ways to learn how to add furniture to a photo at a professional level.
Here’s where Photoshop really stands out:
-
Layer-based editing for precise placement
-
Perspective warp tools to match room geometry
-
Advanced shadow and lighting adjustments
-
Color grading for consistent tones
-
Smart objects for reusable furniture assets
That said, Photoshop isn’t beginner-friendly. There’s a learning curve, and it takes time to get good at it. But once you do, the results are hard to beat.
In my experience, Photoshop is the go-to choice when quality matters more than speed-especially for premium listings where small visual details can influence perceived value.

Photoshop remains the top choice for professionals who want to create customized virtual staging with complete creative control.
2.2. Chaos corona (best for photorealistic rendering)
Chaos Corona is a different kind of tool. Instead of simply placing furniture into a photo, it focuses on building highly realistic 3D scenes that can be rendered into images.
This makes it especially useful for architectural visualization or luxury real estate, where lighting and materials need to look as close to reality as possible. In many high-end workflows, professionals use Corona alongside other tools to add virtual furniture to a photo with a much higher level of realism.
Key capabilities include:
-
Physically accurate lighting simulation
-
High-quality material rendering
-
Real-world camera settings
-
Automatic shadow calculation
-
Accurate scale and proportions
One of the biggest advantages of Corona is how it handles light. Natural light behaves in a very specific way, and Corona does a great job replicating that. Reflections, soft shadows, and surface textures all come out more convincingly compared to basic editing tools.
The trade-off is time. Rendering takes longer, and the workflow is more technical. But for high-end projects, that extra effort often translates into stronger visual impact-and ultimately, better buyer engagement.
2.3. Autodesk 3ds max (best for custom and complex spaces)
When you need complete flexibility-especially for unusual layouts or custom furniture-Autodesk 3ds Max is one of the most powerful tools available.
Unlike simpler platforms, 3ds Max allows you to build everything from scratch. You’re not limited to a predefined furniture library, which means you can tailor every element to match the property.
Professional features include:
-
Full 3D modeling capabilities
-
Advanced texture mapping
-
Parametric design tools
-
Animation and walkthrough support
-
Integration with rendering engines like Corona or V-Ray
This level of control is especially useful when standard tools aren’t enough to add furniture to a photo in a way that fits complex layouts or unique architectural details.
However, it’s not a quick solution. The learning curve is steep, and production time is longer. Most agents and photographers won’t use it fo
3D-modeled interior staged using 3ds Max and Corona rendering. It is one of the best floor plan softwares.
2.4. Room Sketcher (best for speed and simplicity)
Not every project needs high-end rendering. In many cases, speed and efficiency matter more-especially if you’re handling multiple listings at once.
That’s where tools like Room Sketcher come in.
Room Sketcher is designed for ease of use. You don’t need advanced editing skills to add furniture to a photo. Instead, you work with a drag-and-drop interface and a built-in furniture library.
Here’s what makes it practical:
-
Simple drag-and-drop staging
-
Pre-designed furniture collections
-
Automatic room measurements
-
2D and 3D visualization
-
Cloud-based access across devices
For agents or teams who need quick turnaround, this kind of tool can save hours. The results may not be as photorealistic as Photoshop or Corona, but they’re often “good enough” for online listings-especially in mid-range markets.
Personally, I see tools like Room Sketcher as a bridge: great for getting started or scaling production, but limited when you need premium-quality visuals.
3. Real-life examples of successful virtual staging
Understanding the tools is one thing-but what really matters is how they perform in real-world listings.
3.1. Modern urban loft
A vacant 1,200-square-foot loft in downtown Chicago struggled to attract attention due to its open layout. Without furniture, buyers couldn’t tell how to use the space.
Virtual staging was used to define separate zones-living, dining, and workspace-while keeping the industrial feel intact.
The results were hard to ignore:
-
Listing views increased by over 250% within two weeks
-
Showings doubled compared to similar units
-
Property sold significantly faster than local averages
Open-concept loft staged to define functional living areas.
3.2. Traditional suburban home
In a suburban market, a larger family home felt outdated and overly formal. Instead of renovating, the agent used virtual staging to reposition the space for modern buyers.
Rooms were staged in multiple styles-family-friendly, casual living, and hybrid work-from-home setups.
Outcome:
-
Multiple offers within the first week
-
Final sale price above asking
-
Buyers specifically referenced listing photos during negotiations
3.3. Luxury beach property
For a high-end oceanfront condo, presentation was everything. The goal wasn’t just to add furniture to a photo-it was to create a lifestyle.
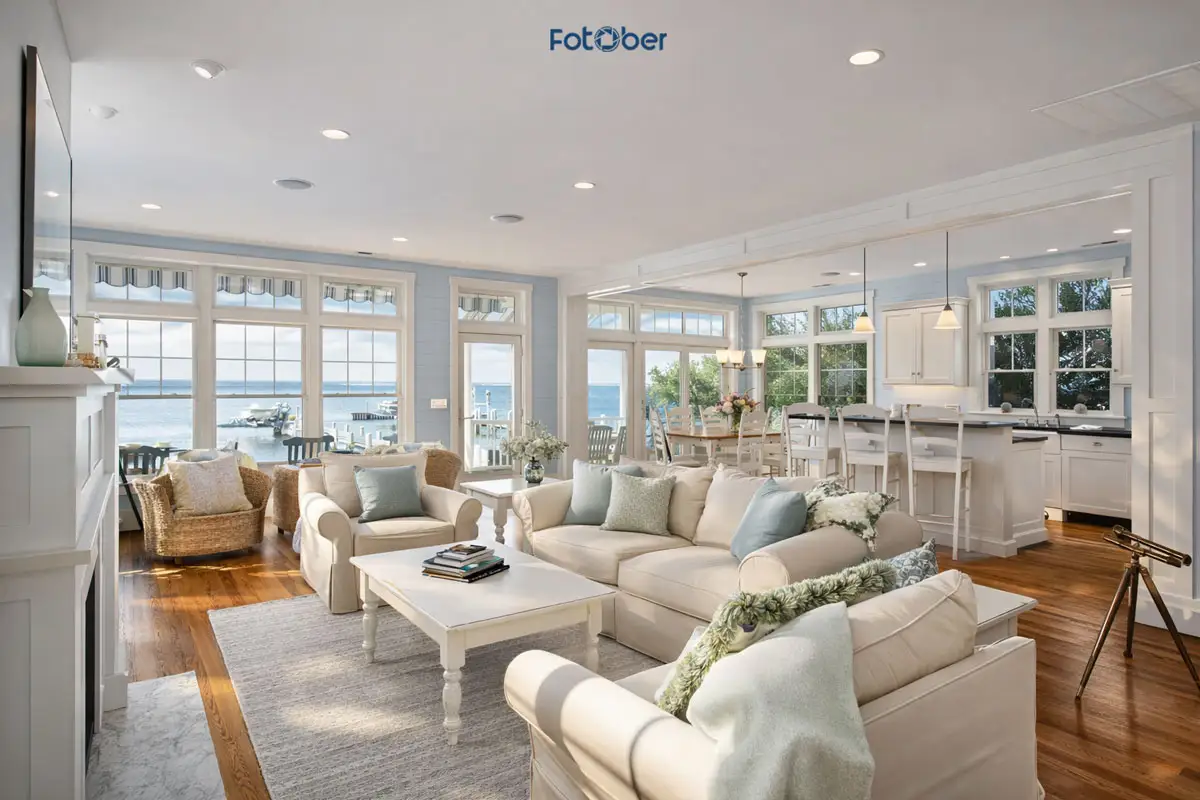
Virtual staging introduced clean, coastal design elements while preserving the natural light and ocean view.
Results included:
-
Strong international buyer interest
-
Full-price sale within weeks
-
Staging cost remained a small fraction of the final sale value
4. Conclusion
At this point, it’s clear that knowing how to add furniture to a photo is only part of the equation. The real impact comes from how well those visuals connect with buyers.
The right tools can help you get there-but they also come with trade-offs in time, skill, and consistency. For a single listing, DIY staging might make sense. But as volume grows, maintaining that level of quality becomes harder.
That’s why many real estate professionals eventually move toward professional virtual staging services-not just to save time, but to ensure every listing meets the same visual standard buyers expect today.
Follow Fotober on social media:
-
YouTube Channel: Fotober
-
TikTok Channel: @fotober
-
Email support: [email protected]
-
Hotline: +84 942 110 297
.png)
.png)