
Using Content Aware Fill in After Effects for Real Estate

Share:
Table of Contents
In real estate video production, visual distractions like wires, signs, or clutter can reduce a property's appeal. Content Aware Fill in After Effects offers an efficient way to remove unwanted elements automatically. This tool helps editors clean up footage without frame-by-frame editing. In this guide, we’ll walk through how to use it effectively to produce professional, polished real estate videos.
1. What is Content-Aware Fill in After Effects?
In the fast-paced world of real estate marketing, videos must be clean, professional, and free from distracting elements. Often, real estate footage includes unintended objects like trash bins, personal items, or electrical cords that negatively affect a property's presentation. This is where Content Aware Fill in After Effects becomes an essential tool for editors.

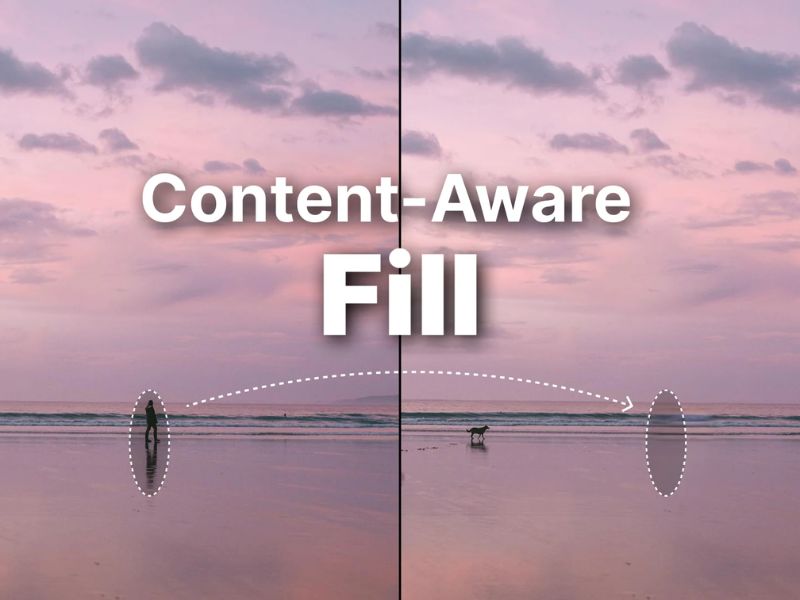
This Adobe After Effects feature uses AI-driven technology to intelligently remove unwanted objects from moving footage. Unlike traditional frame-by-frame editing or manual cloning, Content Aware Fill automatically analyzes surrounding pixels and fills in the removed area to blend naturally with the background.
Key benefits for real estate video editors:
- Saves time by automating object removal in video footage
- Improves visual appeals by eliminating distracting elements
- Delivers cleaner results without extensive masking or retouching
Ideal use cases in real estate include:
- Removing unsightly wires, poles, or construction materials
- Eliminating branding, personal belongings, or agents in the frame
- Cleaning up reflections, stains, or cluttered outdoor spaces
Whether it’s for a luxury listing or a budget rental, Content Aware Fill in After Effects helps ensure the final video enhances the property's appeal.
For any real estate video editor, tools like Content Aware Fill offer an efficient way to streamline the editing process without compromising quality - particularly when working under tight deadlines or with large property portfolios.
2. Preparing Footage for Best Results
Before diving into the editing process, it’s crucial to properly prepare your footage to maximize the effectiveness of Content Aware Fill in After Effects. While the tool is powerful, the quality of the source video directly affects the accuracy of the fill results.

Filming best practices:
- Use stable shots: Record with a tripod, gimbal, or slider to avoid shaky footage. A steady frame allows After Effects to better track and fill the masked area.
- Keep the background consistent: The tool performs best when the background is flat, repetitive (like walls or grass), or free from too much motion.
- Avoid overlapping movement: Try to minimize other moving elements near the object you plan to remove, as it can confuse the algorithm.
Technical setup for editing:
- Consistent frame rate: Record and export footage at a standard frame rate (e.g., 24fps or 30fps). Inconsistent frame rates can cause rendering glitches.
- Use high-quality codecs: Export the source video in formats like ProRes, DNxHD, or uncompressed AVI to preserve clarity and avoid compression artifacts that might affect fill accuracy.
- Avoid excessive motion blur: While motion blur looks cinematic, it can cause the fill algorithm to generate patchy or blurry fills.
By taking these steps, editors give Content Aware Fill in After Effects the best possible environment to work effectively-leading to faster edits and cleaner results.
3. Step-by-Step Workflow in After Effects
Once your footage is well-prepared, it’s time to put Content Aware Fill in After Effects into action. This section walks you through a practical, step-by-step workflow to remove unwanted objects from your real estate video seamlessly.

Whether you’re removing a distracting sign, a passing car, or a power cable in the background, following these steps will help ensure the most natural and professional result.
Step 1: Import and Organize Your Footage
Start by importing your real estate video into Adobe After Effects. Create a new composition and drag your footage onto the timeline. For complex projects, organize your layers clearly (e.g., footage, masks, adjustment layers).
Step 2: Create a Mask Around the Object to Be Removed
Use the Pen Tool to draw a mask around the object or area you want to remove. Make sure the mask follows the shape closely, but leave a little room around the edges for better fill blending.
Tip: You can animate the mask path if the object moves across frames, ensuring the mask follows its motion.
Step 3: Open the Content Aware Fill Panel
Go to Window > Content Aware Fill to activate the panel. Once your mask is selected, this panel will allow you to configure fill settings and generate the result.
Step 4: Choose the Right Fill Method
In the Content Aware Fill panel, choose from three available Fill Methods:
- Object: Best for isolated moving items like people or cars
- Surface: Ideal for areas with a textured background like walls, driveways, or floors
- Edge Blend: Recommended for gradient or variable lighting situations (e.g., sky or windows)
Also select your range:
- Work Area: Fills only within the timeline’s work area
- Entire Duration: Fills for the full length of the masked object’s visibility
Step 5: Generate the Fill Layer
Click "Generate Fill Layer". After Effects will create a new layer with the object removed and the background intelligently filled.
This process may take a few minutes depending on resolution and fill complexity. After Effects analyzes surrounding pixels and automatically stitches the scene together.
Step 6: Preview and Refine the Result
Play back your footage to evaluate the fill. If needed:
- Adjust the mask feathering to soften edges
- Tweak the mask expansion to cover or reveal more of the original object
- Re-mask or split the clip if there are errors in specific sections
- Repeat the fill process as necessary for better results.
Step 7: Render the Final Clean Video
Once satisfied, render your cleaned-up video using Adobe Media Encoder or the built-in Render Queue. Choose a high-quality export format (H.264 for web, ProRes for professional use) to maintain the polished appearance.
For beginners, mastering tools like Content Aware Fill is also part of learning how to edit real estate videos effectively—combining object removal, pacing, and polish to ensure properties look clean, professional, and market-ready.
4. Troubleshooting Common Issues
Even though Content Aware Fill in After Effects is a powerful tool, editors may face some common challenges depending on footage complexity. Here's how to resolve them effectively:

Dealing with Complex Backgrounds
When removing objects from detailed or textured environments (like patterned carpets or reflective surfaces), the fill may produce visual glitches or inconsistent patches. To improve results:
- Break the task into smaller masked segments.
- Use manual patching with duplicated frames or reference areas.
- Employ track mattes to blend difficult sections more naturally.
Removing Moving Objects
If the object being removed is in motion, tracking becomes essential. In such cases:
- Apply motion tracking or Mocha AE to ensure the mask follows the object frame-by-frame.
- Use animated masks to adapt to position or shape changes over time.
- Consider splitting the clip and working on sections separately.
Improve Edge Quality with Mask Techniques
Harsh or visible edges can break the illusion. Use the following best practices:
- Feather the mask to create smooth transitions between filled and original areas.
- Expand or contract the mask slightly to avoid edge bleed.
- Add slight blur or noise to the fill to match the surrounding texture.
When to Combine with Other Tools
Content Aware Fill in After Effects works best when paired with supporting tools for complex scenarios:
- Use the Clone Stamp Tool for frame-specific refinements.
- Apply Roto Brush for intricate selections around subjects.
- Use Photoshop frame exports for static background touchups when needed.
5. Enhancing Through Post-Processing

Even after successfully removing objects with Content Aware Fill in After Effects, fine-tuning your footage through post-processing ensures the edits look natural and professional across all viewing platforms.
- Seamless Color Matching: After removing an object, the filled area may not perfectly match the surrounding tones. Use tools like Lumetri Color, Curves, or Selective Color to correct and unify the look. This step is crucial in maintaining consistency, especially in real estate scenes with natural light shifts.
- Stabilizing Footage: Sometimes, minor instability or artifacts appear after applying Content Aware Fill in After Effects, especially if the footage wasn’t filmed on a tripod. Apply Warp Stabilizer to smooth out any shakiness and improve viewer experience.
- Blending Fixes Naturally: Use mask feathering, opacity blending, and noise matching to help the fill layer blend more organically into the original video. This prevents viewers from noticing where an object was removed.
- Final Export Tips
- Choose the right export settings based on where the real estate video will be published:
- H.264 for general use (MLS, YouTube, property websites)
- ProRes for broadcast or archival purposes
- Ensure resolution and bitrate are optimized for smooth playback without sacrificing quality.
6. Why Choose Fotober for Object Removal in Real Estate Photography?
While Content Aware Fill in After Effects is a powerful tool, mastering it takes time, experience, and a deep understanding of post-production workflows. Not every real estate agent or videographer has the bandwidth to handle complex editing tasks - especially when quick turnaround is essential for property marketing. That’s where Fotober comes in.
Fotober – a trusted name in real estate and video editing – specializes in high-quality visual enhancement services tailored to real estate professionals. Our dedicated team of editors is experienced in using Content Aware Fill in After Effects and other advanced tools to deliver seamless object removal, ensuring your videos look clean, polished, and sales-ready.
Here’s what sets Fotober apart:
- Expert handling of complex edits: From distracting elements like signage and reflections to larger objects like cars or people, we use precision masking and AI-assisted fills for flawless results.
- Speed and reliability: Fast turnaround times with consistent quality, helping realtors publish their listings without delay.
- Post-processing perfection: We don’t stop at object removal. Our team applies advanced color grading, stabilization, and export optimization tailored for platforms like MLS, YouTube, and Zillow.
- Cost-effective solutions: High-end editing that’s affordable and scalable for large property portfolios.
By outsourcing your real estate video editing to Fotober, you save time and get professional results that elevate your property presentations.
Conclusion
Content Aware Fill in After Effects is a game-changing feature for real estate video editors looking to remove distractions and clean up footage efficiently. From removing cables and clutter to fixing walls and skies, this tool streamlines workflows and delivers impressive visual results when used correctly.
However, to unlock its full potential-especially for high-volume or high-stakes projects - partnering with an expert team like Fotober ensures you get the best of both worlds: advanced editing technology and professional-grade craftsmanship. Whether you're a realtor, photographer, or media agency, Fotober is your trusted partner in real estate video enhancement.
Reach out to Fotober today to elevate your property videos with clean visuals, fast turnaround, and impactful presentation. Let us handle the editing-so you can focus on selling.
Related posts

Winning Buyers With These Las Vegas Real Estate Photography Top Picks
July 29, 2026

Luxury Real Estate Marketing Trends California Agents Love in 2026
July 27, 2026

Reno Real Estate Photography: Top Studios for Selling Homes Faster
July 27, 2026

Las Vegas Virtual Staging: Best Platforms to Enchant Your Listings
July 23, 2026
