Best Time for Exterior Photography – Capture Perfect Shots
.png)
You must have noticed that photos are beautiful and unique at different times of the day. Our eyes are especially attracted to key moments such as dawn, sunset, and dusk—they are the best times for exterior photography. Each of them gives us a beautiful moment but disappears very quickly. By understanding the differences in light, you will learn to take stunning photos—be it of a landscape or real estate—in the glow of the rising or passing sun.
In this article, you will learn the best times for exterior photography and how to prepare for it. You will also learn about the golden hour and many other times that make your exterior photos for real estate listing stand out.
Enjoy the magic of this time and unleash your creative potential to the fullest!
The Best Times For Exterior Photography
Golden Hour
Golden hour is widely regarded as the best time of day for photography because the light is softer and warmer compared to midday. For real estate professionals, this time is particularly valuable since it allows exteriors to look inviting and atmospheric. Homes photographed during golden hour often produce standout real estate listing photos that immediately capture buyers’ attention online, giving a property a stronger first impression.
This is because the sun’s rays have more time to travel when they are low on the horizon. Because they have more atmosphere to penetrate to get to you (the subject), it’s less intense and is more easily offset by the indirect light that will also hit you. This makes it easier to balance and also looks more flattering.
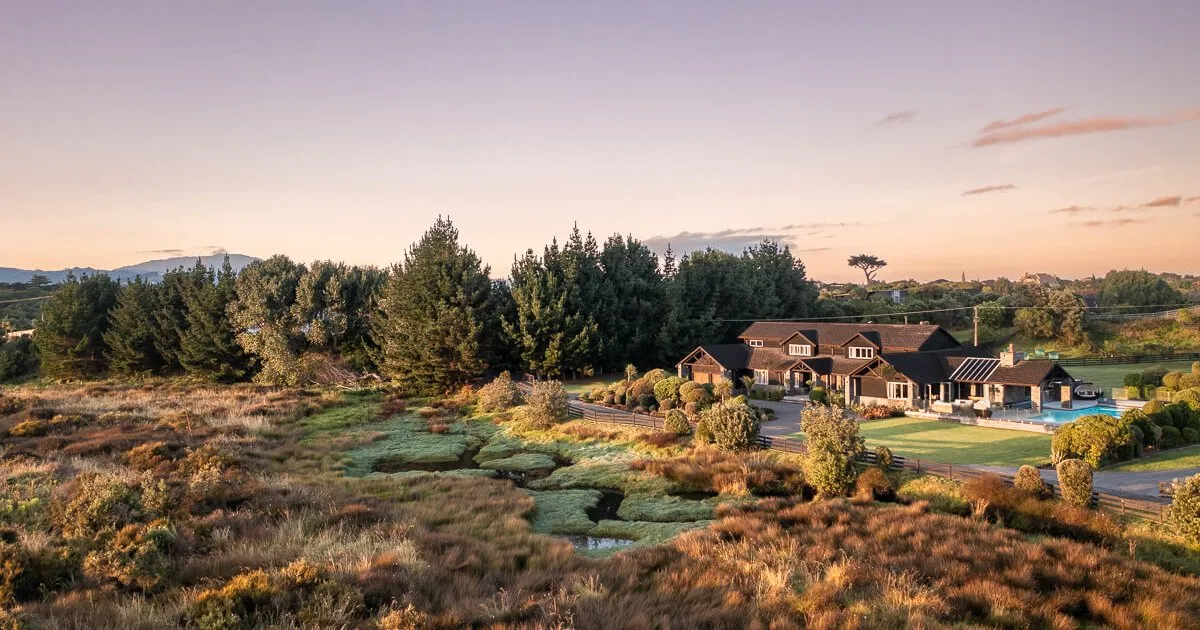
During the golden hour, the sun creates longer shadows and flattering lighting situations that you can use for more creative effects. Rim lighting, backlighting, side lighting, silhouettes, sunbursts, and lens flares are all at your disposal during the golden hour.
On the Kelvin color temperature spectrum, the golden hour light is warmer, with lots of yellows, oranges, and reds. The atmosphere filters out blue light when the sun is closer to the horizon, leaving you with a color palette that people associate with feelings of happiness and warmth.
Blue Hour
Twilight offers an exceptionally beautiful time of day for filming, but capturing its full range of colors can be challenging due to low light. In clear weather, about two hours before sunrise and until sunset, the charm of this time is on display. When the sun is near the horizon, everything is bathed in warm, soft light, making landscapes look extraordinary. As the sun dips below the horizon, a soft blue light creates a mystical glow, known as the “blue hour,” marking the onset of night photography. This period, when the sun sets and the sky darkens, provides unique lighting for stunning images. There are three types of twilight: civil, nautical, and astronomical, each with distinct features for photographers.
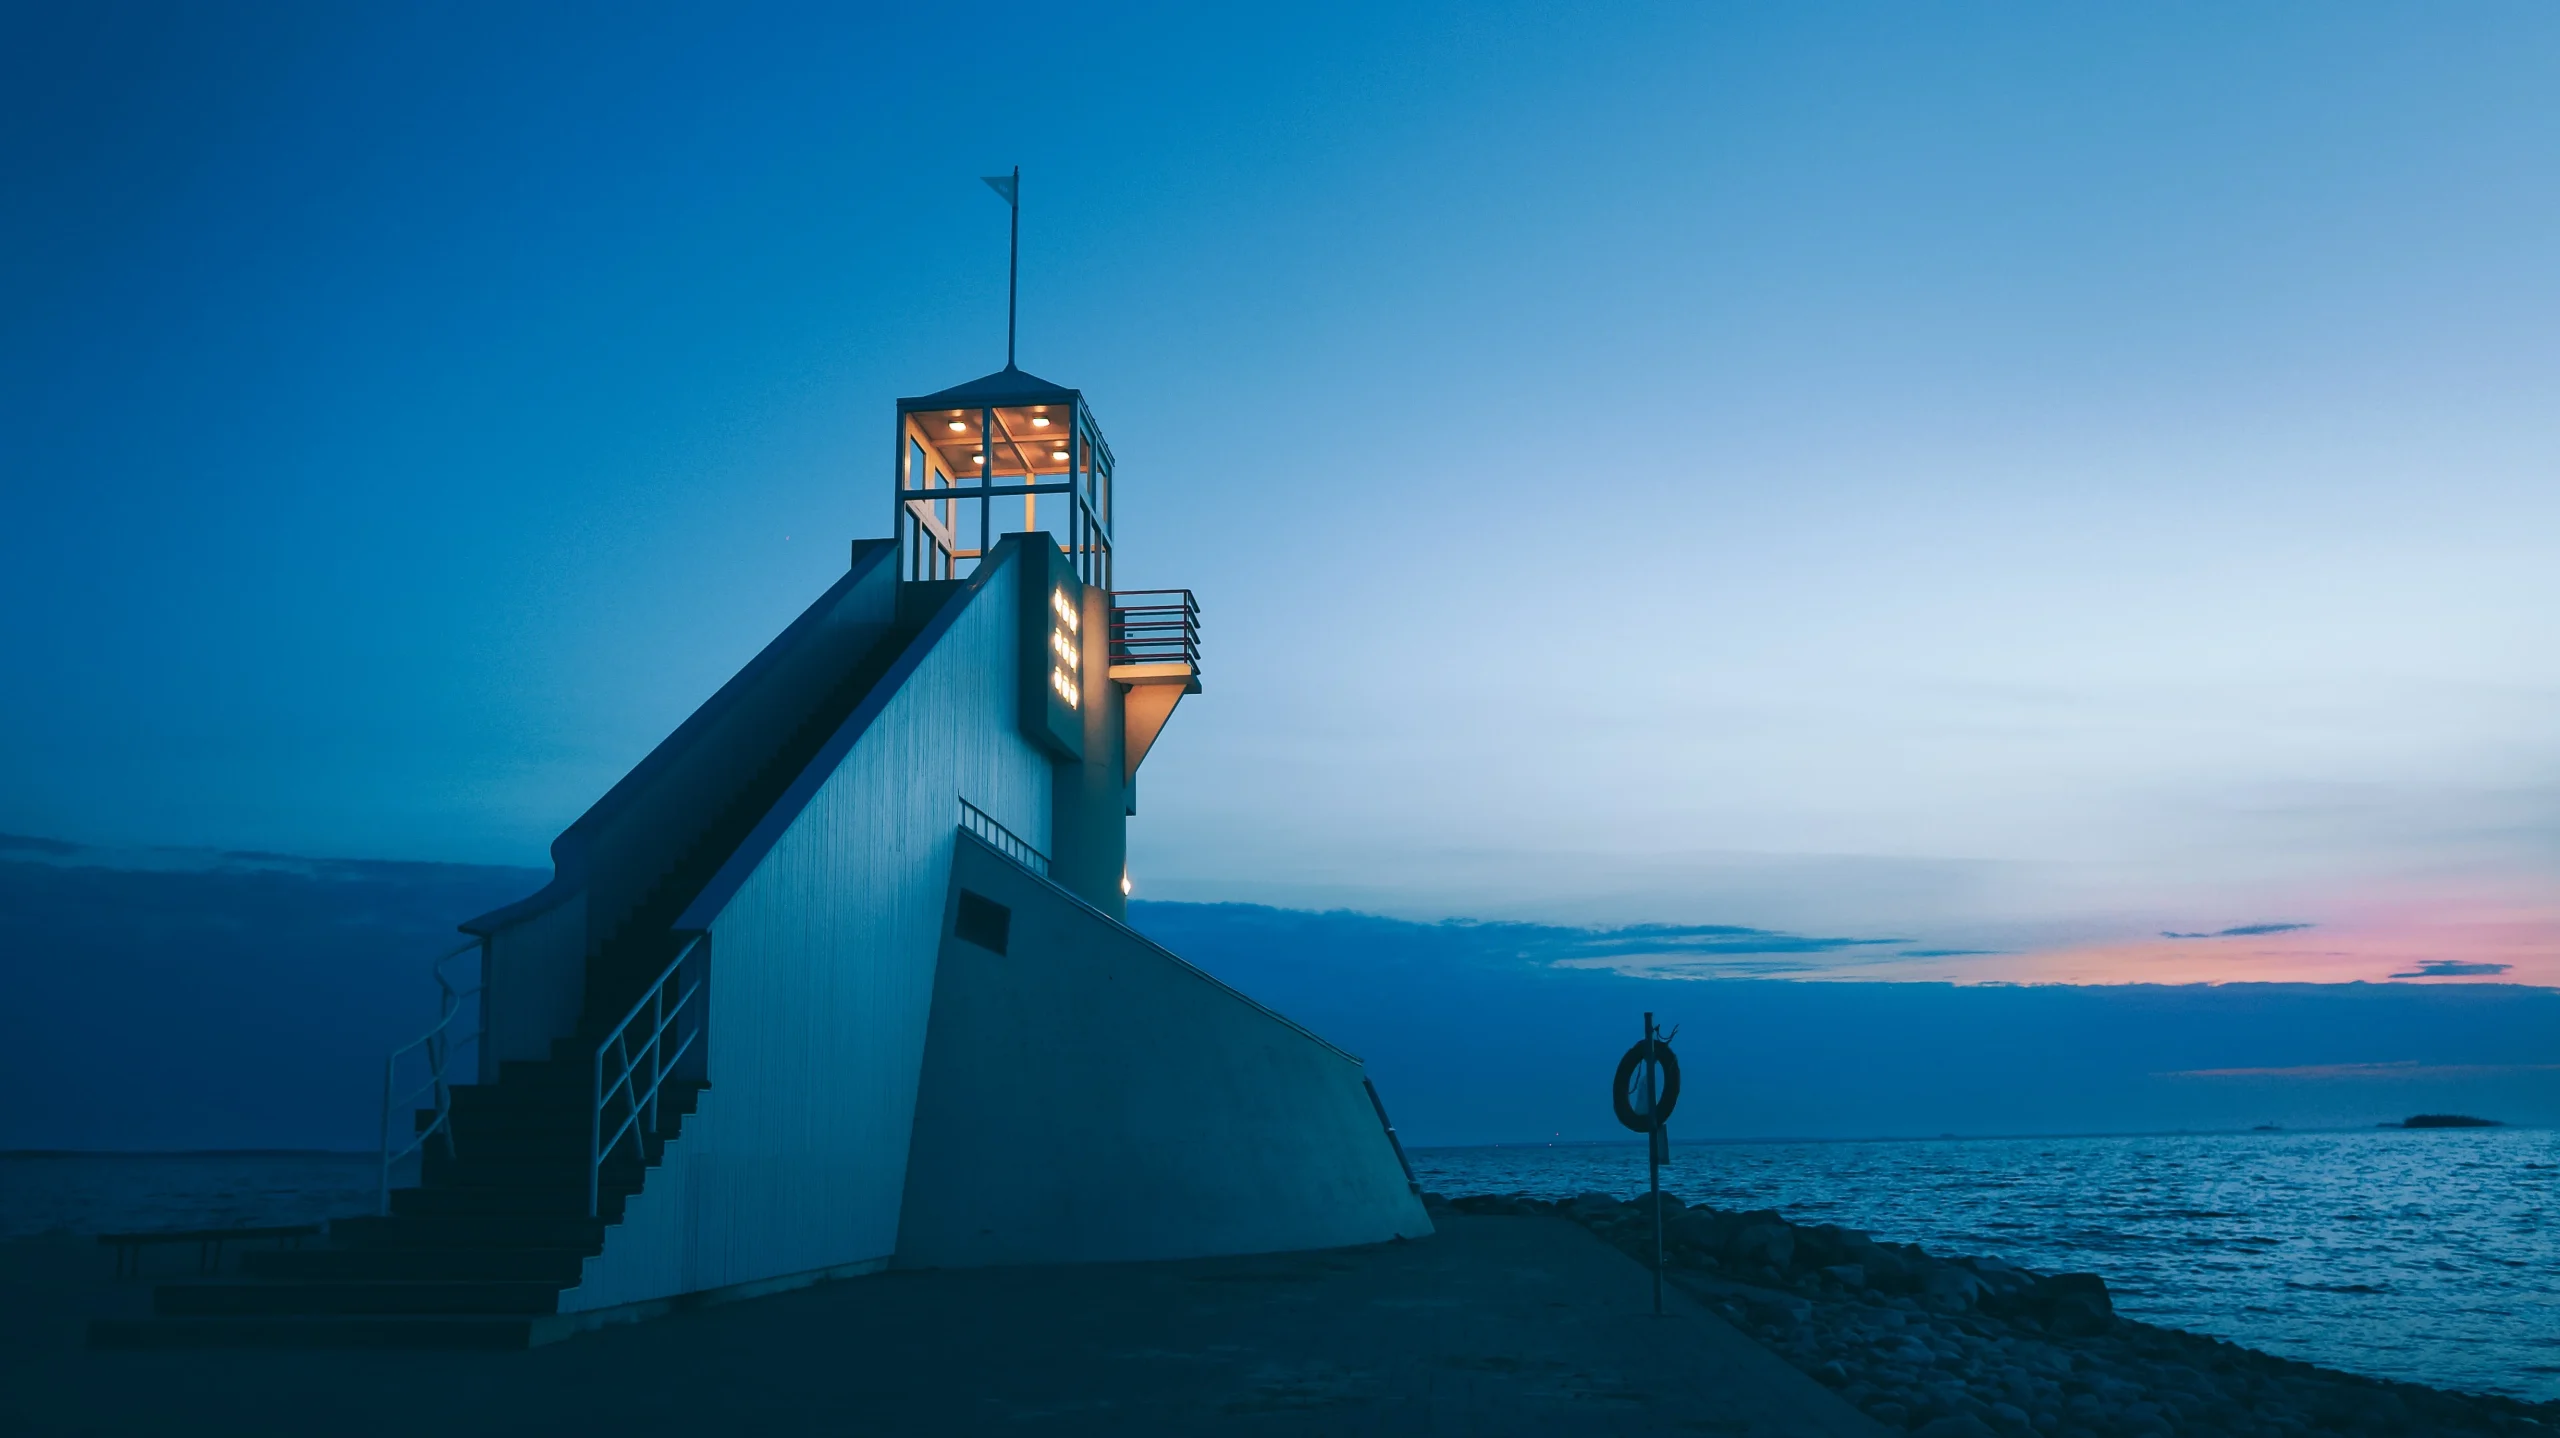
Civil Twilight is the initial phase of the blue hour. During this time, the sun is between 0° and 6° below the horizon, providing enough light to see some landscape details. In clear weather, the moon and some bright stars become visible. The sky after sunset displays vibrant colors like pink and orange, often referred to as the “Twilight of the photographer.” Many captivating natural photos are taken during this period, frequently tagged with “sunset.” The end of civil twilight is ideal for shooting cityscapes, as the fading sky light complements city illumination beautifully.
Nautical Twilight occurs when the sun is below the horizon, leaving a bright orange streak above it in clear weather for about 30–40 minutes. This time requires quick action to capture the fading light. Besides horizon silhouettes, you can create your own, highlighted by the sky’s gradient colors. Direct landscape shots are particularly successful during this time, as the dim blue light creates haunting and tranquil scenes. The low light might require a slower shutter speed to get a clear image, allowing for creative light drawing in photographs. This dim light, combined with the light background, adds a unique atmosphere to the photos.
When Not to Book for Exterior Photography
Midday
Photographers often refer to midday as the “worst time of day” for outdoor photography. The sun is at its highest point in the sky, casting direct light that can create unflattering, harsh shadows. The intense light can lead to overexposed highlights and underexposed shadows, reducing the overall quality of the photos.

At midday, shadows are short and sharp, often creating stark contrasts that can be difficult to balance. This can result in subjects appearing washed out or with harsh lines cutting across them, which is particularly problematic for portrait photography. Architectural details can also be lost in deep shadow, making it challenging to capture the finer points of buildings or landscapes.
If you must shoot during midday, there are ways to mitigate these issues. Using reflectors can help to fill in shadows, and diffusers can soften the light. Photographers can also seek out shaded areas or use natural elements to block direct sunlight, creating more balanced lighting conditions. Additionally, adjusting the camera settings to accommodate the bright light can help to prevent overexposure.
Rainy Days
Rainy days can be particularly challenging for exterior photography. Rain can obscure the lens, create reflections that are hard to manage, and generally reduce visibility. The overall mood of the photos can become gloomy and dark, which might not be the desired effect for most shoots.
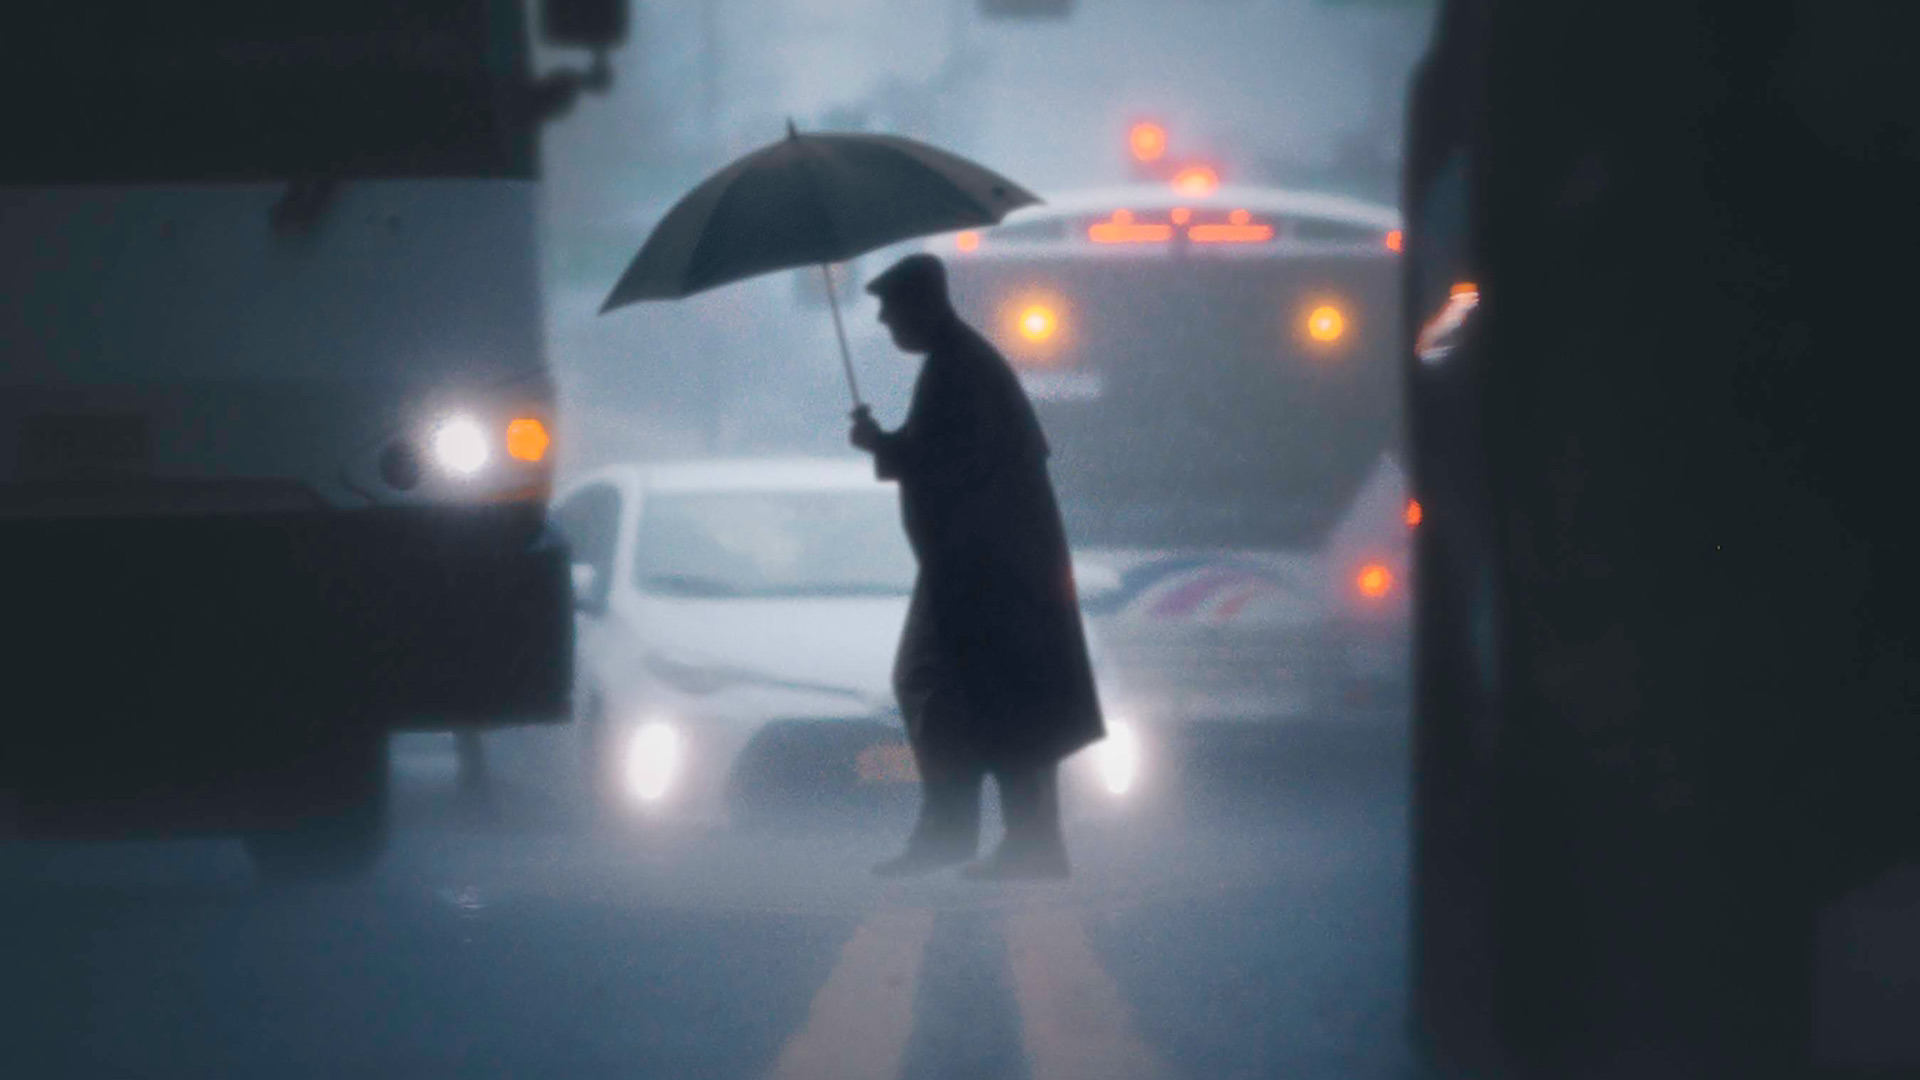
Rain poses a significant risk to photography equipment. Cameras, lenses, and other gear can suffer water damage, leading to costly repairs or replacements. Photographers also need to consider their safety, as wet conditions can make surfaces slippery and hazardous, increasing the risk of accidents.
Rain can affect photo quality by causing water spots on the lens, reducing clarity, and introducing unwanted reflections. It can also darken the scene, requiring adjustments in exposure and potentially increasing noise in the images.
To avoid the issues associated with rainy days, photographers can opt to reschedule the shoot. If rescheduling is not an option, indoor locations or covered areas can serve as alternatives. Embracing the rain with proper rain gear and waterproof equipment can also allow for creative rain photography, capturing the unique ambiance that rainy weather can bring.
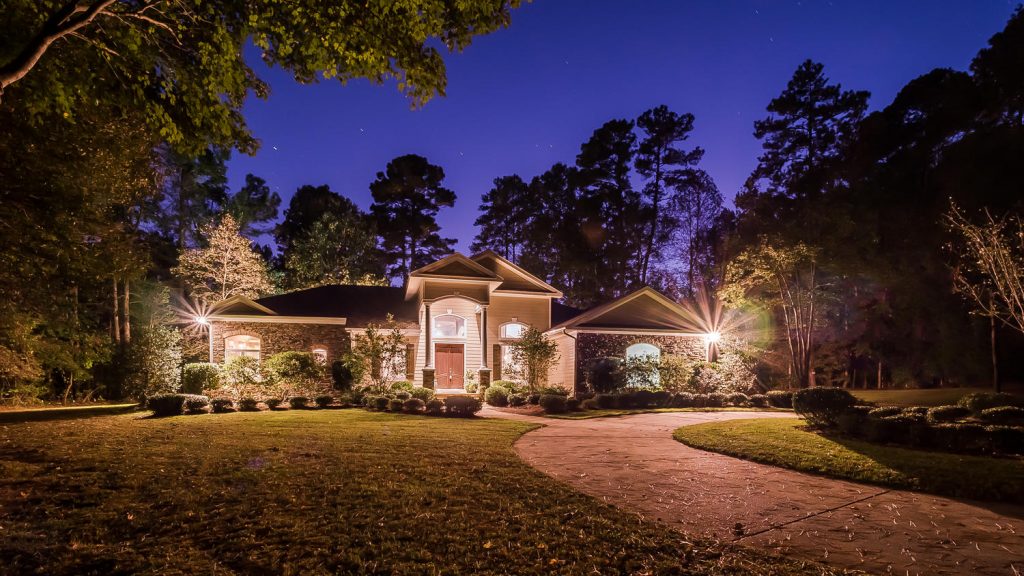
Nighttime
Nighttime photography is inherently challenging due to the lack of natural light. This means photographers must rely on artificial light sources, which can be limited and create unnatural color casts. Achieving the right exposure can be tricky, often requiring long exposure times that necessitate a stable tripod and still subjects.
Shooting at night typically requires additional equipment, such as tripods, external flashes, and fast lenses with wide apertures. These tools help to gather as much light as possible, but they also increase the complexity and cost of the shoot.
Safety is a crucial consideration for nighttime shoots. The lack of light can make it difficult to navigate the shooting location, and photographers need to be aware of their surroundings to avoid potential hazards. Working in well-lit, populated areas can mitigate some of these concerns, but it’s essential to remain vigilant.
Despite the challenges, nighttime photography can yield stunning results when done correctly. Artificial lights such as street lamps, car headlights, and even handheld light sources can be used creatively to illuminate subjects. Long exposures can capture light trails, and experimenting with different lighting techniques can produce unique and compelling images.
How to Prepare for Exterior Photography
Preparing for exterior photography involves more than timing; it’s also about refining your images after the shoot. Even with perfect lighting, raw photos often require adjustments to reach their full potential. This is where professional real estate photo editing becomes crucial. Editing techniques like color correction, sky replacement, and object removal ensure that every exterior shot looks polished, natural, and market-ready—helping agents maximize visual appeal across MLS, Zillow, and social media.
- Check the Forecast: Review the weather in advance and prepare for changes. On clear days, watch for harsh shadows and overexposure; on cloudy days, enjoy diffused light for detail; on rainy days, use waterproof gear and capture creative reflections.
- Scout Locations: Research with Google Earth, forums, and social media, or ask locals for tips. Visit in advance to check layout, lighting, and obstacles, and take test shots to find the best angles.
- Secure Your Gear: Use camera straps to prevent drops, weather-resistant covers to protect from rain or dust, and stay aware of surroundings—especially in unfamiliar locations.
Conclusion
Mastering exterior photography requires careful planning, adaptability, and a keen eye for capturing the perfect moment. By understanding the best times for shooting and being prepared for different weather conditions, photographers can create stunning images that stand out. With Fotober’s expert guidance, the right techniques and equipment, coupled with creativity and thorough preparation, photographers can unlock the full potential of exterior photography and capture breathtaking images that leave a lasting impression.
FAQs
What should I do if the weather changes unexpectedly during my shoot?
When the weather changes unexpectedly during your shoot, use waterproof gear to protect your equipment. Rain can offer unique opportunities for creativity, such as capturing reflections in puddles. If the rain becomes too intense, seek covered locations to continue shooting or consider rescheduling the shoot for better conditions.
How can I improve my composition in exterior photography?
To enhance your composition in exterior photography, use techniques like the rule of thirds to place key elements off-center, creating a more dynamic image. Leading lines guide the viewer’s eye through the photo, while natural framing, such as trees or arches, can focus attention on the subject. Experimenting with different angles can also provide unique perspectives and add interest to your shots.
How can I improve my nighttime exterior photography?
Improving nighttime exterior photography involves several key techniques. Use a tripod to keep your camera stable, which is crucial for long exposures. A wide aperture lens allows more light into the camera, helping to capture clearer images in low light. Experiment with long exposure settings to capture more light and details. Adjust your ISO settings to balance light sensitivity and noise; higher ISO can make the sensor more sensitive to light, but too high an ISO can introduce graininess.
What equipment is essential for exterior photography?
Essential equipment for exterior photography includes a camera with manual settings to allow for precise control over exposure, shutter speed, and aperture. A variety of lenses, such as wide-angle for landscapes and telephoto for distant subjects, expand your creative options. A sturdy tripod is necessary for stability, especially in low light conditions. Reflectors and diffusers help manage natural light, while weatherproof covers protect your gear from the elements, ensuring you’re prepared for any situation.


.png)
.png)
.png)
