
The Flambient Photography Technique in Real Estate 2025
.png)
Share:
Table of Contents
- Essential Equipment for Flambient Photography
- What Is Flambient Photography?
- Step-by-Step Guide to Shooting Flambient
- Advanced Techniques for Challenging Lighting Scenarios
- Post-Processing Tips for Flambient Photography
- Common Mistakes and How to Avoid Them
- Outsourcing Photo Editing: Is It Worth It?
- Conclusion
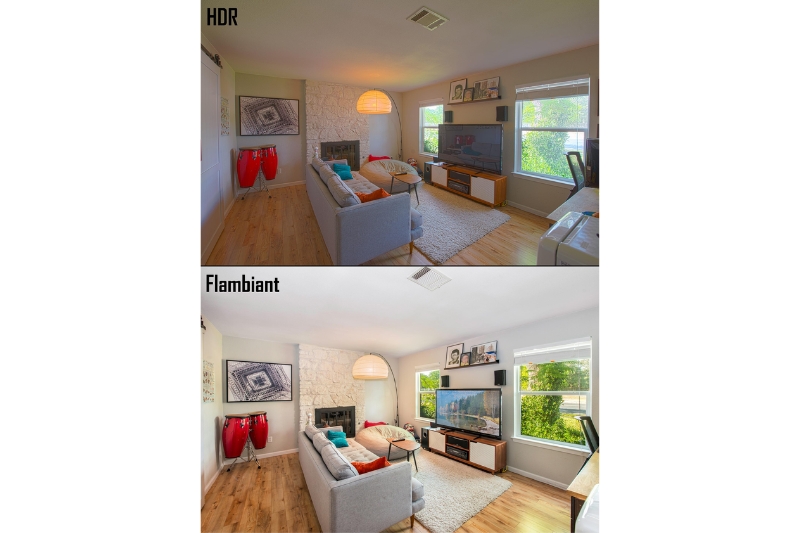
Flambient photography combines flash and ambient lighting in real estate photography to create well-balanced, visually appealing images. This technique ensures realistic lighting and proper exposure, capturing interiors in the best light. Flambient real estate photography is essential for showcasing properties and attracting potential buyers. In this guide, we’ll cover essential equipment, the best lighting, the flambient process, advanced techniques, post-processing tips, common mistakes, and outsourcing options. Mastering flambient technique real estate photography will help you enhance your imagery and stand out in a competitive market.
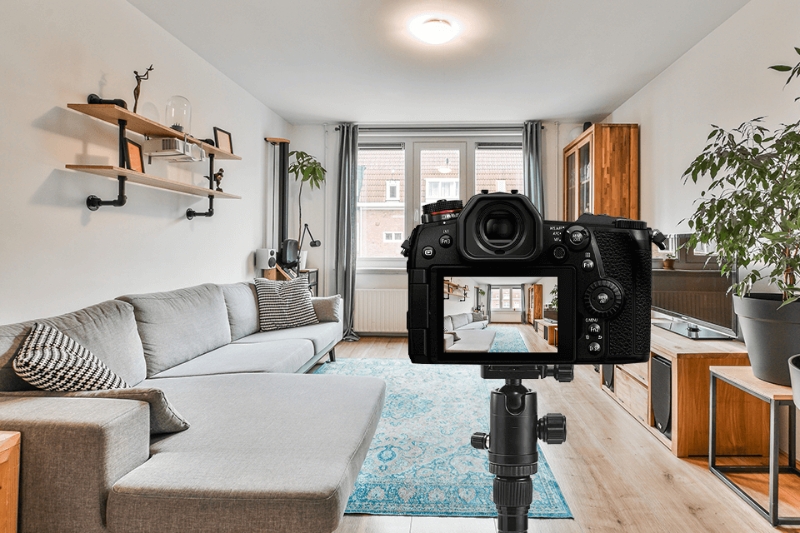
Essential Equipment for Flambient Photography
To achieve high-quality flambient photography—a technique that blends flash and ambient light—real estate photographers need the right gear. Investing in proper equipment ensures consistent results and professional-grade images that help properties stand out.
Start with a DSLR or mirrorless camera that offers full manual control. Pair it with a wide-angle lens (typically 16–35mm) to capture entire rooms and emphasize space.
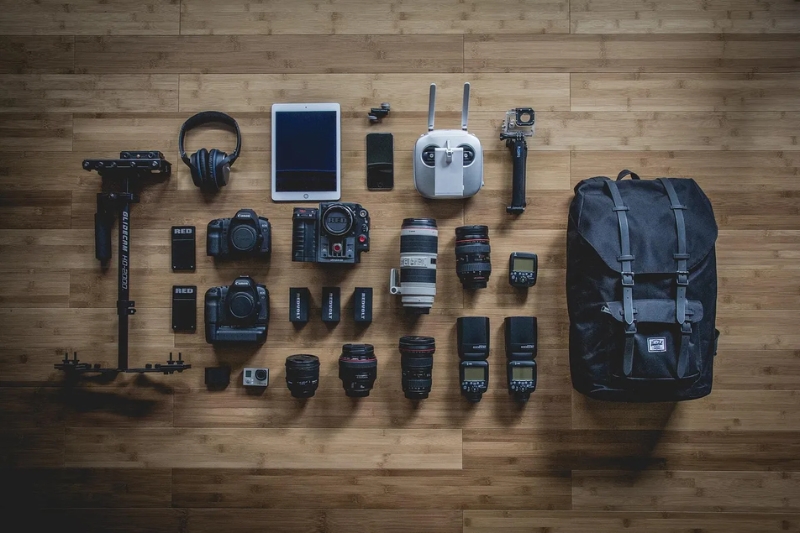
External flashes are essential for adding controlled light to shadowed areas, while light stands help position those flashes exactly where needed. Use remote triggers to fire your flashes off-camera without disturbing the setup. A sturdy tripod is a must for long exposures and image alignment during editing.
Additional tools include:
- Neutral Density (ND) filters – help balance bright windows with darker interiors.
- Color correction gels – adjust flash temperature to match ambient lighting.
- Light meters – measure exposure levels accurately for consistency.
- High-capacity memory cards – store multiple exposures for each scene without interruption.
Equipping yourself with these essential tools will significantly enhance your real estate flambient photography, resulting in well-balanced, true-to-life images that appeal to prospective buyers.
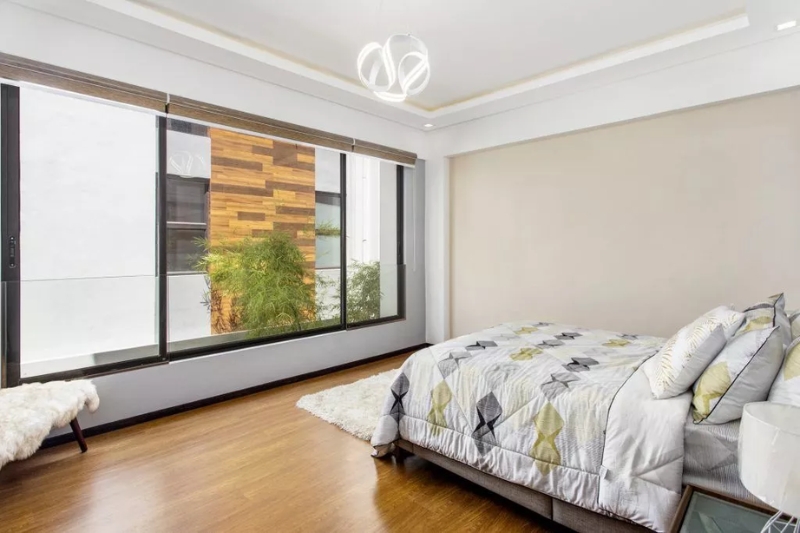
What Is Flambient Photography?
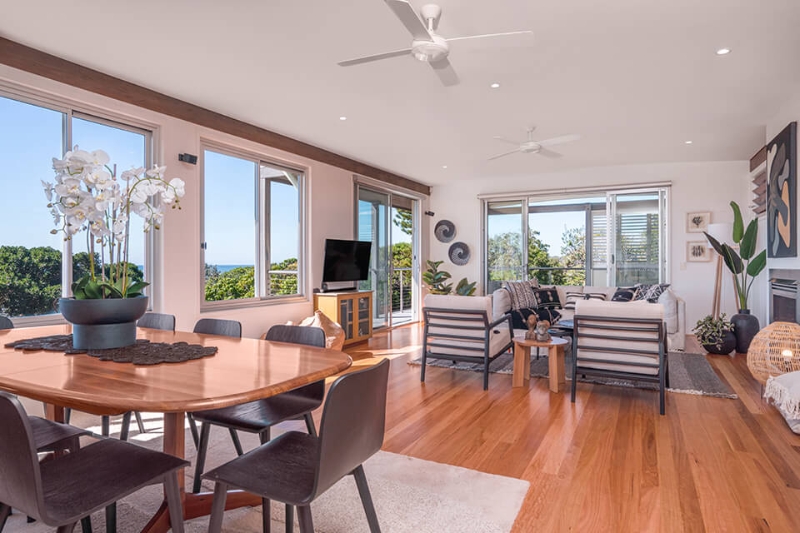
Flambient real estate photography combines ambient and flash exposures. This technique creates balanced, natural-looking real estate images. Ambient light captures the room's atmosphere and window views. Flash illuminates dark corners and adds dimension to the space.
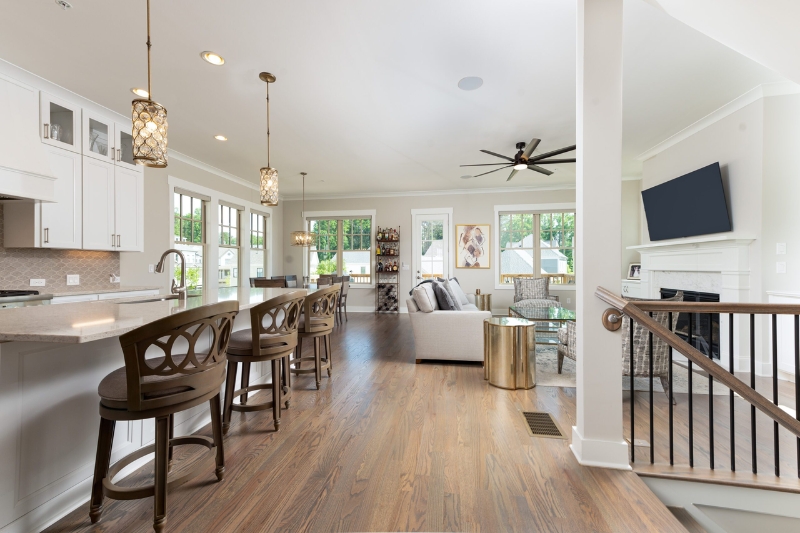
Flambient addresses common real estate photography challenges. It balances bright windows with darker interiors. The method preserves exterior views while revealing interior details. Flash adds depth and texture to flat-looking spaces. The result: inviting, true-to-life images that attract potential buyers.
Step-by-Step Guide to Shooting Flambient
Ambient Shot
The ambient exposure captures the room's natural light. Set your camera on a tripod for stability. Use manual mode to control settings precisely. Adjust aperture, typically f/8 to f/11, for depth of field. Set ISO low, around 100-400, to minimize noise. Adjust shutter speed to expose for the brightest non-light source areas. This exposure may leave shadows underexposed, which flash will address later.
Flash Shot
The flash exposure adds light to darker areas. Keep camera settings identical to the ambient shot. Position an off-camera flash, typically at a 45-degree angle to the camera. Use manual flash mode for consistent output. Start with low power, around 1/16 or 1/32, and adjust as needed. Take test shots, checking histogram to avoid overexposure. Multiple flashes may be necessary for larger spaces.
Window Exposure
Window exposures balance bright exteriors with interiors. Shoot a separate exposure for windows if needed. Decrease shutter speed to capture outdoor details without overexposing the interior. Use bracketing for challenging scenes, shooting multiple exposures at different settings. These shots will be blended in post-processing to create a balanced final image.
Advanced Techniques for Challenging Lighting Scenarios
Bracketing improves dynamic range in high-contrast scenes. Shoot multiple exposures at different settings, typically in one-stop increments. This technique captures details in both highlights and shadows. In post-processing, blend these exposures for a balanced result.
Proper flash placement minimizes reflections and harsh shadows. Position flashes at angles to avoid direct reflections in mirrors or windows. Use diffusers or bounce flash off ceilings for softer light. For large rooms, employ multiple flashes to evenly illuminate the space.
Gel flashes to match color temperature with ambient light. This prevents color casts and creates a cohesive look. Use CTB (blue) gels for daylight scenes or CTO (orange) for tungsten lighting. Experiment with flash power and placement to achieve natural-looking results.
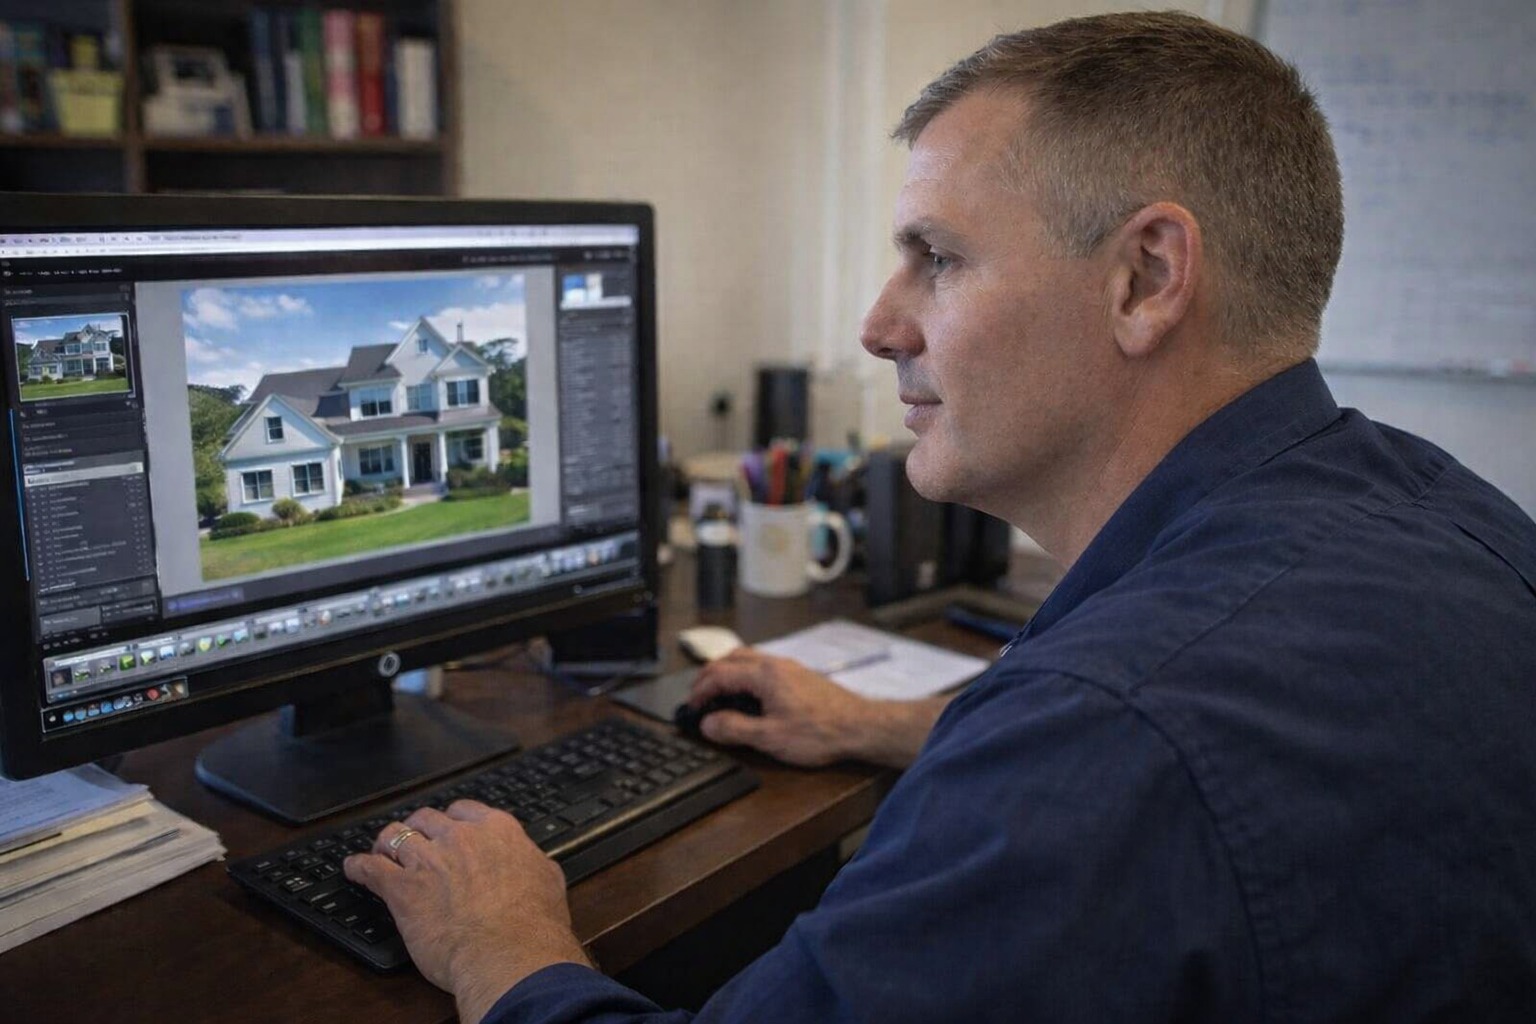
Post-Processing Tips for Flambient Photography
Photoshop enables combining multiple exposures effectively. Start by aligning layers for precise blending. Use layer masks to reveal or hide specific areas from each exposure. Blend modes like "Lighten" or "Screen" can automatically combine exposures.
Adjust colors, brightness, and shadows for a polished look. Use Curves or Levels adjustments to fine-tune contrast. Employ selective color adjustments to correct color casts. Dodge and burn tools add depth and dimension to flat areas.
Address window pulls and reflections carefully. Use the Clone Stamp or Healing Brush to remove unwanted reflections. Blend in properly exposed window views from separate shots. Adjust highlights and shadows to create a natural transition between interior and exterior.
Common Mistakes and How to Avoid Them
Overexposing interiors creates an unnatural, washed-out look. To avoid this, start with lower flash power and build up gradually. Check histograms to ensure highlights aren't clipped. Use the camera's highlight alert feature to identify overexposed areas.
Inconsistent flash power leads to uneven lighting across a space. Maintain consistent settings between shots in the same room. Use manual flash mode for precise control. Take test shots and adjust as needed before capturing final images.
Neglecting composition in technical setups diminishes image impact. Pay attention to leading lines, symmetry, and focal points. Remove clutter and stage spaces before shooting. Use vertical lines as guides for proper alignment and perspective.
Outsourcing Photo Editing: Is It Worth It?
Professional editing services, such as real estate image editing services, offer benefits for busy photographers. Consider outsourcing when facing high volume or tight deadlines. Editing experts can efficiently handle complex blending and retouching tasks. This frees up time for shooting and client interactions.
Outsourcing ensures consistent quality across large projects. Professional editors have specialized skills in real estate image enhancement. They can address challenging lighting situations and create polished final products. However, weigh costs against potential time savings and quality improvements.
Maintain creative control by providing clear editing guidelines. Develop a style guide to ensure outsourced work matches your vision. Start with small batches to assess quality before committing to large projects. Build a relationship with reliable editing services for long-term collaboration.
Conclusion
Flambient real estate photography solves common challenges like balancing bright windows with interior details and adding depth to flat spaces, resulting in high-quality images that attract buyers and impress clients.
With practice, the right equipment, and advanced techniques, you'll enhance your skills. Fotober can help streamline the editing process, ensuring consistent quality. As you gain confidence, flambient will become an essential tool in your real estate photography workflow.
.png)
.png)
.png)
