
Real Estate Photography Checklist: Key Tips for Success 2025
.png)

Share:
Table of Contents
A well-structured real estate photography checklist is essential for capturing listings that impress buyers and close deals faster. From prepping equipment to post-shoot backups, every step counts in creating images that stand out in a competitive market. Whether you're a seasoned photographer or just getting started, this guide walks you through every phase of a successful property shoot - so you can deliver sharp, polished results every time.
1. Pre-Shoot Preparations
A strong start begins with preparation - and your real estate photography checklist should always begin before you even arrive at the property. From checking gear to preparing the location, laying this groundwork ensures a smoother, more productive shoot.
Start by inspecting all essential gear: camera bodies, lenses (especially wide-angle for interiors), tripods, lens cloths, and flash systems. Confirm everything is functioning properly, and clean the lenses to avoid dust spots.

Even seasoned photographers run into unexpected issues - dead batteries, full memory cards, or a malfunctioning flash. Always bring backups: extra batteries, SD cards, chargers, a spare camera body if possible, and cleaning kits.
Before the first shot, walk through the property with the agent or homeowner. Remove clutter (toys, toiletries, trash bins), straighten pillows and chairs, and open blinds for natural light. Clear surfaces and make sure every room is photo-ready. If shooting during the day, scout the property to identify the best-lit areas.
2. Exterior Photography Checklist
The exterior is a property’s first impression - online and in person. A detailed real estate photography checklist must include specific steps to ensure you capture the outside of the home in its best light, both literally and creatively. Exterior shots are critical for generating initial interest, especially on listing platforms where potential buyers make snap judgments within seconds.
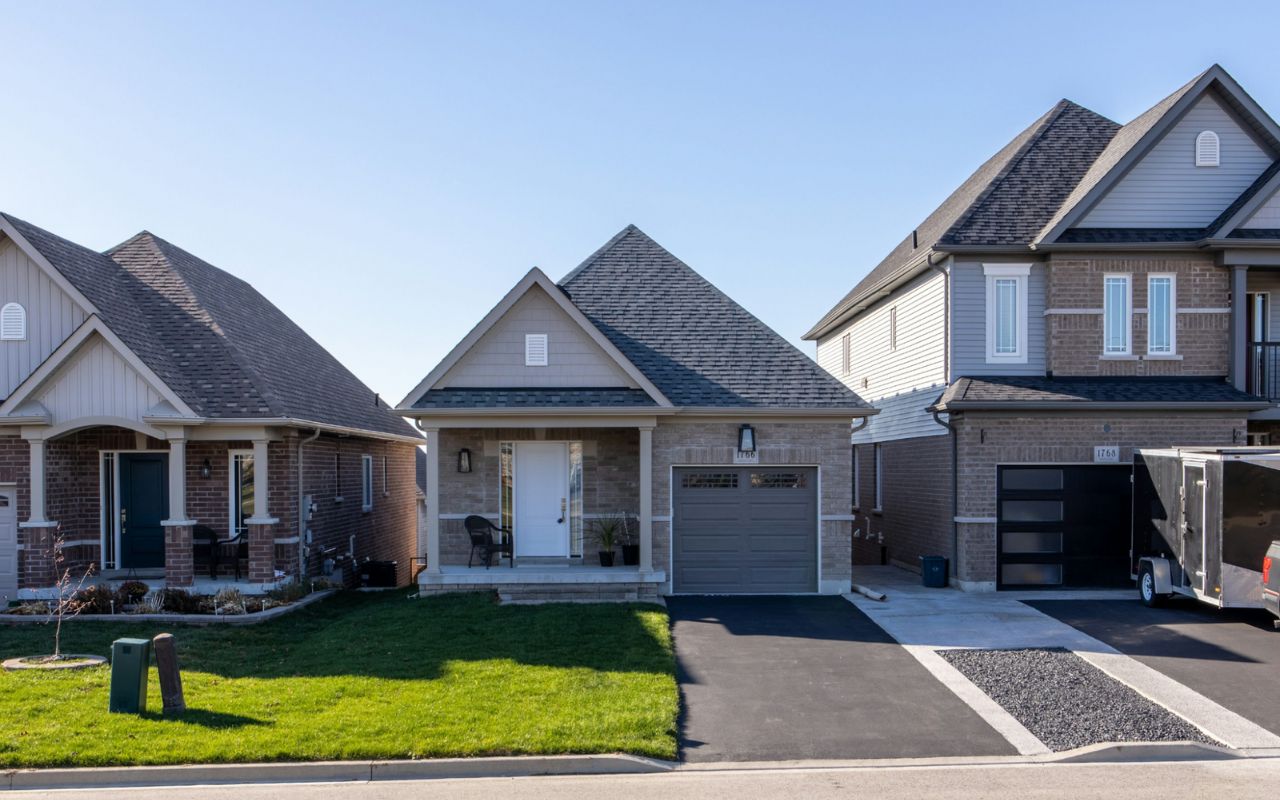
- Lighting Considerations: Shoot during golden hour for soft, flattering light, and avoid harsh midday sun. Use overcast days for even lighting, or a polarizer to cut glare and enhance skies.
- Framing and Angles: Capture wide shots from multiple perspectives and heights. Use symmetrical compositions and foreground elements for depth, keeping vertical lines straight.
- Details to Highlight: Focus on key architectural features and outdoor amenities like patios or gardens. Remove distractions such as vehicles or trash for a clean, appealing exterior.
3. Interior Photography Checklist
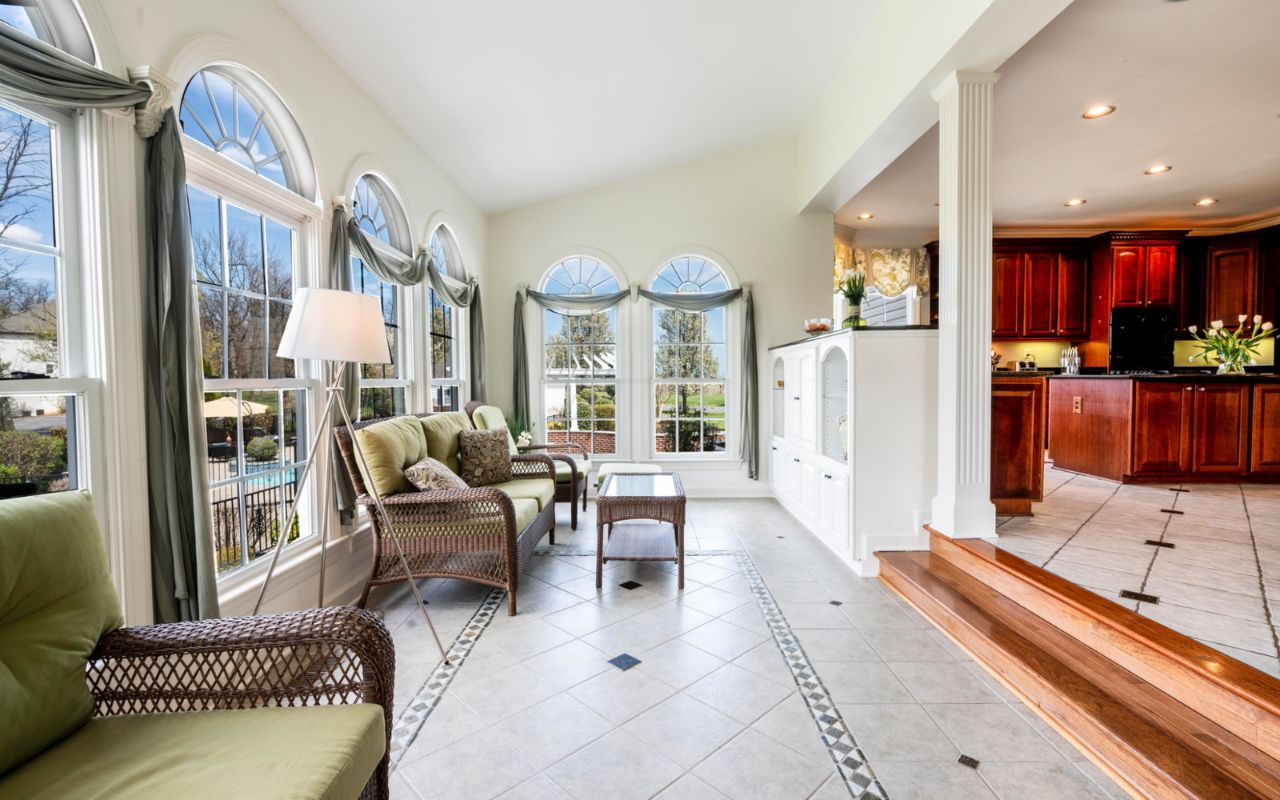
Interiors tell the real story of a home - where buyers imagine themselves living, relaxing, and entertaining. A thorough real estate photography checklist should dedicate special attention to the interior, ensuring each room is well-lit, thoughtfully composed, and emotionally engaging.
Lighting Setup
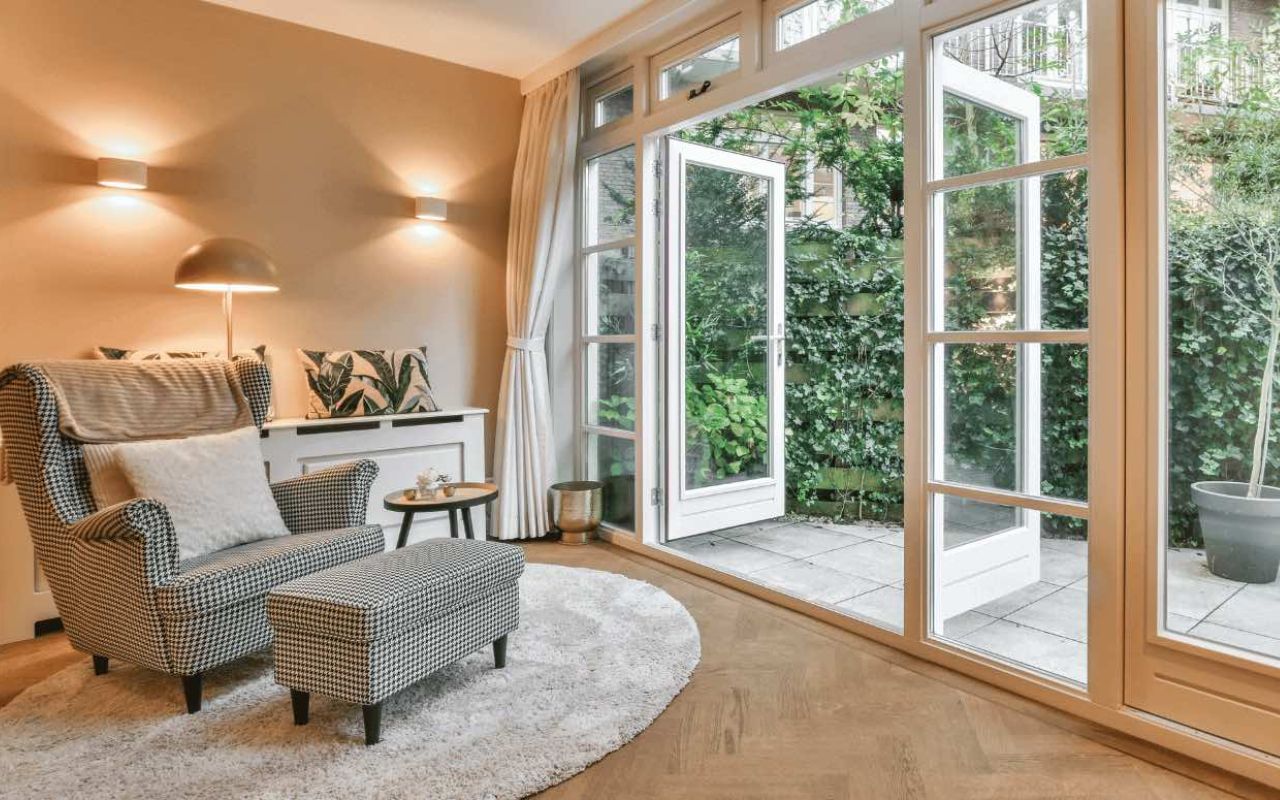
Natural light is your best friend in real estate photography. Schedule shoots during the day and open all curtains or blinds to let in as much daylight as possible. Turn on interior lights to add warmth, but avoid mixed lighting temperatures (e.g., daylight mixed with tungsten). If harsh shadows or dark corners remain, use off-camera flash bounced off walls or ceilings for soft, even lighting.
Avoid shooting directly into bright windows unless you plan to use HDR or composite techniques to balance exposure.
Room Composition
Use a wide-angle lens (typically 16–24mm on a full-frame camera) to capture the entire room in one frame while maintaining realistic proportions. Position your tripod at chest height for most shots, and avoid extreme angles unless for artistic effect.
Maintain straight verticals (walls, door frames, etc.) to ensure a clean and professional look. If possible, declutter surfaces, close toilet seats, and straighten décor. Symmetry and balance in the frame help convey calm, organized spaces.
Key Areas to Shoot
Focus on the areas that sell the home. Kitchens are often a buyer’s top priority - show off appliances, countertops, and open floor space. In living rooms, highlight seating arrangements and natural light. For bedrooms, keep it clean and simple with a clear view of the bed and windows. Bathrooms benefit from tidy counters, closed shower curtains, and centered compositions.
Don’t forget hallways, laundry rooms, or home offices if they add value. Shoot each space from multiple angles to give variety in the final selection.
4. Camera Settings and Techniques
Even the best lighting and staging won’t deliver strong results without the proper in-camera setup. A well-planned real estate photography checklist should always include technical adjustments to ensure clarity, balance, and color accuracy across every shot. These settings help you achieve consistent, high-quality images - whether shooting interiors, exteriors, or detail shots.
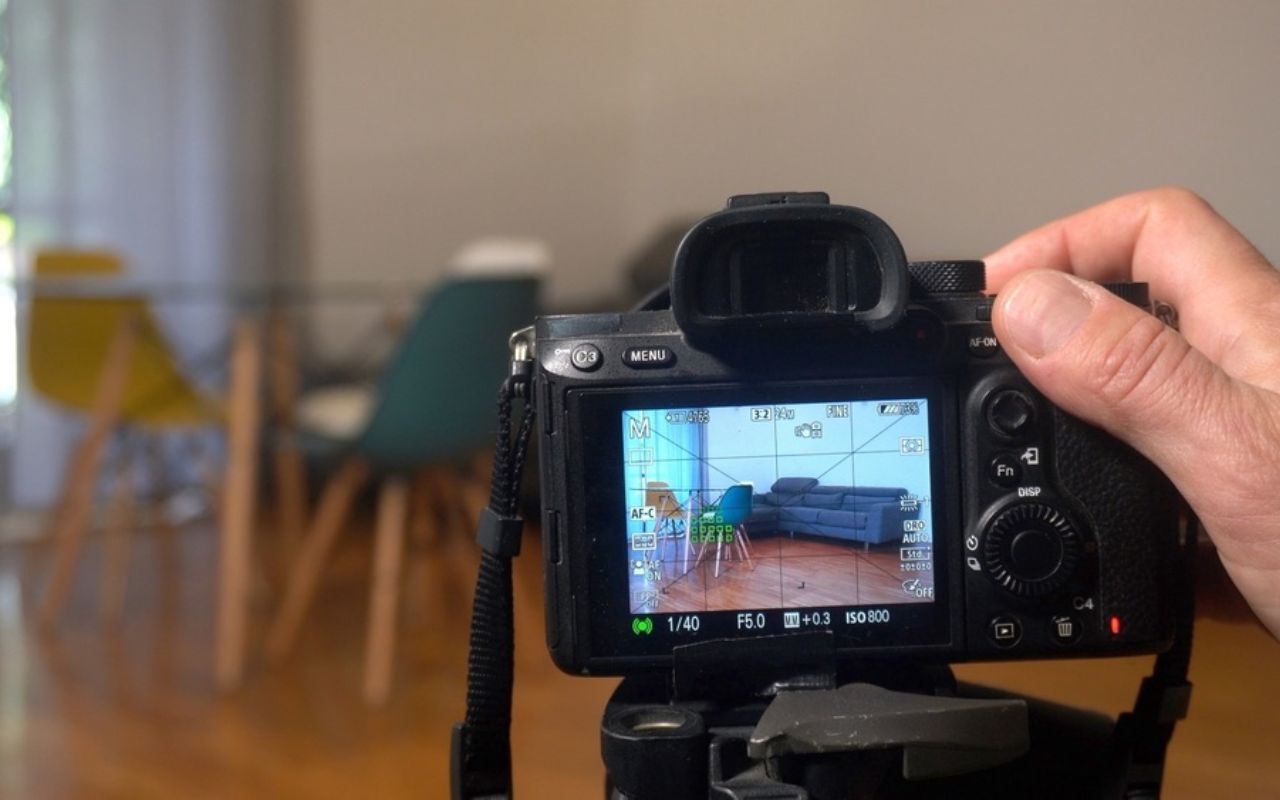
Use a narrow aperture (typically f/8 to f/11) to keep the entire room or exterior in focus. This allows viewers to clearly see both foreground and background elements. For exposure, use manual mode or aperture priority to maintain control over brightness. Overexposed windows or underexposed corners can make rooms appear less inviting.
Use a tripod to shoot at lower shutter speeds when working in low light, ensuring sharp images without raising ISO and introducing noise.
Color accuracy is essential in real estate photography. Incorrect white balance can make walls look yellow or blue, misrepresenting the actual space. Set white balance manually or use custom presets depending on the dominant light source (daylight, tungsten, fluorescent, etc.).
Shooting in RAW allows for easy correction in post-processing if lighting changes from room to room.
High Dynamic Range (HDR) photography is especially useful when shooting rooms with large windows or high contrast between interior and exterior light. By bracketing multiple exposures - typically one underexposed, one correctly exposed, and one overexposed - you can blend them in post to retain detail in both bright skies and dim interiors. Be sure to use a tripod to keep the frames aligned, and avoid overly processed HDR effects that create an unnatural look. The goal is balance and realism.
5. Post-Shoot Checklist
The job doesn’t end once the camera is packed away. A complete real estate photography checklist should include a post-shoot phase to ensure no critical steps are missed before editing begins. This helps protect your work, streamline your workflow, và duy trì chất lượng nhất quán cho mỗi dự án.
Before leaving the site - or immediately afterward - review your shots on a larger screen if possible. Check for missed angles, overexposed highlights, focus errors, or distracting elements. It's much easier to reshoot a missing room on the same day than to return later. Look for consistency in composition, lighting, and sharpness across all rooms.
Data loss can happen unexpectedly, so proper backup habits are essential. As soon as possible, copy your RAW files to at least two separate locations: one on your primary editing device and one on an external hard drive or cloud storage. Label your folders clearly by date, project, and location to avoid confusion later. Professional photographers often use automated backup systems to streamline this process.
Before diving into post-production, note which images need adjustments - cropping, exposure correction, straightening verticals, or removing minor distractions. Decide which shots will benefit from HDR blending, and flag any photos that might require object removal or virtual staging.
Efficient sorting and tagging at this stage will save hours during editing and help deliver a more polished final product. For photographers who handle post-production in-house, choosing the best real estate photo editing software can significantly streamline workflows and maintain consistent visual standards.
6. Let Fotober Enhance Your Real Estate Photography
Even the most thorough real estate photography checklist can’t replace expert real estate photography editing. Fotober’s editors specialize in transforming raw housing shots into polished marketing assets:
- Color consistency & exposure balancing across every image
- Perspective correction & line straightening for professional geometry
- Virtual object removal & item replacement to declutter rooms
- Day‑to‑dusk conversions, sky replacements, and lawn enhancement for irresistible curb appeal
- Fast turnaround matched to your listing schedule
Send us your RAW files and let Fotober handle the heavy lifting while you focus on winning new listings.
Conclusion
A disciplined real estate photography checklist streamlines every phase of a property shoot - preparation, capture, and secure file handling. Follow the steps above to produce images that showcase space, light, and lifestyle. When you’re ready to elevate those photos further, partner with Fotober for professional editing that maximizes visual impact and speeds up your delivery timeline. Contact Fotober today to see how effortless great real estate imagery can be.
Related posts

Double Your Booking: Airbnb Photography Tips for World Cup Host Cities
July 15, 2026

The Legacy of Sam Neill Real Estate: Vineyard & His Private Sanctuary
July 14, 2026

World Cup 2026 Host City Real Estate: Overview & Marketing Strategies
July 13, 2026
Most Common Photography Mistakes California Realtors Should Avoid
July 10, 2026
