
Interior Architecture Photography Tips for Real Estate Listings
Share:
Table of Contents
- 1. Understanding architectural spaces
- 2. Mastering composition & perspective in interior architecture photography
- 3. Lighting techniques: Interior architecture photography tips that truly make a difference
- 4. Post-processing & common mistakes in interior architecture photography
- 5. Outsource vs. DIY editing for interior architecture photography
- Conclusion
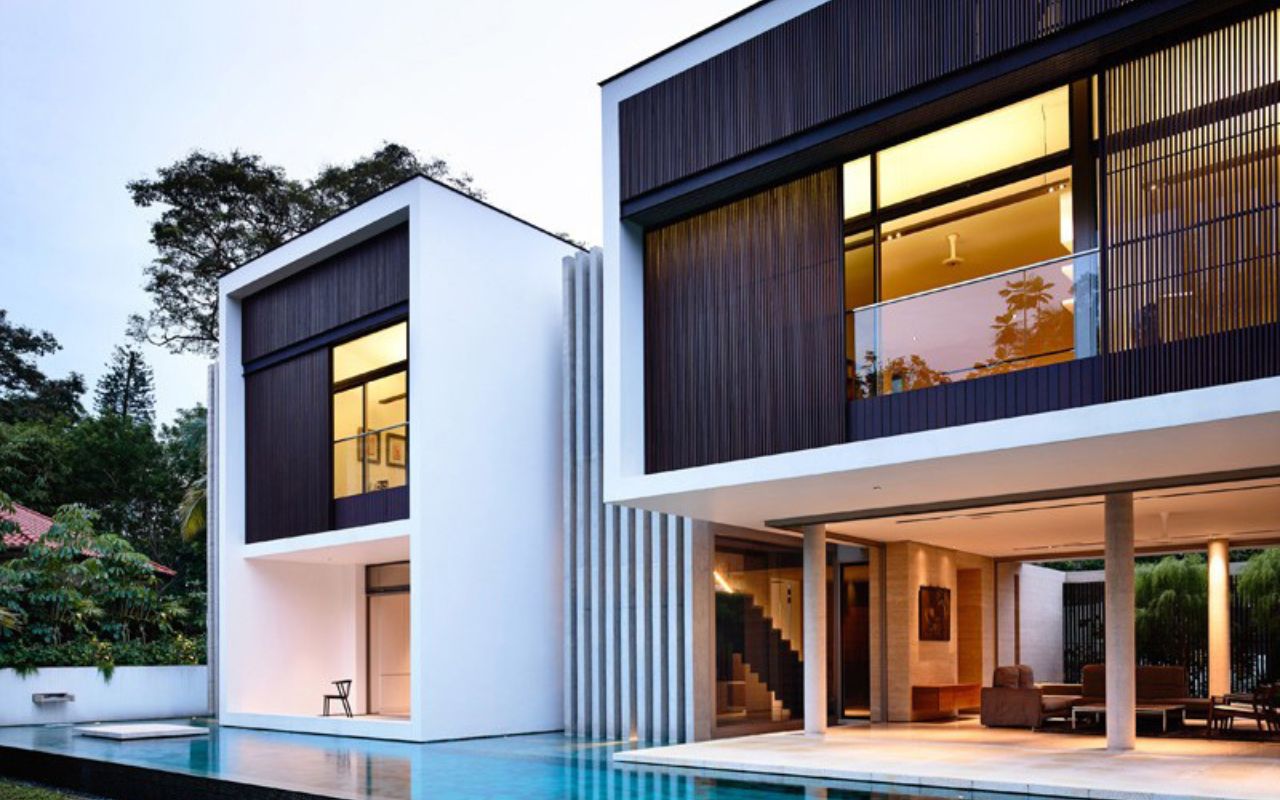
Interior architecture photography plays a critical role in showcasing real estate interiors with clarity, elegance, and intent. Mastering the technical and artistic sides of this niche empowers photographers to bring out the character and design of each space. Whether you're a professional real estate photographer or a property marketer, learning the right techniques can dramatically improve your visual presentation. Below are the essential interior architecture photography tips to elevate your next shoot.
Capturing interiors isn’t as simple as pointing your camera and shooting. Rooms that look stunning in person often appear distorted, dim, or unbalanced in photos—especially when perspective and lighting aren’t handled correctly. That’s why mastering the right architectural interior photography tips is essential for anyone working in real estate.
To improve your interior shots, focus on these core interior architecture photography tips:
- Keep vertical lines perfectly straight to avoid distortion
- Shoot from a natural eye-level perspective
- Use balanced lighting (ideally a mix of ambient and flash)
- Guide the viewer’s eye with leading lines and symmetry
- Avoid over-editing—prioritize realistic colors and clean geometry
These fundamentals will instantly elevate your images from basic snapshots to professional, market-ready visuals.
1. Understanding architectural spaces
Before you even pick up your camera, it’s important to understand what you’re actually photographing. Interior architecture photography isn’t just about documenting a room—it’s about interpreting how space, structure, and design work together.
Start by paying attention to lines, spatial flow, and materials. Vertical and horizontal lines define the structure of a space, while the arrangement of walls, openings, and furniture shapes how the room feels. Materials—like wood, stone, or glass—add texture and depth, which should be preserved in your images.
Most importantly, think like an architect. Ask yourself:
- What is the focal point of this space?
- How does the room flow from one area to another?
- What design intention should be highlighted?
When you approach interiors with this mindset, your photos become more than just images—they become visual explanations of the space.
2. Mastering composition & perspective in interior architecture photography
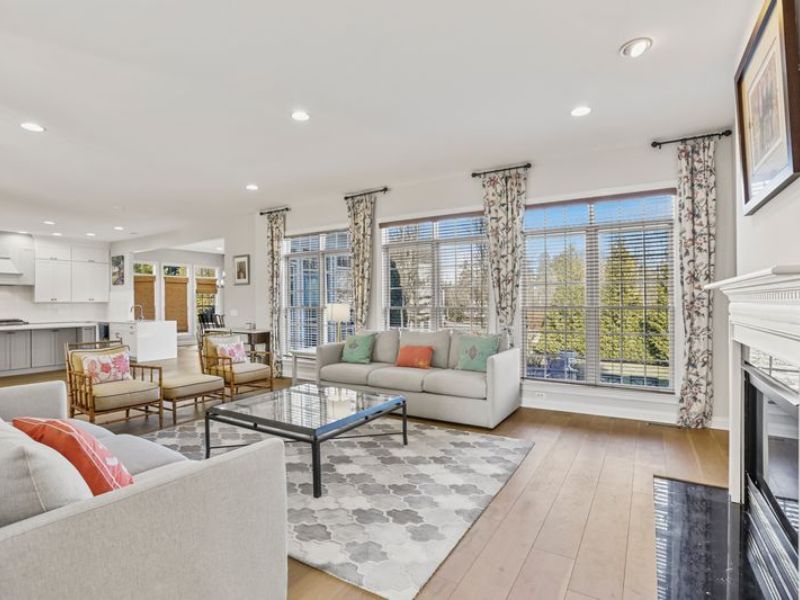
When it comes to interior architecture photography tips, composition and perspective are what separate a clean, professional image from one that feels slightly off. You might not notice it right away, but buyers do. If a room looks distorted or unbalanced, it quietly reduces trust—and that’s the last thing you want in a listing.
2.1. Keep vertical lines straight
One of the fastest ways to make an image look unprofessional is tilted vertical lines. Walls that lean or door frames that don’t align properly can make the entire space feel distorted. This usually happens when the camera is angled up or down, especially with wide-angle lenses.
A simple adjustment—keeping your camera level and aligning verticals in-frame—can completely change how polished the image feels. Clean lines signal accuracy, and in real estate, accuracy builds confidence.
2.2. Shoot at a natural eye-level
Camera height plays a bigger role than most people expect. Shooting too high can flatten the space, while shooting too low exaggerates furniture and makes the room feel awkwardly proportioned.
A natural eye-level—around waist to chest height—tends to produce the most realistic result. It mirrors how someone would actually experience the space in person, which makes the image easier to understand at a glance.
2.3. Use leading lines to guide the eye
Strong interior images don’t just capture a room—they guide the viewer through it. That’s where leading lines come in. Elements like floorboards, countertops, or ceiling beams naturally direct attention if you position your frame intentionally.
Instead of letting everything compete for attention, use these lines to lead toward a focal point, such as a window, a kitchen island, or a key design feature. This is one of those interior architecture photography tips that instantly makes your work feel more deliberate.
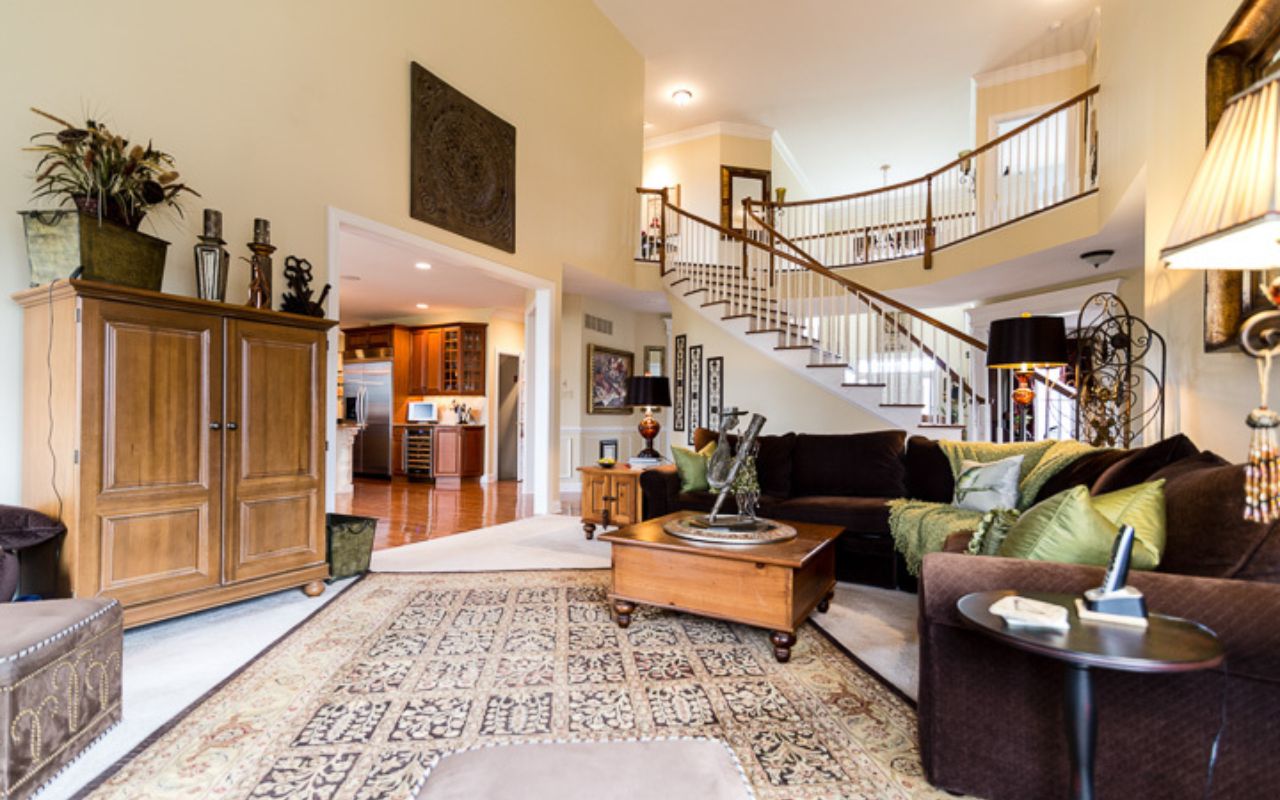
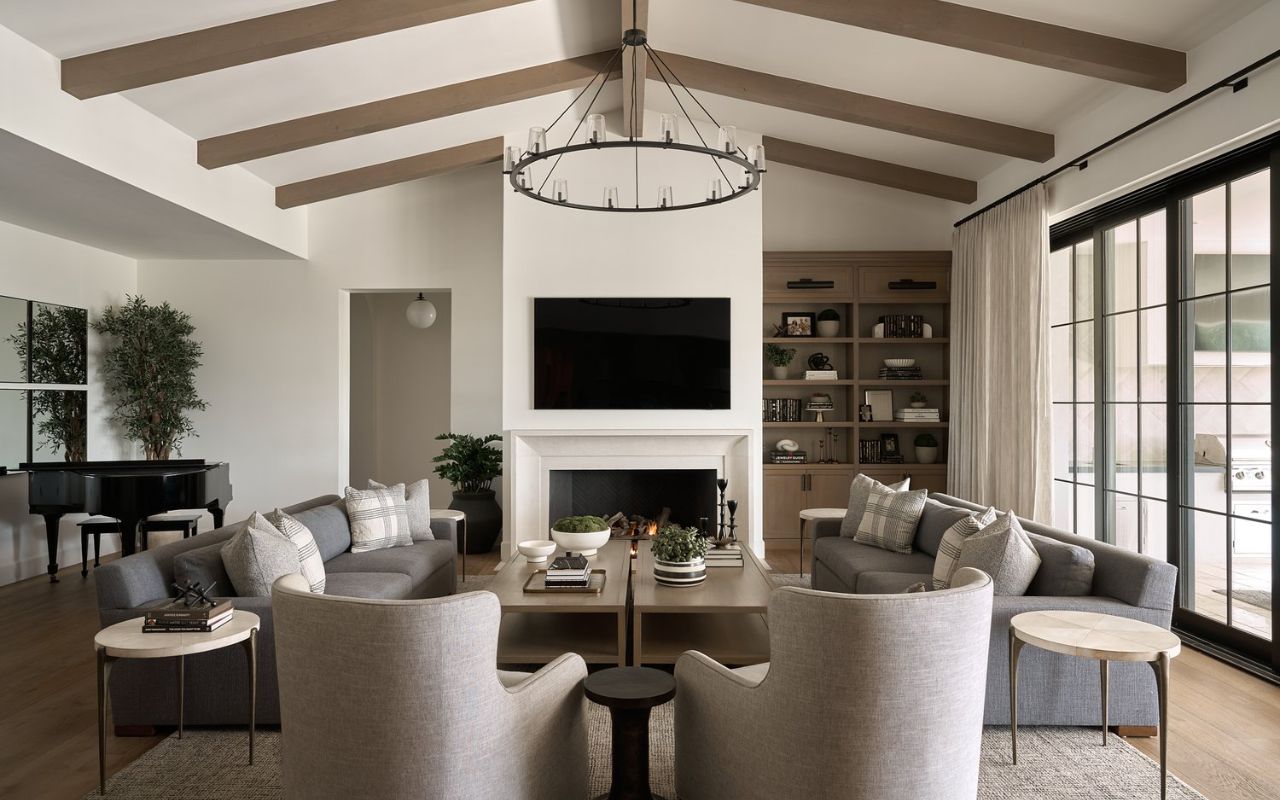
2.4. Create balance with symmetry (or near-symmetry)
Symmetry works incredibly well in interior photography because it creates a sense of order. Spaces like bedrooms, kitchens, or bathrooms often already have built-in symmetry—you just need to recognize and align with it.
That said, perfect symmetry isn’t always possible. In those cases, aim for visual balance instead. If one side of the frame feels heavier, adjust your angle or simplify the scene until everything feels evenly distributed.
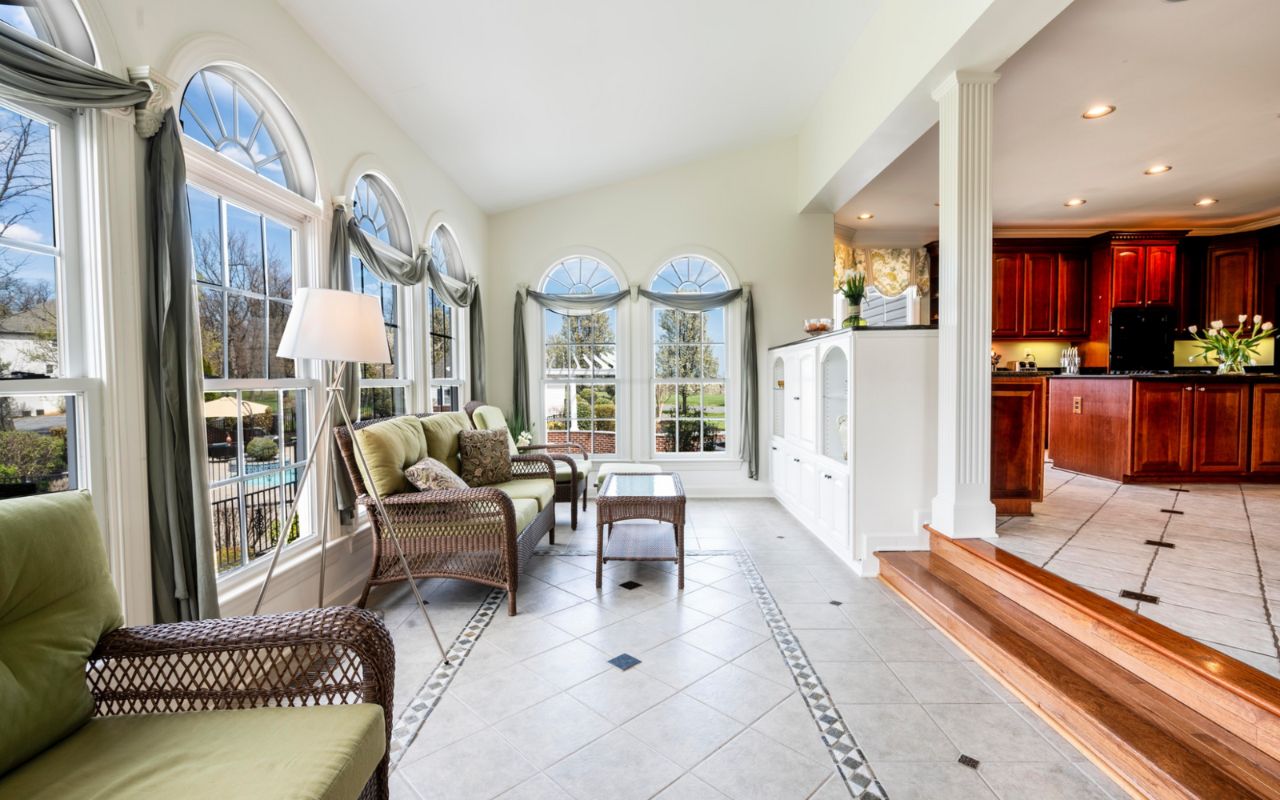
2.5. Frame the space with intention
Rather than always shooting wide and open, try using elements within the space to frame your subject. Doorways, windows, or even furniture edges can add structure and depth when used correctly.
This approach makes your images feel more layered and immersive, instead of flat. It also helps highlight how different parts of the space connect, which is especially valuable in real estate photography.
Mastering composition and perspective takes a bit of practice, but it’s one of the most impactful interior architecture photography tips you can apply right away. Once your images feel structurally correct and visually balanced, everything else—lighting, editing, and styling—becomes much easier to refine.
3. Lighting techniques: Interior architecture photography tips that truly make a difference
Lighting is where most interior shots either come to life—or quietly fall apart. You can have solid composition, but if the lighting feels uneven or unnatural, the entire space loses its appeal. That’s why, among all architectural interior photography tips, learning how to control light is often what separates average images from ones that actually sell a property.
3.1. Balancing natural light and flash in interior architecture photography
Natural light is usually the first thing photographers rely on, and for good reason. It gives interiors a soft, inviting look that feels authentic. But in real-world shoots, it’s rarely enough. Bright windows tend to blow out, while deeper areas of the room fall into shadow, creating an unbalanced image.
This is where flash becomes essential—not to replace natural light, but to support it. When used correctly, flash helps fill in shadows and bring back detail without making the space look artificial. The goal isn’t to overpower the room, but to create a balanced exposure that still feels natural to the eye.
3.2. Why flambient is a go-to interior architecture photography tip
If you’ve ever wondered how professional real estate images look both bright and natural at the same time, the answer is often the flambient technique. It’s a method that blends ambient light with flash, giving you control without losing realism.
In practice, this means capturing one image with the existing light in the room, then another with controlled flash to clean up shadows and uneven areas. When these exposures are combined during editing, the final image feels both polished and believable—something standard HDR often struggles to achieve.
3.3. Using exposure bracketing to handle high-contrast interiors
Interiors with large windows or strong sunlight can be tricky because of the extreme contrast between bright and dark areas. If you expose for the room, the windows blow out. If you expose for the windows, the room becomes too dark.
Exposure bracketing helps solve this by capturing multiple versions of the same shot at different brightness levels. When blended together, these exposures preserve detail across the entire image—from highlights to shadows—resulting in a more balanced and visually complete photo.
3.4. Why lighting consistency becomes a real challenge
The technical side of lighting isn’t just about knowing these techniques—it’s about applying them consistently. Every property is different. Light changes throughout the day, color temperatures shift from room to room, and what works in one space often doesn’t translate to the next.
This is where many photographers start to feel the pressure. Getting one great shot is manageable, but maintaining the same level of quality across an entire shoot—or multiple listings—quickly becomes time-consuming. Consistency in lighting is one of the hardest parts of scaling real estate photography without extra support.
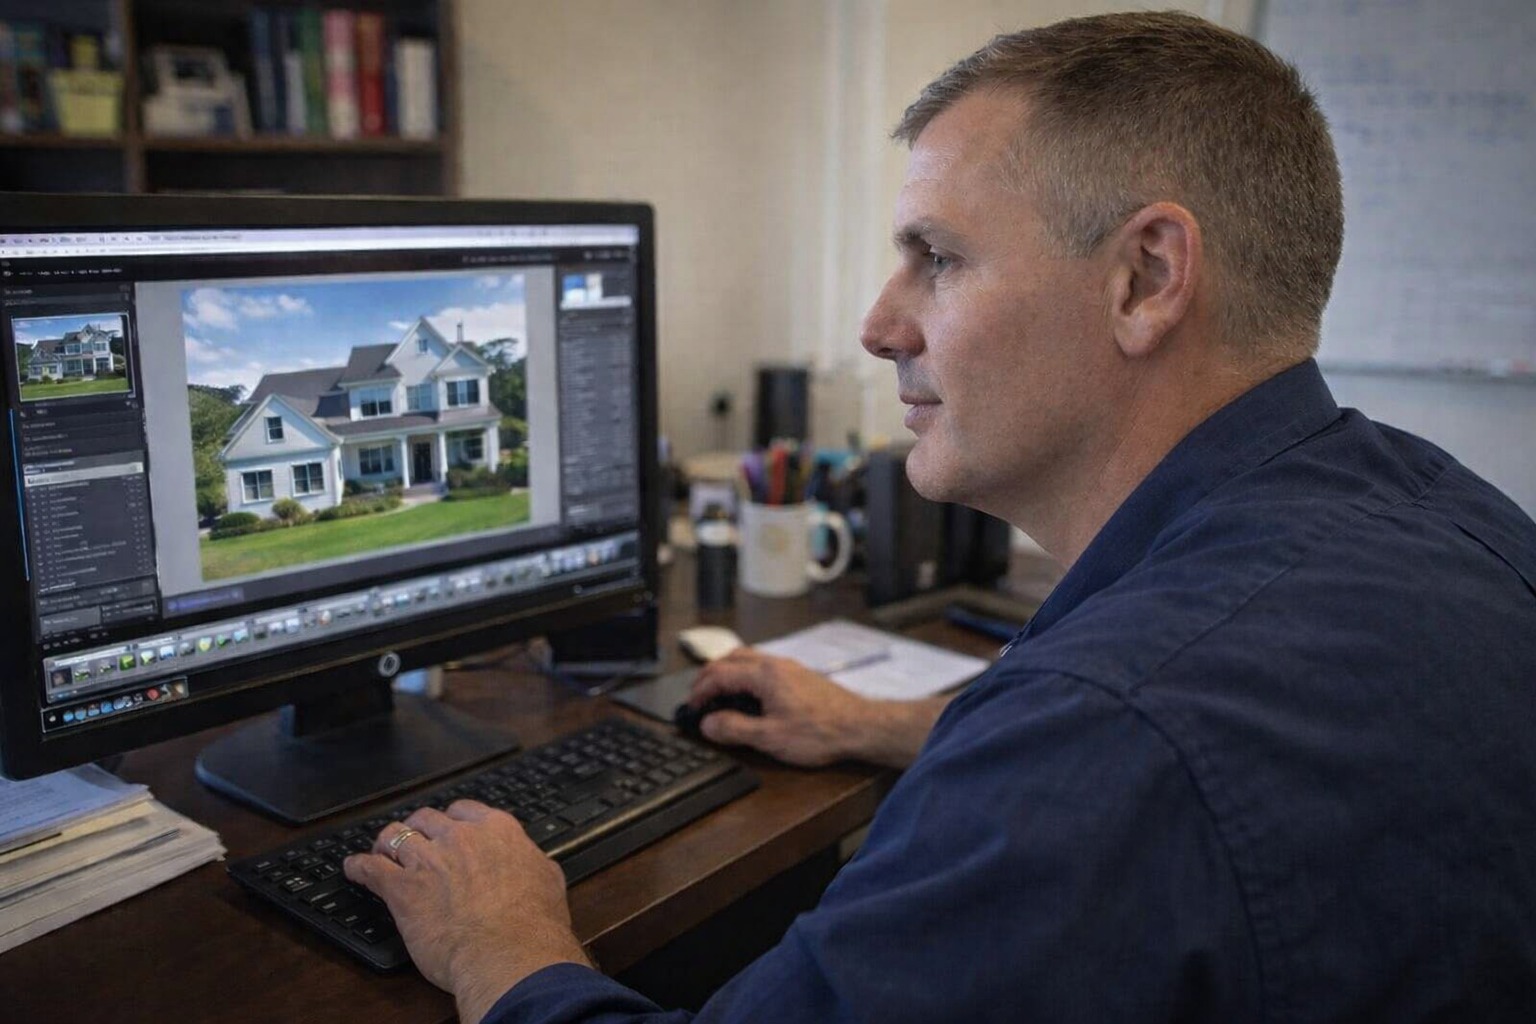
4. Post-processing & common mistakes in interior architecture photography
Shooting is only half the process. The real refinement—and often the real frustration—happens during editing. This is where many interior architecture photography tips either come together or fall apart, depending on how carefully the image is handled.
4.1. Post-processing that keeps interiors clean and realistic
One of the first things editors usually fix is perspective. Even with careful shooting, slight distortion is almost unavoidable, especially when using wide lenses. Straightening vertical lines and correcting geometry makes the space feel stable and true to life, which is critical in real estate. This step alone reflects some of the most important interior architecture photography tips, where accuracy matters just as much as aesthetics.
Color is another area where things can easily go wrong. Mixed lighting sources often create subtle color shifts that don’t look obvious at first but can make the entire image feel off. Adjusting white balance and keeping tones consistent helps ensure that materials—like wood, marble, or paint—appear accurate and trustworthy.
Then there’s texture. A good edit brings out detail without overdoing it. You want surfaces to feel crisp and tangible, but still natural. Over-processing here is a common mistake, and it’s usually where images start to look artificial.
4.2. Common interior photography mistakes that reduce listing quality
Some mistakes show up again and again, even in otherwise decent shoots. Crooked vertical lines are one of the biggest issues—they immediately make an image feel unpolished. Color inconsistencies are another, especially when different light sources clash within the same frame.
Over-editing is also a frequent problem. Heavy HDR effects can make a space look unrealistic, almost like a rendering rather than a real home. And when lens distortion isn’t corrected, rooms can appear stretched or misleading, which affects how buyers perceive the actual layout. Avoiding these issues is a core part of applying effective interior architecture photography tips in real-world projects.
These aren’t just technical flaws—they directly impact how trustworthy and appealing a listing feels.
4.3. Why editing becomes a bottleneck at scale
Individually, each correction might only take a few minutes. But when you’re dealing with dozens of images per property, and multiple properties per week, the workload adds up quickly.
Balancing perspective, fixing colors, blending exposures—it all requires attention to detail. Over time, editing can shift from a creative step into a time-heavy bottleneck, especially for photographers trying to maintain both speed and consistency.
5. Outsource vs. DIY editing for interior architecture photography
At a certain point, the question isn’t whether you can edit your own photos—it’s whether you should. As your volume increases, editing starts to compete with more valuable tasks like shooting, client communication, and business growth. For many professionals applying interior architecture photography tips in real-world projects, this becomes a turning point in how they manage their workflow.
Comparing DIY and Outsourced editing:
- Handling editing yourself gives you full control, and it works well when your workload is still manageable. But it also means spending hours behind a screen, repeating the same adjustments across multiple images.
- Outsourcing, on the other hand, shifts that workload to a dedicated team. Instead of editing each photo individually, you get consistent results delivered on time, which makes it much easier to scale your output without sacrificing quality.
When DIY still makes sense: If you’re shooting occasionally or working on a small number of listings, editing your own images can be a good way to stay close to your style and refine your skills. At that stage, the time investment is still reasonable, and it allows you to better understand how different interior architecture photography tips translate from shooting to final delivery.
When outsourcing becomes the smarter move: As soon as volume increases, editing tends to become the limiting factor. It slows down turnaround time and reduces the number of shoots you can take on. That’s usually the point where outsourcing starts to make more sense—not just for convenience, but for growth.
Conclusion
Strong visuals are one of the biggest drivers of real estate performance, but producing them consistently takes more than just knowing a few interior architecture photography tips. It requires time, precision, and a reliable workflow.
For teams or photographers handling multiple listings, working with a professional editing partner like Fotober isn’t just about saving time—it’s about maintaining quality at scale while focusing on the parts of the business that actually generate revenue.
Want to see how professional editing transforms real estate images in real projects?
Follow Fotober on social media for behind-the-scenes workflows, editing tips, and real client results.
-
YouTube Channel: Fotober
-
TikTok Channel: @fotober
-
Email support: [email protected]
-
Hotline: +84 942 110 297
Related posts

Best Austin Real Estate Photography Options for Perfect Listing Photos
July 22, 2026
Best Aperture for Real Estate Photography: The Range for Sharp Photos
July 18, 2026
Short-Term Rental Photography: Shoot & Edit Photos That Gain Bookings
July 17, 2026
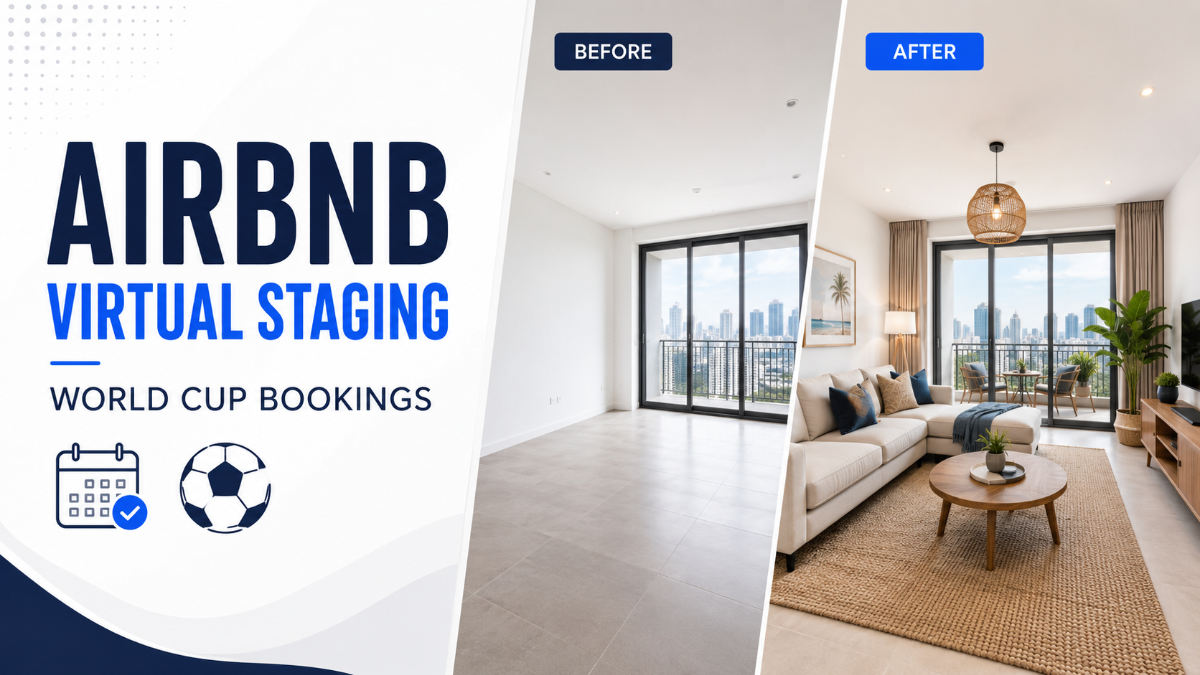
Airbnb Virtual Staging: How to Fill Rentals and Win World Cup Bookings
July 17, 2026
