




How to Take Real Estate Photos With iPhone: 8 Tips for Pro Results


Share:
Table of Contents
- 1. Key takeaways
- 2. How to take real estate photos with iPhone: 8 straightforward tips
- • 2.1. Stage the property before you shoot
- • 2.2. Optimize the lighting for bright, clean rooms
- • 2.3. Enable the grid for straight, balanced composition
- • 2.4. Use a tripod and self-timer for sharp, stable shots
- • 2.5. Add iPhone accessories that expand your setup
- • 2.6. Use HDR to balance bright windows and dark corners
- • 2.7. Explore third-party camera apps for manual control
- • 2.8. Consider external lenses for wider, sharper frames
- 3. Photo editing: The step that makes iPhone listing photos look professional
- 4. Fotober: Your visual partner for real estate photography with iPhone
- 5. Conclusion
- 6. Frequently asked questions: iPhone real estate photography
Knowing how to take real estate photos with an iPhone matters more than ever, because the phone already in your pocket can now produce listing images that hold up next to a dedicated camera. Modern iPhones pair large sensors with computational photography, so a careful shooter can light, frame, and capture a room that looks bright, straight, and true to life. The catch is that the camera doesn't do the work for you, technique still decides whether a listing photo pulls buyers in or gets scrolled past.
This guide walks through how to take real estate photos with an iPhone step by step, from staging and lighting to composition, accessories, and the editing pass that ties everything together. Fotober built it for agents, photographers, and owners who want professional results without a professional camera bag. Whether you shoot one listing a month or ten a week, these eight techniques plus a solid editing workflow will lift the quality of every set you deliver.
1. Key takeaways
- With good light, thoughtful staging, and a steady setup, how to take real estate photos with iPhone becomes a repeatable, professional workflow rather than a gamble.
- Natural light, the camera grid, and a tripod fix the three most common listing-photo problems: dark rooms, crooked lines, and blur.
- Shooting in HDR or RAW gives editors far more to work with, which is why serious real estate photography with the iPhone almost always includes a post-production step.
- Low-cost accessories like a wide-angle lens and a remote shutter expand what the phone can do without a big budget.
- Outsourced photo editing is what turns solid iPhone captures into polished, MLS-ready images on a fast turnaround.
Real estate photography with iPhone works because buyers now start their search on a screen, and the lead photo often decides whether they click. The National Association of Realtors has consistently found that photos are the most useful feature buyers look for on listing sites, ahead of maps, neighborhood data, and virtual tours. If you're new to shooting property, a broader real estate photography guide is worth reading alongside these iPhone-specific tips, because the fundamentals of framing and light carry over to any camera. Strong photography also affects speed to sale, listings marketed with professional images have been shown to sell as much as 32% faster, according to VHT Studios.
2. How to take real estate photos with iPhone: 8 straightforward tips
The fastest way to master how to take real estate photos with an iPhone is to work the shot the way a pro does: stage, light, level, stabilize, then capture. None of these steps need expensive gear, and most take only seconds once they become a habit. Run through the eight techniques below on every listing, and your photos will get noticeably more consistent, room to room and house to house.
2.1. Stage the property before you shoot
Staging is the first and highest-leverage step, because the camera can only capture what's actually in the room. A clean, depersonalized space photographs larger, brighter, and more professional, even on a phone. Spending more time clearing clutter than fiddling with settings, it pays off in every single frame. Focus on these staging essentials:
- Depersonalize each room: remove family photos, children's drawings, and fridge magnets to create a neutral, buyer-friendly space.
- Highlight focal points: arrange furniture to draw the eye toward fireplaces, built-ins, or large windows.
- Use color strategically: add pops of color with pillows, rugs, or fresh flowers so rooms feel lively on camera.
- Keep it spotless: wipe down counters, tables, and floors so nothing distracting shows up in the shot.
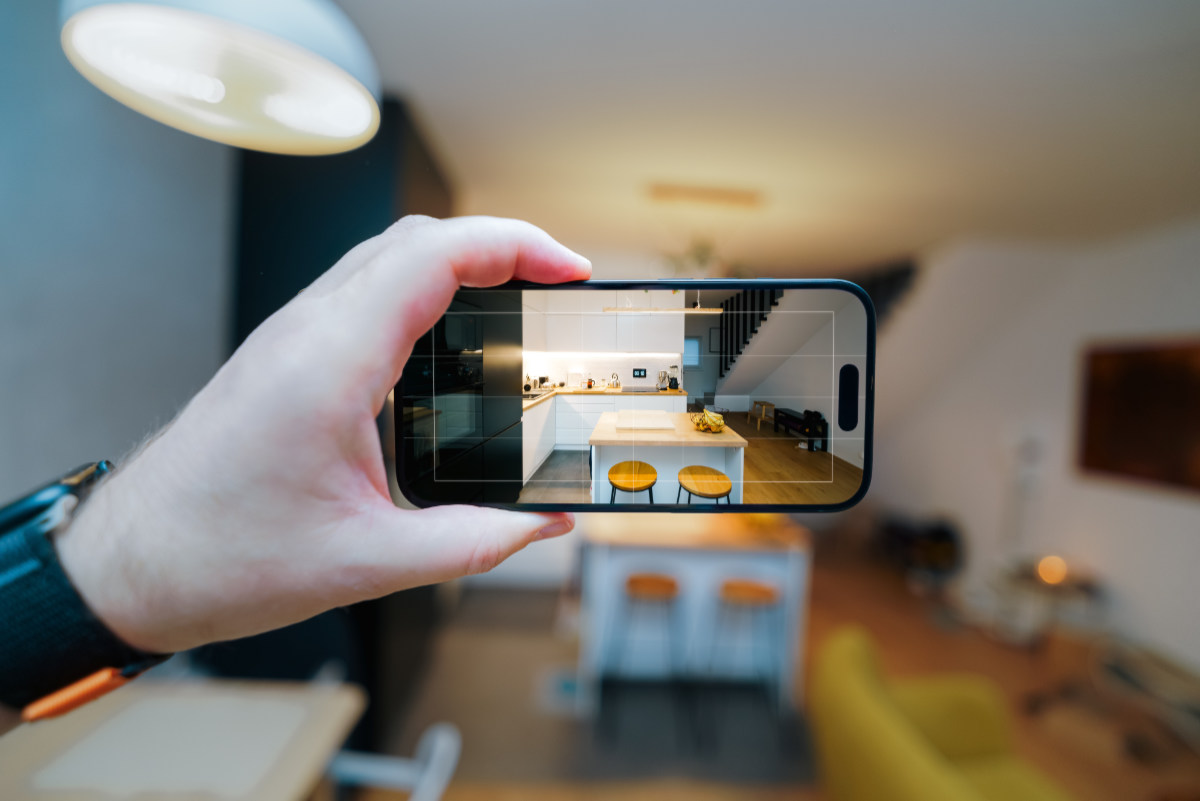
Good staging is what separates amateur iPhone real estate photos from listings that look like a photographer walked through. A staged room helps the iPhone capture spaces that feel open and inviting, which is exactly what buyers respond to online. Because people form an impression within seconds, that first tidy frame quietly does a lot of the selling for you.
2.2. Optimize the lighting for bright, clean rooms
Lighting is the single biggest factor in a professional-looking listing photo, since smartphone cameras lean heavily on available light to stay sharp and color-accurate. Bright, well-lit rooms look more inviting and far outperform dim ones in a listing feed. The good news is that most of the work is free, it's about timing and a few small adjustments. Try these natural-light tactics:
- Open every curtain and blind to flood interiors with daylight and soften shadows.
- Shoot during golden hour, in the early morning or late afternoon, for a warm, flattering glow.
- Use sheer curtains to diffuse harsh midday sun and avoid blown-out windows and glare.
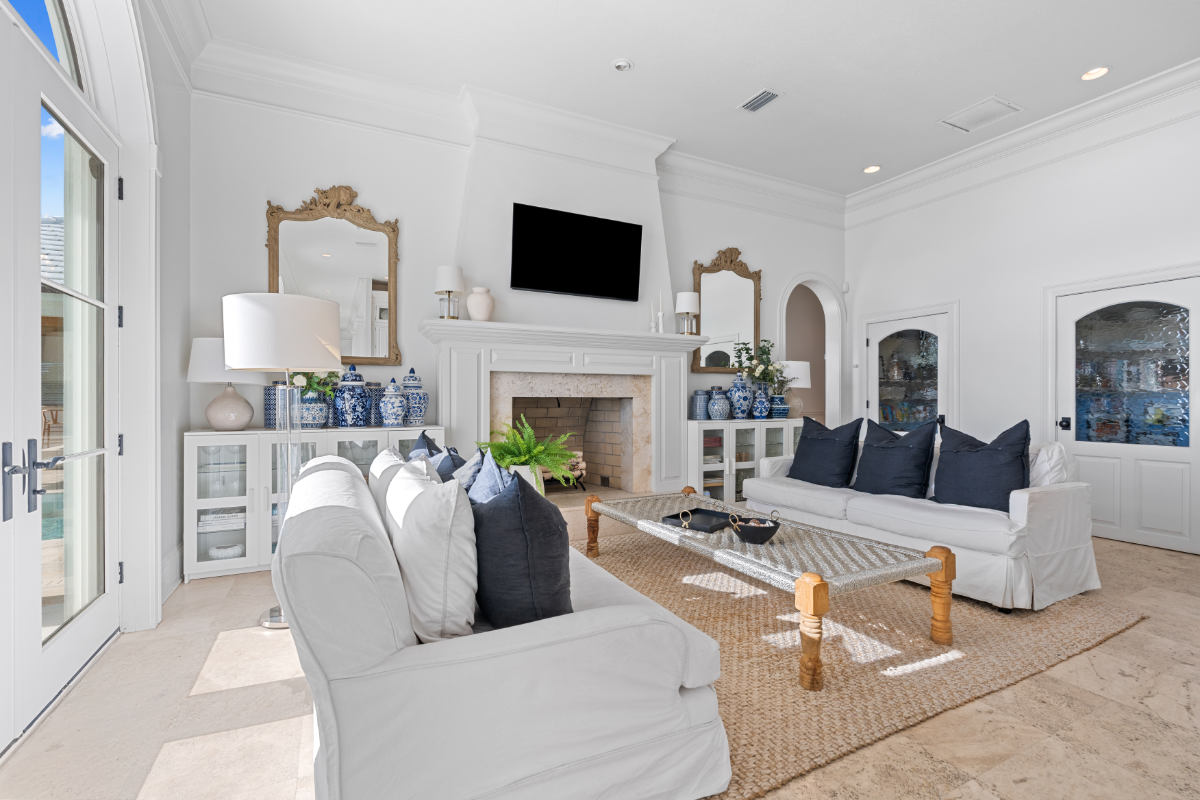
Timing matters as much as technique, so it's worth learning the best time of day for real estate photos before you schedule a shoot. Whether it's a small apartment or a sprawling home, controlling the light is what makes real estate photography with an iPhone look intentional instead of accidental. Get the light right in-camera and every later step, including editing, gets easier.
2.3. Enable the grid for straight, balanced composition
Composition is where good iPhone real estate photos start to look deliberate, and the built-in grid is the quickest way to get there. The grid overlays a 3x3 layout on your screen so you can apply the rule of thirds, placing key elements along the lines or at their intersections. It also gives you a reference for keeping walls, floors, and ceilings perfectly level. To turn it on, open Settings, tap Camera, and toggle Grid on, Apple documents this and other capture options in its iPhone camera guide.
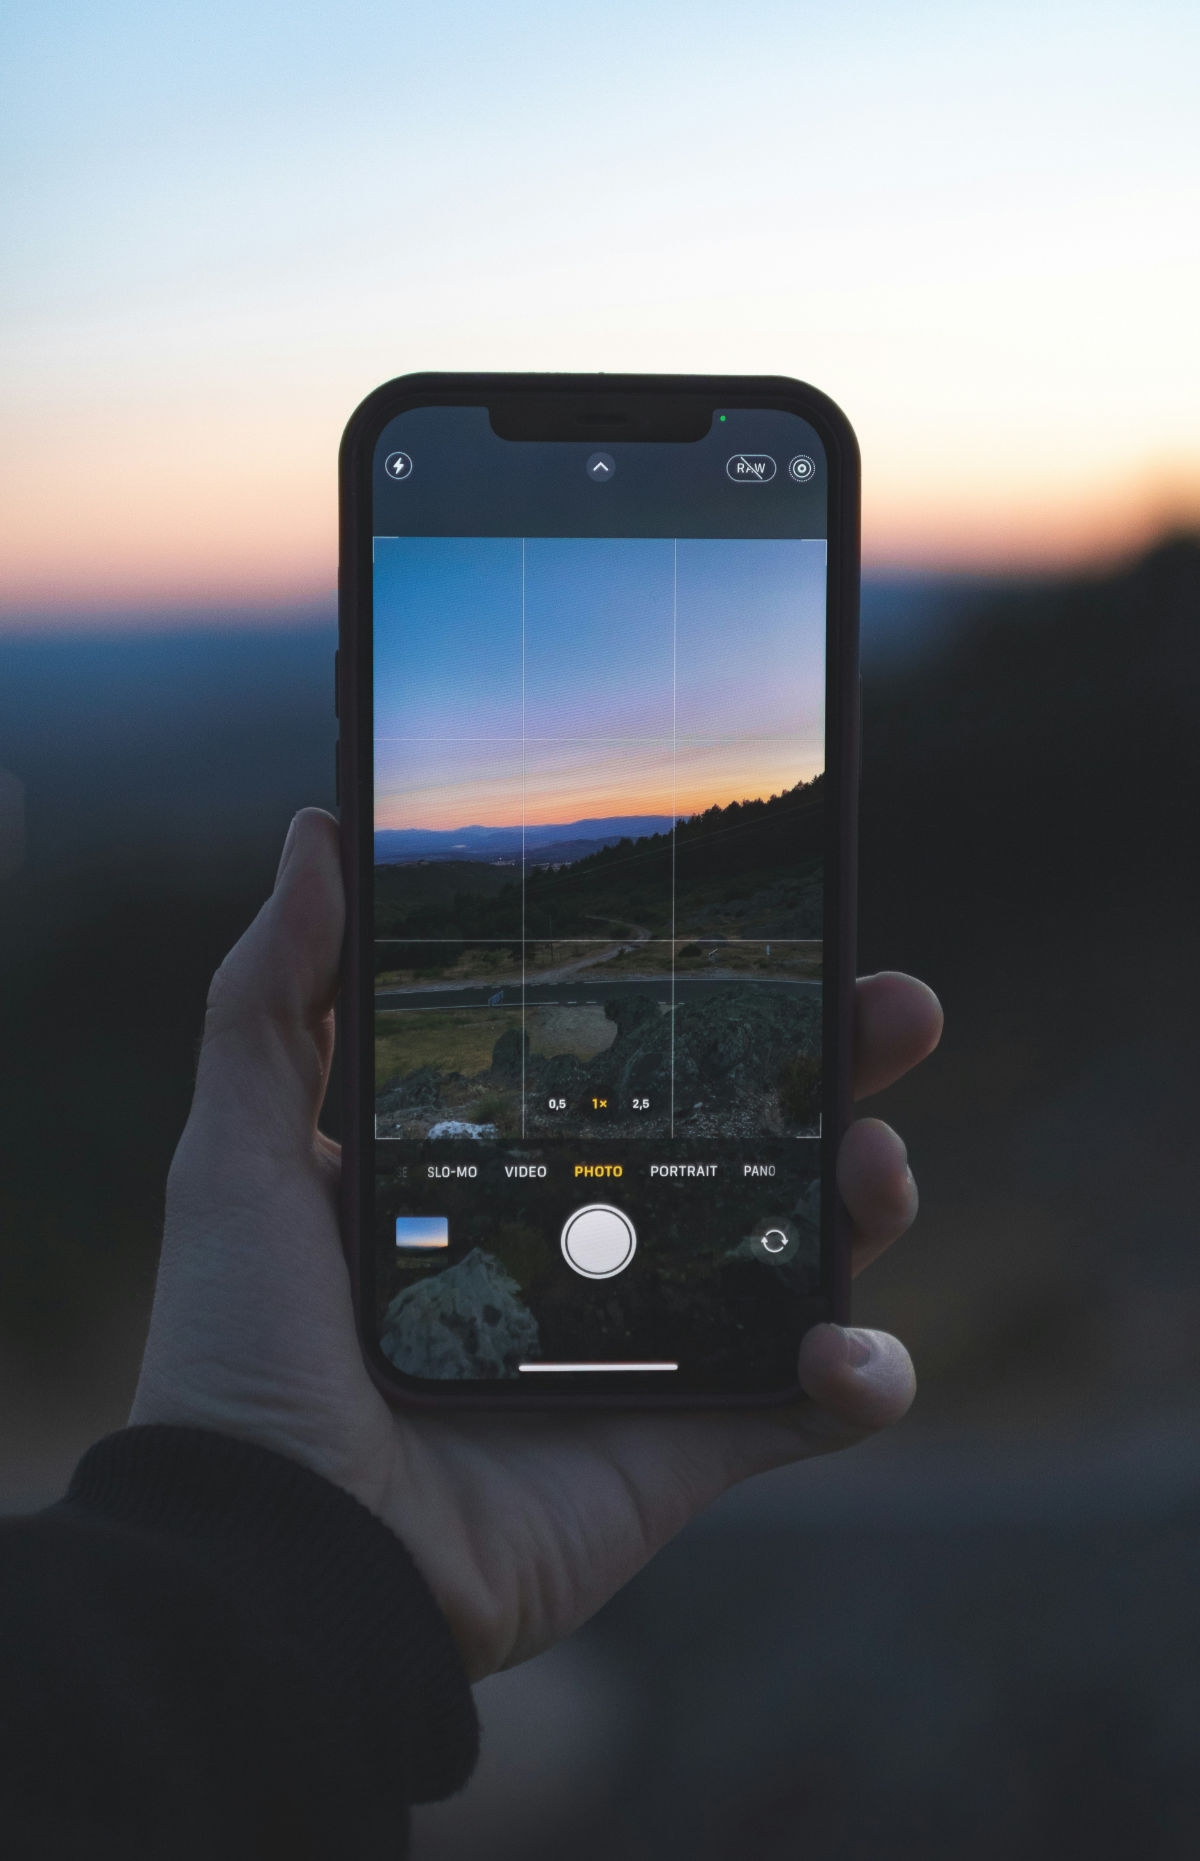
Straight vertical and horizontal lines read as professionalism and precision, while a tilted horizon instantly signals amateur work. The grid is especially useful for aligning door frames and countertops in interiors and keeping rooflines level in exterior shots. Make leveling a habit and you'll cut way down on the crooked frames that editing has to rescue later.
2.4. Use a tripod and self-timer for sharp, stable shots
A steady setup is one of the most underrated parts of learning how to take real estate photos with an iPhone, because even slight hand shake softens detail. A tripod locks the camera in place for crisp images, which matters most in low light where the phone holds the shutter open longer. Pair it with the self-timer so you never touch the screen at the moment of capture. To use the timer, open the Camera app, tap the timer icon, and choose a 3- or 10-second delay.
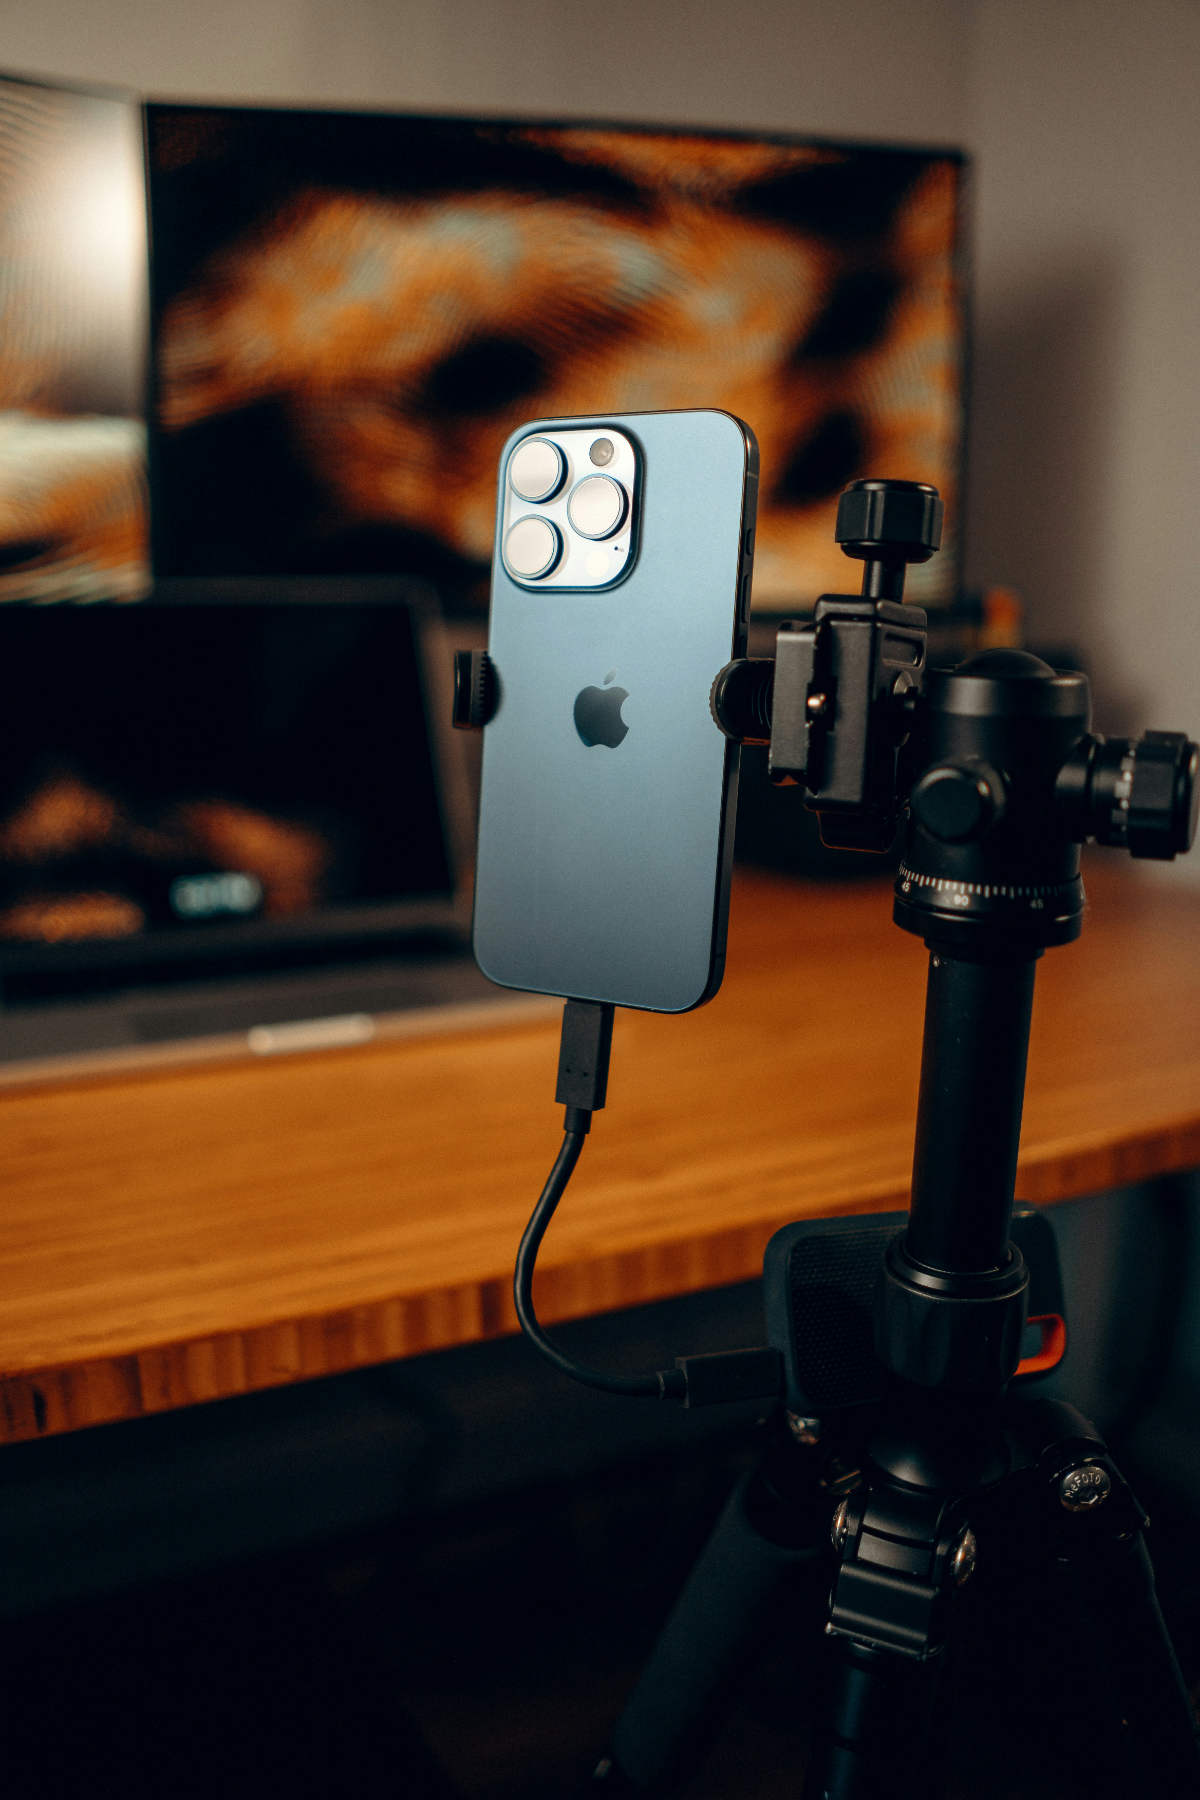
Invest in a phone-compatible tripod with adjustable height and a flexible ball head so you can lock the same framing across rooms. Consistent camera height and angle help buyers build a mental map of the layout as they scroll through a set. The same tripod also stabilizes video, so you can capture smooth walkthroughs without upgrading your gear.
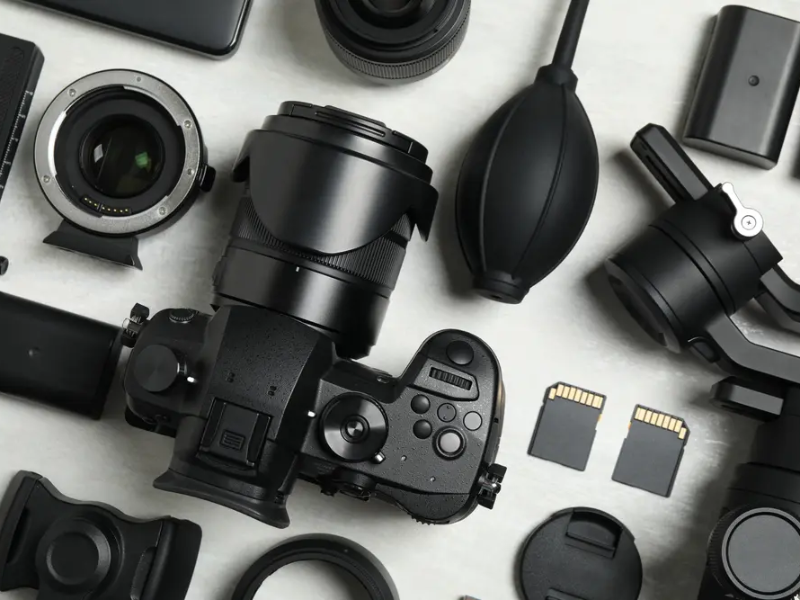
2.5. Add iPhone accessories that expand your setup
A few inexpensive accessories extend what the phone can do without pushing you toward a full camera kit. A wide-angle attachment widens the field of view so tight rooms feel more spacious, while portable lights fill in dim corners the sensor can't. A remote shutter removes the last bit of contact shake at capture. Consider adding these to your bag:
- Wide-angle lens: pick a moderate 18–24mm-equivalent lens to gain width without heavy distortion.
- Portable LED lights: adjustable-brightness, adjustable-temperature lights help balance mixed indoor lighting.
- Remote shutter: fire the camera without touching the phone to keep every frame sharp.
Accessories won't replace technique, but they remove the ceiling that the built-in setup sometimes hits in challenging spaces. A wide-angle lens in particular earns its cost the first time you shoot a cramped bathroom or a narrow hallway. Keep the kit small and reliable so setup stays fast on a busy shoot day.
2.6. Use HDR to balance bright windows and dark corners
High Dynamic Range blends several exposures into one balanced frame, which is exactly what tricky interiors need. Real estate rooms often pair bright windows with dim corners, and HDR keeps both from clipping to pure white or black. On recent iPhones, Smart HDR runs automatically, though you can confirm the setting or adjust it in the Camera menu. Shoot the frame as usual and the phone does the blending for you.
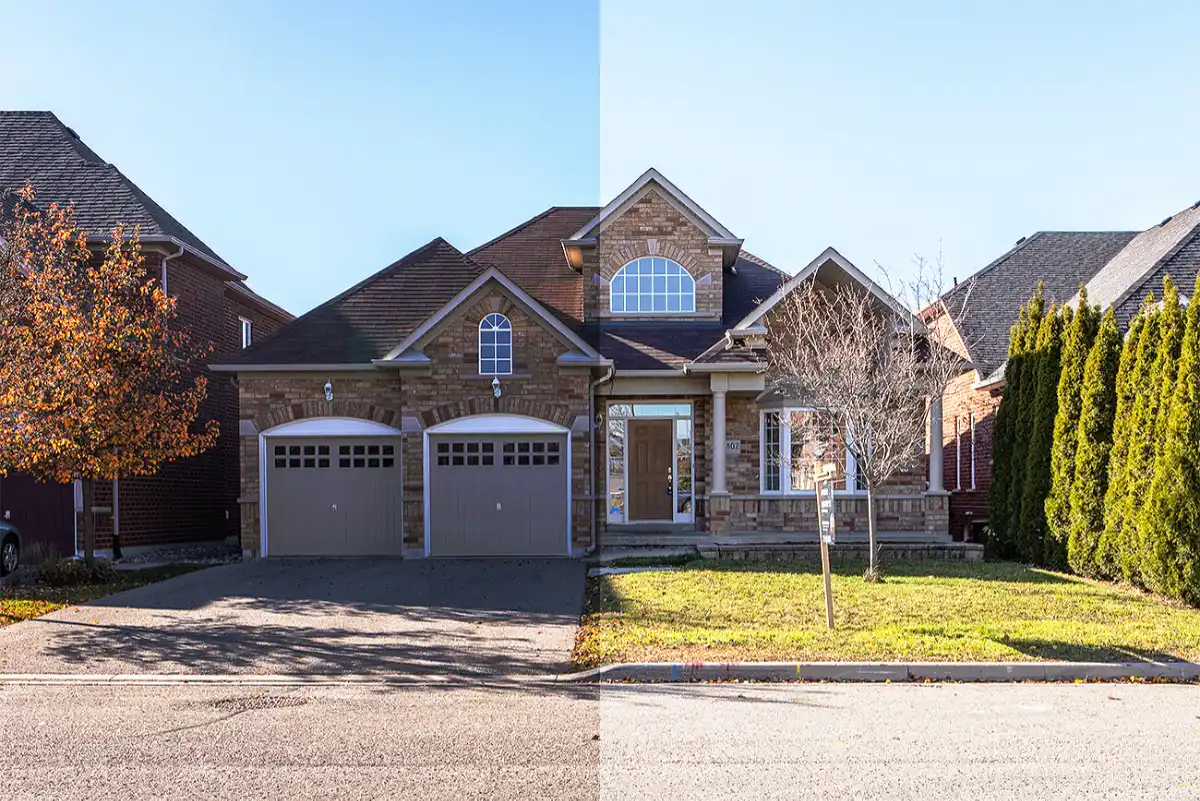
HDR is powerful, but overcooked HDR can flatten a photo and drain its depth. Compare a few shots with it on and off to learn how each scene responds before you commit. Better still, shoot in a format your editor can push further, which is exactly where the next tip comes in.
2.7. Explore third-party camera apps for manual control
The native camera is capable, but third-party apps unlock the manual control that serious listing work rewards. Apps that expose ISO, shutter, exposure, and RAW capture give you and your editor far more room to fix a difficult room. RAW files hold detail in highlights and shadows that a standard JPEG throws away. A few proven options for property work:
- ProCamera: full manual controls with reliable RAW capture.
- Halide: professional-grade tools wrapped in an approachable interface.
- VSCO: strong color tools and filters for a consistent look across a set.
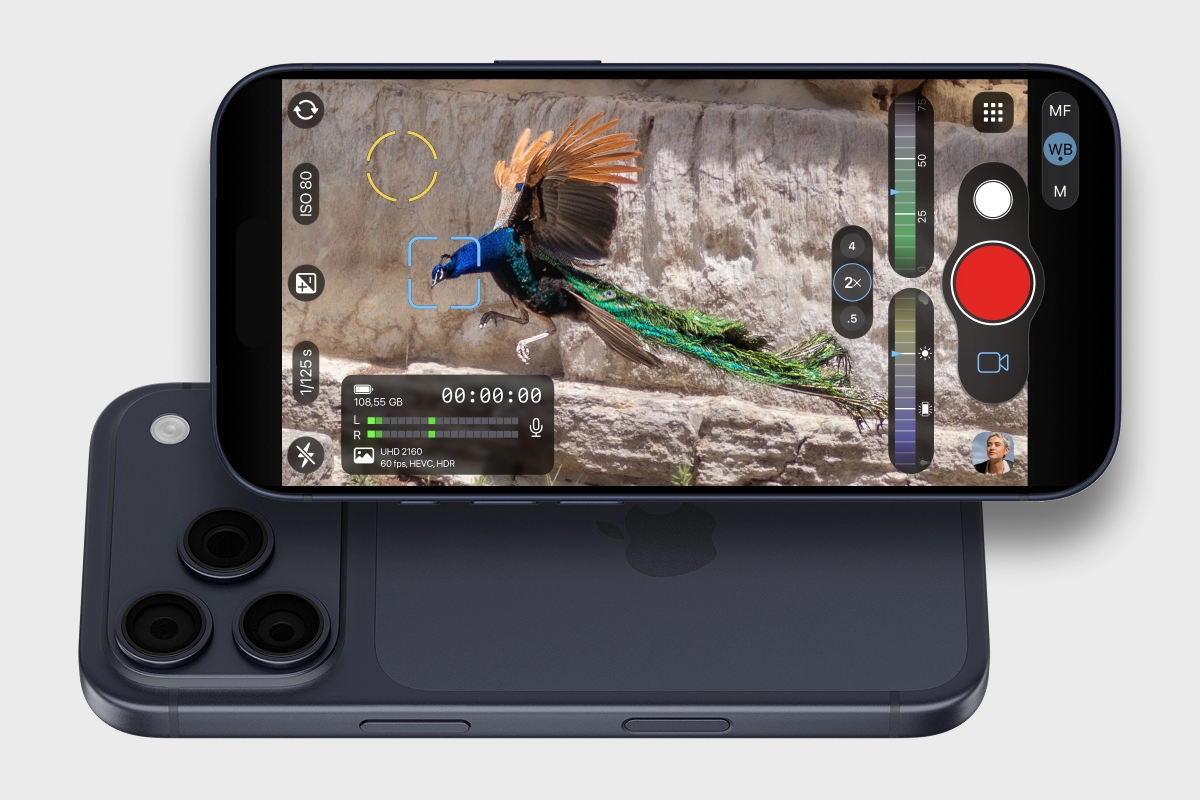
RAW is the format that makes iPhone real estate photography truly editable, because white balance and exposure become adjustable after the fact. Most of these apps offer a free trial, so you can test the workflow before you pay. Shoot a couple of listings in RAW and compare the editing latitude, the difference is hard to unsee.
2.8. Consider external lenses for wider, sharper frames
External lenses add optical quality and reach that digital zoom simply can't match. A good wide-angle lens captures more of a room in one clean frame, which is the workhorse focal length for interiors. Macro and telephoto options round out the kit for detail shots and distant exteriors. Match the lens to the job:
- Wide-angle: an 18-24mm-equivalent lens shows off space while minimizing edge distortion.
- Macro: highlights finishes and fixtures for a fuller picture of the property's quality.
- Telephoto: compresses and clarifies exterior or distant views.
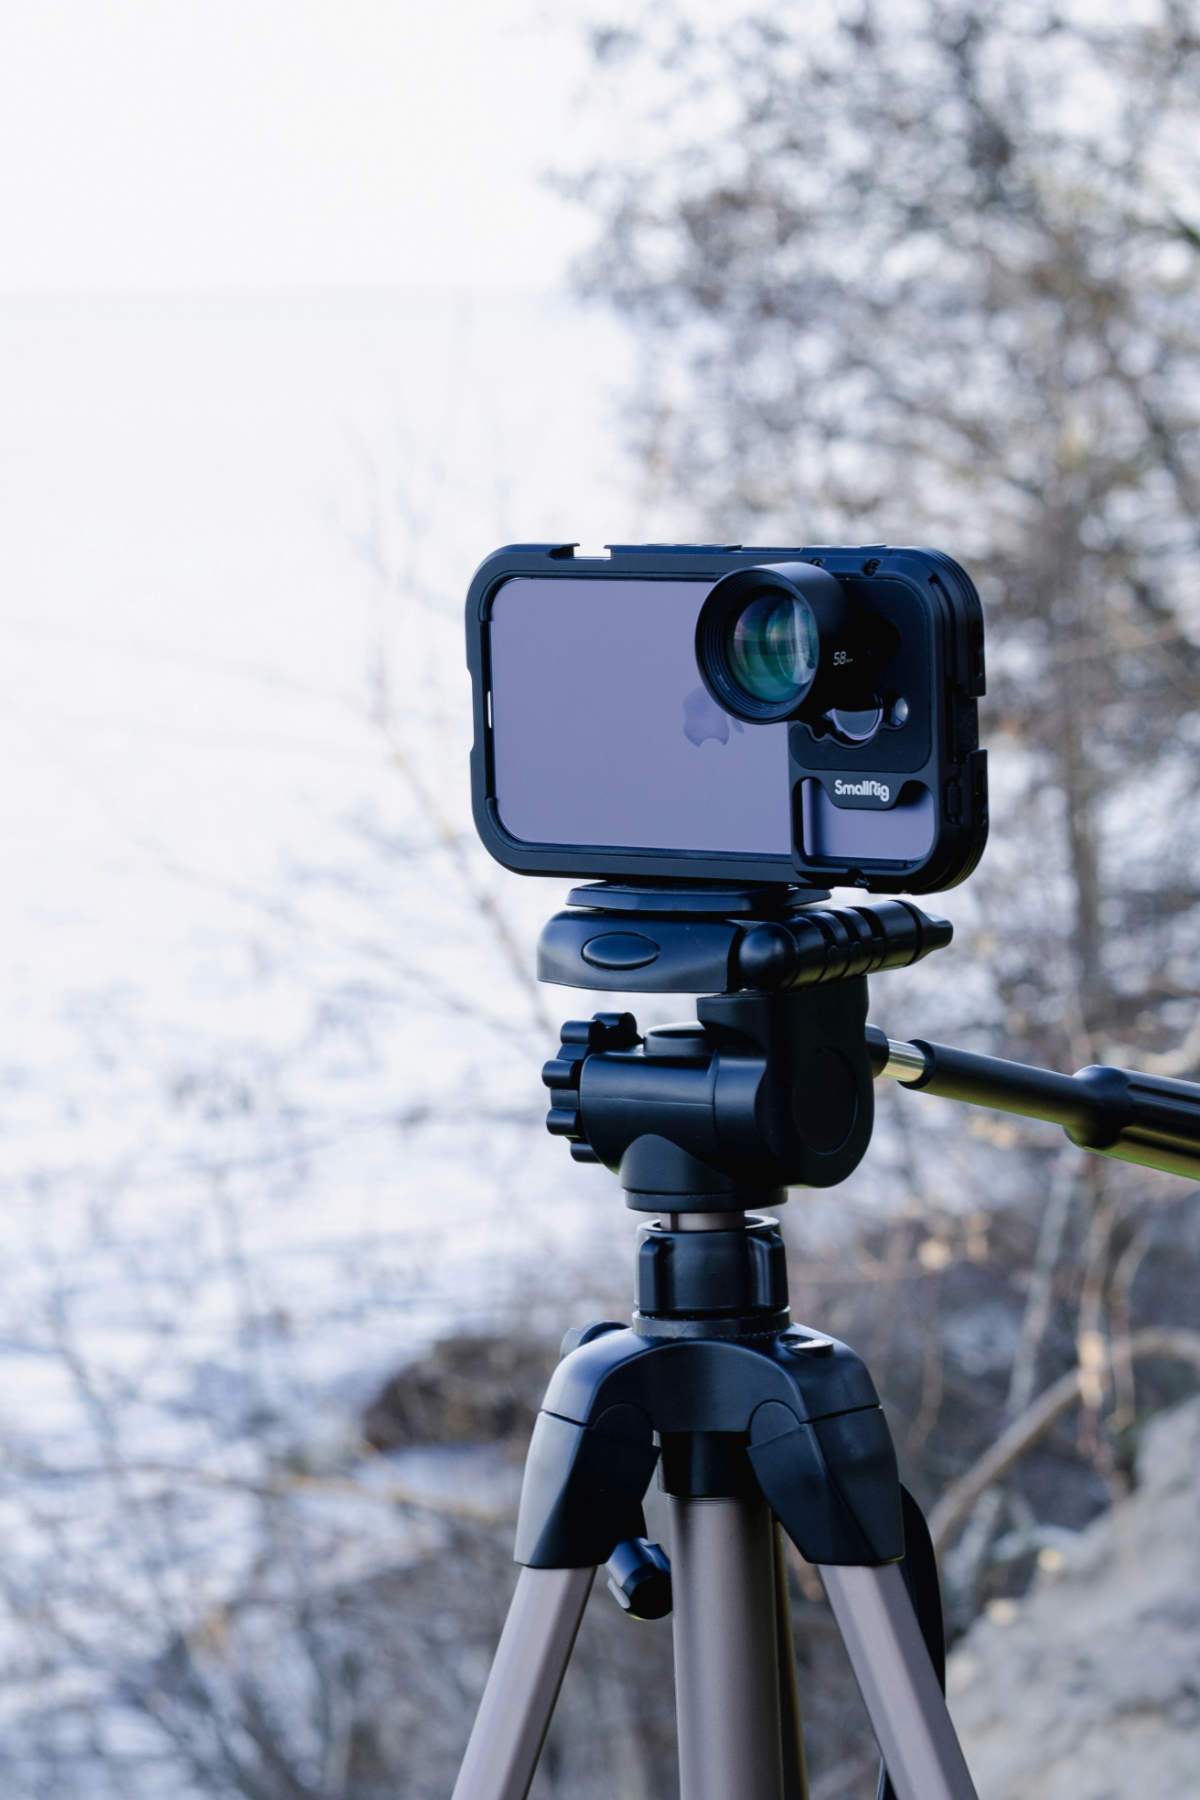
Quality glass improves sharpness and cuts the distortion that cheap zoom introduces. Paired with a steady tripod and good light, external lenses let the iPhone capture rival images shot on professional bodies. Buy one solid wide-angle first, since it's the lens you'll reach for on nearly every listing.
3. Photo editing: The step that makes iPhone listing photos look professional
Editing is the step that separates a decent phone snapshot from a listing image that sells, and it's the part most agents underestimate. Even a well-lit, well-staged capture usually needs exposure balancing, color correction, vertical straightening, and cleanup before it's MLS-ready. This is the last and arguably most important piece of how to take real estate photos with an iPhone, because it's where good frames become great ones. That is where professional real estate photo editing earns its keep.
A standard listing edit does more than brighten a photo. It corrects white balance so walls read true instead of yellow or blue, blends bracketed or HDR exposures for even light, and fixes leaning verticals from wide-angle shots. It also handles the details buyers notice: removing stray cords and clutter, cleaning up window views, and replacing a flat gray sky with a bright, natural one.
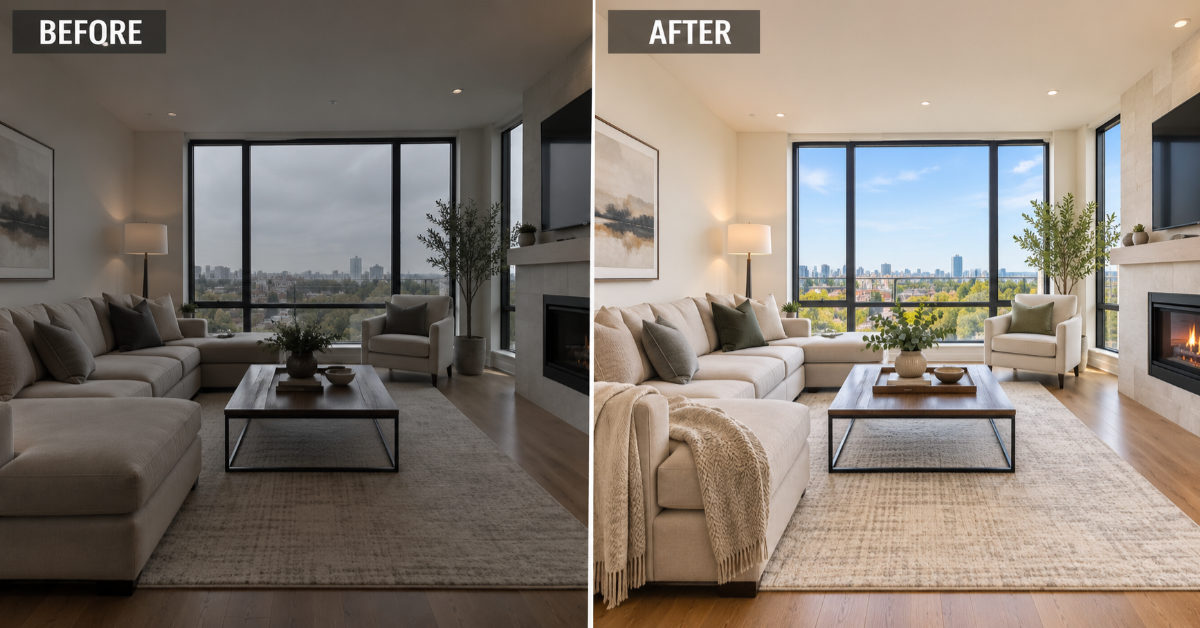
You can do light edits yourself in the Photos app or in Lightroom Mobile, and for a single listing that's often enough. The problem is volume and consistency; editing a full set to a uniform, professional standard eats hours you'd rather spend selling. Outsourcing the edit keeps every photo on-brand and frees you from the screen.
For agents shooting in RAW or HDR mode, an experienced editing team is what unlocks the full value of those files. Fotober's editors work to US real estate standards and typical 12–48-hour turnarounds, so a shoot done today can be listing-ready tomorrow. That combination of speed and consistency is hard to match in-house, especially across many listings a month.
4. Fotober: Your visual partner for real estate photography with iPhone
Fotober specializes in real estate visual solutions, with a full range of editing and rendering services built to make listings more competitive. From expert photo editing to video production and virtual staging, the goal is to make every property more engaging and easier for buyers to picture as home. The services below cover the visual needs of most listings:
- Advanced photo editing: exposure, color balance, and sharpness tuned to show each property at its best.
- Engaging video production: property videos cut with professional pacing, music, and text overlays.
- Realistic virtual staging: empty rooms transformed into furnished spaces that help buyers connect.
- Virtual renovation: realistic renderings that show a property's potential before any work begins.
- 2D and 3D floor plans: clear layouts that help buyers understand how a home flows.
 Having an outsourced editing partner is always beneficial, even if you know how to take real estate photos with an iPhone.
Because listing volume rarely lets agents edit every set to a professional standard themselves, an outsourced partner keeps quality steady no matter how many properties you shoot. Fast turnaround means the images are ready while buyer interest is still fresh. That consistency is what helps listings stand out in a crowded market and move faster.
5. Conclusion
Real estate photography with an iPhone is a genuinely viable, cost-effective way to produce competitive property listings when the technique is right. By applying the steps above, staging, lighting, composition, stabilization, capture format, and a proper edit, you can produce professional-looking images that pull buyers in. As smartphone cameras keep improving, the ceiling on how to take real estate photos with iPhone rises with every generation, and the gap to a dedicated camera keeps shrinking. To make sure your photos consistently hit a professional standard while you focus on selling, place an order with Fotober or start a free trial and see the difference a dedicated editing team makes.
Connect with Fotober
- Facebook: fotobermedia.co
- YouTube Channel: Fotober
- TikTok Channel: @fotober
- Instagram: fotober_media
- Email support: [email protected]
- Hotline: +84 942 110 297
6. Frequently asked questions: iPhone real estate photography
Is an iPhone good enough for real estate photography?
Yes. With advanced sensors and computational processing, an iPhone can deliver professional-quality listing images, especially when you combine good lighting, staging, accessories, and a solid edit. Millions of buyers view listings on phones, so photos captured and optimized on a phone hold up well.
What's the best time of day to shoot real estate photos with an iPhone?
For natural light, shoot during golden hour, shortly after sunrise or before sunset, when tones are warm and shadows are soft. Overcast midday light can also work well for even, glare-free interiors. Match the timing to the property's orientation for the best exterior light.
Do I need a wide-angle lens for iPhone real estate photography?
It isn't mandatory, but a wide-angle lens helps enormously in tight rooms and hallways by capturing more of the space in one frame. A moderate 18–24mm-equivalent lens adds width without heavy distortion. It's the first accessory most listing shooters should buy.
Can I edit real estate photos taken with an iPhone?
Absolutely, and you should. You can start in the Photos app or Lightroom Mobile, or outsource to a service like Fotober for HDR blending, sky replacement, and object removal at scale. Editing is what maximizes the value of every iPhone capture.
How many photos should an iPhone real estate listing include?
Most listings do well with roughly 20–30 images that cover every room, key features, and the exterior. Lead with your strongest, best-lit shot, since the first photo drives the click. Learning how to take real estate photos with an iPhone consistently makes hitting that count far easier.
.png)
.png)
.png)
