
How to Edit Real Estate Photos in Lightroom in Just 5 Minutes

Share:
Table of Contents
- 1. The Importance of High-Quality Real Estate Photography
- 2. Overview of Adobe Lightroom
- 3. Step-by-Step Guide to Editing Real Estate Photos in Lightroom
- 4. Enhancing Exterior Real Estate Photos
- 5. Exporting and Delivering Final Images
- 6. Fotober: Professional Real Estate Photo Editing Service
- Conclusion
- FAQs About Editing Real Estate Photos in Lightroom
Editing real estate photos effectively can make a significant difference in property marketing. How to edit real estate photos in Lightroom is the fundamental skill every professional needs to adjust lighting, correct colors, and enhance property details. This guide explores the essential Lightroom techniques to ensure your images stand out. To maintain quality while maximizing your shooting time, see how Fotober can streamline your real estate post-production process today.
1. The Importance of High-Quality Real Estate Photography
High-quality real estate photography directly impacts property sales success. The statistics are clear: real estate listings featuring professionally edited photos sell 32% faster and often command higher prices than those relying on basic images. This dramatic difference reflects buyers' increasing reliance on visual content when making property decisions in the digital age.
- Essential for Competition: Professional real estate photo editing has become an essential, non-negotiable step in today's competitive market. Understanding how to edit real estate photos in Lightroom is a fundamental requirement for achieving this professional quality.
- Marketing Asset: Quality editing transforms good photos into compelling marketing assets that accurately represent properties while highlighting their best features, thereby attracting qualified buyers.
- Consistency Across Platforms: Professional real estate photo editing ensures photos maintain their visual appeal whether they are viewed on mobile devices, desktop screens, or printed materials. This versatility is crucial for reaching diverse buyer demographics and maintaining a polished brand image.
2. Overview of Adobe Lightroom
Adobe Lightroom combines powerful editing capabilities with intuitive organization tools, making it ideal for real estate photography workflows. How to edit real estate photos in Lightroom is a key consideration for photographers looking to process multiple property images efficiently while maintaining consistent quality across entire portfolios.

Key Lightroom advantages include:
- Non-destructive editing workflow
- Batch processing capabilities
- Preset synchronization
- Advanced organization tools
- Seamless cloud integration
- Multi-device compatibility
Professional real estate photographers choose Lightroom for its ability to streamline their editing process while maintaining high-quality standards. The software's catalog system makes managing multiple properties and clients effortless. While Lightroom is an excellent tool for editing real estate photos, many photographers also explore other options, such as how to edit real estate photos in photoshop, for more detailed or advanced edits, especially when intricate adjustments or retouching are needed after basic corrections.
3. Step-by-Step Guide to Editing Real Estate Photos in Lightroom
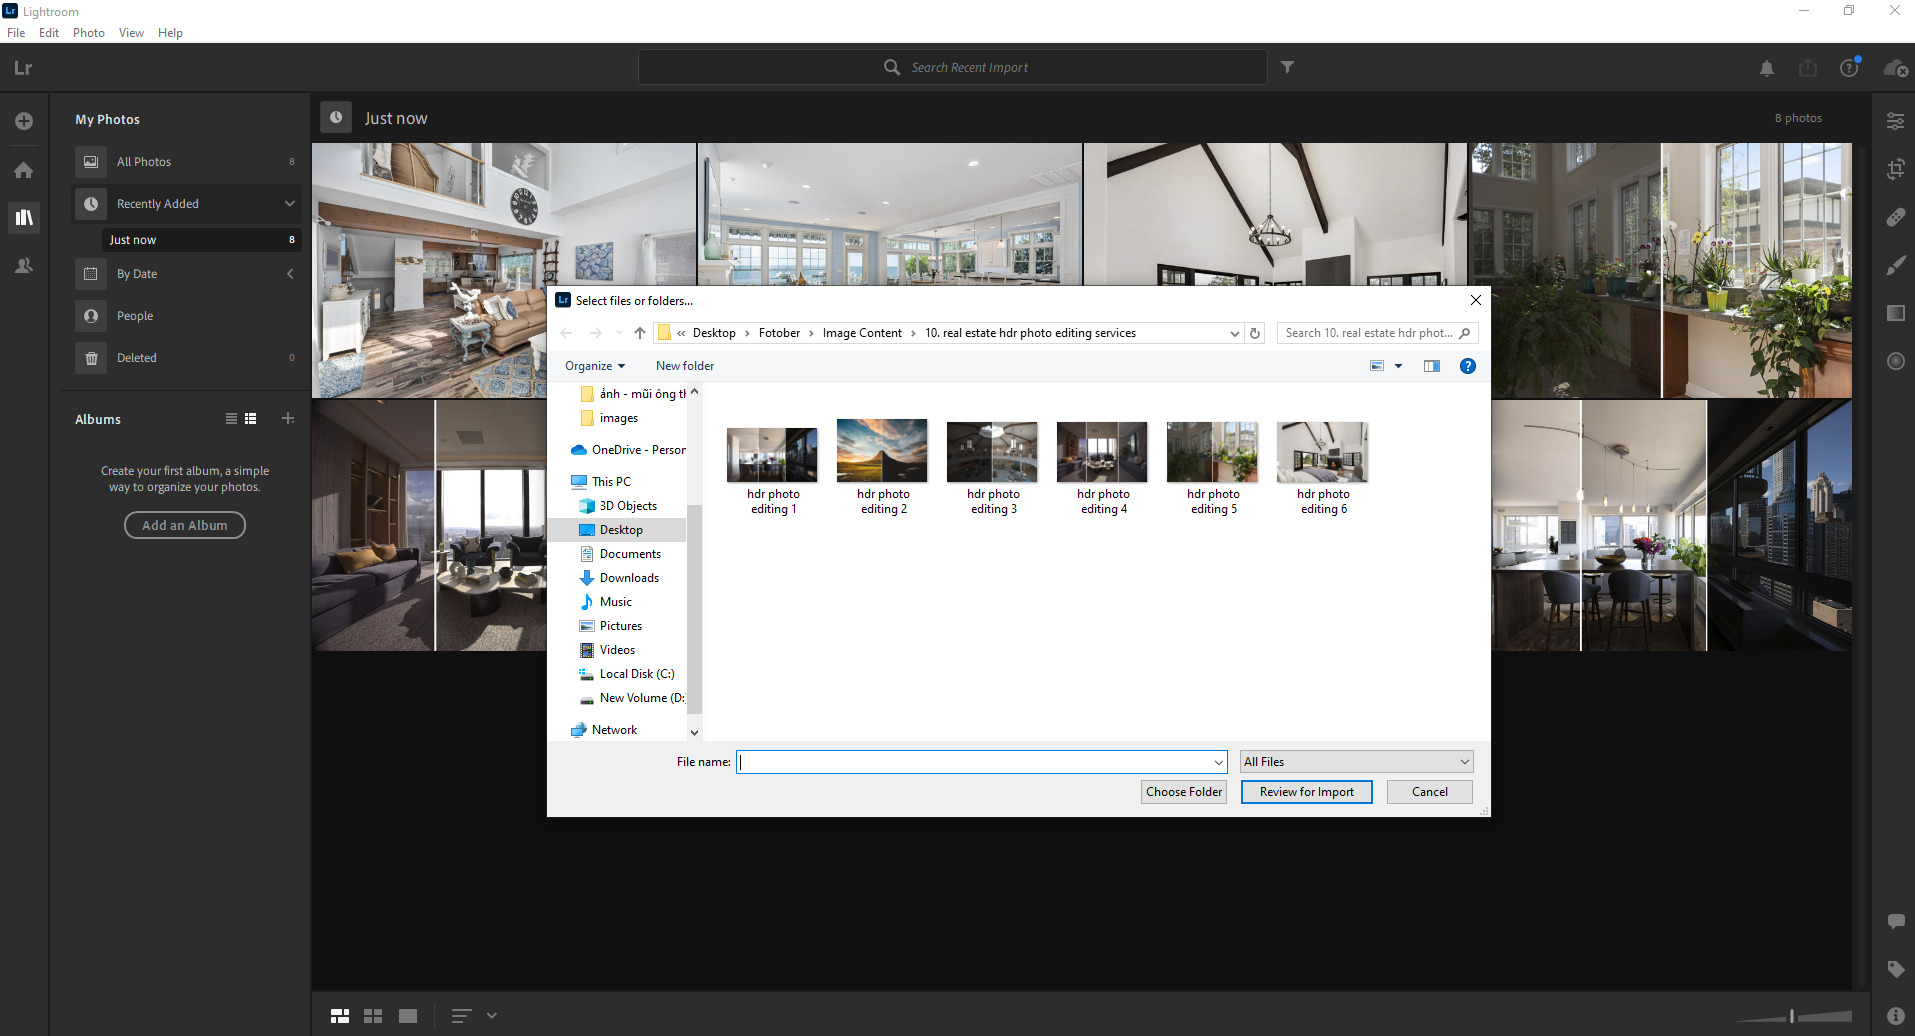
3.1. Importing and Cataloging Images
Proper organization forms the foundation of efficient real estate photo editing. How to edit real estate photos in Lightroom starts with a structured import process that enables quick access to property images. Professional photographers develop systematic approaches to file management that save time and prevent confusion.
Essential import settings include:
- Consistent file naming
- Keyword tagging
- Property-based collections
- Backup creation
- Metadata presets
Establishing a clear organizational system from the start ensures smooth workflow management. Professional editors recommend creating separate collections for each property while maintaining consistent naming conventions across all projects.
3.2. Basic Adjustments
Exposure is key to enhancing real estate photos in Lightroom. Start by checking overall brightness, especially in interiors that often appear too dark. Use the exposure slider to adjust brightness broadly, while highlights and shadows sliders help fine-tune details. The goal is to make rooms feel bright and inviting without losing detail in windows or bright areas.
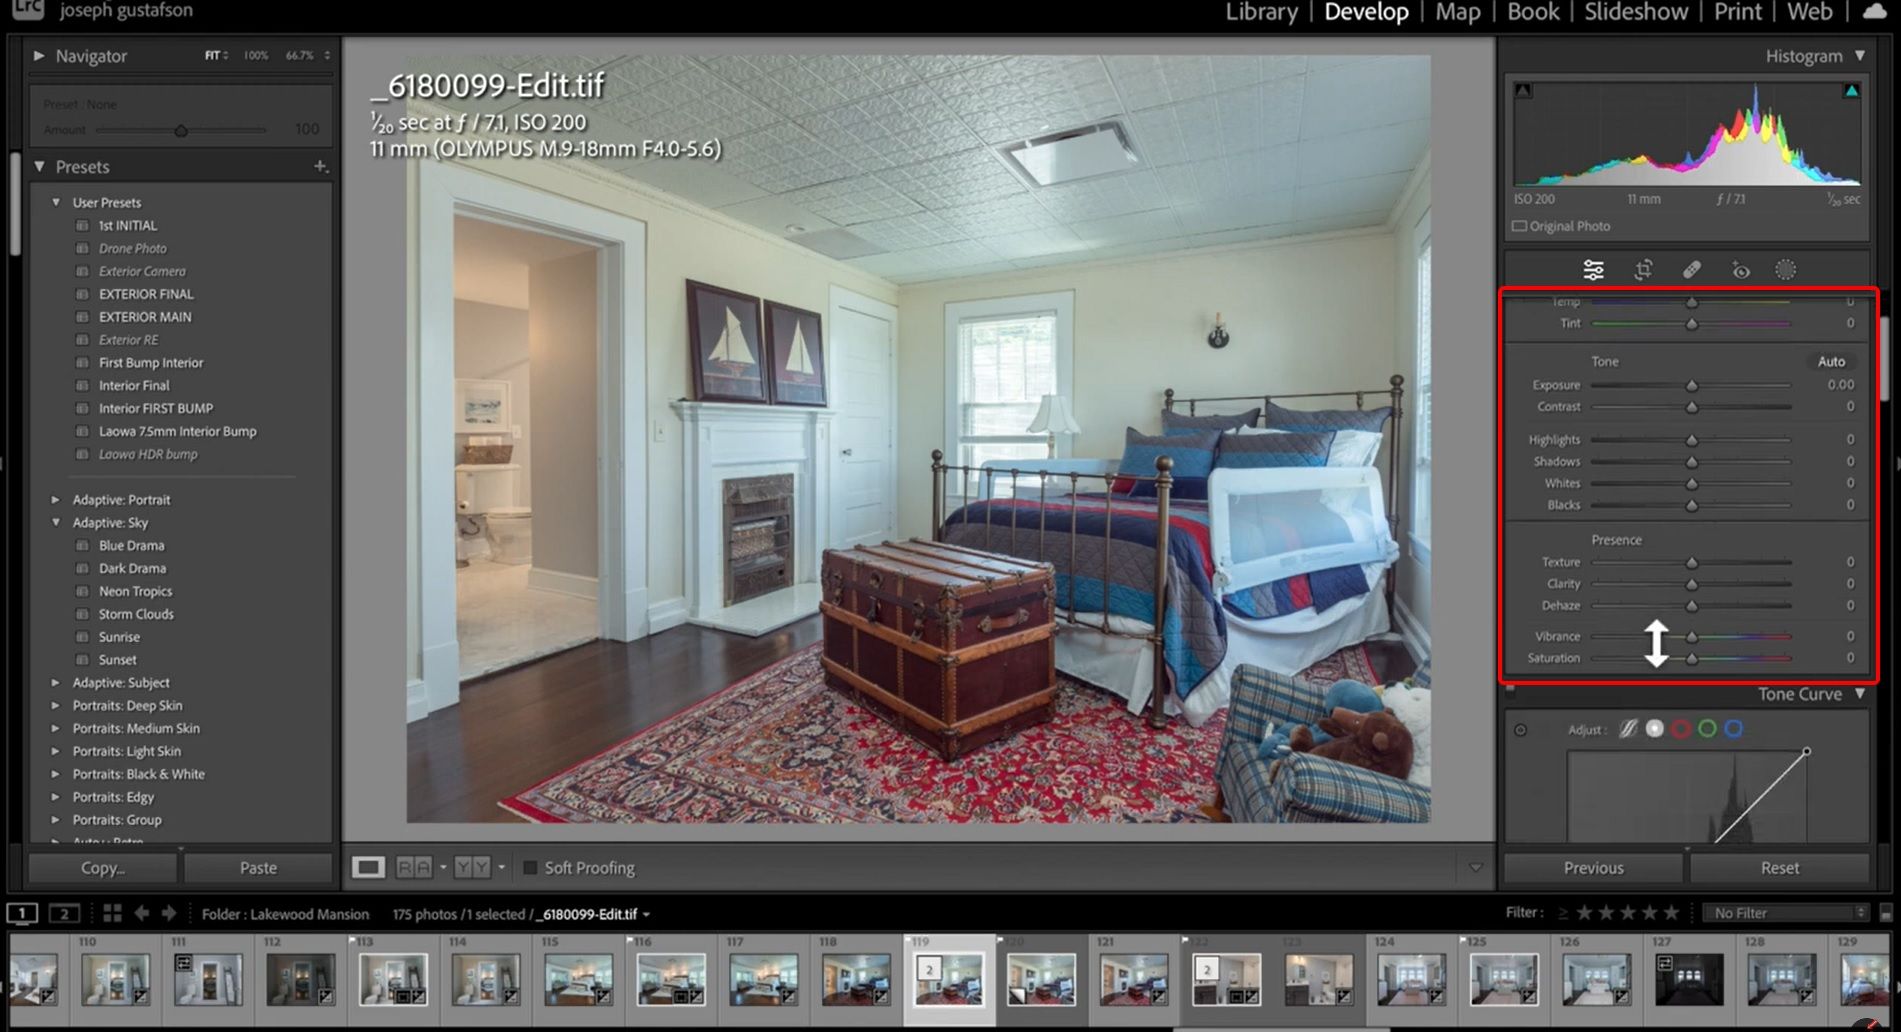
Adding contrast can bring out architectural features, giving spaces more definition. Once the exposure is set, increase contrast carefully to avoid an unnatural look. Black and white sliders add depth, while a touch of clarity helps mid-tones pop—ideal for showing texture in materials like wood or stone.
Color correction brings out the best in both interiors and exteriors. Set a balanced white using the temperature and tint sliders to handle mixed lighting. Adjust individual colors with HSL controls to keep walls neutral, wood tones warm, and greenery natural.
3.3. Advanced Editing Techniques
HDR processing in Lightroom is great for capturing both bright and dark details in real estate photos. Start by merging multiple exposures of the same scene with Lightroom’s HDR function, which combines these to maintain window views and interior detail. Adjust the deghosting if there’s movement between shots, then refine the merged image with basic panel controls for a balanced, natural look.
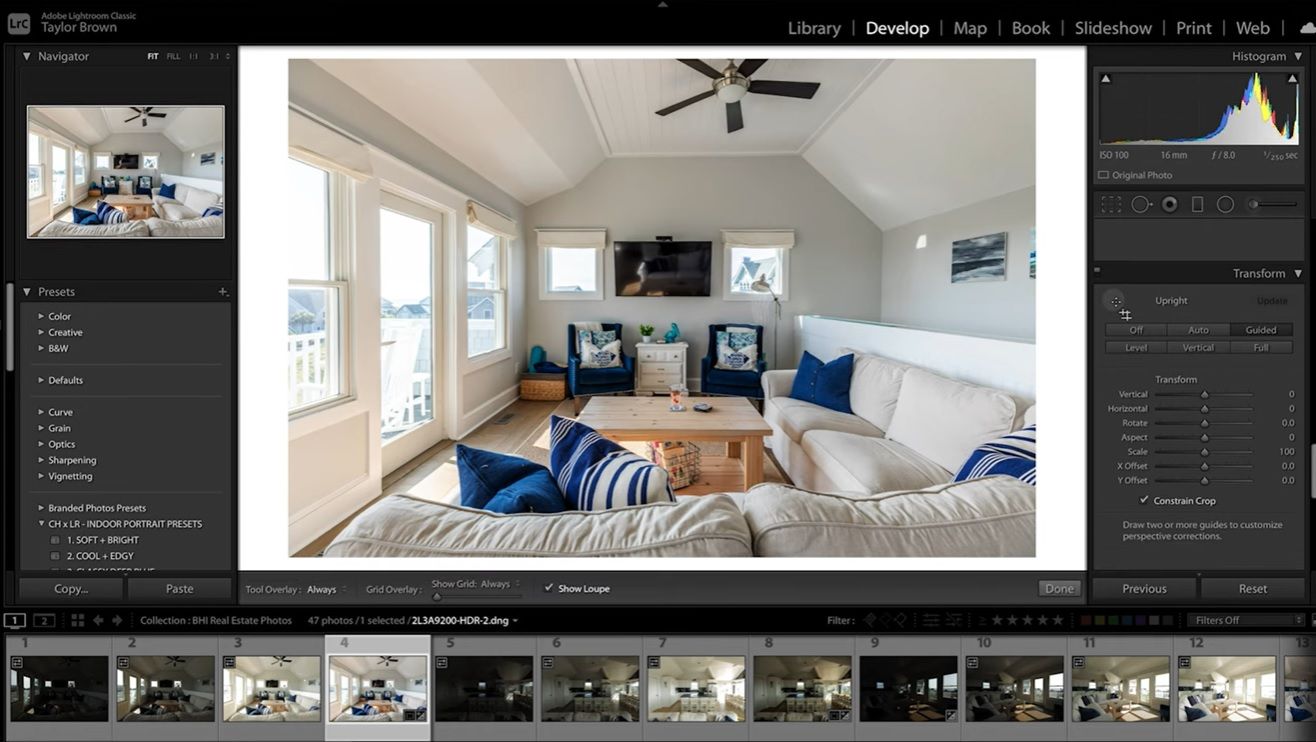
Perspective correction keeps real estate photos professional. Use the transform panel to align vertical and horizontal lines, ensuring straight walls and doors. Automatic corrections provide a quick fix, but manual tweaks often yield more precise results, especially for converging verticals in tall building shots or tricky interior angles.
Lens distortion adjustments counter the warping from wide-angle lenses common in real estate photography. Lightroom’s lens correction panel applies profiles for many lenses, correcting distortion and vignetting. Manual adjustments let you control the balance, as removing all distortion may make rooms look smaller than they are.
3.4. Retouching and Spot Removal
Retouching tools help remove temporary imperfections while maintaining image authenticity. This process focuses on eliminating distracting elements that might deter potential buyers. Professional editors use Lightroom's spot removal tools with precision and ethical consideration.
Common retouching tasks include:
- Dust spots
- Minor wall marks
- Temporary fixtures
- Sensor spots
- Small distractions
The key to successful retouching lies in maintaining natural appearances. Professional editors ensure all corrections blend seamlessly with surrounding areas while preserving the property's authentic character.
3.5. Noise Reduction
Noise reduction proves crucial for maintaining image quality, particularly in low-light interior shots. This process requires balancing detail preservation with noise elimination. Professional editors apply careful adjustments to achieve clean images without losing essential texture.
Critical noise reduction settings:
- Luminance smoothing
- Color noise reduction
- Detail preservation
- Edge masking
- Texture balance
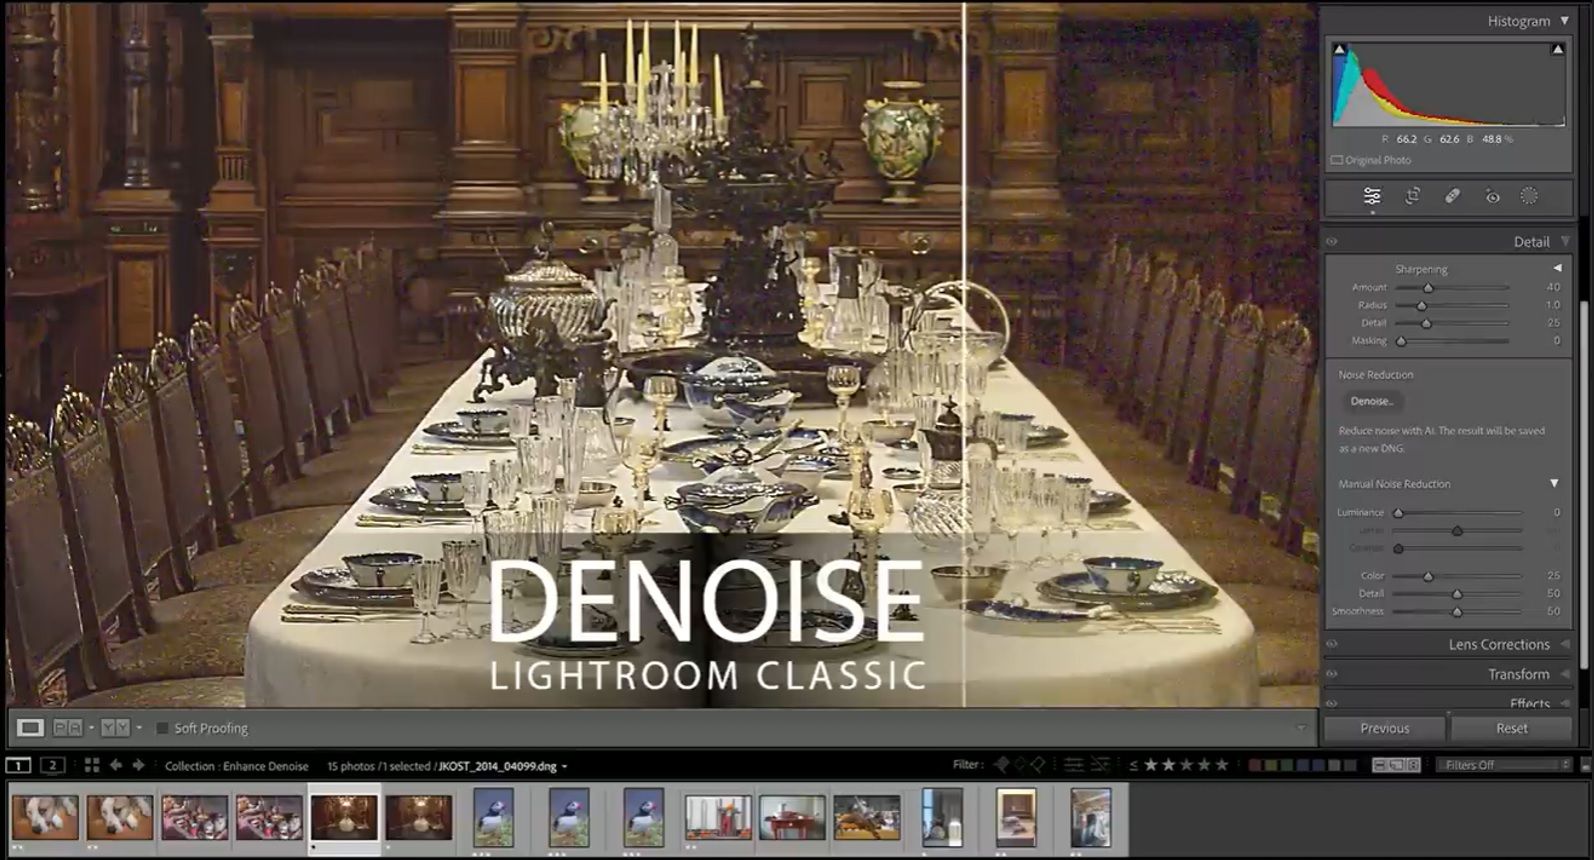
Successful noise reduction maintains image sharpness while eliminating unwanted artifacts. Professional editors often use different settings for different areas of the image to achieve optimal results.
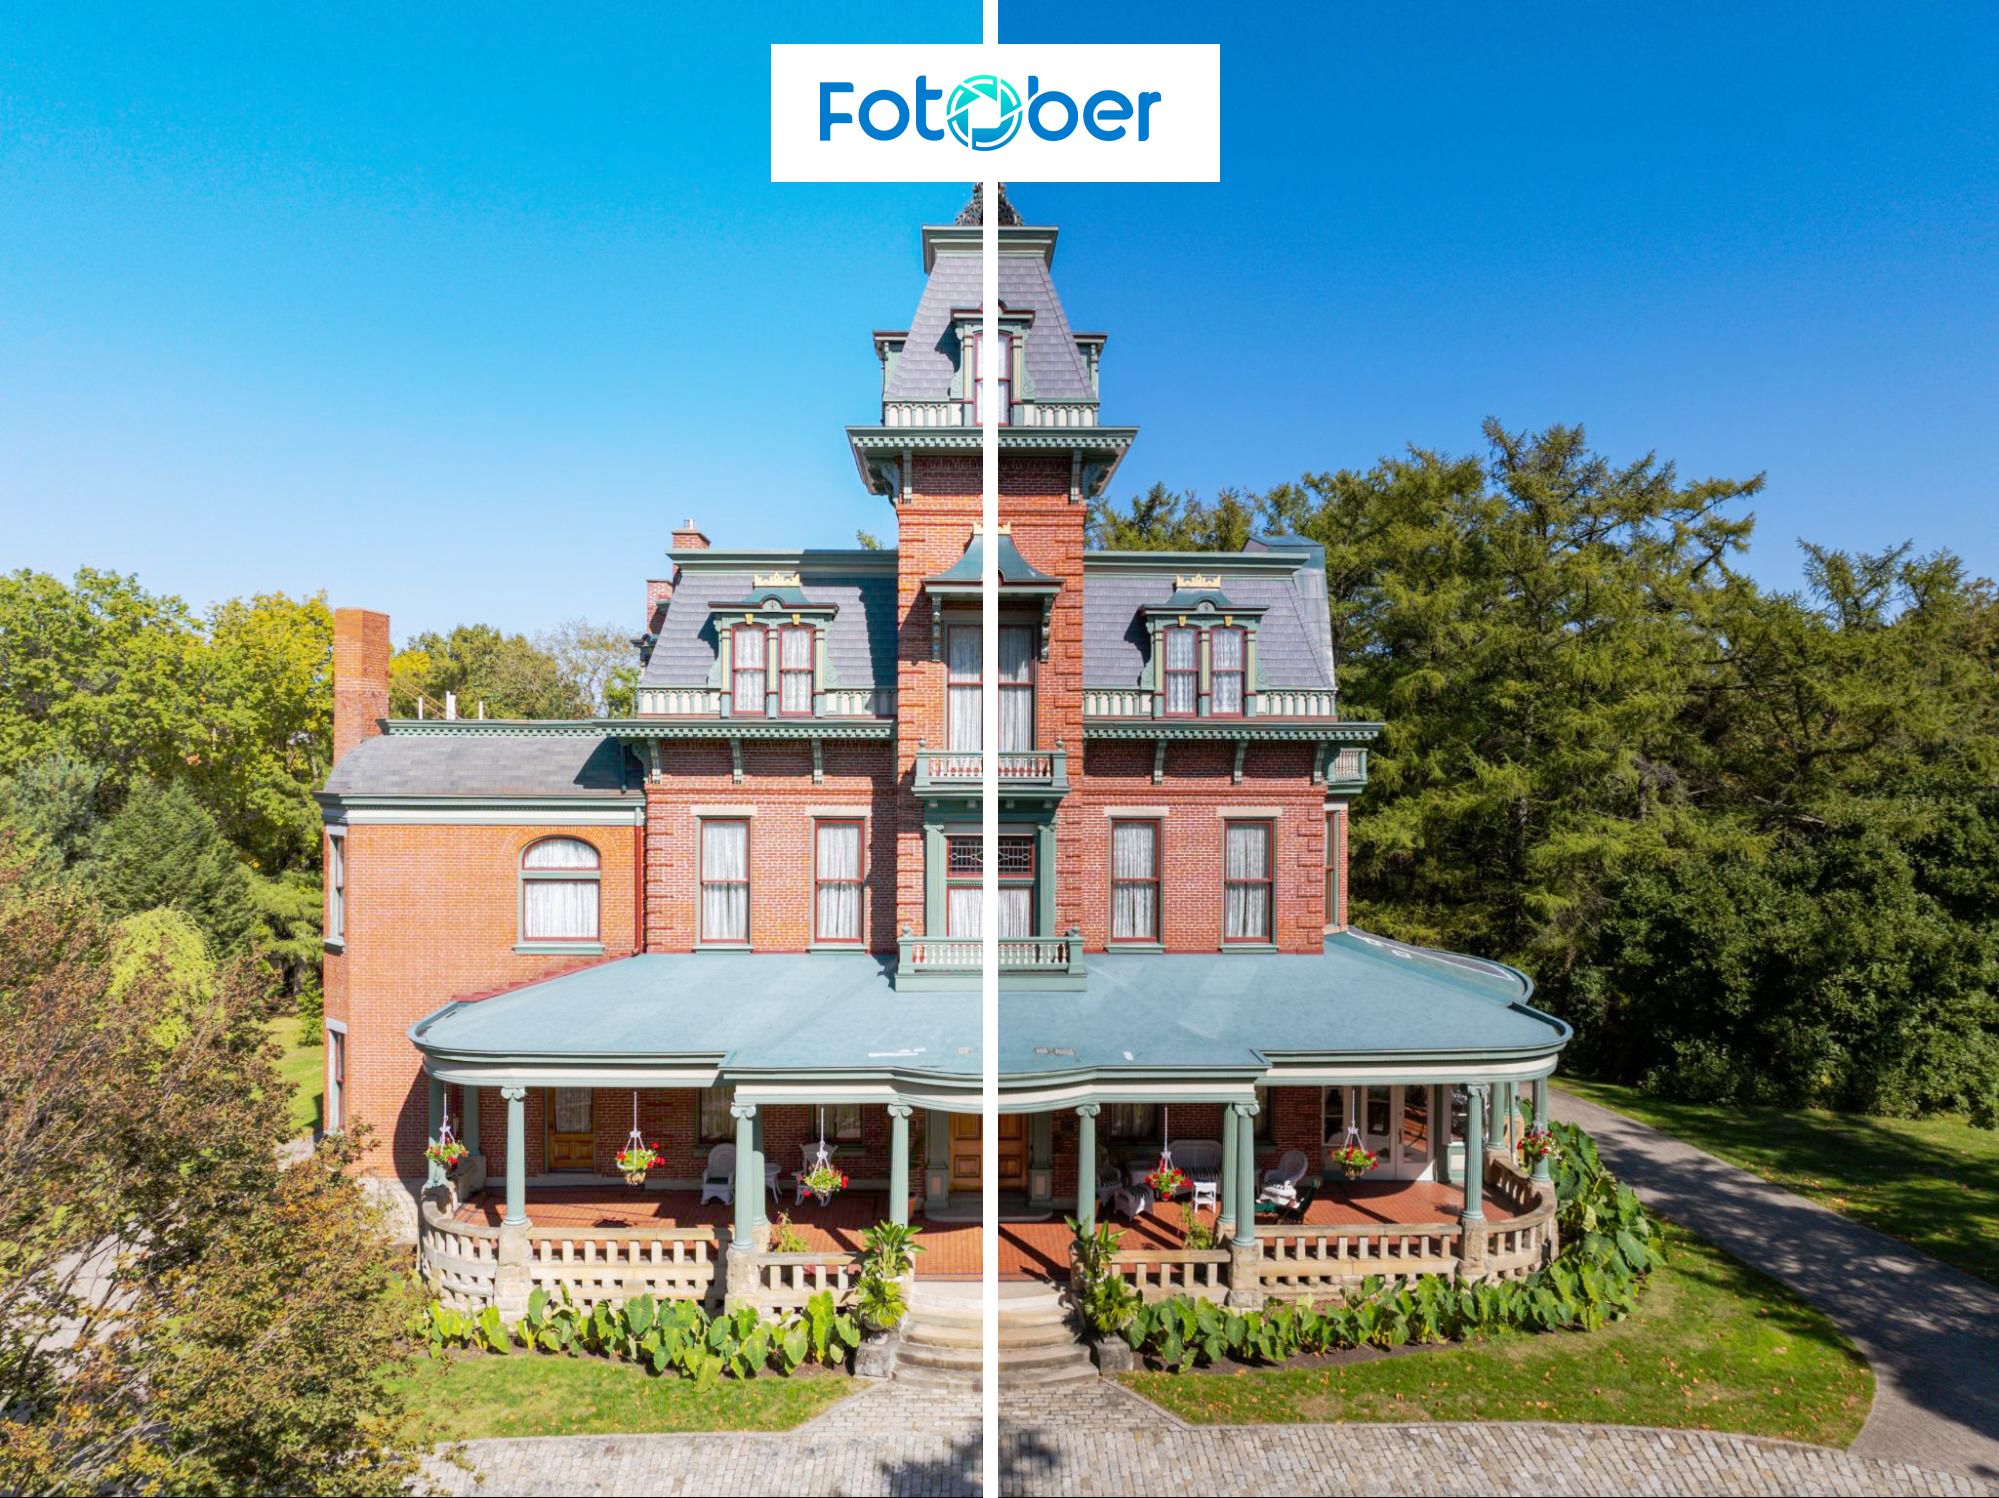
4. Enhancing Exterior Real Estate Photos
4.1. Adjusting Exposure and Contrast
Exterior real estate photography presents unique challenges with varying light conditions and architectural elements. Professional editors focus on balancing bright skies with shadowed areas while maintaining natural appearances. This process requires careful attention to highlight and shadow detail.
Essential exterior adjustments include:
- Sky exposure balance
- Shadow recovery
- Highlight protection
- Contrast enhancement
- Clarity adjustment
The goal is to create inviting exterior shots that showcase the property's features effectively. Professional editors recommend using graduated filters for sky-to-ground transitions while maintaining realistic lighting.
4.2. Color Correction and White Balance
How to edit real estate photos in Lightroom involves ensuring precise color accuracy, especially for exterior shots. Different times of day and weather conditions can affect color temperature significantly. Professional editors focus on achieving natural colors that enhance curb appeal.

Critical color considerations include:
- White balance refinement
- Vibrance control
- Seasonal color enhancement
- Grass and foliage adjustment
- Architecture tone balance
Maintaining color consistency across multiple exterior shots helps create cohesive property presentations. Professional editors often develop custom presets for different lighting conditions to ensure efficiency.
5. Exporting and Delivering Final Images
The export process is a key step in how to edit real estate photos in Lightroom, ensuring your meticulously edited images maintain quality across various platforms. Professional editors customize export settings based on specific usage requirements. This final step is crucial for delivering images that look sharp and consistent across different devices and media.

- Customized Presets: Professional editors recommend creating multiple export presets for different delivery requirements (e.g., MLS, print flyers, social media). This approach ensures efficient delivery while maintaining appropriate quality for each use case.
- Essential Export Settings:
- Resolution Optimization: Adjust dimensions based on the viewing platform (e.g., smaller resolution for MLS listings).
- Color Space Selection: Use sRGB as the standard color space for web viewing to ensure colors display correctly on most screens.
- Quality Compression: Maintain high quality (typically 80–100) to prevent artifacts while keeping file sizes manageable.
- File Format Choice: JPEG is the standard format for final delivery.
- Metadata Inclusion: Ensure contact and copyright metadata are included to protect your work.
Mastering this final stage of how to edit real estate photos in Lightroom guarantees your images are consistently presented at their best.
6. Fotober: Professional Real Estate Photo Editing Service
While Lightroom provides powerful tools for real estate photo editing, many professionals choose to partner with specialized editing services. Fotober offers comprehensive real estate photo enhancement services. Their professional editors understand both technical requirements and market preferences for real estate photography.
Essential Fotober services include:
- Advanced color correction
- Perspective alignment
- HDR processing
- Sky replacement
- Virtual home staging
- Consistency maintenance

Professional editors at Fotober work seamlessly with Lightroom-edited files, building upon your initial adjustments to create polished final images. Their expertise helps real estate photographers handle high volume while maintaining consistent quality.
Conclusion
Mastering Lightroom's real estate editing capabilities enables photographers to create compelling property images efficiently. The five-minute workflow outlined in this guide provides a framework for achieving professional results consistently. By focusing on essential adjustments while maintaining natural appearances, photographers can learn how to edit real estate photos in Lightroom effectively and deliver high-quality images that drive property sales.
Success in real estate photo editing comes from combining technical expertise with artistic vision. Whether handling basic adjustments or advanced techniques, remember that the goal is to enhance properties' natural appeal while maintaining authenticity. With practice and attention to detail, this streamlined Lightroom workflow will help you deliver professional results for every property.
FAQs About Editing Real Estate Photos in Lightroom
1. What’s the best way to start editing real estate photos in Lightroom?
Start by organizing your files with structured imports, applying keywords, and creating property-based collections. This foundational step ensures a smooth and efficient real estate photo editing in Lightroom workflow.2. How do I fix lighting issues in interior real estate shots using Lightroom?
Use the Exposure, Shadows, and Highlights sliders to brighten dark rooms and retain detail in windows. Adding contrast and clarity helps define textures while keeping the space natural and inviting.3. Can Lightroom handle advanced real estate editing like HDR and perspective correction?
Yes. How to edit real estate photos in Lightroom includes HDR merging, vertical/horizontal alignment, and lens corrections—essential for maintaining realism and professionalism in property photos.4. Should I use Lightroom alone or combine it with professional editing services?
Lightroom is excellent for base edits, but many photographers use services like Fotober for advanced retouching, sky replacements, and virtual staging—helping scale workflows while ensuring consistent quality.

.png)
.png)
.png)
