
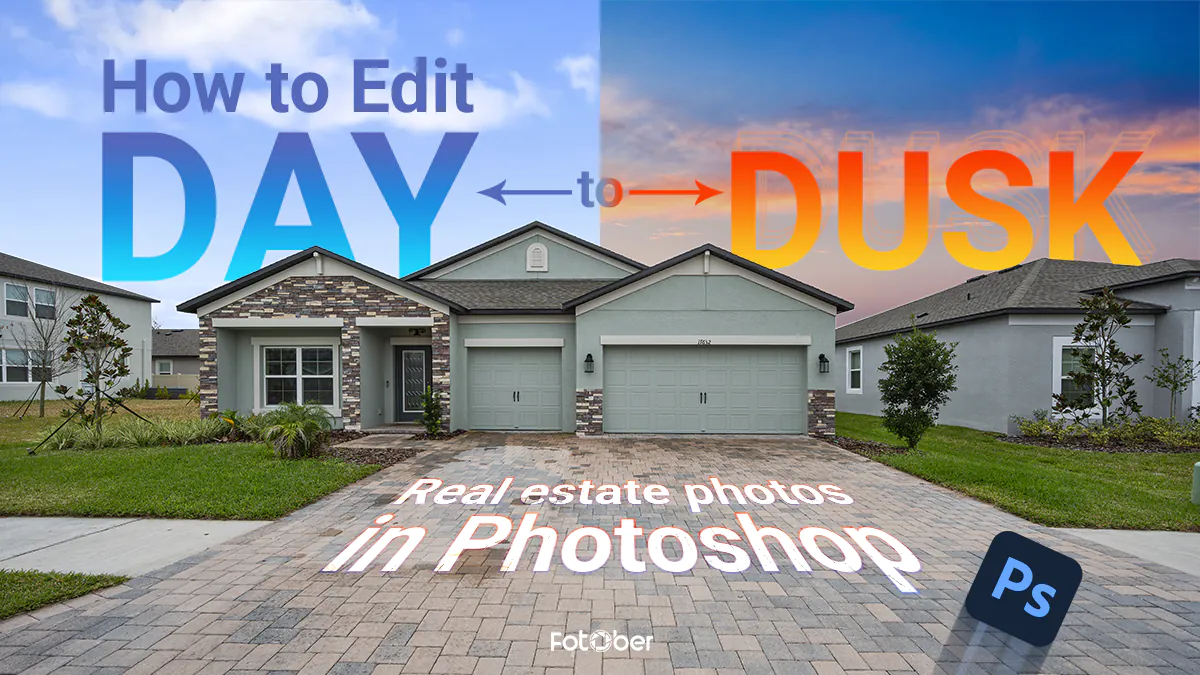
How to Edit Day-to-Dusk Real Estate Photos in Photoshop to Gain Buyers
Share:
Table of Contents
- 1. Why day-to-dusk photos matter for real estate marketing
- 2. Preparation: What makes a good base photo?
- 3. How to edit day-to-dusk real estate photos in Photoshop: Step-by-step
- 4. Advanced day to dusk Photoshop workflow tips
- 5. How long does it take to edit one day-to-dusk photo?
- 6. DIY vs. Outsourcing day-to-dusk editing: Which is better?
- Conclusion
- FAQs about day-to-dusk photo editing
In the real estate market, twilight imagery is one of the essential promotional assets. These evocative shots capture a buyer’s imagination and drive significantly higher engagement. However, capturing the perfect sunset on-site is often hindered by unpredictable weather and tight schedules. This guide explores how to edit day-to-dusk real estate photos in Photoshop and real estate twilight photo editing techniques, including how to add window glow. By the end, you’ll be able to transform flat midday captures into high-converting masterpieces that truly stand out from the crowd.
1. Why day-to-dusk photos matter for real estate marketing
Virtual twilight photography for real estate has transitioned from a "nice-to-have" luxury to a strategic necessity in modern marketing. Statistical data from listing platforms like Zillow consistently shows that listings featuring high-quality twilight photography receive up to three times more engagement and clicks than those with standard daylight photos. This "hero shot" captures a home’s emotional essence, creating a warm, aspirational atmosphere that resonates deeply with potential buyers during their online search.
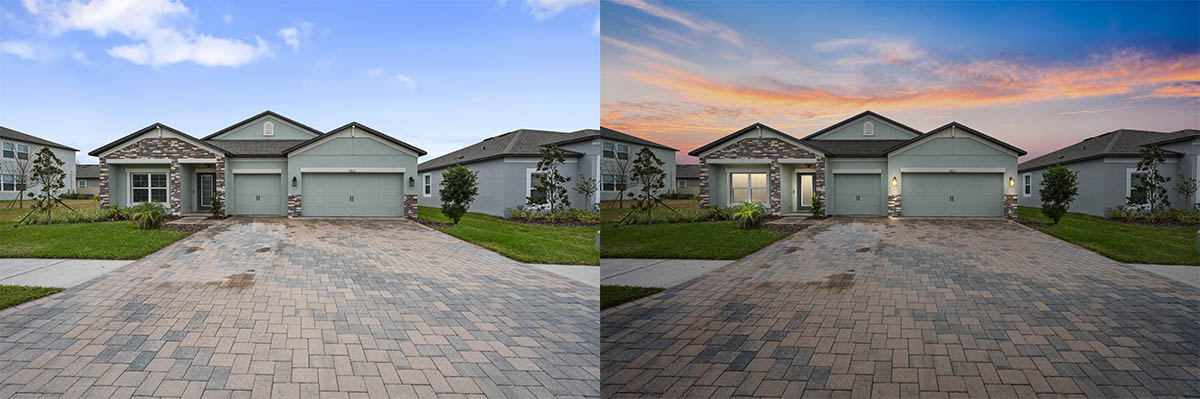
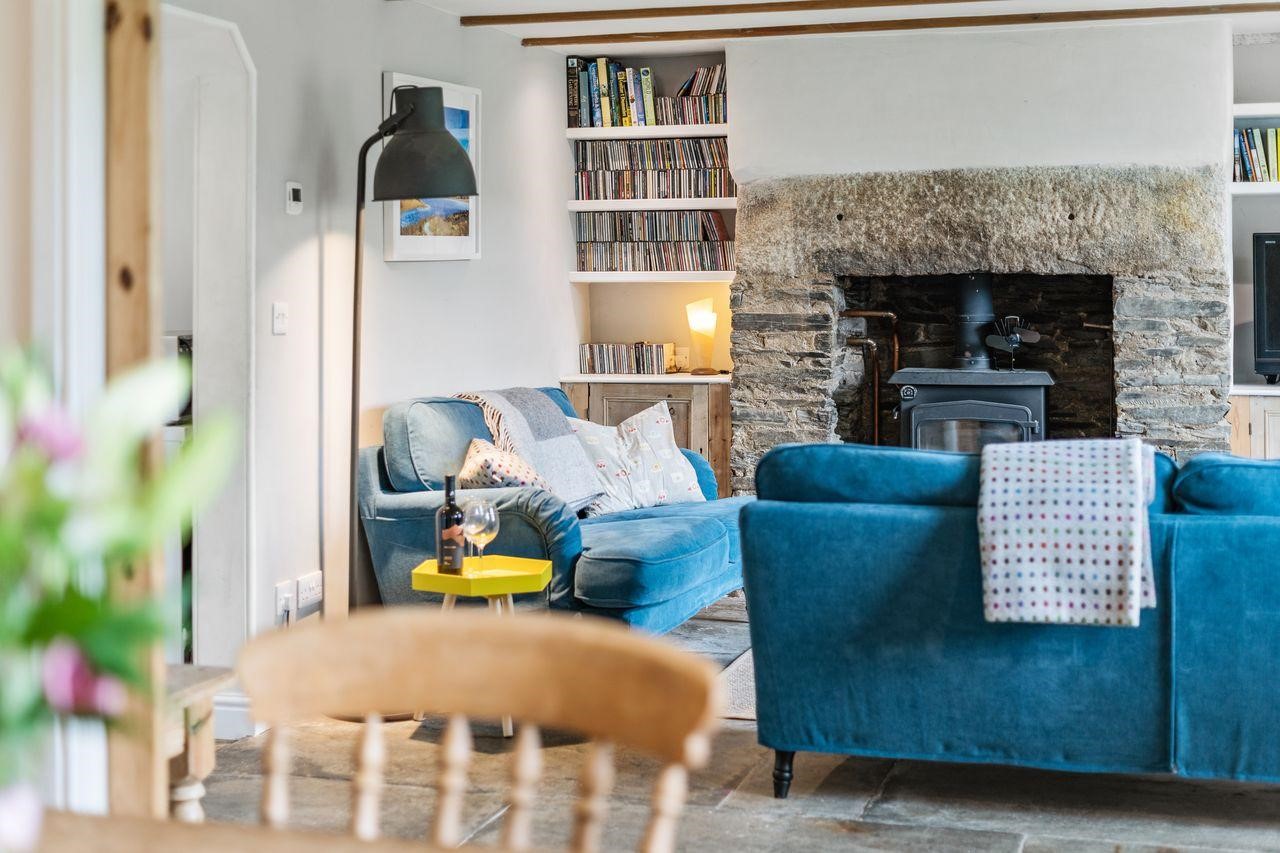
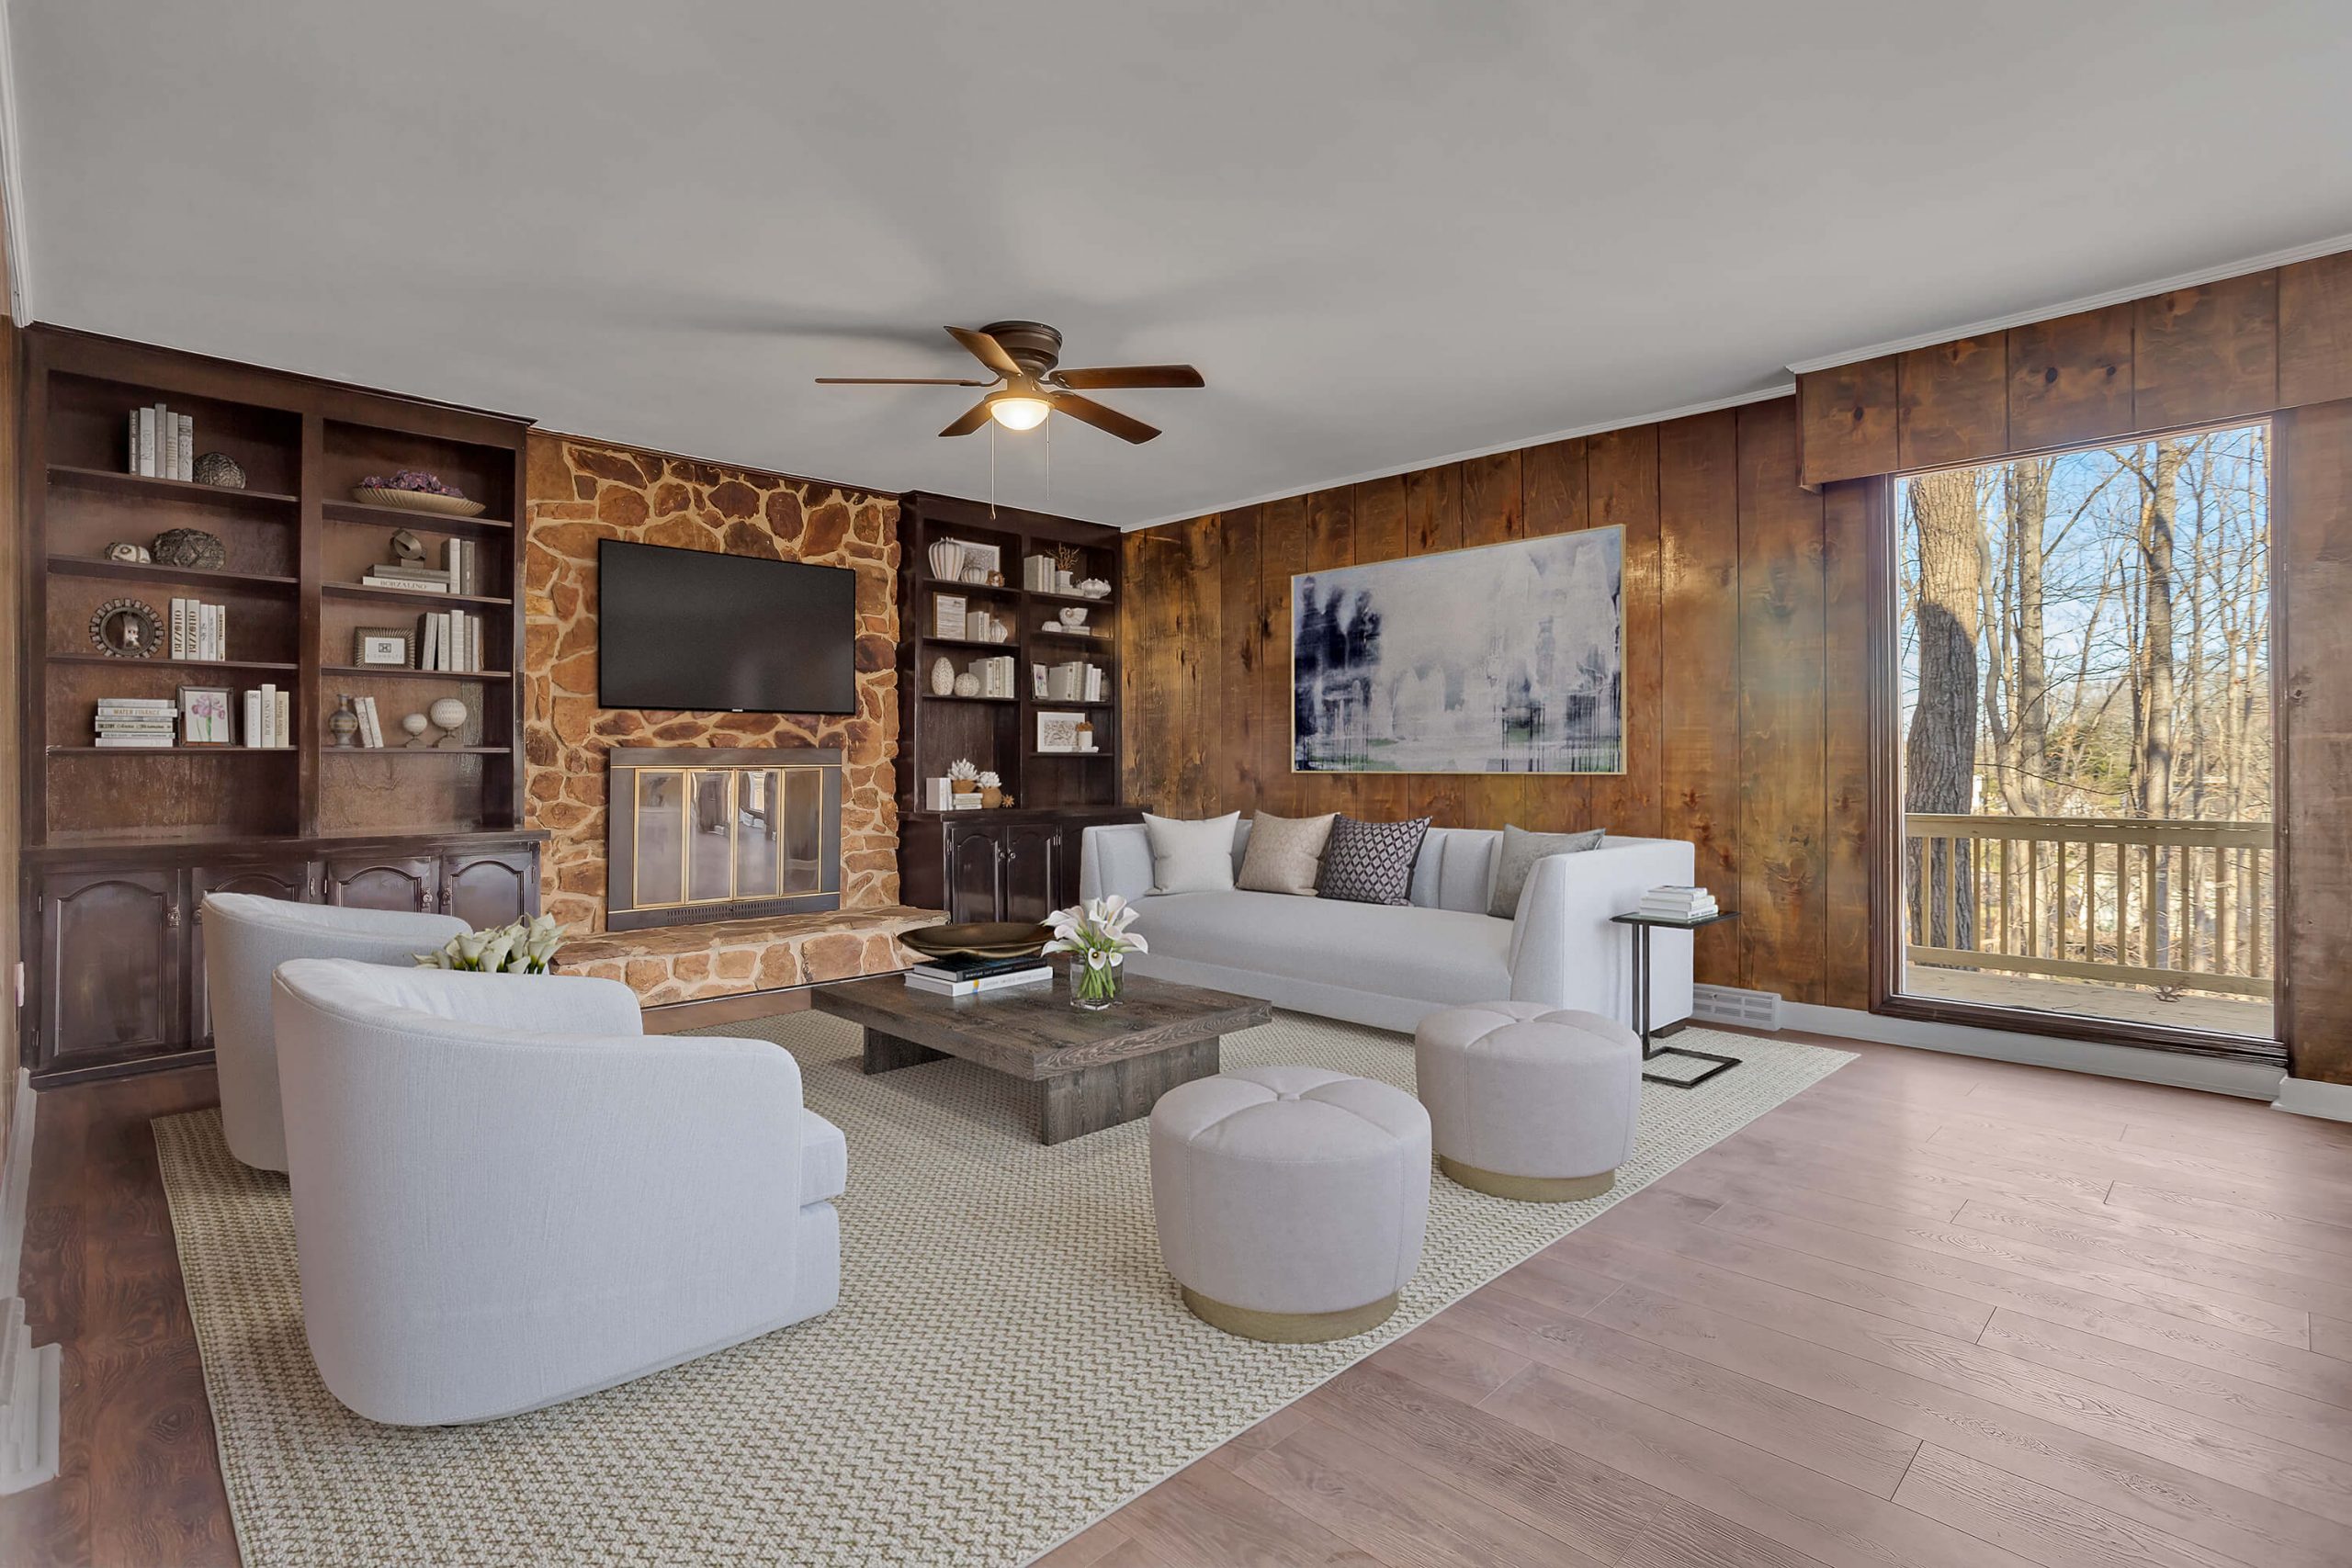
 Twilight photos display your property in the best time of day possible: the golden hour
From a logistics perspective, relying on the natural golden hour is often a gamble. Weather conditions, seasonal shifts, and the incredibly narrow 20-minute window for a perfect shoot can disrupt a photographer's schedule and inflate costs. By implementing a professional day to dusk Photoshop workflow, you minimize all these variables. You can shoot at 2:00 PM under harsh midday sun or flat overcast skies and still deliver a stunning evening aesthetic that looks indistinguishable from the real thing.
Furthermore, real estate twilight photo editing is a high-margin service. A physical twilight shoot usually requires a second trip to the property, costing significant time and fuel. In contrast, virtual editing allows you to upscale a standard shoot into a premium package for a fraction of the cost, ensuring a consistent, high-end brand identity for every listing. That virtually makes knowing how to edit day-to-dusk real estate photos in Photoshop an elite skill to stand out in the modern real estate market.
2. Preparation: What makes a good base photo?
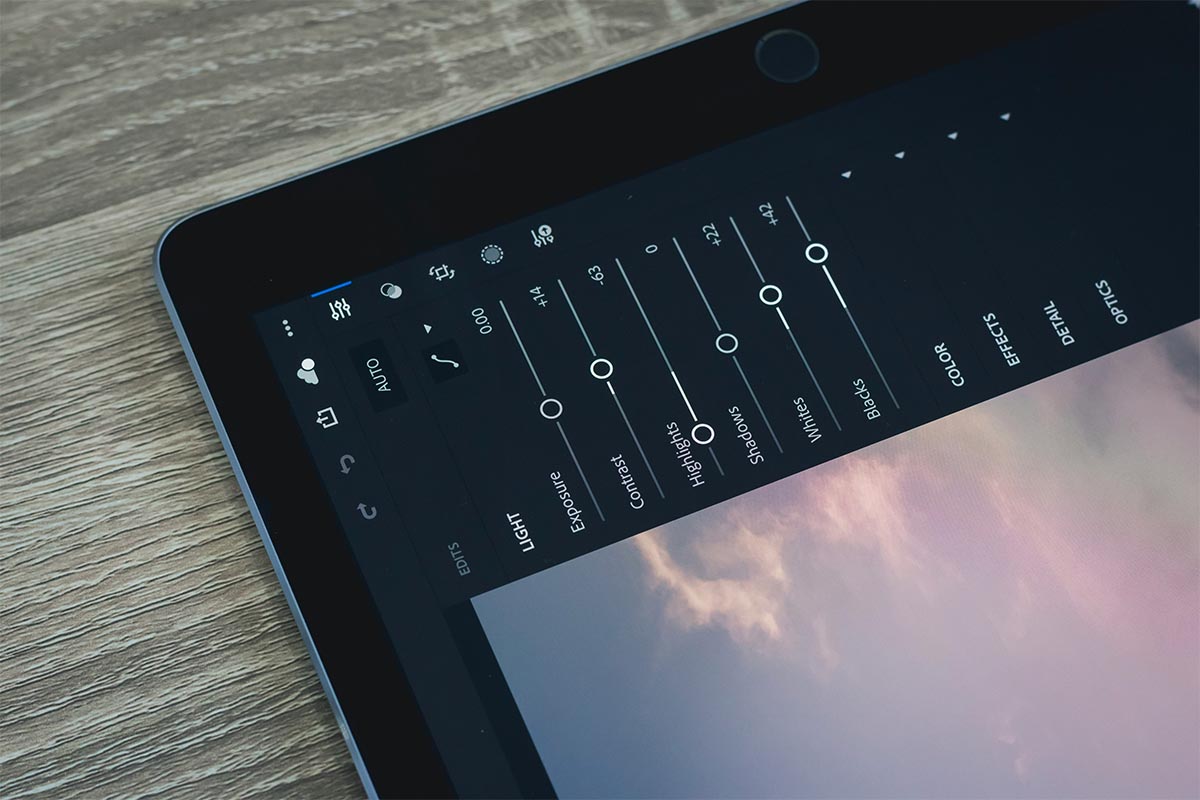
Successful virtual twilight editing starts long before you open Photoshop. The quality of your base image determines how "believable" the final transition will be. Ideally, you should shoot during an overcast day or when the sun is lower in the sky to ensure soft, even lighting across the property. Harsh, high-noon shadows are notoriously difficult to mask and often reveal the "fake" nature of a digital edit.
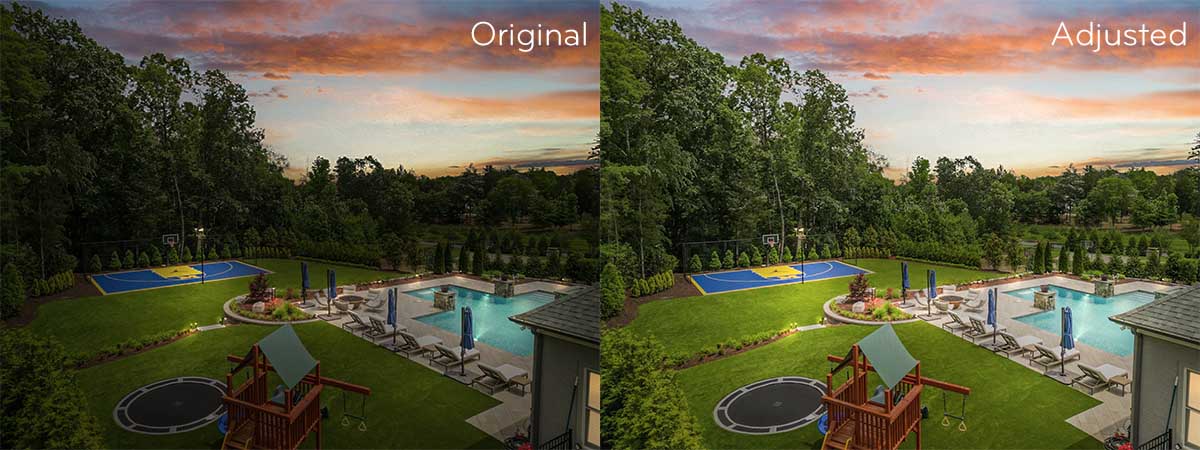
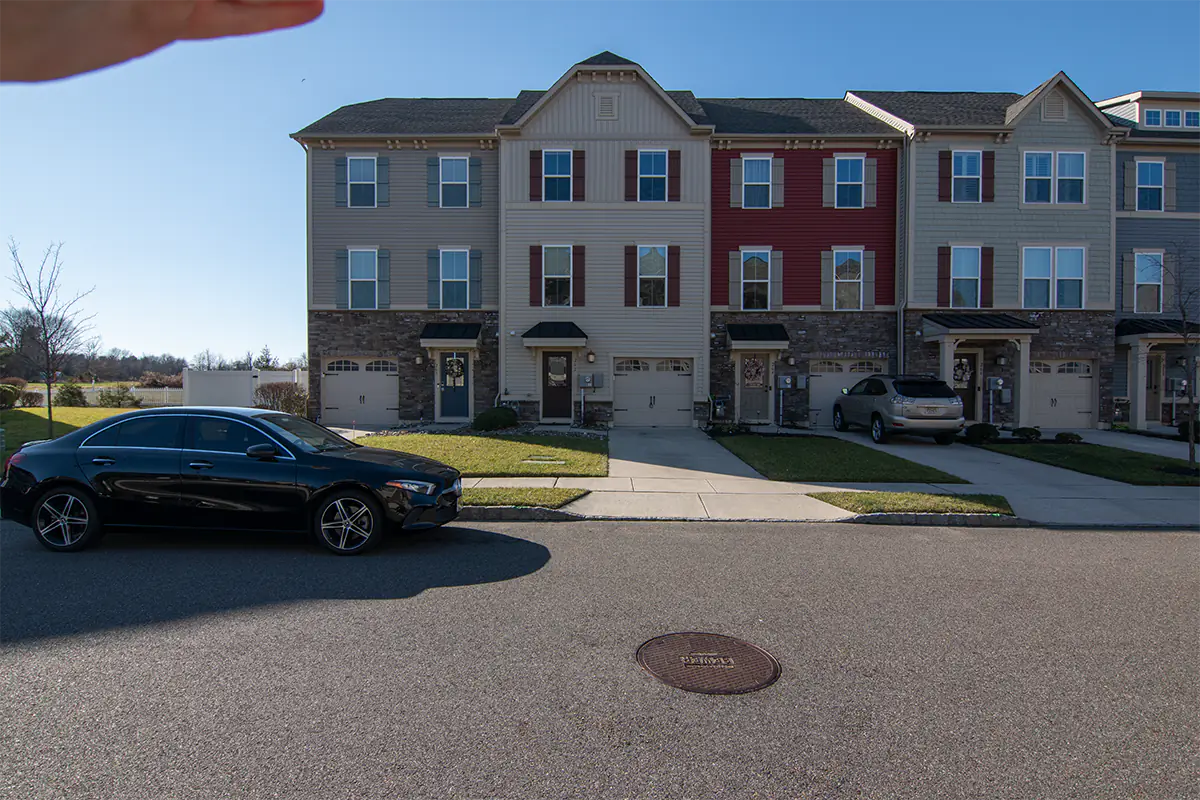 A raw image with technical and content flaws is ideal material for editors to showcase their skills
Technical precision is equally vital. Always shoot in RAW format to preserve the maximum dynamic range needed for heavy color shifting. Utilizing a bracketed exposure workflow (shooting 3 to 5 frames) ensures that details in both the bright windows and dark porch areas are preserved. Keep your ISO as low as possible, typically ISO 100, to minimize digital noise, which can become glaringly obvious once you darken the image and introduce deep blue tones. A clean, sharp, and well-balanced base is the true cornerstone of a professional day to dusk Photoshop workflow.
3. How to edit day-to-dusk real estate photos in Photoshop: Step-by-step
This section is the heart of our virtual twilight editing tutorial. Mastering these steps will allow you to create a seamless, believable transition from a flat daytime capture to a high-end luxury evening shot. Let's dive into the professional day to dusk Photoshop workflow.
Phase 1: Sky replacement (The foundation)
The sky is the most defining element of a twilight photo. If the sky doesn't match the lighting of the house, the entire edit will feel "off."
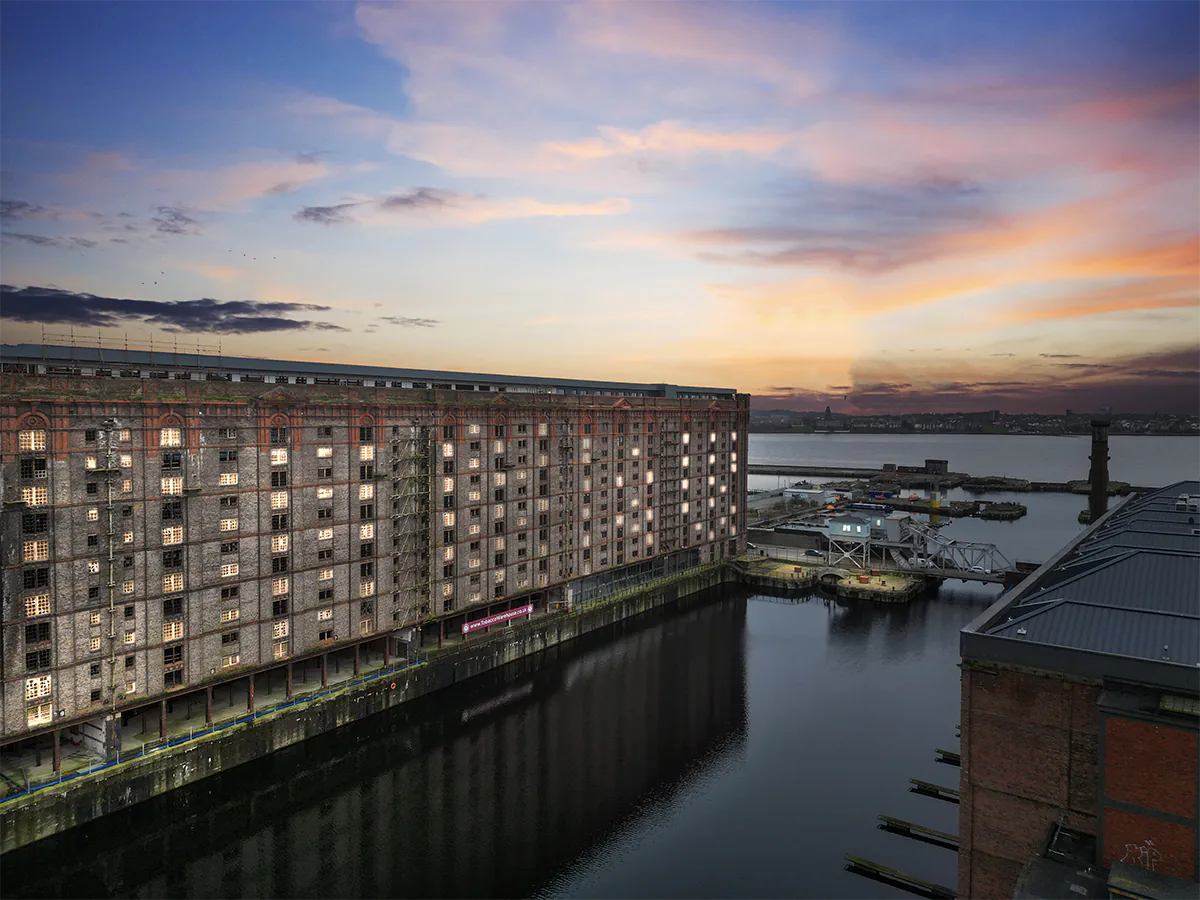
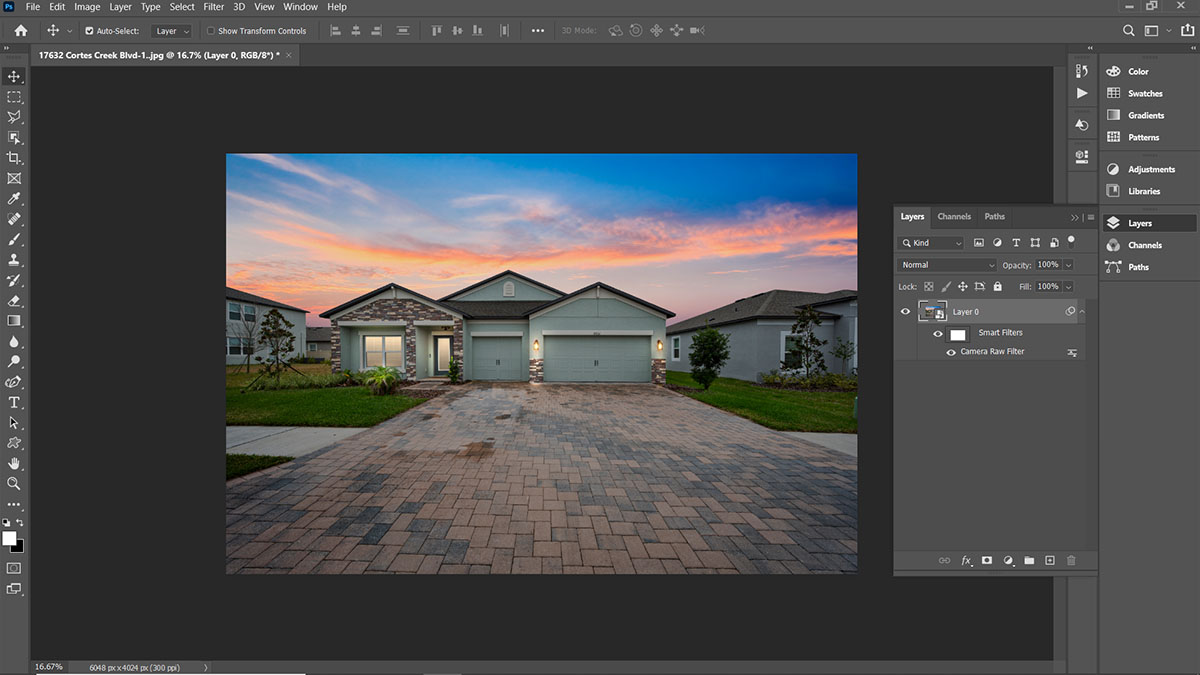
 Totally revamping the sky is the first step to achieving a convincing day-to-dusk conversion
1. Automated vs. manual: In modern versions of Photoshop, the Sky Replacement tool (Edit > Sky Replacement) is remarkably efficient. Choose a high-quality sunset or twilight sky preset. Look for gradients that transition from a deep navy blue at the top to a warm orange or purple near the horizon.
2. Refining the mask: Even with AI, complex rooflines or thin tree branches can leave "halos." Use the Refine Edge Brush within the Sky Replacement workspace to clean up these areas.
3. Horizon matching: Ensure the horizon of your new sky aligns with the natural horizon of your photo. A sky that is "too high" or "too low" is a dead giveaway of a digital edit.
Phase 2: Global color correction & Luminance
Once the sky is in place, the house will likely look too bright. We need to match the house's luminosity and color temperature to the new environment.
 Most images will benefit from the rebalancing of colors and luminance to achieve a coherent and pleasing look
- Exposure and contrast: Add a Curves or Levels adjustment layer. Pull the center of the curve down to darken the midtones. You want the house to look like it’s sitting in the "blue hour," not a pitch-black night.
- Color balance: Add a Color Balance adjustment layer. Shift the Midtones and Shadows toward Blue and Cyan. This mimics the ambient light of a real twilight.
- Saturation: Often, darkening an image makes the colors look muddy. Use a Hue/Saturation layer to slightly desaturate the greens (grass) and reds (bricks) to match the low-light physics of human vision.
Phase 3: Add window glow in Photoshop
This is the most critical step in how to edit day-to-dusk real estate photos in Photoshop. Without interior lights, the house looks abandoned; with them, it looks inviting.
 Window glow will liven up the home when the sunlight fades
1. Precise selection: Use the Polygonal Lasso Tool (L) or the Pen Tool (P) to select the glass panes of the windows. Zoom in and fine-tune the selection boundaries. Precision here is key to realism.
2. Create the base layer: Press Ctrl+J (Cmd+J) to put the selected windows on a new layer.
3. Apply layer styles: Right-click the new layer and select Blending Options.
- Color Overlay: Choose a warm golden-orange (hex code around #ffb31a). Set the opacity to 30-50%.
- Inner Glow: Set the color to a bright yellow/white. Use "Edge" source with a soft choke to create a sense of depth behind the glass.
- Outer Glow: This mimics the "bloom" of light hitting the air outside. Use a soft, large-sized glow with low opacity (10-15%) in a warm orange hue.
4. Light spill: To make it truly realistic, create a new layer set to "Linear Dodge (Add)" or "Overlay." Use a very soft brush with a low flow (3-5%) to paint a subtle warm glow on the frames of the windows and the ground immediately beneath them.
Phase 4: Exterior lighting enhancements
To complete the real estate twilight photo editing process, we need to "turn on" the exterior lights, such as porch lights, path lights, or pool lights.
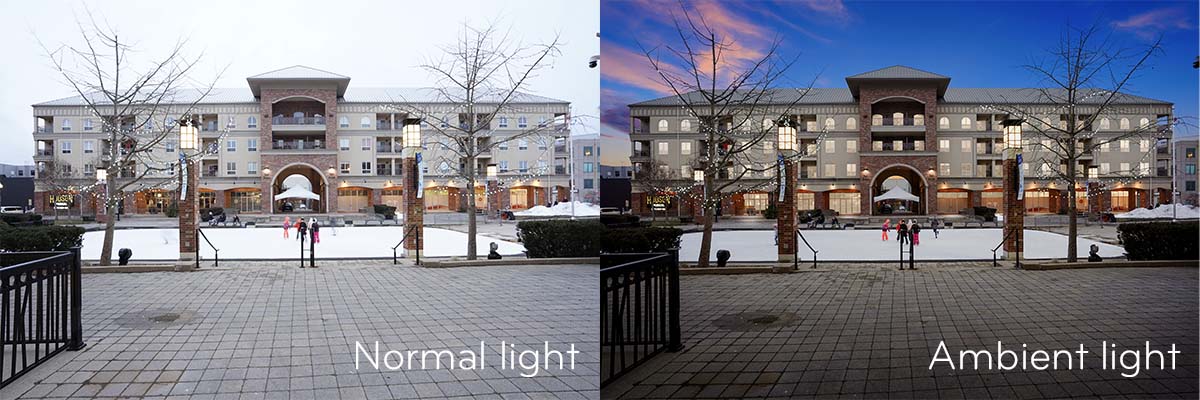 Exterior lights that match the time of day will aid with realism
- The brush technique: Select a soft-edged brush. Pick a warm color that matches your window glow.
- Lighting the fixtures: Create a new layer set to "Color Dodge." Click once on the light fixtures (like sconces or street lamps) to create a "hot spot" of light.
- Landscape lighting: If the property has uplights on trees or the facade, use the same brush at a very low flow to paint light "streaks" going upward. This adds a level of luxury that buyers love.
- The final polish: Add a final Vignette (using a soft black brush on a low-opacity layer) to draw the viewer's eye toward the center of the property, which is now glowing warmly against the cool blue background.
By following this day to dusk Photoshop workflow, you transform a standard daylight shoot into a premium marketing asset. It’s not just about darkening the photo; it’s about creating a "mood" that sells the lifestyle of the home.
4. Advanced day to dusk Photoshop workflow tips
To truly master how to edit day-to-dusk real estate photos in Photoshop, you must move beyond the basics and focus on professional efficiency and realism. Elevating your day to dusk Photoshop workflow requires a "less is more" approach, ensuring the final result looks like a genuine photograph rather than a digital composite.
 You should aim for non-destructiveness and reversible editing steps when performing complicated adjustments
- Master non-destructive editing: Always utilize Smart Objects and Adjustment Layers. This allows you to refine the intensity of the "blue hour" or the warmth of the window glow at any time without permanently altering your base pixels.
- Automate for scale: Efficiency is the backbone of a profitable real estate twilight photo editing business. Record a Photoshop Action for repetitive tasks, such as creating initial luminosity masks or setting up specific layer styles for how to add window glow in Photoshop.
- Eliminate masking halos: A common amateur mistake in any virtual twilight editing tutorial is leaving bright "halos" around chimneys or rooflines. Use a small, soft brush with the Clone Stamp tool set to "Darken" mode to blend these edges perfectly into the new sky.
- Environmental Interaction: Light doesn't just stay inside a window. Paint subtle "spills" of warm light onto the porch, nearby trees, or the driveway to realistically ground the house in its environment.
5. How long does it take to edit one day-to-dusk photo?
One of the most common questions when learning how to edit day-to-dusk real estate photos in Photoshop is: "Is it worth the time?" In my experience, the answer depends heavily on your proficiency with a professional day to dusk Photoshop workflow. Because this process involves more than just a simple filter, the time investment can vary significantly based on the complexity of the property.
 Time to create a day-to-dusk edit varies based on the level of polishing required for each project
- Beginner level (30-45 minutes): If you are just starting with a virtual twilight editing tutorial, expect to spend nearly an hour on your first few images. Most of this time is consumed by precise masking around chimneys or trees and mastering the nuances of how to add window glow in Photoshop to ensure it doesn't look like a "cartoon" yellow.
- Intermediate/Pro level (15-20 minutes): Once the techniques become second nature, a seasoned editor can streamline the real estate twilight photo editing process. Using pre-set actions for color grading and "light spill" brushes can cut the time in half.
- High-end fine art (60+ minutes): For multi-million dollar listings, "good enough" isn't an option. These edits involve intricate light painting on every architectural detail, advanced sky blending, and cleaning up every reflection in the windows.
While the results are undeniably beautiful, the labor-intensive nature of this workflow is the primary reason photographers must weigh the cost of their time against the benefits of DIY editing.
6. DIY vs. Outsourcing day-to-dusk editing: Which is better?
While mastering how to edit day-to-dusk real estate photos in Photoshop is a vital skill for any modern real estate photographer, the ultimate question is whether you should spend your time doing it. Even if you have perfected the virtual twilight editing techniques, you must weigh the creative control of DIY against the massive efficiency of outsourcing.
 DIY vs. Outsourcing is the question of efficiency and scalability
The "efficiency gap" is best illustrated through a direct comparison of resources:
|
Factor |
DIY (Solo photographer) |
Outsourcing (Professional service) |
|
Time spent |
2-3 hours for 5 photos |
0 hours (Passive) |
|
Direct cost |
$0 (plus your hourly rate) |
$2 - $5 per image |
|
Opportunity cost |
High (could be shooting new homes) |
Low (focus on growth/sales) |
|
Turnaround |
Depends on your personal schedule |
Usually 12-24 hours |
The math of opportunity costs when creating day-to-dusk real estate photos
Consider this: If your professional shooting rate is $150/hour and it takes you two hours to handle the real estate twilight photo editing for a single listing, that edit has effectively "cost" you $300 in potential revenue. In contrast, outsourcing those five photos to a specialized editor like Fotober would cost roughly $20 to $25.
By choosing to outsource, you save over $275 in value and several hours of screen time. However, knowing how to create glorious day-to-dusk real estate photos in Photoshop remains essential for rush jobs or high-end custom projects where you need absolute control over the window glow or specific lighting nuances. Ultimately, DIY is for learning and "boutique" quality, while outsourcing is for scaling your business. You can start unlocking the consistent quality of your photos at scale today by uploading your raw files for us to handle.
Conclusion
That’s the gist of how to edit day-to-dusk real estate photos in Photoshop. Mastering the day to dusk Photoshop workflow is a transformative skill for any real estate professional. By successfully implementing techniques like realistic window glow, you elevate your portfolio from standard to spectacular. Real estate twilight photo editing isn’t just a technical task; it’s a strategic marketing tool that drives engagement and captures buyer emotions.
Whether you choose to DIY for creative control or outsource to scale your business, understanding the core principles ensures you consistently deliver high-end results. Ready to upgrade your listings? Start practicing today, or partner with our skilled editors to accelerate your workflow and boost your conversion rates!
Follow us on social media to acquire more useful tips and in-depth analysis on real estate marketing, twilight photography and up-to-date details of our services!
- Facebook: fotobermedia.co
- YouTube: Fotober
- TikTok: @fotober
- Instagram: fotober_media.
FAQs about day-to-dusk photo editing
What is day-to-dusk photo editing in real estate?
Day-to-dusk photo editing, also known as virtual twilight editing, is a post-processing technique that transforms standard daylight property photos into vibrant, twilight-style images using tools like Photoshop. It helps listings stand out and appear more luxurious.
Why should I use Photoshop for real estate photos?
Using Photoshop for real estate photos allows for precise control over lighting, color, and composition. You can replace skies, add window glow, and adjust tones, creating stunning visuals that elevate your property marketing.
Does day-to-dusk editing really improve listing performance?
Yes. Studies show that listings with twilight-style images attract more views and higher engagement. Especially in luxury markets, these visuals increase perceived property value and buyer interest.
Can I outsource day-to-dusk photo editing?
Absolutely. If you're short on time or not confident with editing tools, services like Fotober offer professional day-to-dusk photo editing, including 3-5 free test edits for new customers.
.png)
