
Exposure Bracketing Tips for Real Estate Photography

Share:
Table of Contents
In real estate photography, achieving the perfect exposure-especially in scenes with bright windows and dark interiors-can be a challenge. That’s where exposure bracketing comes in. This essential technique allows photographers to capture the full range of light and shadow, ensuring every room and facade looks its best. In this guide, we’ll cover everything from camera settings to HDR processing and why Fotober is your top choice for editing bracketed images.
1. What is Exposure Bracketing and Why It Matters
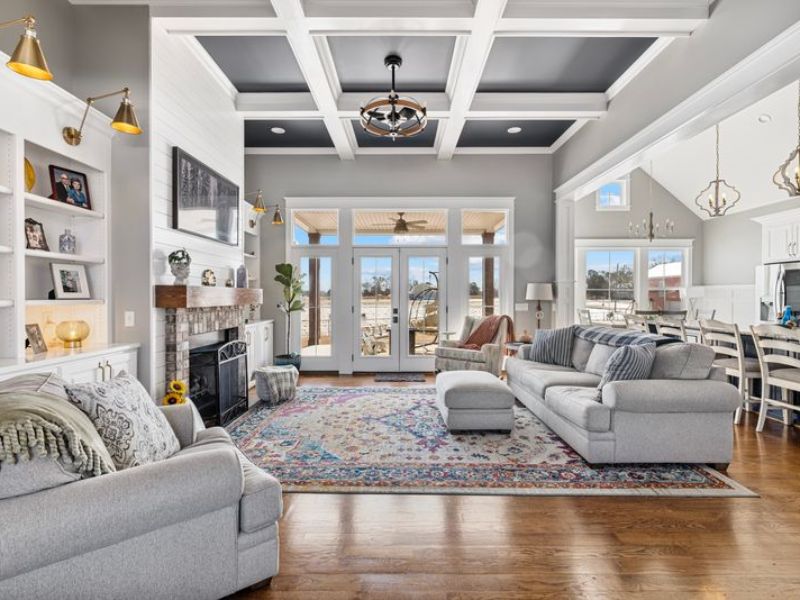
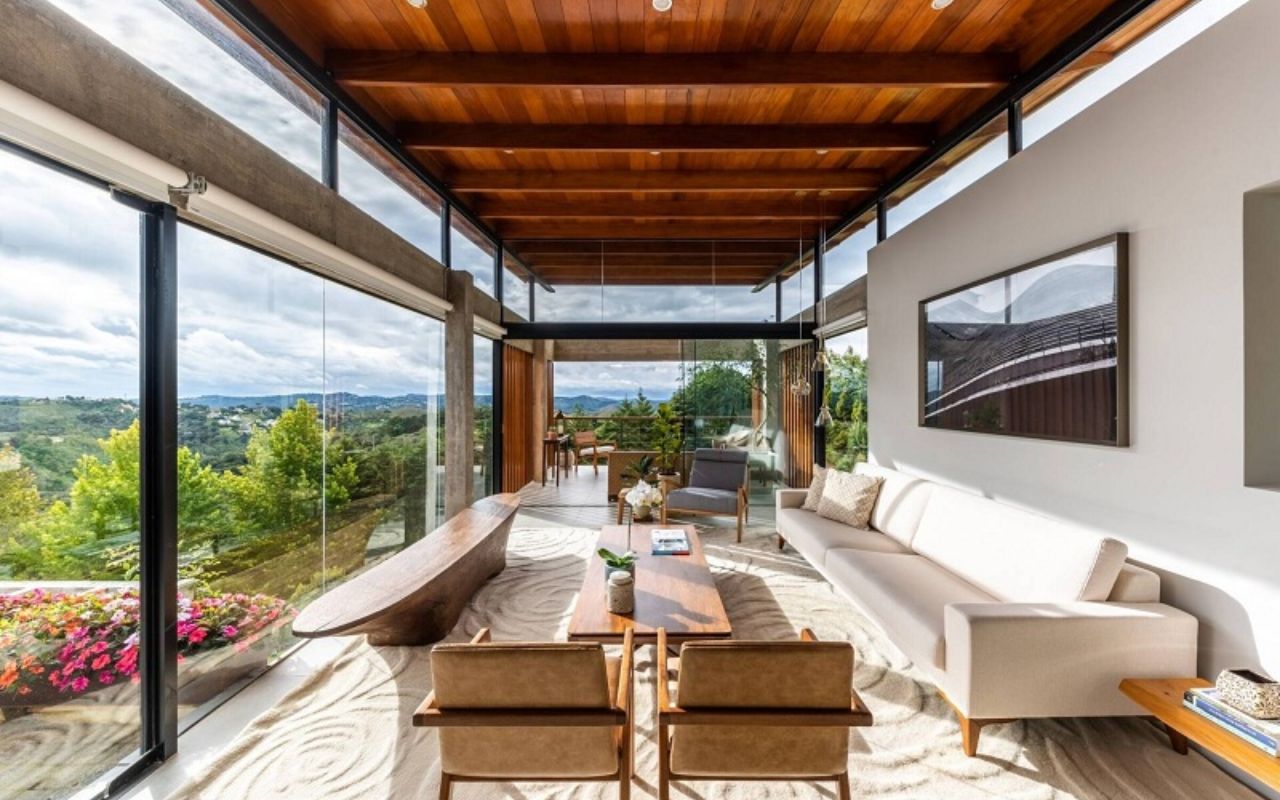
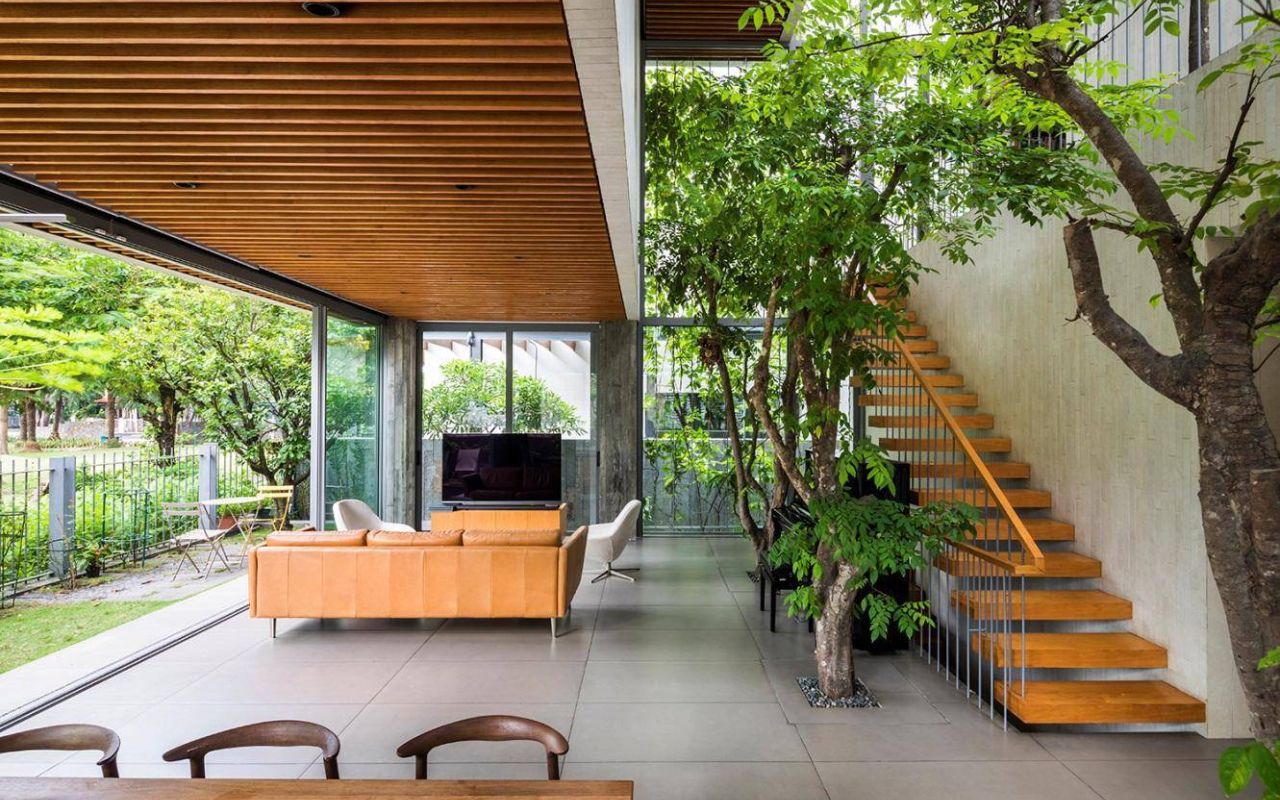
When photographing real estate interiors, one of the biggest challenges is managing scenes with both bright highlights (like windows) and dark shadows (like corners or hallways). A single shot often can’t capture this full range of light. That’s where exposure bracketing comes in.
Exposure bracketing is a technique where you take multiple photos of the same scene at different exposure levels-typically one underexposed, one properly exposed, and one overexposed. These images are later combined in post-processing to create a single High Dynamic Range (HDR) image that retains detail in both shadows and highlights.
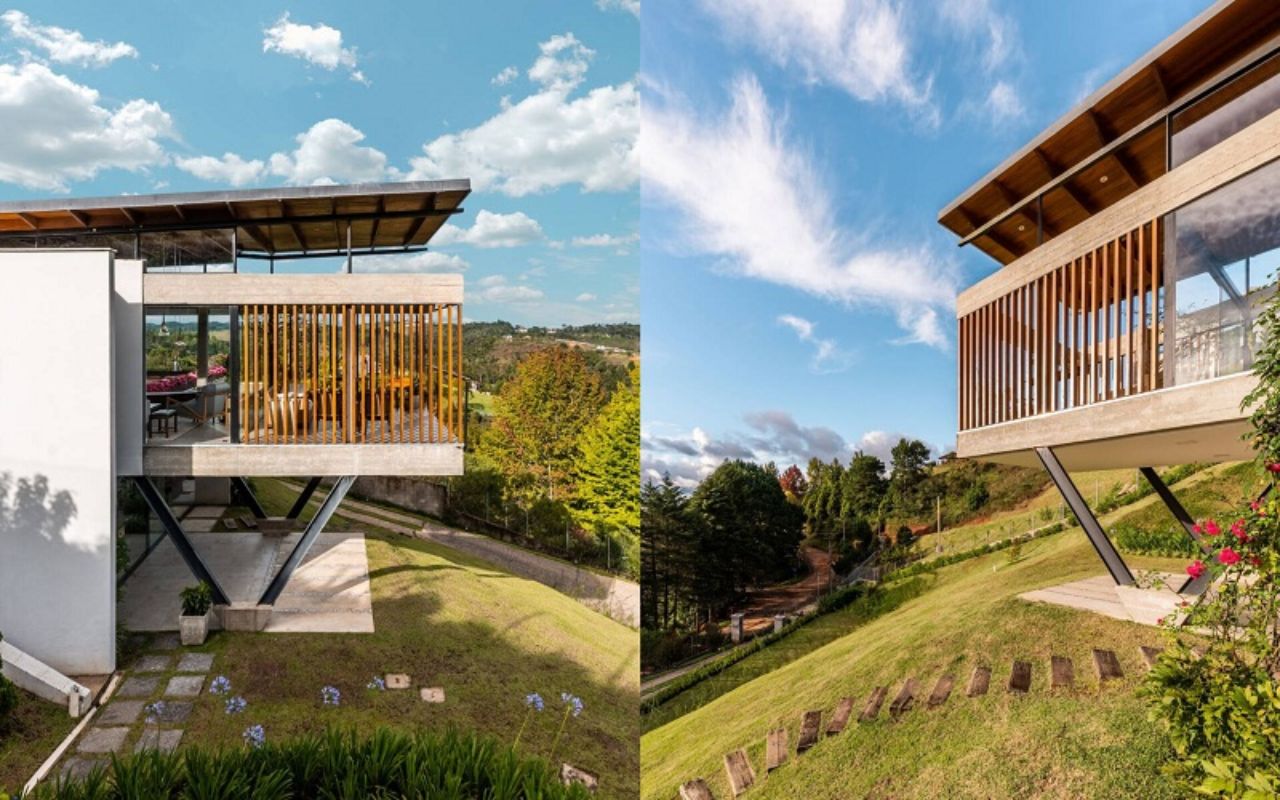
In real estate photography, this method is essential for delivering vibrant, balanced visuals that showcase both interior features and outdoor views, helping listings stand out and attract more interest.
Flambient real estate photography is a hybrid technique combining both HDR and flash photography, allowing real estate photographers to capture the best of both worlds: natural light and precise illumination. This approach ensures that both the interior and exterior details are showcased, creating a balanced and realistic representation of the property.
2. Essential Gear and Camera Settings
To get the most out of exposure bracketing, having the right equipment and camera settings for real estate photography is crucial. Without them, even perfectly bracketed shots can suffer from motion blur, misalignment, or loss of detail.
Here’s what you’ll need to properly execute exposure bracketing:
- A DSLR or mirrorless camera with auto exposure bracketing (AEB) capability
- A sturdy tripod to stabilize your camera throughout the shooting sequence
- A remote shutter release or camera timer to prevent vibrations when capturing multiple exposures
When it comes to settings:
- Always shoot in RAW format to preserve maximum image detail for HDR blending
- Set your camera to manual mode to lock in consistent aperture and ISO across shots
- Use bracketing intervals of ±1 to ±2 EV, depending on the light range, and capture at least 3 to 5 frames per scene
These foundational tools and settings will ensure that your exposure bracketed images are aligned, sharp, and ready for high-quality post-processing.
3. Best Practices for Capturing Bracketed Shots
Even with the best gear and settings, poorly executed technique can compromise the results of your exposure bracketing. Precision and consistency are key-especially when you're working with high-contrast interiors or scenes that involve both natural and artificial lighting.
Here are essential best practices to follow when capturing bracketed exposures:
- Use Manual Mode to Lock in Consistency: Always shoot in manual exposure mode. This ensures that shutter speed is the only changing variable across your bracketed frames, while aperture and ISO remain consistent. In real estate, where color consistency and sharpness matter, this eliminates unwanted variations.
- Choose the Right EV Intervals Based on Scene Contrast: For evenly lit rooms, ±1 EV in 3 frames may be sufficient. However, for spaces with bright windows or mixed lighting, use ±2 EV with 5 or more frames to capture the full dynamic range.
- Stabilize the Camera to Avoid Misalignment: Place your camera on a tripod and use a remote shutter release or the camera’s timer function to avoid shaking. Even slight movements can create alignment issues during HDR merging.
- Minimize Internal Vibrations: If your camera supports it, enable mirror lock-up or use an electronic shutter to reduce internal vibrations-especially when shooting with longer exposures in low-light interiors.
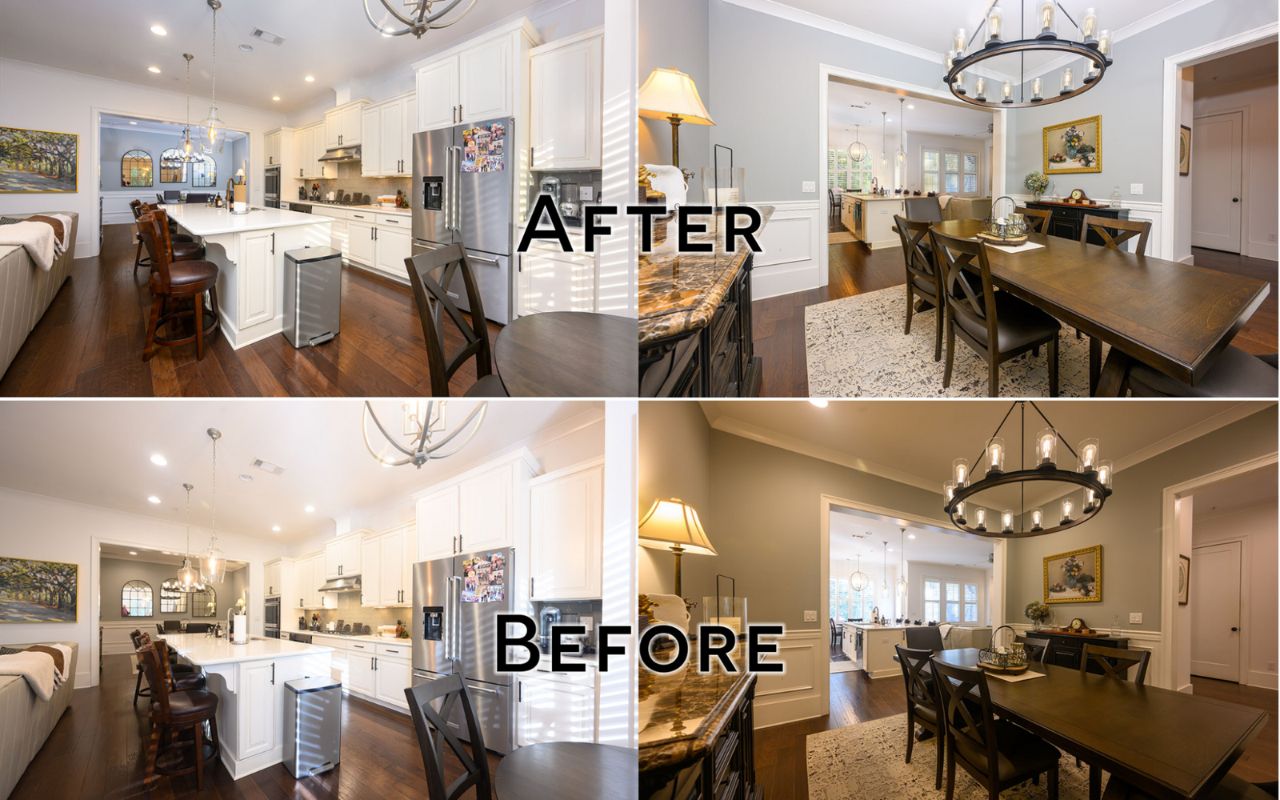
4. HDR Processing and Image Merging Workflow
After you've carefully captured your exposure bracketed shots, the next step is to merge them into a single, high-impact HDR image. This stage is where the dynamic range of your bracketed exposures truly comes to life, combining the best elements from each frame-deep shadows, well-balanced midtones, and crisp highlights-into one polished real estate photo.
Here’s a practical HDR processing workflow tailored for real estate photography:
Step 1: Choose the Right HDR Software
Start by selecting a reliable program to handle your exposure bracketing files. Popular options include:
- Adobe Lightroom: Great for photographers who want a smooth, non-destructive workflow.
- Adobe Photoshop: Offers advanced manual blending through layers for full creative control.
- Aurora HDR: Ideal for real estate shooters looking for intuitive tone mapping and smart AI-based enhancement.
Step 2: Import and Align Bracketed Frames
Load your bracketed images into the software. Most HDR tools offer auto-alignment, which is essential-especially if there was even the slightest movement between exposures. Be sure to review for ghosting, particularly in scenes with moving elements (like curtains or trees outside a window).
Step 3: Merge and Apply Tone Mapping
Merge your exposures to create the HDR composite. Then use tone mapping tools to adjust brightness, contrast, and dynamic range. For real estate images, always aim for natural-looking results - avoid the surreal or overly dramatic HDR style that may distract potential buyers.
Step 4: Refine the Image for Real Estate Standards
Make final refinements for:
- White balance, to keep colors accurate and consistent
- Clarity and sharpness, especially in architectural lines and furniture textures
- Noise reduction, if low-light exposures introduced grain
This refined HDR workflow brings out the full power of your exposure bracketing, delivering beautifully lit real estate photos that attract attention and convert leads.
5. Editing Bracketed Images with Real Estate Focus
Merging multiple exposures is just one part of the exposure bracketing process-what truly brings a real estate photo is how it’s edited the final HDR image to meet industry standards. Real estate imagery needs to be both visually appealing and technically precise, showcasing the space clearly without distortion or over-processing.
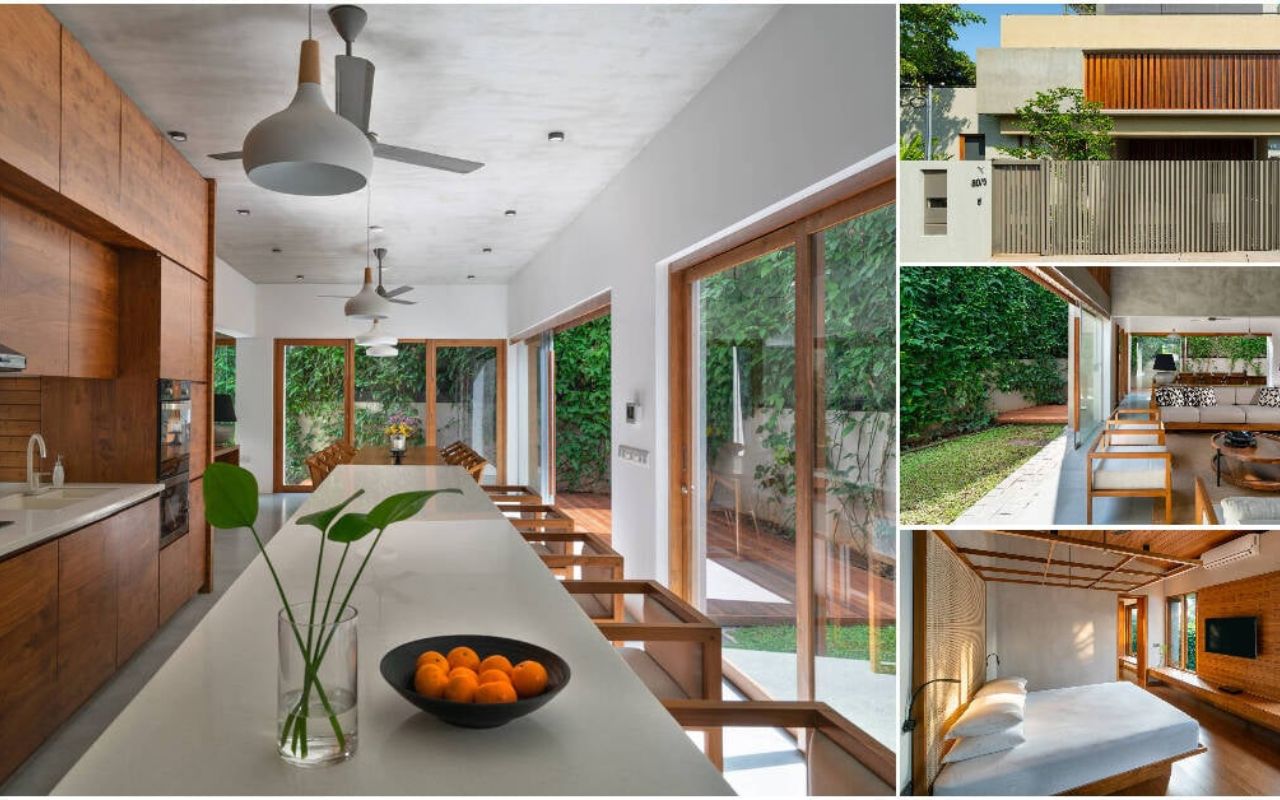
Here are key editing techniques to refine your exposure bracketed photos for professional real estate use:
Correct Perspective and Vertical Lines
Wide-angle lenses often cause vertical lines (walls, door frames) to tilt or warp, which can be disorienting in real estate photography. Use tools in Lightroom’s Transform panel or Photoshop’s Perspective Warp to straighten verticals and correct lens distortion. Ensuring architectural accuracy builds viewer trust and maintains realism.
Balance Shadows and Highlights with Subtlety
One of the main benefits of exposure bracketing is recovering detail from both dark corners and bright windows. However, avoid overdoing shadow recovery-it can make images look flat or unnatural. Aim for soft light transitions that enhance the depth and ambiance of each room.
Maintain Color Accuracy and Natural Tones
Real estate buyers want to see how a property really looks, so steer clear of oversaturated skies or unnatural interior colors.
- Use white balance tools to neutralize color casts caused by mixed lighting (like daylight and tungsten).
- Apply selective color adjustments to make wood tones, walls, and outdoor greens look vibrant yet realistic.
Avoid Over-Editing and the "HDR Look"
Too much clarity, contrast, or detail enhancement can make HDR images look artificial. The goal of exposure bracketing in real estate isn't to impress with dramatic effects, but to present the property clearly, cleanly, and attractively. Use localized adjustments rather than global filters to maintain balance.
Final Touches for Listing-Ready Images
Before exporting:
- Crop for clean framing and composition
- Spot-remove distractions (like ceiling sensors or cords)
- Export at the resolution required by MLS or real estate platforms
These editing steps ensure that your exposure bracketed images aren’t just technically sound - they’re visually persuasive and optimized for converting real estate viewers into clients.
6. Why Choose Fotober for HDR Bracketed Photo Editing
Capturing bracketed exposures is just the beginning-turning them into clean, professional, and listing-ready photos requires expert editing. That’s where Fotober - Real Estate Photo Editing and Video Editing comes in.
At Fotober, we understand the specific visual standards and expectations in the real estate market. Our experienced team specializes in editing exposure bracketed images with a perfect balance of technical precision and visual appeal.
Here’s why top real estate photographers, agencies, and MLS professionals choose Fotober:
- Specialized in HDR and Bracketing Workflows: We handle multi-exposure HDR blending with care - ensuring no ghosting, halo, or misalignment. Whether it’s a simple 3-frame bracket or a complex 5+ exposure sequence, we deliver smooth, natural-looking results.
- Real Estate-Focused Editing: Our editing workflow includes perspective correction, window pull blending, color accuracy, and retouching-tailored specifically for real estate needs.
- Fast Turnaround & Scalable Capacity: Fotober delivers high-quality edits in 12–24 hours, ideal for agencies and photographers working under tight listing schedules or high-volume demands.
- Affordable & Transparent Pricing: Our pricing is competitive without compromising quality, with custom packages available for individual photographers or enterprise-scale teams.
With Fotober, your exposure bracketing shots won’t just be merged-they’ll be transformed into polished images that help properties stand out and sell faster.
In addition to HDR blending and correction, Fotober also offers real estate photo enhancement services tailored for agents who need vibrant, listing-ready visuals without spending hours editing on their own.
Conclusion
Exposure bracketing is a powerful technique that gives real estate photographers the flexibility to capture the full range of light in any scene. From properly exposing bright windows to preserving rich detail in shadowed interiors, bracketing helps you create images that look both realistic and inviting.
However, the key to success lies not just in capturing exposures-but in how you process and present them. With the right gear, thoughtful technique, and a skilled editing partner like Fotober, you can turn every bracketed shot into a compelling visual asset for real estate listings.
Let Fotober help you elevate your photography and deliver consistent, high-quality results-because every home deserves to be seen in the best light.
Related posts

Double Your Booking: Airbnb Photography Tips for World Cup Host Cities
July 15, 2026
The Legacy of Sam Neill Real Estate: Vineyard & His Private Sanctuary
July 14, 2026

World Cup 2026 Host City Real Estate: Overview & Marketing Strategies
July 13, 2026
Most Common Photography Mistakes California Realtors Should Avoid
July 10, 2026
