
In this comprehensive guide, we will explore the world of shadow adjustment techniques in Photoshop and how they apply to real estate photography editing. Shadows, often an underrated yet powerful aspect, play a crucial role in enhancing depth and realism in your photos. By understanding the significance of shadows and mastering their manipulation, you can raise the bar of the real estate photography editing game and edge out competition.
7 Best Shadow Techniques in Photoshop for Interiors 2025
.png)

Share:
Table of Contents
1. What are Shadows in Photo Editing?
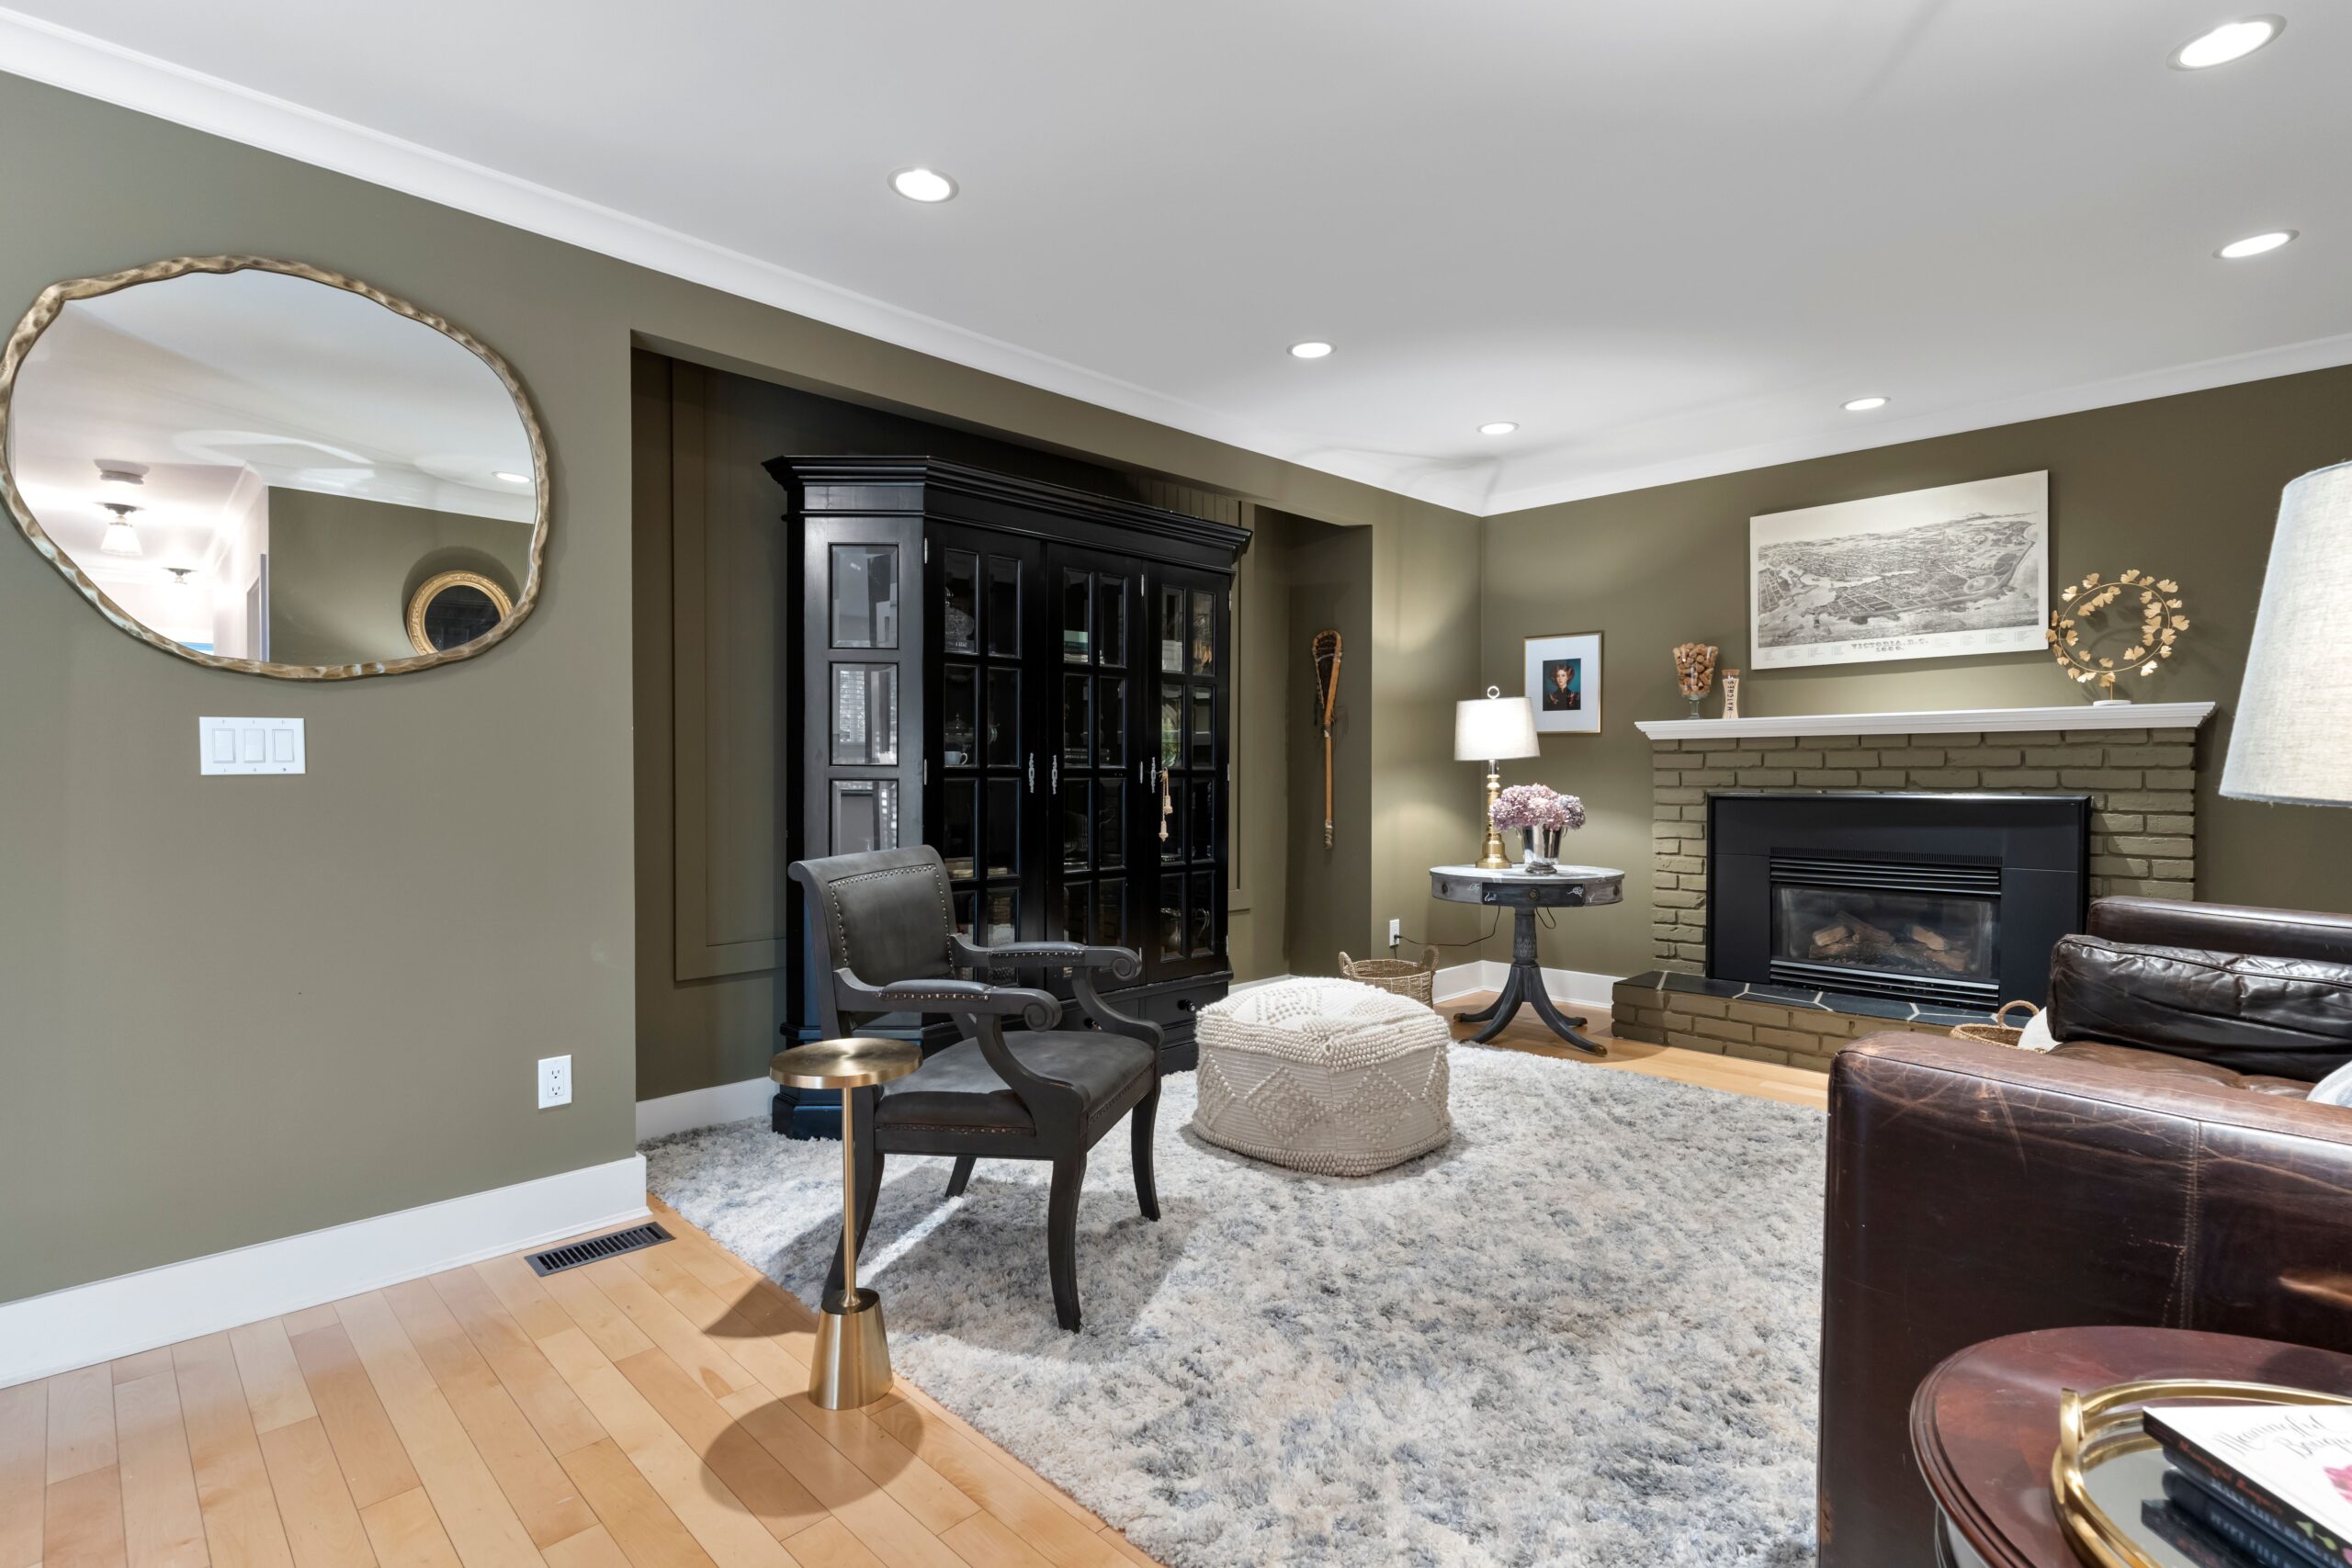
In real estate photo editing, understanding shadows is essential to mastering shadow photography techniques. While highlights represent the brighter pixels illuminated by natural or artificial light, shadows occupy the darker areas of an image where details are less visible. Far from being a flaw, shadows can add depth, dimension, and visual separation—especially in complex interior or exterior shots.
When used intentionally, shadows help create a realistic sense of space and enhance the mood of a photograph. In real estate photography, skillful shadow adjustment can make rooms appear more dynamic, emphasize architectural details, and balance the interplay between light and dark for a polished, professional result. Mastering how to edit real estate photos in Photoshop with techniques like shadow adjustments allows you to enhance the atmosphere of a property, making it more inviting and visually appealing for potential buyers.
2. 7 Techniques to Adjust Shadows in Photoshop
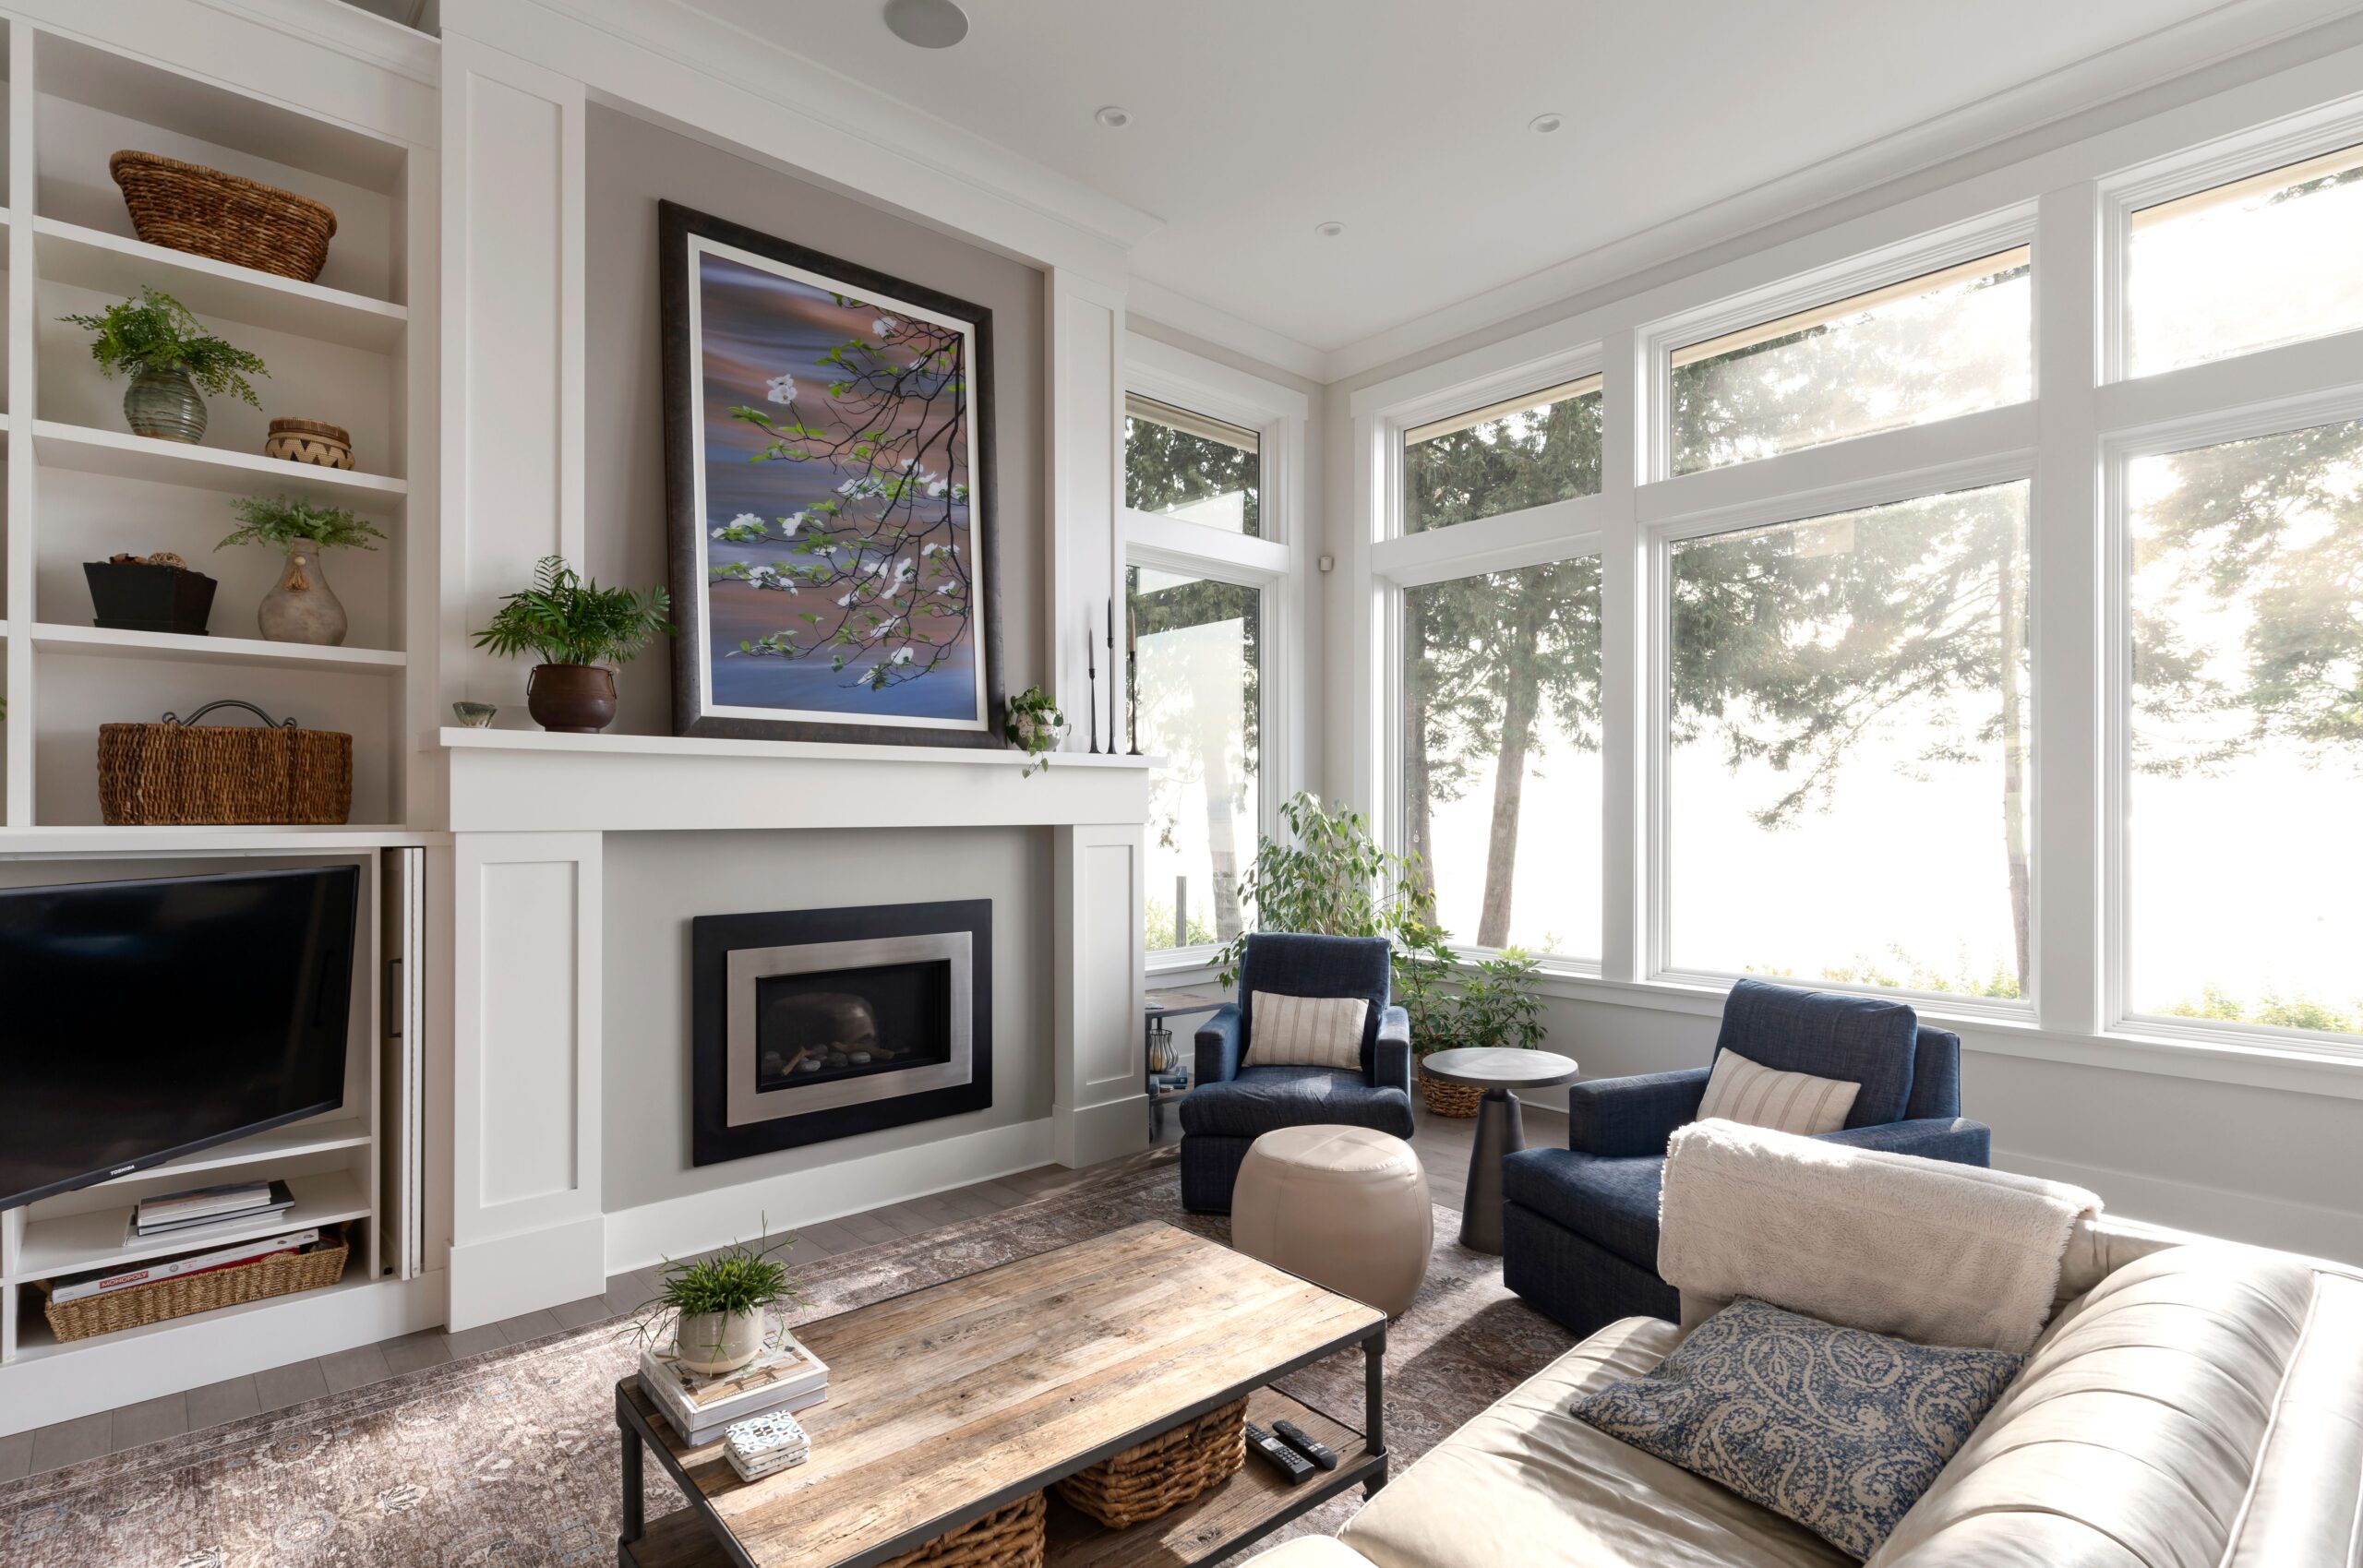
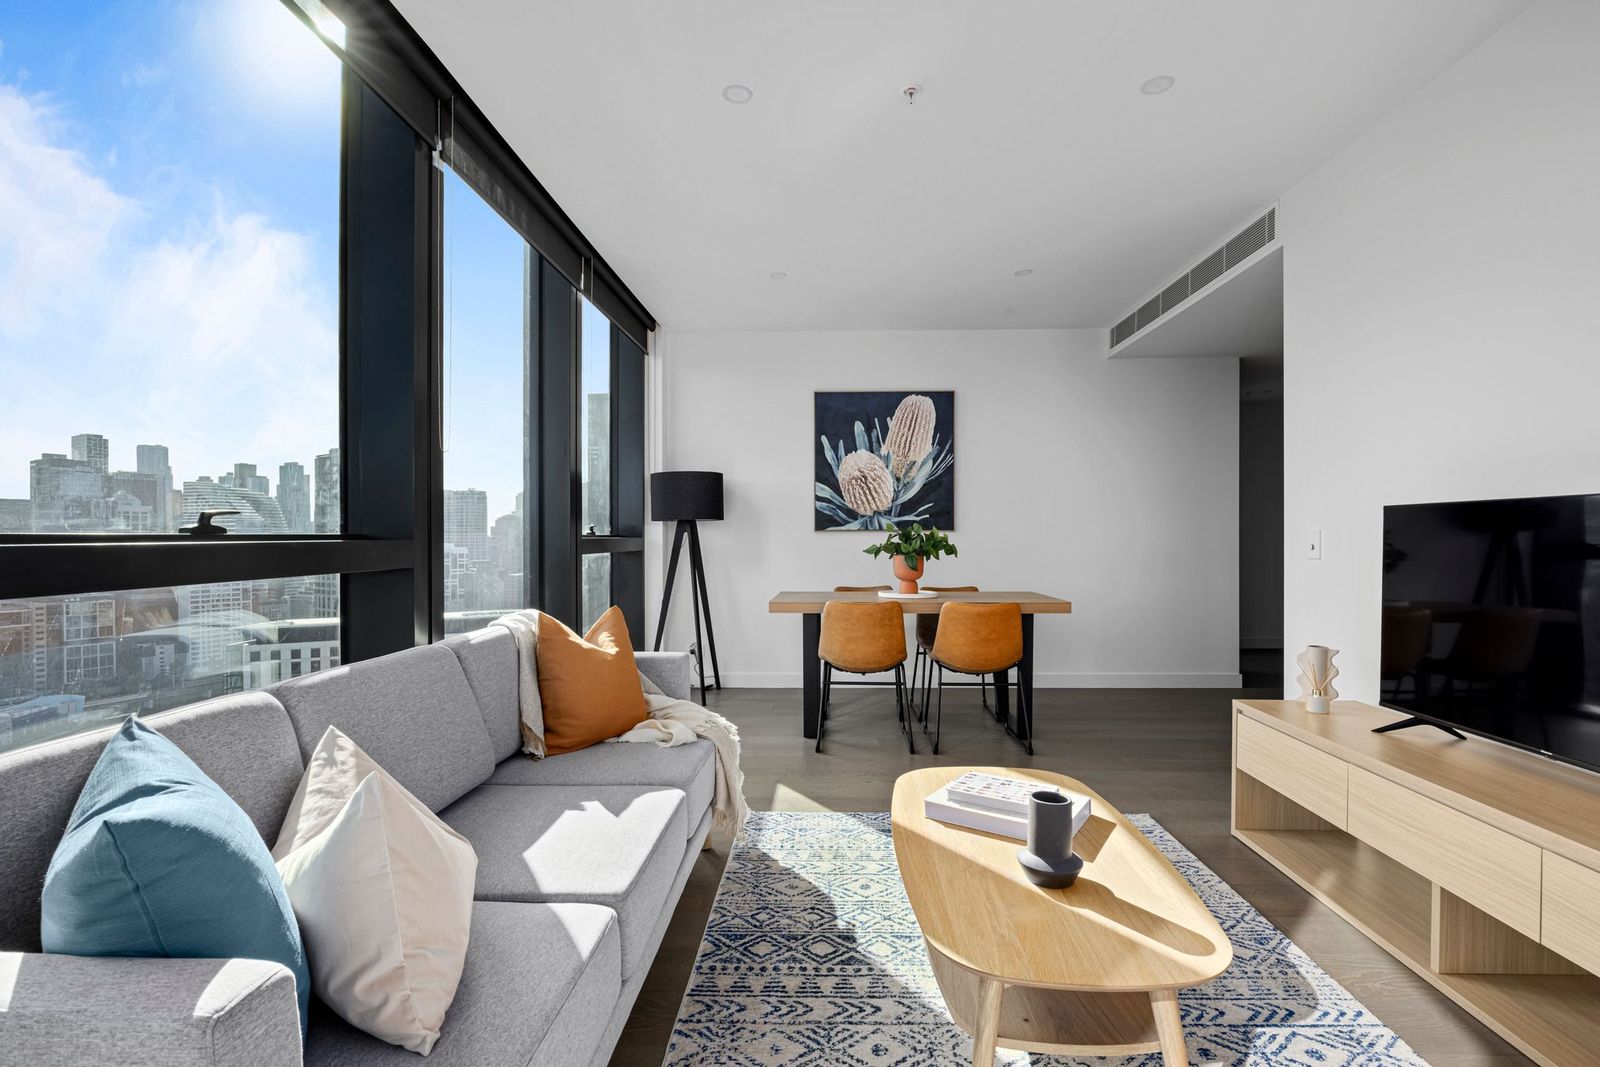
In real estate photo editing, shadows can either enhance a property’s appeal or distract potential buyers. Mastering these shadow photography techniques in Photoshop allows you to control depth, mood, and visual balance—helping your property images look more polished and market-ready.
2.1. Layering Up
Before making any adjustments, duplicate your background layer (Ctrl/Cmd + J) and rename it for clarity—e.g., “Shadow Adjustments.” This approach preserves your original file, making it easy to compare edits, revert changes, or blend layers for subtle results. You can even create multiple duplicate layers for different adjustments (e.g., one for shadows, one for highlights).
2.2. Shadow and Light Adjustment in Photoshop
For quick overall shadow correction, go to Image → Adjustments → Shadow/Highlight.
- Shadows slider: Lightens dark areas without affecting highlights.
- Highlights slider: Recovers detail in bright spots.
- Amount & Tone control: Fine-tunes how aggressively shadows are lifted.
Pro Tip: Avoid pushing sliders too far, as this can introduce noise or unnatural flatness. Follow up with noise reduction filters if needed.
2.3. More Shadow Control with Finer Adjustment Options
Photoshop offers deeper control through advanced Shadow/Highlight settings:
- Radius: Determines the range of pixels affected, influencing how natural the transition looks.
- Midtone Contrast: Adjusts the overall depth of the image, preventing a washed-out look when shadows are lifted.
- Color Correction: Balances color shifts caused by shadow adjustments, ensuring realistic tones in walls, floors, and furniture.
This fine-tuning is crucial in real estate photography editing, where buyers expect realistic yet inviting visuals. With real estate photo editing, understanding how to manipulate shadows, highlights, and midtones gives you control over the mood and appeal of the property, ensuring that every shot attracts potential buyers.
2.4. Dodge and Burn Tool
The Dodge Tool brightens specific dark areas, while the Burn Tool deepens shadows for drama and depth.
- Brush size & hardness: Use a soft brush for gradual blending and a harder edge for defined areas.
- Range settings: Select Midtones for natural adjustments, Shadows for dark areas, or Highlights for bright zones.
2.5. Covering Shadows with the Clone Stamp Tool
When a shadow falls awkwardly—like a photographer’s tripod in a reflection—the Clone Stamp Tool is your fix.
- Alt/Option + Click to sample a clean area.
- Paint over the unwanted shadow, matching texture and lighting direction.
- Combine with the Healing Brush Tool for smoother blending.
2.6. Adding a Shadow
Sometimes adding a shadow can make an object stand out—especially for virtual staging or digital overlays.
- Go to Layer Styles → Drop Shadow to apply the effect.
- Match angle and softness with other shadows in the image to maintain realism.
- Adjust opacity so the shadow supports the design without overpowering it.
2.7. Use Luminosity Masks for Advanced Shadow Adjustment
For advanced editors, luminosity masks allow you to target only the shadow areas without affecting highlights or midtones.
- Create masks based on tonal ranges.
- Apply curves, levels, or color corrections selectively.
- Ideal for balancing contrast between indoor and outdoor light sources in the same shot.
3. Final Thoughts
As you explore these shadow adjustment techniques and the wide array of editing options at your disposal, you’ll realize the power shadows hold in real estate photography editing. They can be leveraged to add, remove, reduce, or intensify visual elements. The secret lies in recognizing their potential and planning the desired outcome beforehand, aiming for a realistic shot. So go ahead, experiment with shadows and see the amazing results!
