
How to Stage a Kitchen for a Perfect Photoshoot 2025
.png)

Share:
Table of Contents
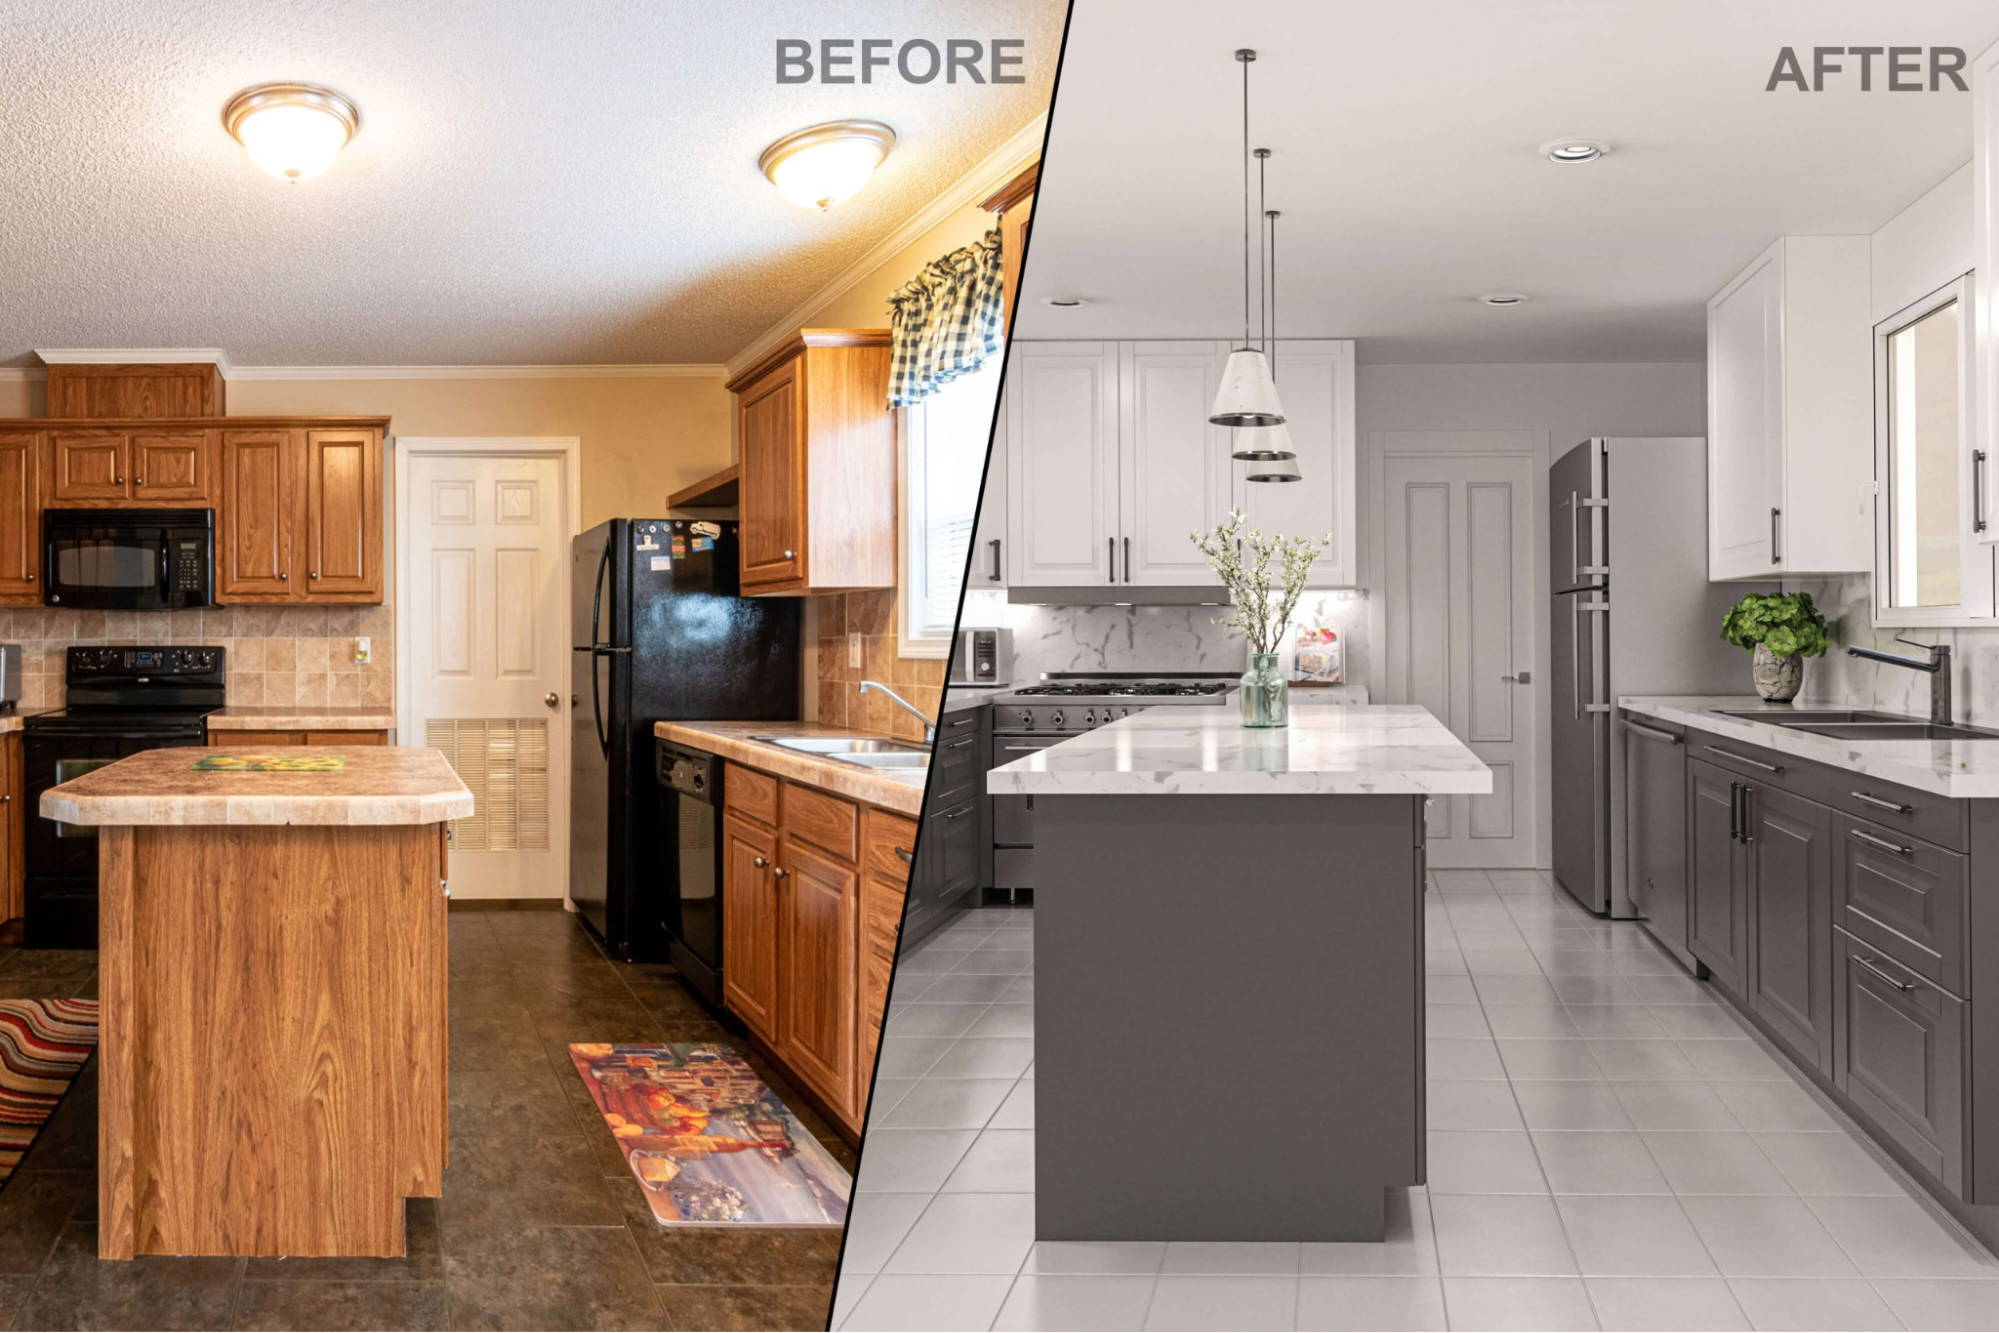
Staging a kitchen for a photoshoot is essential for capturing the heart of your home in its best light. A well-staged kitchen not only enhances visual appeal but tells a story that resonates with viewers. From meticulous cleaning to thoughtful styling choices, every element plays a crucial role in achieving that perfect shot.
1. Preparing the Space: Clean, Declutter & Deep Clean
Before staging your kitchen, the first step is to clean, declutter, and deep clean every corner. A spotless kitchen creates the perfect backdrop for a photoshoot. Start by wiping down countertops, backsplashes, cabinet fronts, and appliances, ensuring no grime or fingerprints remain. Clean surfaces reflect light better and make the space look more polished.
Decluttering is equally important. Remove unnecessary items and keep only the essentials for the shoot. Aim for a clean, organized space, and consider using decorative storage solutions to hide smaller items without losing style. This will help create a welcoming atmosphere for potential buyers.
Finally, deep clean overlooked areas like the refrigerator, oven, and floors. A fresh, shining kitchen conveys care and quality. Refresh rugs and ensure every corner is spotless to radiate warmth and comfort in your photos.
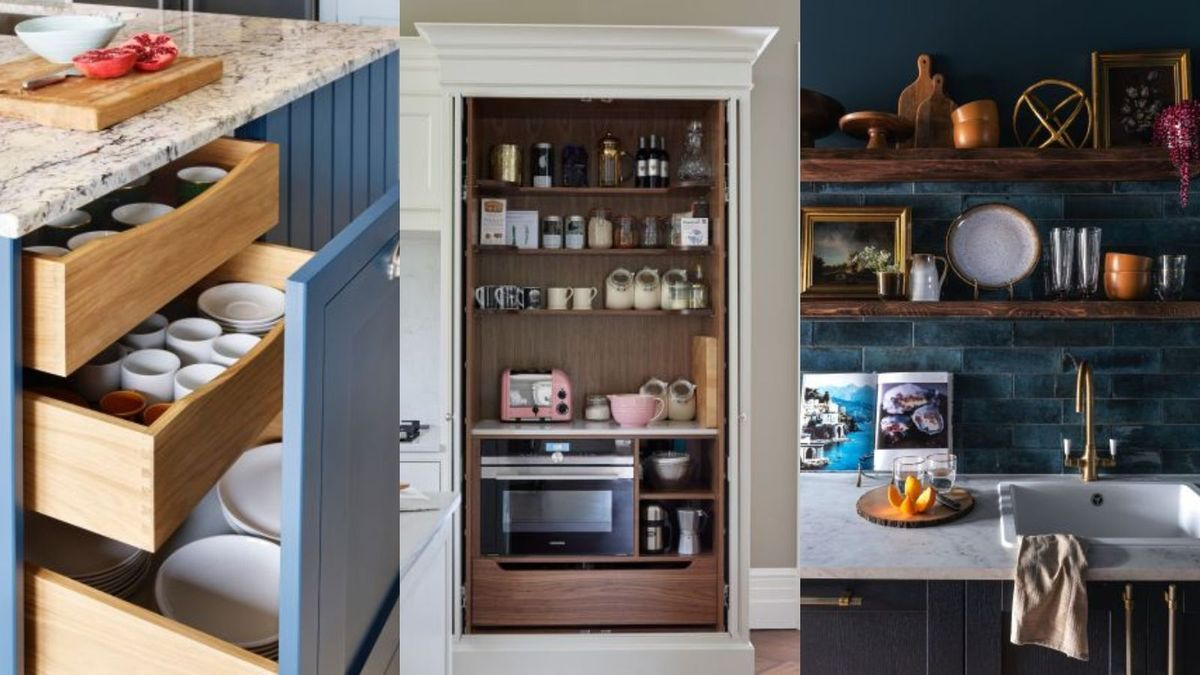
2. Organizing and Styling Key Zones
After your kitchen is clean and decluttered, focus on organizing and styling key zones that genuinely represent the functionality and aesthetic appeal of the space. A thoughtfully styled kitchen not only looks good but also conveys a sense of purpose and livability.
- Creating a Cooking Zone: Highlight clean appliances, complemented by fresh herbs, oils, or colorful pots that adding vibrancy and an inviting feel.
- Designing a Prep Zone: Use elegant knives, wooden cutting boards, and bowls of fruits or vegetables. Incorporate natural materials like bamboo or slate for a cohesive, stylish look. Personal touches, such as a recipe box, can add warmth.
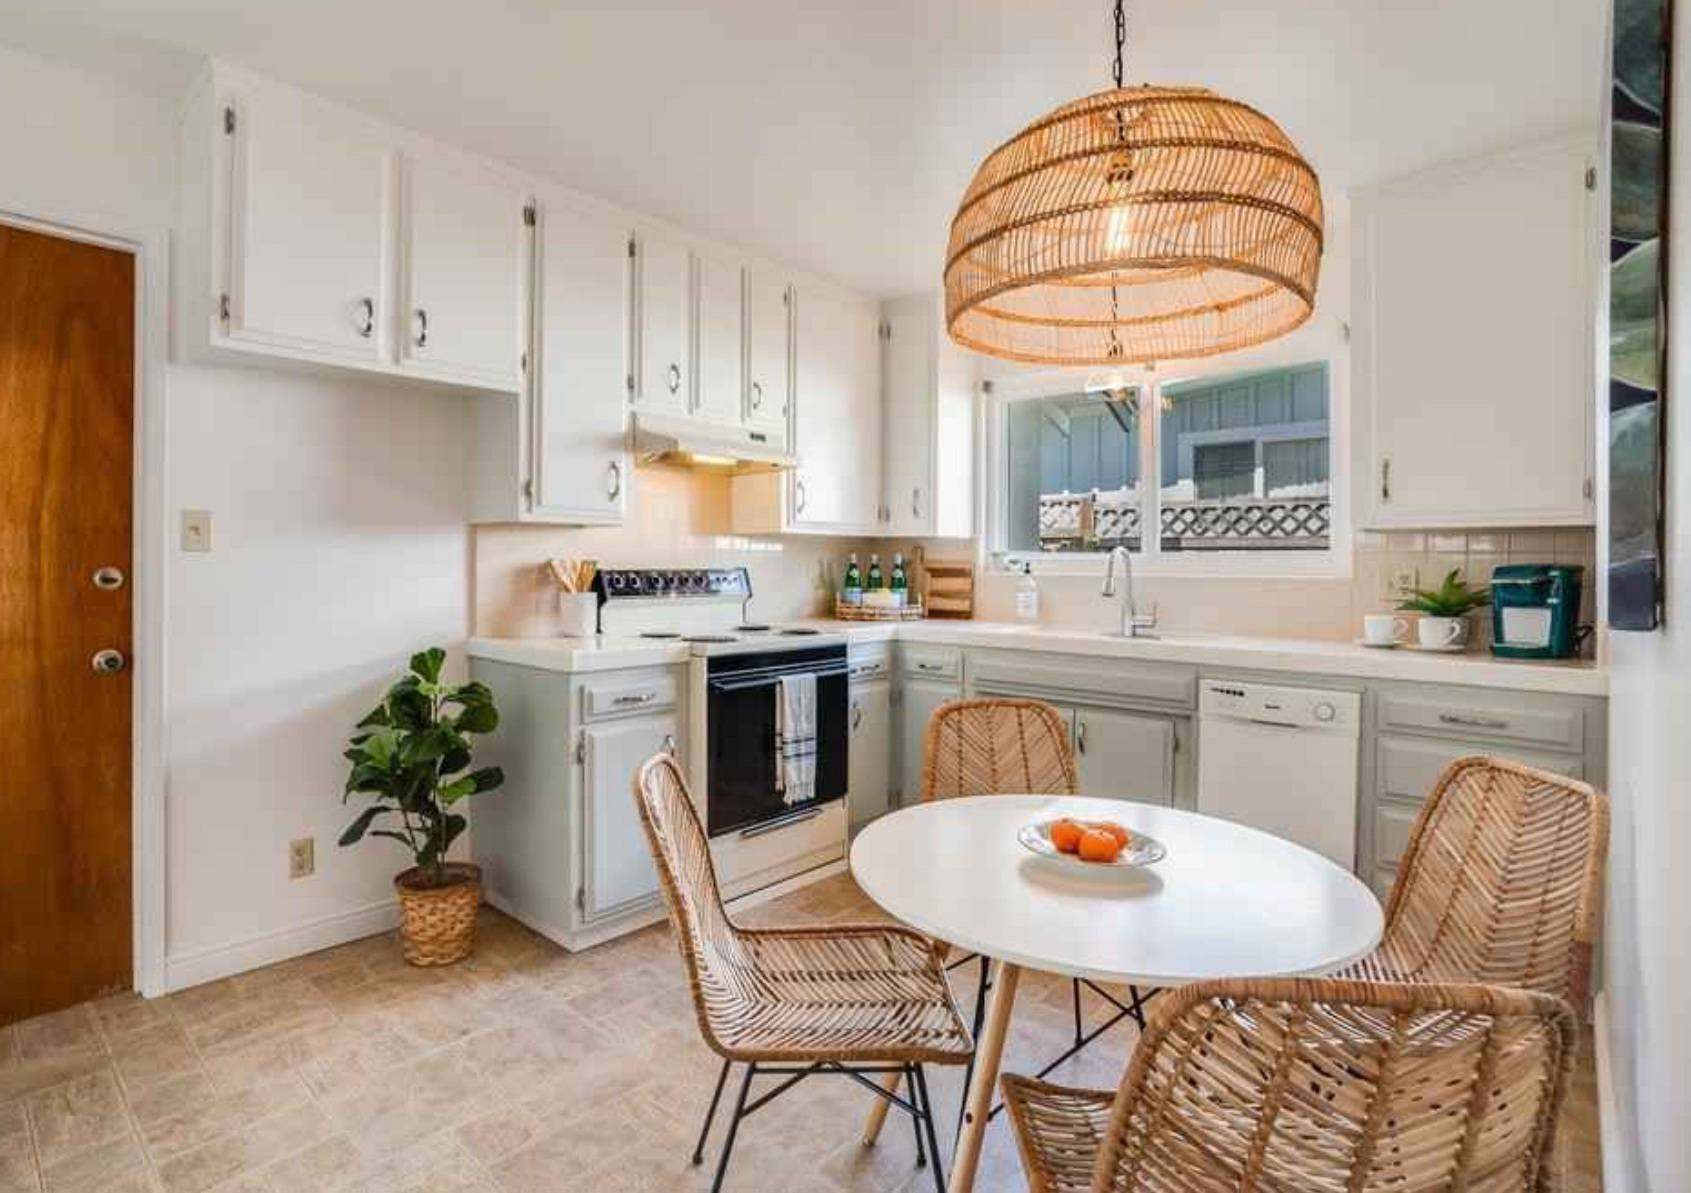
3. Enhancing Lighting and Ambiance
Lighting plays a pivotal role in any photoshoot, especially in a kitchen. Not only is good lighting essential for capturing flattering images, but it can influence the overall mood and ambiance of the space.
Maximize Natural Light
One of the simplest yet most effective strategies for enhancing your kitchen's lighting is to maximize natural light. Start by opening curtains and blinds, inviting sunshine to brighten the space.
Cleaning windows ensures that no grime blocks the flow of light, while removing screens can also aid in creating a more inviting view. The goal is to create a soft, warm glow that captures attention and enhances the kitchen's appeal.
Supplementing with Warm LED Bulbs
While natural light is ideal, it may not always be sufficient, particularly during early mornings or late evenings. Invest in warm LED bulbs to supplement; they can mimic the inviting warmth of daylight and create a cozy atmosphere.
Consider under-cabinet fixtures that cast gentle light over countertops, emphasizing their visual appeal, and creating a practical workspace. Remember, lighting doesn't just illuminate; it can dictate how viewers perceive the space.
Avoiding Harsh Contrasts
When setting up lighting for photo editor for real estate, it’s crucial to avoid harsh contrasts that can create unflattering shadows or overly bright areas. Aim for soft, even illumination, which can enhance the beauty of architectural features and styling details.
Gradually layering lights,such as pendant lights, wall sconces, and task lighting can help create a more serene ambiance that feels inviting and lends itself to a relaxing environment. Balance is key to ensuring that the kitchen shines in its best light.
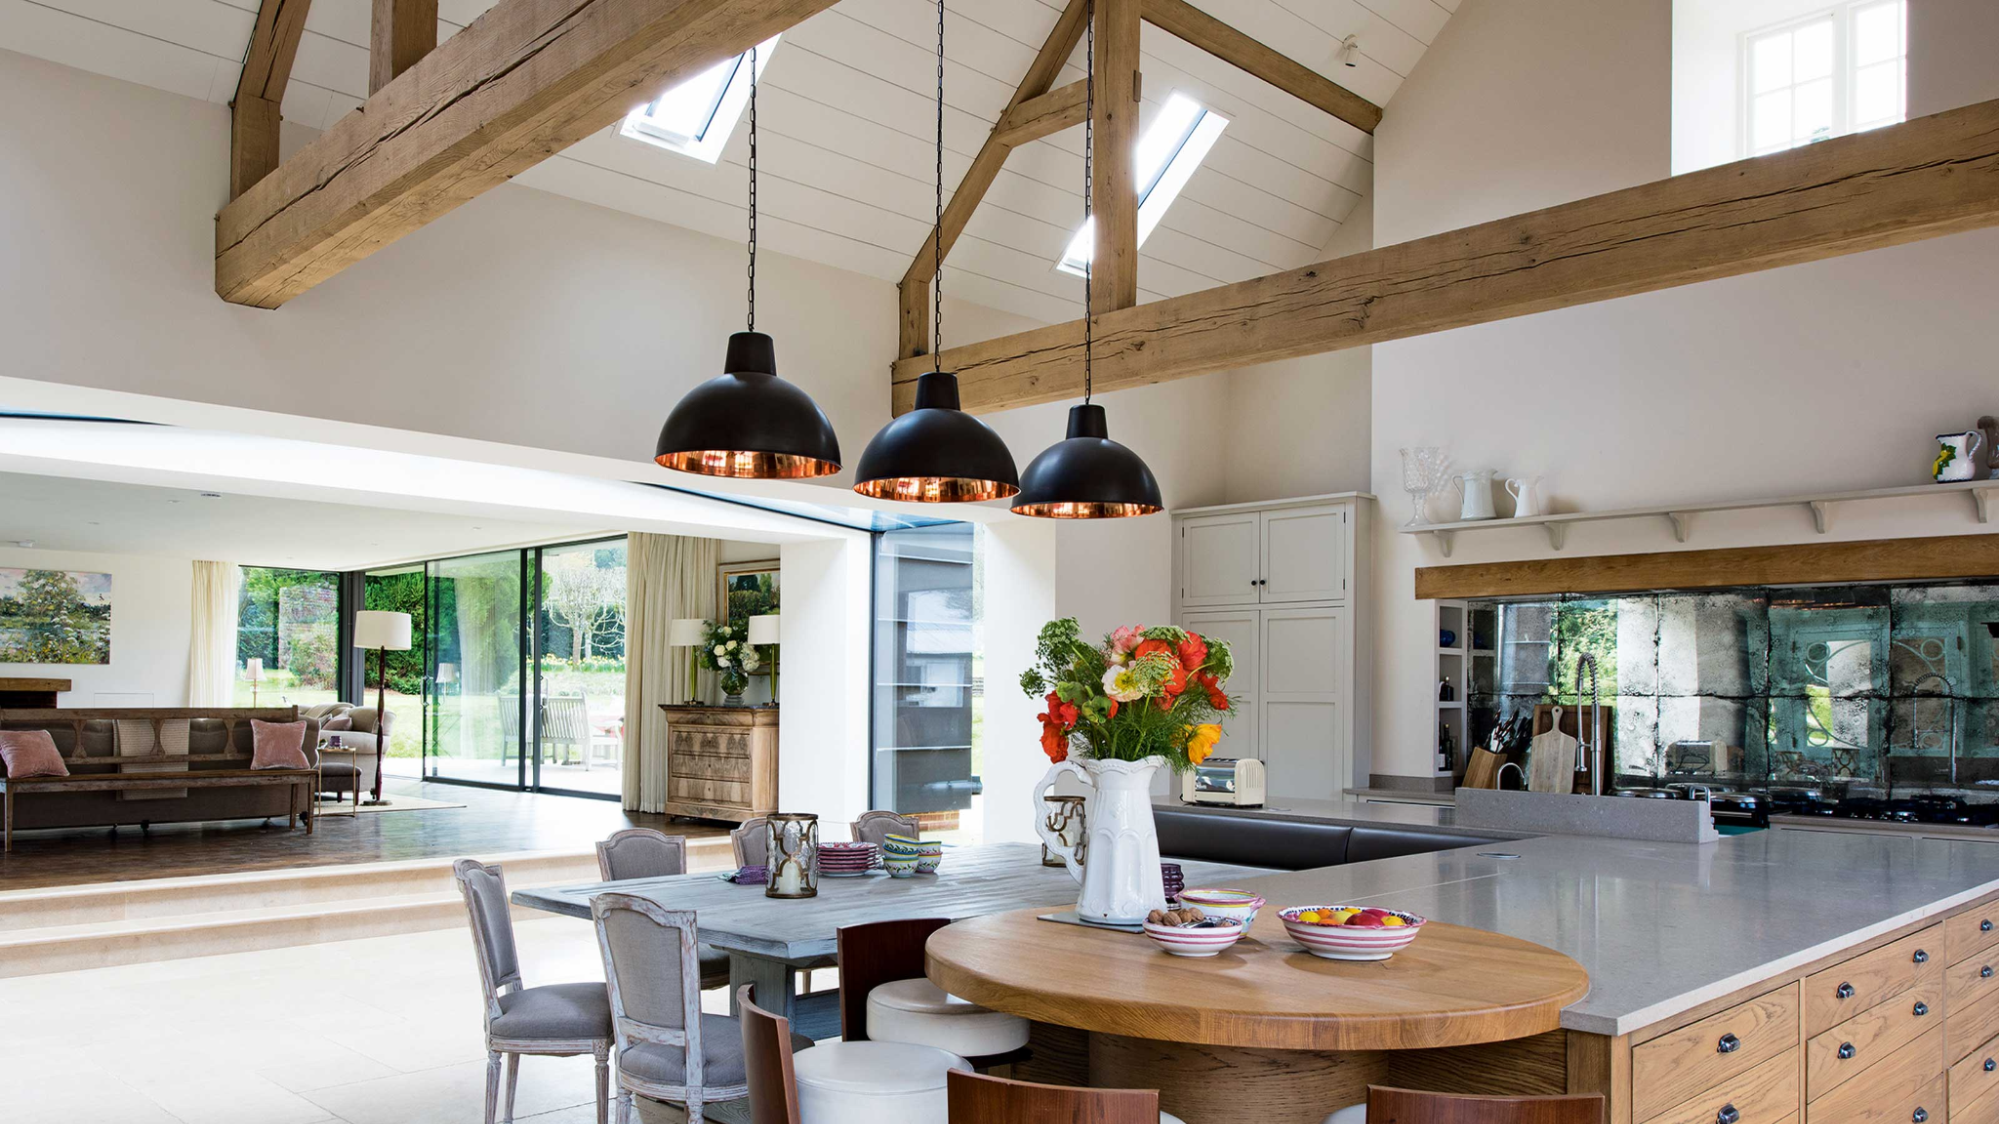
4. Highlighting Architectural Features and Clean Lines
A well-designed kitchen often has unique architectural features that should be showcased in your photoshoot, such as statement backsplashes, crown molding, or open shelving. Start by identifying these distinct elements and focusing on how to accentuate them in your photos. Use angles that highlight these features to convey the style and depth of the kitchen.
In addition to architectural details, clean lines can create a sense of organization and sophistication. Whether it’s sleek cabinetry or minimalist shelving, emphasizing these clean lines enhances the overall aesthetic. Symmetry and balance can be achieved by styling the space with complementary items, reinforcing the visual appeal.
Make sure to incorporate focal points in your staging, such as a standout hood vent, a beautiful island, or eye-catching countertops. Position these features so they naturally draw the viewer's attention. By combining architectural highlights with organized styling, you create a compelling, well-balanced image that reflects both the beauty and practicality of the kitchen.
5. Styling Details and Prop Use
While the major elements of your kitchen can make a significant impact, it’s the smaller styling details that can really bring your photos to life. Thoughtful prop use can transform a standard kitchen into an enviable haven that potential buyers or followers will wish to emulate.
Use Elegant Props
Incorporate elegant props that not only serve a purpose but also enhance the aesthetic appeal of your kitchen. Items like stylish cutting boards, charming crocks for utensils, or aesthetically arranged cookbooks can create layers of interest.
Choose props that either resonate with your kitchen's design style or add a touch of contrast that looks purposeful rather than chaotic. For example, a rustic wood cutting board can harmoniously shine against a sleek, modern countertop.
Choosing Clean, Visually Appealing Appliances
Only display clean, visually appealing appliances that serve to enhance the kitchen’s beauty. Outdated or bulky appliances should be put away to prevent them from cluttering your composition.
Consider color coordination, where your appliances complement the overall color palette of the kitchen. Well-chosen appliances can serve as both functional elements and statements of style,think chic mixers, beautiful toasters, or elegant coffee machines.
Group Accessories Logically
Grouping accessories logically takes your styling up a notch. Position a stylish tray with oil and pepper mills beside a crock filled with utensils, for instance. Utilizing thoughtful arrangements can create a visually appealing layout that feels organized yet inviting.
To ensure that the kitchen does not feel overcrowded, focus on incorporating only a few meaningful props that contribute to the storytelling of the space. Using minimalism as a guide can enhance your kitchen's beauty effectively, allowing the essential elements to shine through.
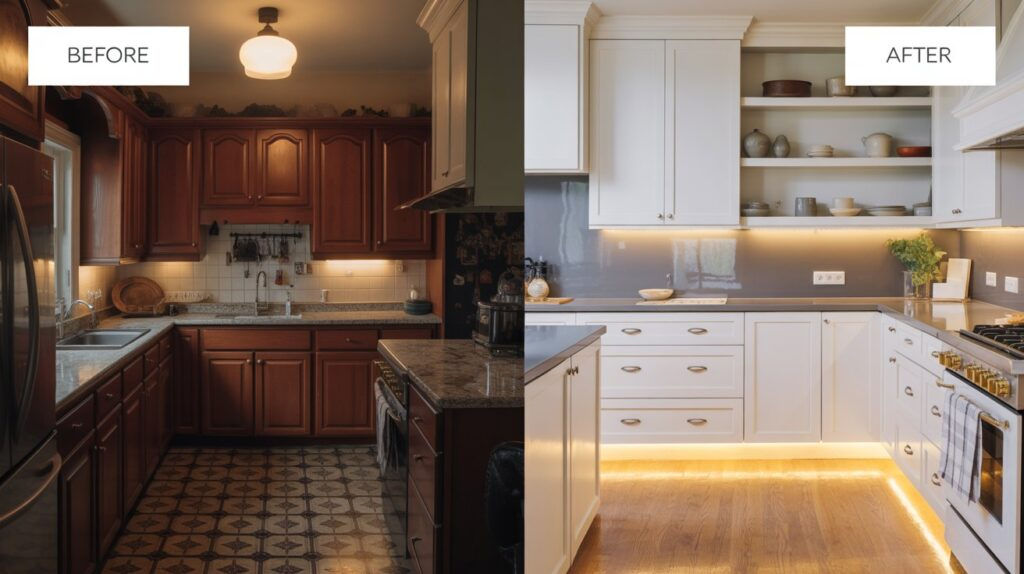
6. Final Touch: Professional Photo Editing for Maximum Impact
After staging your kitchen, the next step is to ensure your photos capture its best features. Professional real estate photography editing can elevate your images by enhancing lighting, adjusting colors, and refining textures. Editing removes distractions and creates a polished image, helping your kitchen stand out to potential buyers or social media followers.
Techniques such as adjusting brightness, contrast, and color correction highlight your kitchen’s best aspects. HDR imaging can also add depth and detail for a more captivating effect. Before sharing, review the edited images to ensure consistency and quality. A well-edited photo leaves a lasting impression, ensuring your staging efforts shine.
Conclusion
Staging a kitchen for a perfect photoshoot combines cleanliness, organization, and thoughtful styling. At Fotober, we help highlight your kitchen’s beauty by using strategies like decluttering, maximizing natural light, and strategically placing props. Effective staging transforms your kitchen into a captivating space where viewers can envision themselves, making it both functional and visually appealing.
Related posts
Las Vegas Virtual Staging: Best Platforms to Enchant Your Listings
July 23, 2026

Best Austin Real Estate Photography Options for Perfect Listing Photos
July 22, 2026
Best Aperture for Real Estate Photography: The Range for Sharp Photos
July 18, 2026

Short-Term Rental Photography: Shoot & Edit Photos That Gain Bookings
July 17, 2026
