
How to Make & Shoot Real Estate Videos That Attract More Buyers

Share:
Table of Contents
- 1. Why real estate videos matter more than ever in 2026
- 2. Real estate video editing preparation: What to plan before you shoot
- 3. Essential equipment to make & shoot real estate videos
- 4. How to shoot footage for real estate video editing (Step-by-step)
- 5. How to make a real estate video with iPhone (Beginner workflow)
- 6. From real estate video raw footage to high-impact final video
- 7. Why professional real estate video editing helps you sell faster
- 8. Why agents and photographers choose Fotober
- Conclusion
As the property market today is heavily driven by visuals, knowing how to make real estate videos could be a breakthrough for your listings. Professional real estate videos could show the property in its best light, gaining more leads and help agents sell faster, at higher prices.
The following step-by-step instructions will provide real estate agents with practical and powerful methods for shooting, editing and making videos stand out, even without any expensive gear.
1. Why real estate videos matter more than ever in 2026
Video marketing has fundamentally reshaped how buyers discover and evaluate properties. Today’s buyers often spend up to two hours watching real estate videos before deciding whether a home is worth visiting in person. For many, virtual tours have become the first and most influential step in the buying journey. This shift underscores why understanding how to make real estate videos is now valued much more than a nice-to-have for agents who want to remain competitive in modern, digital-first markets.
From the buyers’ perspectives, professional videos make listings stand out among crowded online results. Virtual property tours pre-qualify buyers, saving time for both agents and prospects by generating interest before in-person showings occur. Commercial-grade videos are especially valuable for relocation and out-of-state buyers, who rely heavily on visual content to build confidence and make informed decisions remotely.
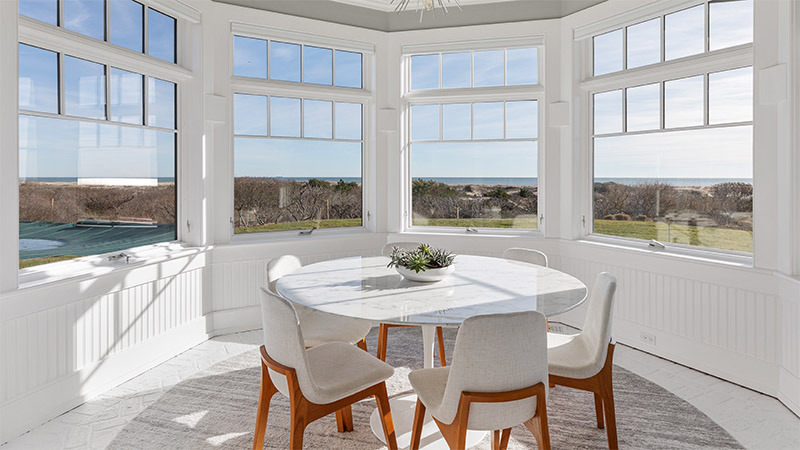
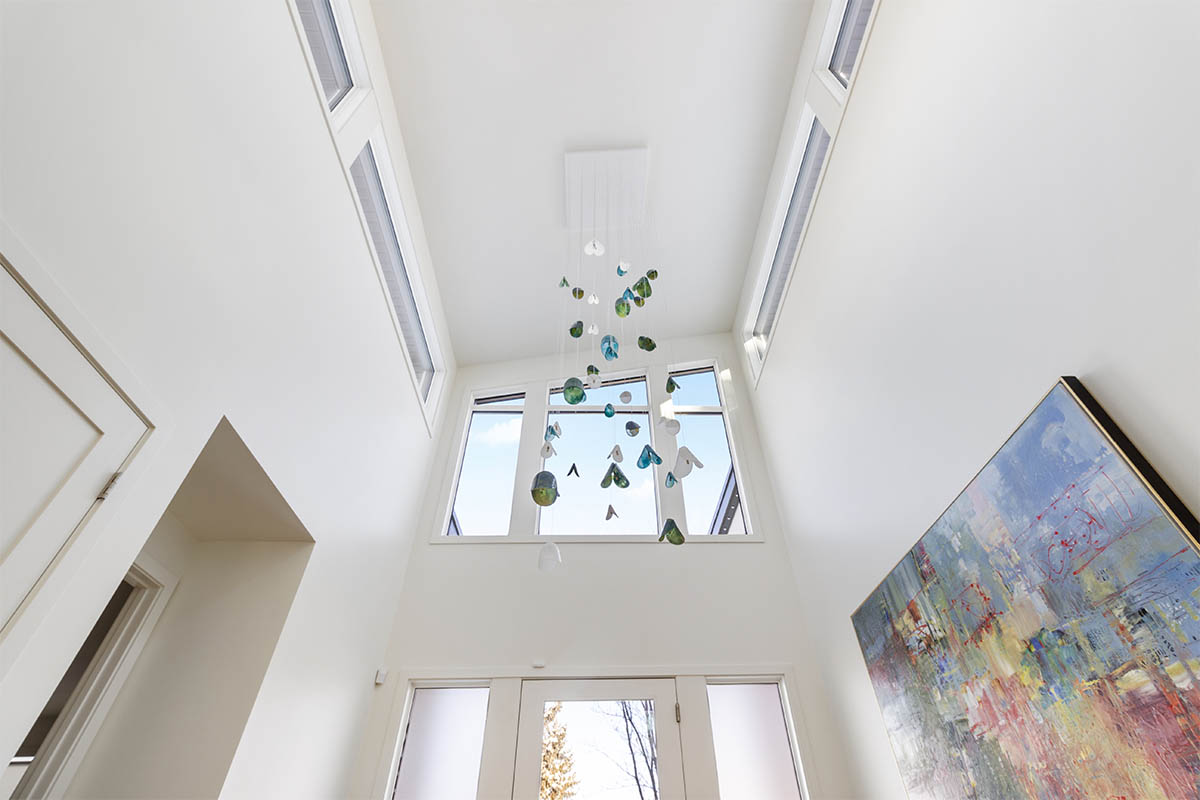
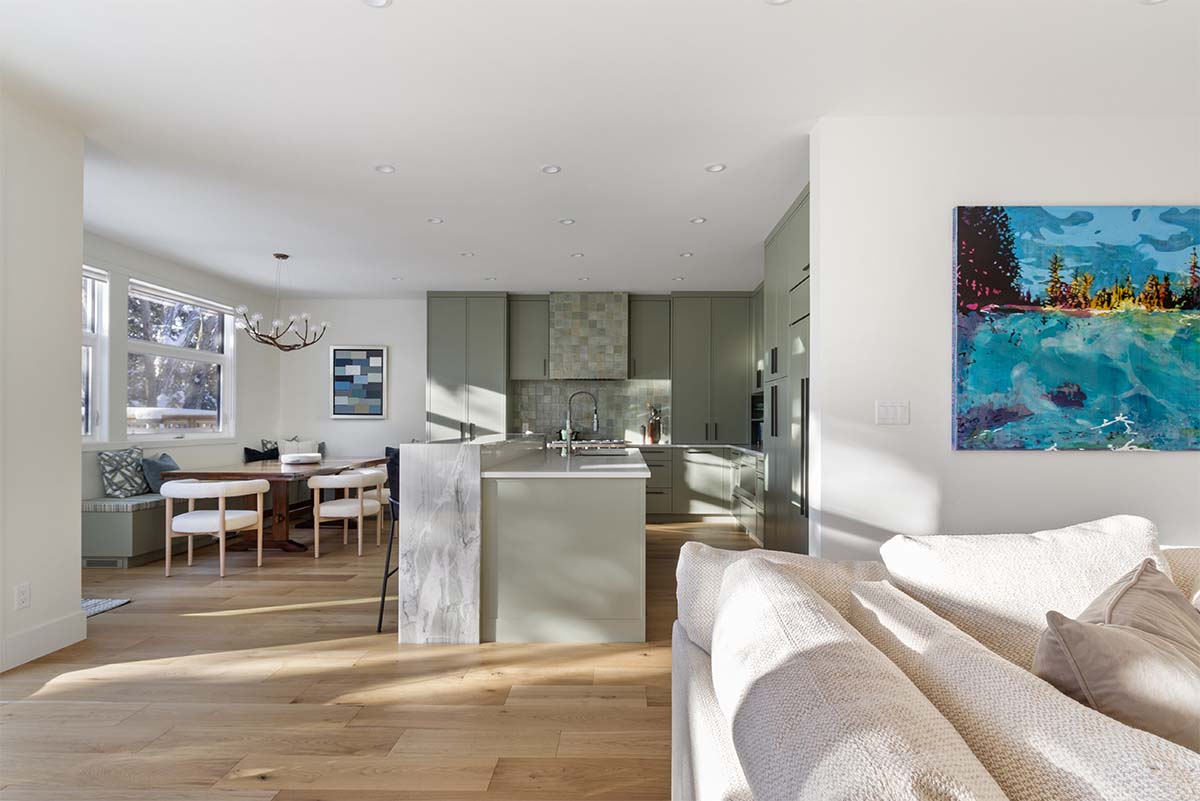
 Real estate videos highlight the true value of your property.
Unlike static photography, real estate videos create livelier emotional engagement. Smooth camera movement, purposeful pacing and sequencing help viewers imagine themselves living in the space. A well-crafted walkthrough can clearly demonstrate flow and functionality, while aerial footage places the home within its surrounding neighborhood and lifestyle context. The immersive and comprehensive nature of real estate videos provides buyers with a thorough, detailed view, which establishes integrity and trust in a way that photos can't.
Video content also delivers exceptional marketing versatility. A single high-quality property video can be revamped across listing websites, social media platforms, and email campaigns. Short-form clips can be optimized for Instagram Reels and TikTok, while longer, detailed tours appeal to serious buyers further along in the decision process, maximizing return on every shoot.
However, many agents struggle with common real estate video mistakes that limit effectiveness. These include poor lighting that dulls interiors, shaky or rushed camera movement, inconsistent color balance, distracting background noise, and a lack of clear storytelling. Other frequent issues involve overlong videos with no structure, missing calls to action, or non-compliance with MLS branding rules, which are mistakes that can reduce visibility or lead to content removal.
Mastering the fundamentals and avoiding common pitfalls when learning how to make real estate videos is what separates average property videos from high-converting real estate marketing assets.
2. Real estate video editing preparation: What to plan before you shoot
Once you understand why real estate videos are an essential part of the selling process, the preparation steps to create the best quality video include defining the purposes of your video and making a real estate video footage checklist. As commonly practiced by most renowned filmmakers, a meticulous, well-calculated approach to every scenario yields the best results.
2.1. Define the purpose of your real estate video
Before pressing the record button, one of the most critical steps in how to make real estate videos effectively is defining the purpose of the video. The goal you set upfront will determine everything that follows, from how to shoot footage for video editing, shooting style and camera movement to video length, pacing, and post-production decisions. Failing to clarify the objective in advance is one of the most common real estate video mistakes, often resulting in unfocused footage that doesn’t convert.
 Making the objective clear is crucial to steer the filming process towards effective results
For a listing video, the primary goal is to evoke interest quickly. These videos should be visually engaging, emotionally appealing, and focused on the property’s strongest selling points.
A branding video, on the other hand, is about building trust and personal connection. The shooting approach should emphasize the agent’s presence, professionalism, and message rather than detailed room-by-room coverage.
A social media teaser requires a completely different mindset. These videos are short, fast-paced, and designed to “stop the scroll" on platforms like Instagram and TikTok. Strong opening shots, dynamic movement, and concise storytelling are essential to spark curiosity and drive viewers to longer content.
For a full walkthrough or real estate video tour, the goal is immersion. These videos are meant to replicate an in-person showing as closely as possible, requiring a clear shooting plan, smooth transitions between spaces, and a logical flow that helps viewers understand layout and functionality.
2.2. Build a real estate video footage checklist
A professional real estate video begins before the camera starts recording. However, according to observations by real estate marketing experts, many agents seem to underestimate the importance of planning while learning how to make real estate videos. An organized shot list and storyboard is essential, not only to stay on schedule, but to guarantee full coverage of the four core components of every high-performing property video: Exterior & neighborhood, entry & main flow, lifestyle shots, and key selling points.
The video should begin with exterior and neighborhood coverage, as first impressions set the emotional tone for the entire viewing experience. Clean facade shots, curb appeal angles, and drone footage establish location, surroundings, and lifestyle context. Highlighting nearby streets, waterfronts, parks, or community amenities helps buyers immediately understand where the property sits within its environment.
Next, the focus should shift to the entry and main flow of the home. The transition from exterior to interior must feel natural and inviting, guiding viewers through the primary living spaces in a logical sequence. A clear sense of flow allows buyers to understand layout, scale, and how rooms connect, transcending the limitations of still images.
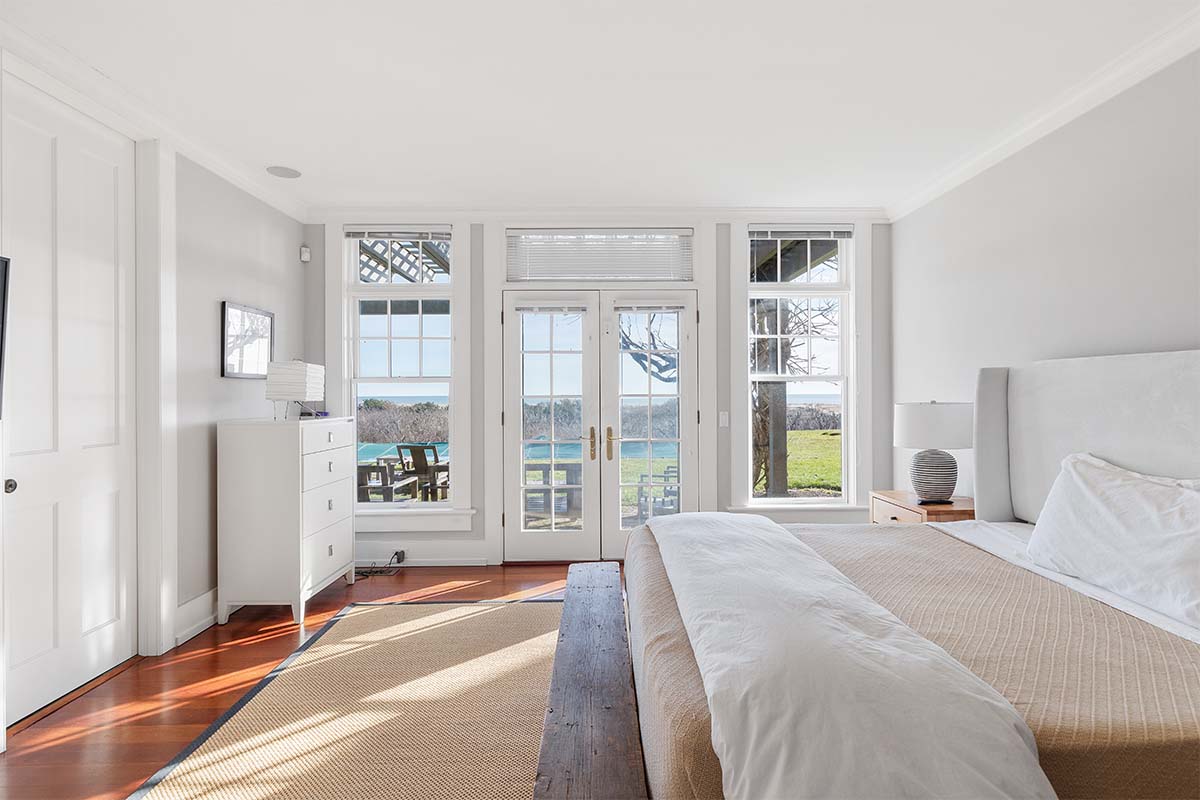
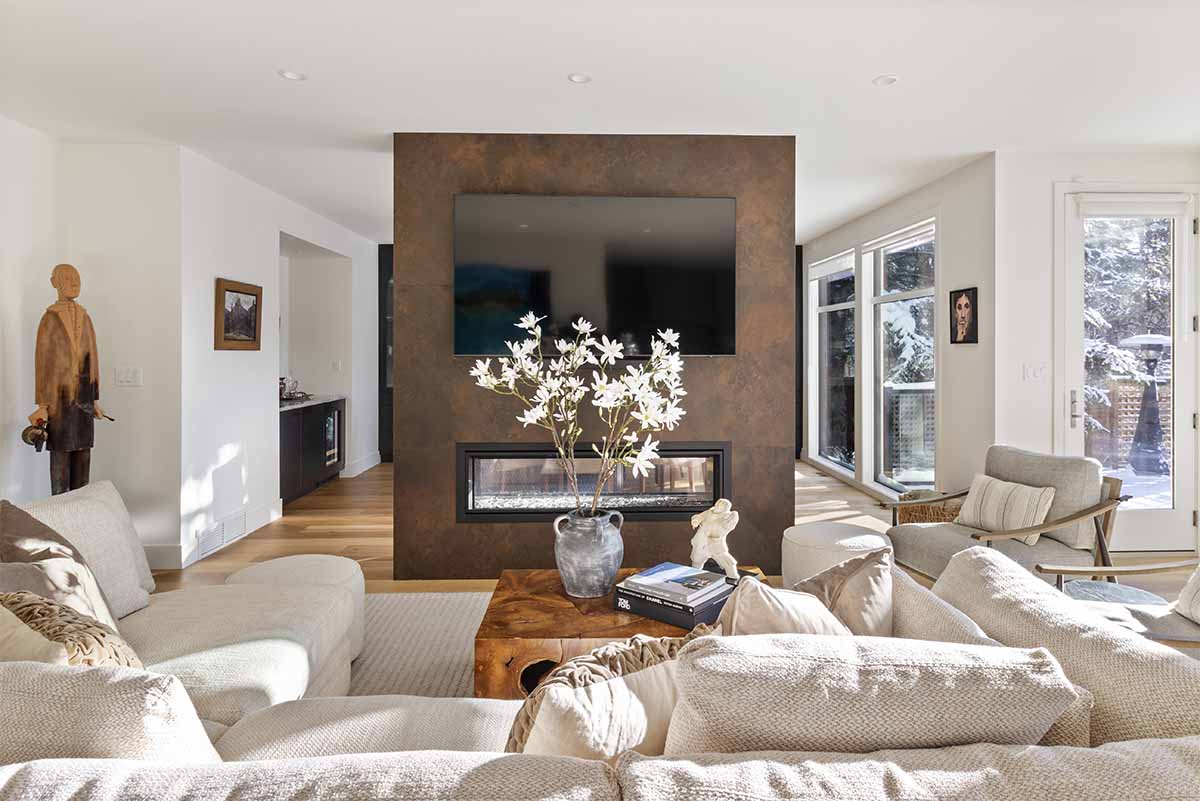
Lifestyle shots elevate the video beyond a simple walkthrough. These shots emphasize how the home is lived in rather than how it looks. Capturing moments such as light filling the living room, doors opening to a backyard, or a slow pan across an outdoor entertaining area helps viewers imagine themselves in the space and form an emotional connection.
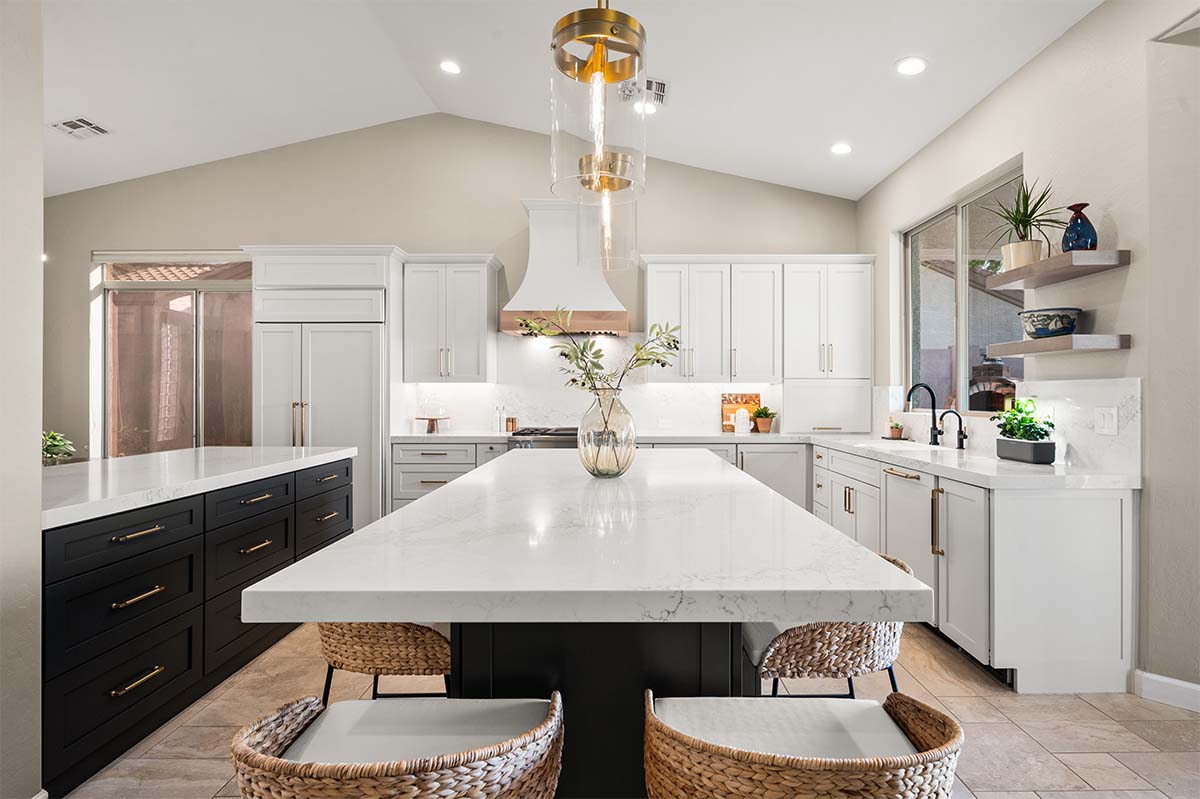
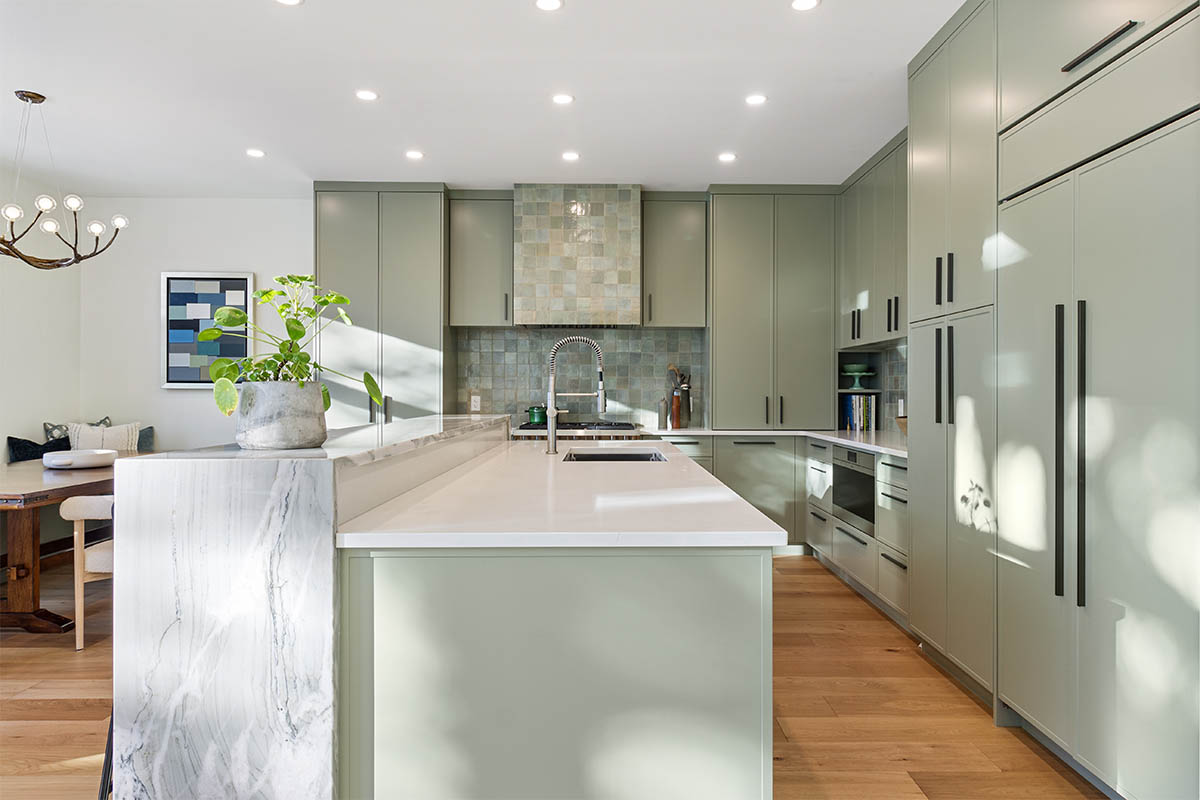
Finally, the video must clearly highlight the key selling points, the features that differentiate the property from others on the market. This may include a renovated kitchen, waterfront views, high-end finishes, smart home features, or unique architectural details. These elements should be given extra screen time and thoughtful framing to reinforce value.
 Prepare the scene to make sure it’s ready to be filmed
Preparation of the property in advance is of equal importance. Tidy-up and proper lighting set clear expectations for homeowners and significantly improve visual quality. Simple actions such as clearing outdoor spaces, removing personal items, and moving vehicles from the driveway can noticeably elevate the final video.
Scheduling should account for weather, lighting, and environmental noise. Exterior and drone footage should be shot under optimal conditions, while off-peak hours reduce traffic and interruptions. Twilight shots, in particular, require precise timing to capture the ideal golden-hour look. A brief technical scout beforehand, including checking power access, identifying lighting challenges and testing difficult areas, helps prevent last-minute issues and ensures a smooth shoot day.
Shoot day real estate video footage checklist suggestion:
- Check the weather forecast
- Confirm access details and timing
- Test all equipment and charge batteries
- Review shot list and timeline
- Check sunrise/sunset times for the most flattering light.
3. Essential equipment to make & shoot real estate videos
Choosing the right equipment is a major headache for many agents when learning how to make real estate videos, especially given the wide variety of needs and budgets. The following part is dedicated to showcasing options to optimize the quality of your video products at the most suitable cost.
3.1. Camera options (DSLR, mirrorless, iPhone)
Knowing how to shoot footage for video editing requires appropriate investments to cameras and stabilization gear. High-end cameras and gimbals could make it easier to capture smooth, cinematic footage for commercial needs, but if your budget doesn't allow for it, just an iPhone will be sufficient.
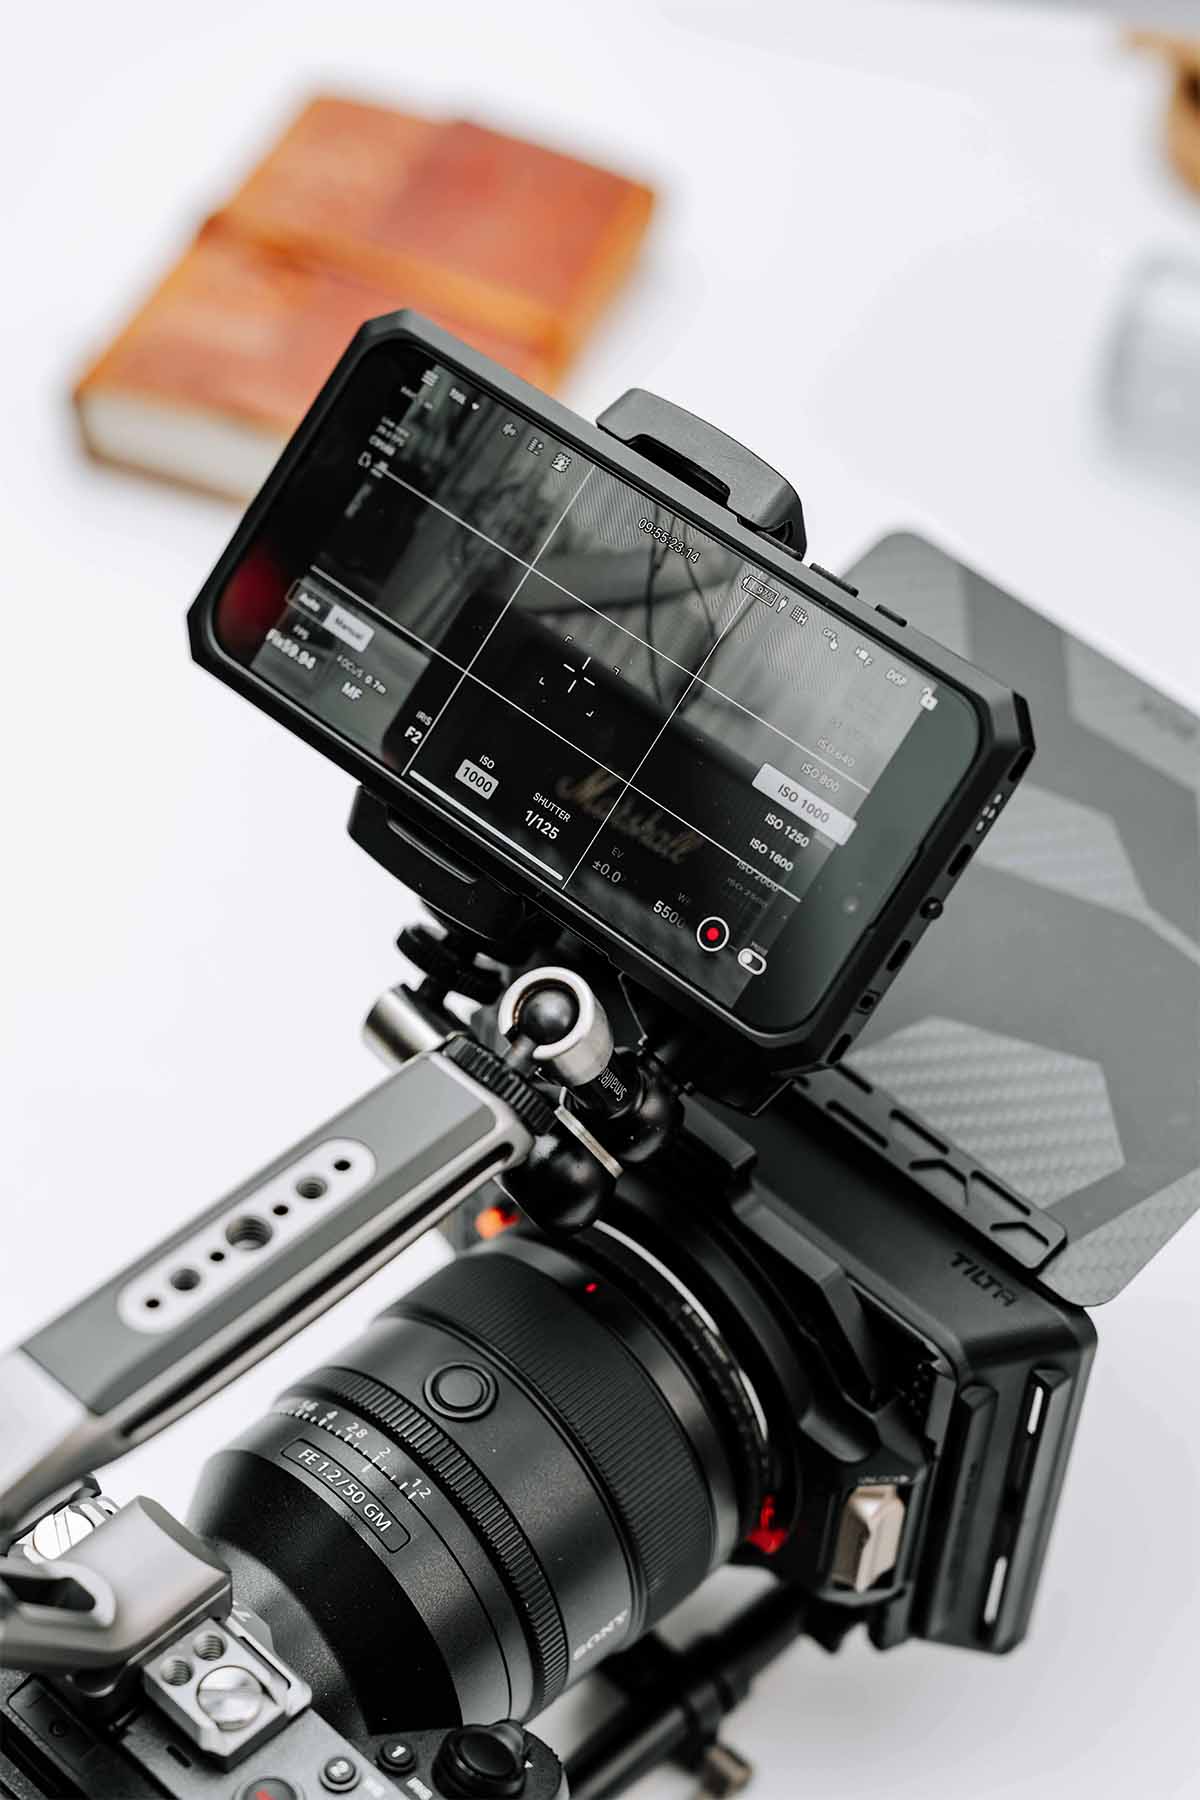
The camera body is the deciding factor when it comes to video quality. Most videographers now are leaning toward mirrorless systems for their advantages in carrying weight and the latest technologies.
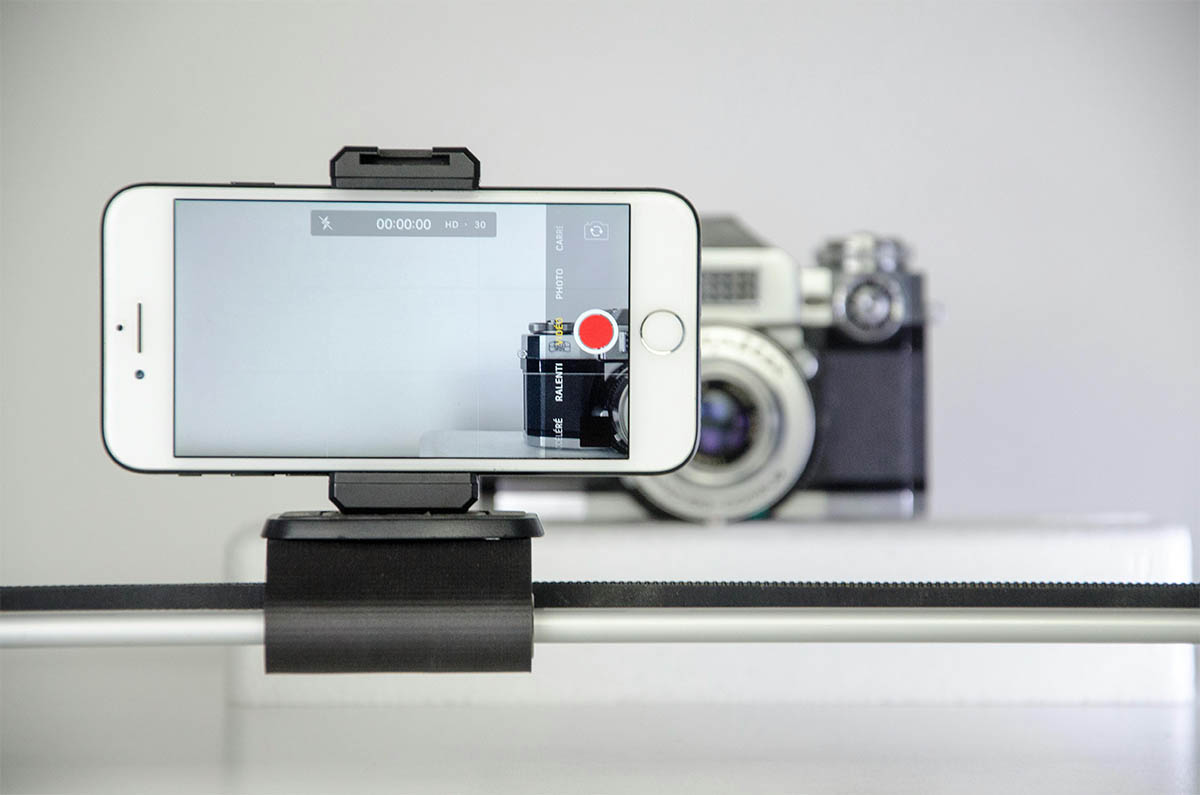
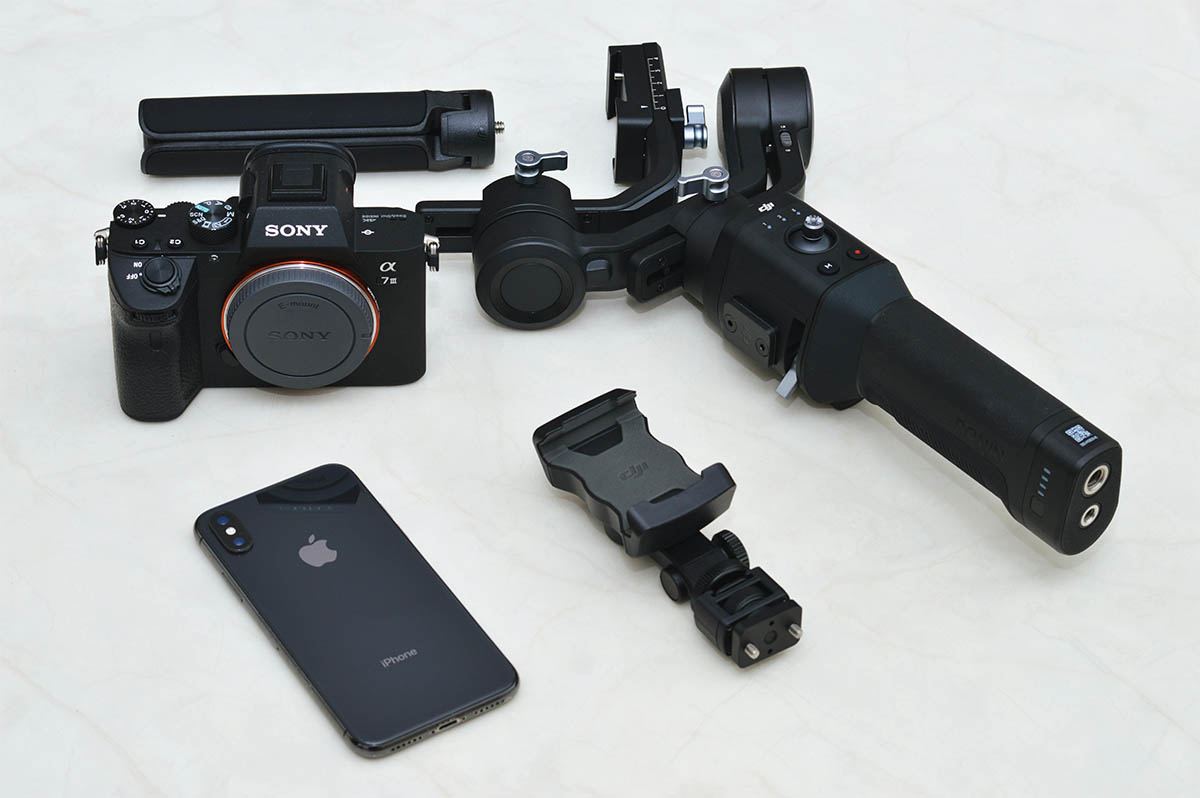 Real estate videos could be shot with common equipment like cameras and iPhones
- Mirrorless: Models like the Sony A9 series and Canon EOS R5 Mark II are among the fastest autofocus cameras and are packed with up-to-date advanced video features. Mirrorless systems have an edge over DSLRs for their compact size, superior processing speed and new features like 10-bit video & Log recording, which open more possibilities for real estate video raw footage to be surgically edited. However, they are also priced much higher than traditional cameras, especially when coupled with professional lenses.
- DSLR: Canon 5D Mark IV and Nikon D850 remain solid choices, offering professional video color and excellent details. DSLR systems also allow for wider choices of more affordable optics, ranging from 16-35mm wide-angle lenses to standard 24-70mm zoom lenses. On the other hand, DSLR is known for its bulkiness, lack of convenient video features, and being less responsive compared to modern cameras.
- iPhone (11 or newer): if minimal equipment size or spending are your main concerns and technical aspects of professional cameras complicate the filming process too much for your liking, iPhones might be viable choices. With features like 4K video recording, optical image stabilization, and ProRes recording, iPhones are more than capable of delivering acceptable property walkthroughs. One of the biggest advantages is their multi-lens systems, which allow for wide and ultra-wide shots - ideal for showcasing spacious interiors and full property views. The iOS interface is also intuitive for users of all skill levels to frame shots, adjust settings, and shoot video confidently, even if you haven’t known how to make real estate videos. However, phone footage could be harder to edit as the details captured are more limited compared to full-fledged cameras and lenses.
3.2. Stabilization, lighting & audio basics
Based on my experience evaluating successful real estate videos that help homeowners sell their properties at a higher price, steady motion is the definite solution to make real estate videos look professional.
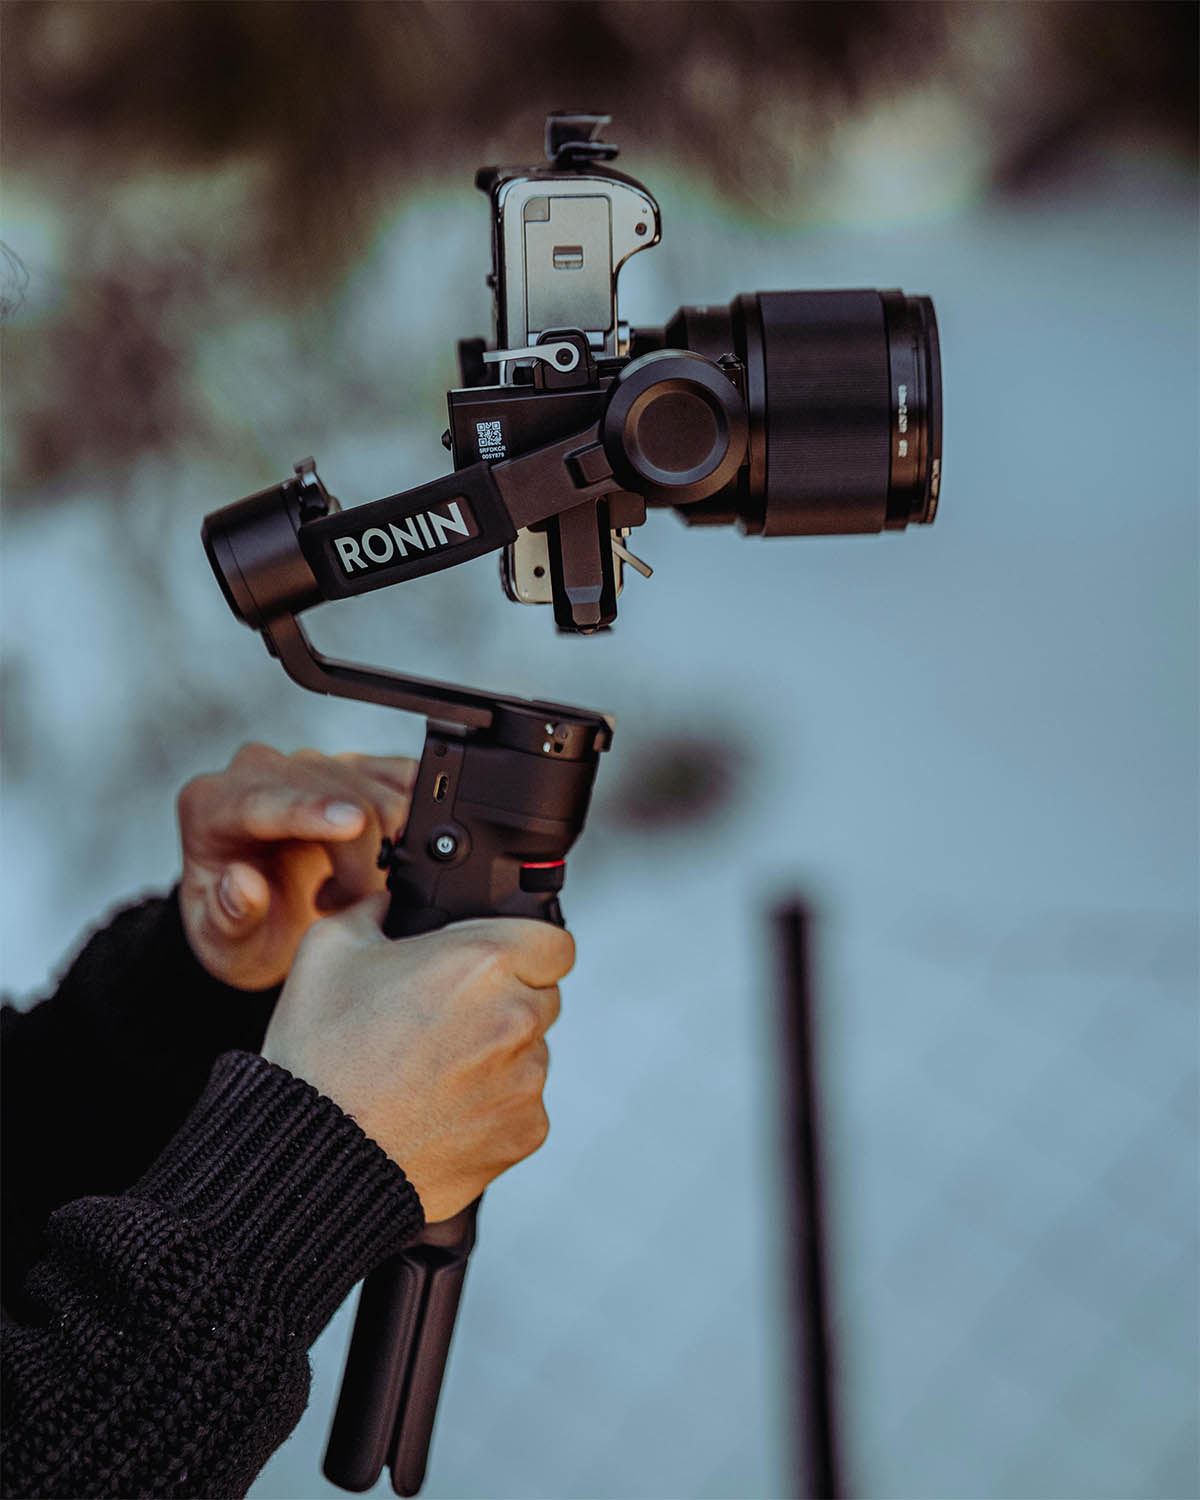
- Gimbals: The cornerstone stabilization equipment of every serious videographer. Gimbals like DJI RS 4 and Zhiyun Crane 4 have made it easier to capture smooth footage that is perfect for revealing shots. When choosing a gimbal, look for options that are compact but can still fully handle your camera and lens setup so you can easily maneuver through tight spaces within the property.
- Tripod: The foundation for professional-looking video. Fluid head tripods such as SmallRig AD-01 allow for stable continuous panning, frequently used in room reveal shots, creating a stable, locked-off shot.
- Camera Sliders: Sliders (e.g., Rhino ROV Pro) add cinematic movement exactly like how dolly shots were implemented in movies. They are ideal for smooth lateral movements across kitchen countertops or bathroom vanities, adding depth in tight spaces.
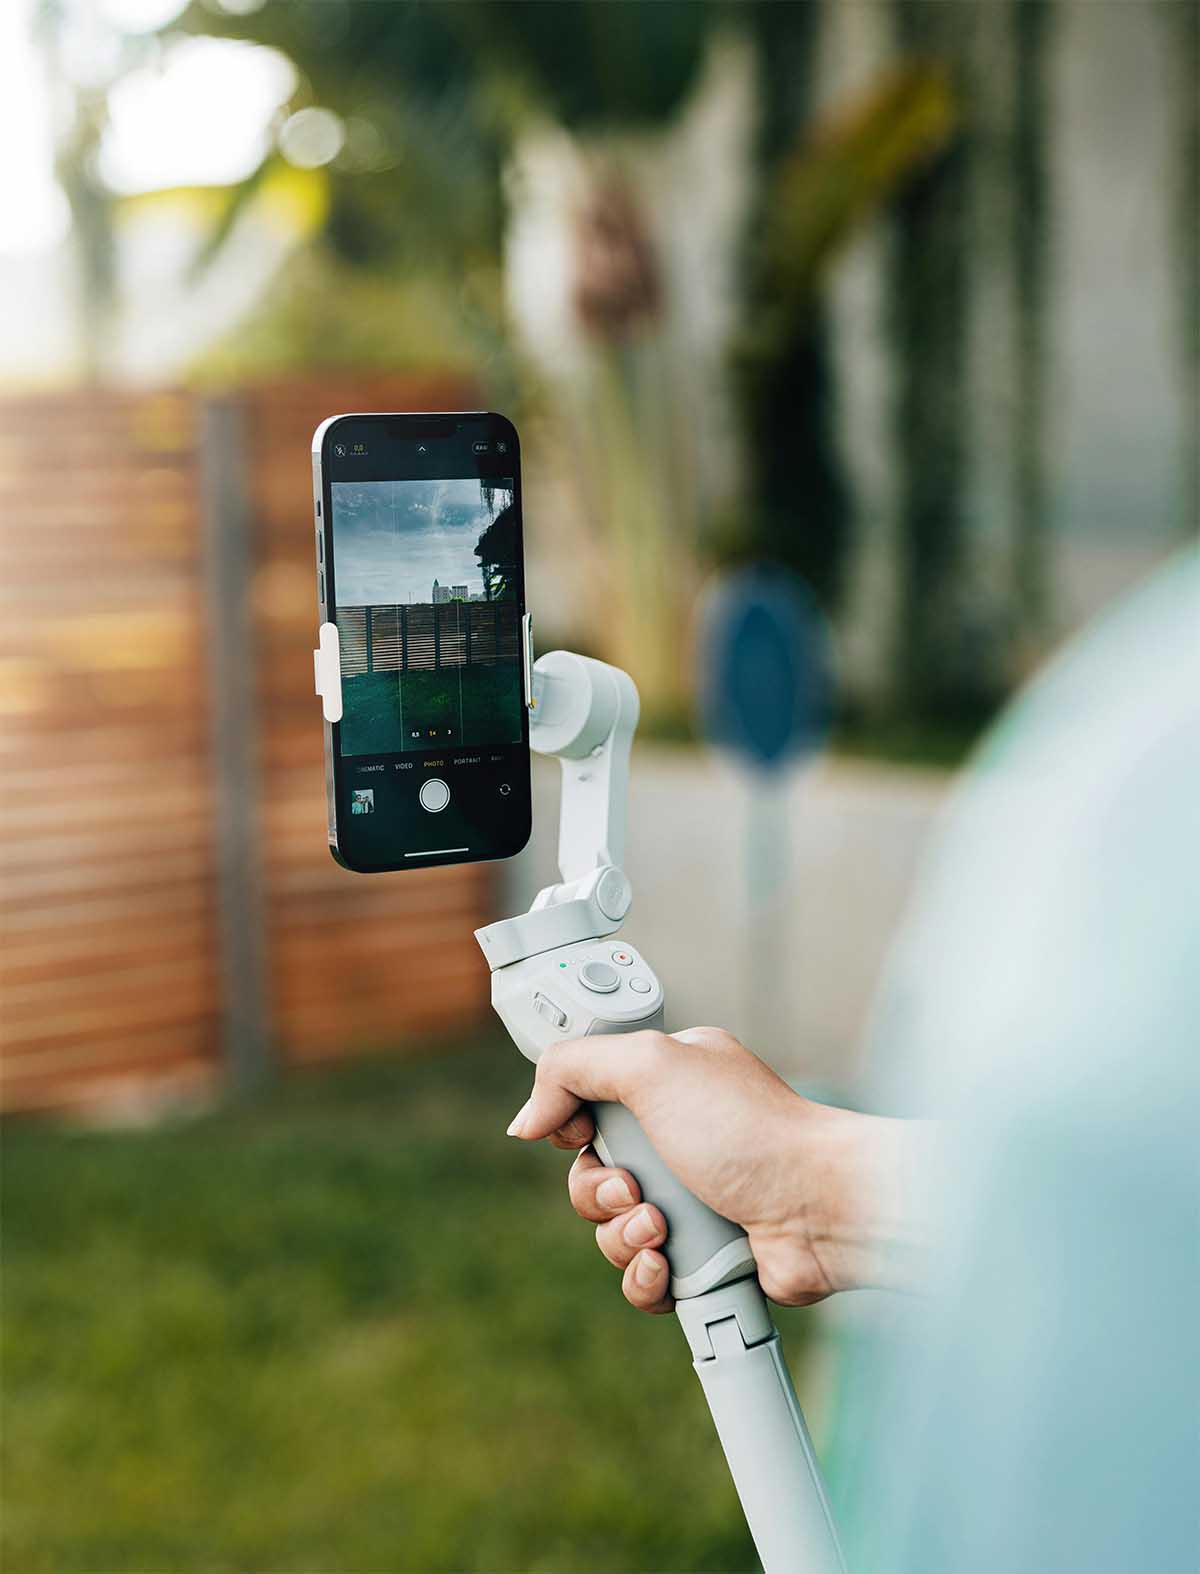
 Proper stabilization could make phone footage look professional
Lighting is the soul of every photo and video. When paired with tasteful camera movements, lighting can lead to cinematic real estate video in the editing process.
Natural light will be of incredible value when you know how to make real estate videos transform into breathtaking visual stories. Photographers and videographers should open blinds and curtains to take advantage of existing light sources when filming interiors. Also, find a working position to make the best use of light that accentuates architectural features.
You could use some fill lights to complement, but not to overpower natural light. Affordable LEDs from Godox or Zhiyun can gently fill shadows and balance exposure between indoor and outdoor areas. Bouncing light off white walls, ceilings or using a reflector such as a piece of white cardboard can help re-direct light into dark corners, ensuring that the entire space is evenly-lit. making spaces appear larger and more inviting.
 Natural light with supporting artificial light brings the most elegant result
Real estate videos can shine on their own, but will surely get more authentic and intimate if agents add their own narration to them. Audio quality may also have a lasting impression on your potential buyers, especially when it’s beneficial to explain certain features as you showcase the property. An external microphone that significantly enhances audio quality by reducing background noise and capturing voices with emotional nuances can be found cheaply from every manufacturer, like DJI, Boya, Saramonic or Rode. It’s preferable to use a lavalier microphone or a shotgun mic with a wireless connection to record while filming with ease, allowing agents to move freely and not have to deal with distracting cables in the real estate video raw footage.
4. How to shoot footage for real estate video editing (Step-by-step)
With proper planning and equipment, you are now ready to learn how to make real estate videos that pique buyers’ interests and increase the value of the house. This not only requires practice but also demands aesthetic senses to understand the property and express it through moving frames.
4.1. Camera movements that feel natural & cinematic
Camera movements must be carefully calculated with clean transitions to establish the cinematic feel. Keep the camera at chest height to create a natural viewing perspective. Practicing movements at least three times before recording could result in more consistent shots. Slow push and graceful movements without any shaky motion allow viewers to grasp spatial relationships between rooms instead of getting distracted by visual noise.
 Shots and transitions must contribute to the overall vision of the video
4.2. Composition, lighting & flow
Strong real estate video composition relies on the alignment of architectural elements. Keep vertical lines (door frames, windows, walls, etc.) straight, maintain consistent camera height, and apply the rule of thirds mixed with center composition to highlight key features naturally. When filming interiors, begin with a wide establishing shot to introduce the room, then transition to medium shots that showcase functionality, followed by close-ups of premium details. This layered approach creates clarity and visual interest.
 Solid fundamental composition makes the video pleasing to viewers’ eyes
While natural light is favorable, it can bring unwanted harsh contrast, crushed shadows, overblown highlights or make backlit objects appear too dark on the scene if not controlled. If some spots are either too bright or dark, consider shooting smoother transitions between rooms and utilize supporting light sources to minimize noticeable exposure differences.
Movement speed should resemble the viewing experience of an in-person property tour. Walkthroughs should flow naturally from one space to the next, allowing viewers time to take in every room's layout and scale. Handy techniques like counting to five during transitions can help maintain consistent pacing.
4.3. Common real estate video editing preparation mistakes to avoid
While everyone can get the hang of how to make real estate videos, it might be challenging to pay attention to flaws in the process. One of the most common mistakes in making real estate videos is focusing too much on filming and not enough on making a real estate video footage checklist. Poor lighting, shaky footage, and inconsistent color balance can instantly make a property feel smaller or less appealing than it actually is.
 There are many common errors when making real estate videos
Many videos also suffer from jerky camera movements, which prevent viewers from focusing on specific details, or from overly long runtimes that dilute attention instead of guiding it. Other common real estate video mistakes include ignoring audio quality, using distracting or unlicensed music, failing to highlight key selling points, and lacking a clear narrative structure. Marketing-wise, missing calls to action and overlooking MLS compliance, such as including agent branding in videos meant for MLS, can limit exposure or even result in content removal. Avoiding these mistakes and constructing your video with a clear plan is essential for creating professional, high-converting real estate visuals.
5. How to make a real estate video with iPhone (Beginner workflow)
Even with just an iPhone, you are still more than capable of producing visually appealing videos that represent your real estate. The result all comes down to understanding your phone, its abilities and limitations to compensate properly when filming.
5.1. Preparing your iPhone for shooting
The resolution dictates the amount of detail that your video can capture. For real estate videos, it is strongly recommended to shoot in 4K. This setting is how to make real estate videos as rich in detail as they can be.
Make sure to change your resolution to 4K before shooting:
- Open the Settings app.
- Find “Camera”.
- Tap on “Record Video”, and select 4K.
Frame rates can noticeably alter how you perceive motions in your video. A frame rate of 30 frames per second (fps) is suitable for tutorials and general video production, while 60fps is recommended for faster-paced scenes, such as property walk-throughs. You can adjust the frame rate in the Record Video settings menu, although it’s advisable to keep it unchanged throughout the recording process to avoid any mismatch when editing.
 Appropriate settings must be configured before filming.
When recorded in high resolution and frame rates, video files can take up a lot of storage space. A shooting session can easily occupy up to 100GB of memory. You should choose a model with sufficient storage and remember to clean up the phone’s internal memory by backing up and deleting old files to make room for real estate video raw footage. This is a crucial step in real estate video editing preparation.
5.2. Best practices when shooting with iPhone
HDR (high dynamic range): Enabling HDR can help your video fare better in high-contrast situations, allowing it to capture most extreme light and shadow details. If the scene has a bright window and darker interiors, using HDR can help maintain balanced exposure.
Cleaning the iPhone camera lens: This small step could ensure optimal clarity for your footage. A fuzzy lens will hinder video quality, making the final result less appealing. Use a microfiber cloth to gracefully wipe the lens, removing fingerprints, dust, or any other smudges before shooting.
Shooting techniques: The way you capture footage can determine how captivating your final video turns out. For agents learning how to make real estate videos, start with wider shots of full rooms, outdoor spaces, or the surrounding neighborhood, and mix in some detailed shots of key attracting elements of the property. Be sure to keep the zoom function in check to avoid losing quality while emphasizing these standout details. This method helps viewers understand how the spaces connect and flow, resulting in a comprehensive property story.
 Some technical steps could greatly enhance the video output quality of iPhones
Movement brings a dynamic flair to your real estate videos. Walking through the space while filming can simulate an in-person tour. Use a gimbal to stabilize the shots and maintain smooth pans as you shift from one space to another. This keeps the video engaging and professional while giving potential buyers a sense of walking through the home.
5.3. Limitations of iPhone editing
While iPhones have made real estate video creation more accessible, they come with important limitations, especially when it comes to color grading capabilities and branding consistency. By default, iPhone footage is heavily processed through automatic HDR, sharpening, and color optimization. While this looks good on the phone screen, it significantly limits flexibility in post-production. Highlights can be clipped, shadows details lost, and colors “baked in,” making professional color grading difficult. Matching footage across different rooms, lighting conditions, or multiple listings becomes a challenge, often resulting in inconsistent tones and an amateur look.
 iPhone footage has its drawbacks compared to dedicated camera counterparts
Branding consistency is another major drawback. iPhone shooting often lacks standardized settings, lenses and profiles, meaning each video can look slightly different depending on who filmed it, the time of day, or even the phone model used. This makes it difficult for agents and brokerages to maintain a cohesive visual identity across listings. Without unaltered color reproduction, precise focal lengths and controlled exposure, editors have less leeway to apply uniform color styles and branded overlays. As a result, while iPhones are useful for casual social content, they often fall short for agents who want polished, brand-consistent real estate videos that scale across multiple listings and platforms.
6. From real estate video raw footage to high-impact final video
Although your raw footage may turn out great, the final video is where true property marketing value is created. Real estate video clips alone rarely tell a compelling story. They are disjointed and lack emotional direction. Through professional editing, storytelling transforms separated shots into a clear narrative that guides viewers from the exterior and entry flow to lifestyle moments and key selling points. Thoughtful pacing ensures each space is revealed at a natural, tour-like rhythm, giving buyers time to perceive the property on screen without losing attention.
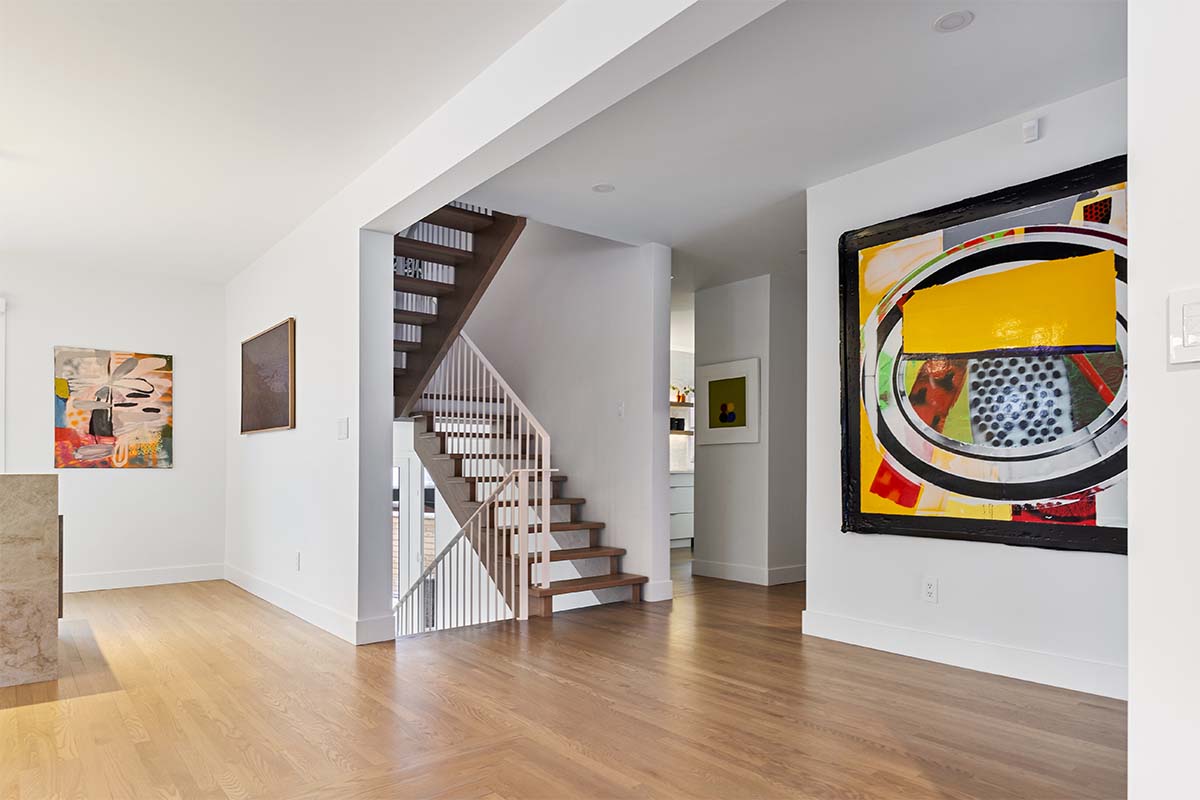 The final video is what truly matters when it comes to real estate video marketing
Advanced color grading corrects lighting inconsistencies, enhances natural tones, and creates a polished, cohesive impression across the entire video, while professional sound design with clean audio, balanced levels and licensed music adds emotional depth and credibility. Together, storytelling, pacing, refined color and sound elevate real estate video raw footage into a high-impact final video that captures attention, builds trust, and drives buyer action.
7. Why professional real estate video editing helps you sell faster
Professional video editing services are essential for modern real estate marketing, especially for agents and brokerages managing multiple listings. Outsourcing video editing saves valuable time for agents, allowing them to focus on client relationships, showings, and closing deals instead of spending hours editing footage. It also ensures brand consistency, as professional editors apply the same color style, graphics, and branding elements across every video, helping agents build a recognizable and trustworthy identity.
 Editing servíces transform your real estate footage into its best-looking version
As listing volume grows, professional editing makes it possible to scale content production efficiently without sacrificing quality or speed. Most importantly, it guarantees consistent quality, where every video meets the same professional standard regardless of property size, location, or shooting conditions. This reliability turns video marketing from a time-consuming task into a scalable, high-performing system.
8. Why agents and photographers choose Fotober
In today’s competitive market, cinematic real estate video editing requires far more than basic editing skills. It demands deep industry knowledge, technical expertise, and a clear understanding of how buyers actually consume property content. Fotober has positioned itself as a trusted partner in real estate video editing by knowing how to make real estate videos truly convert, helping agents and photographers turn raw footage into persuasive, market-ready property stories that drive engagement and results. Once you’ve filmed your video, you can upload your footage, and experienced editors can refine it to create a polished final product.
Fotober’s expertise goes beyond visual polish. The team understands specific requirements of real estate listings, such as MLS compliance, platform guidelines, and buyer behavior across listing sites and social media. Every video is delivered in both branded and unbranded versions, ensuring maximum exposure without risking MLS violations. At the same time, Fotober optimizes content for Instagram Reels, TikTok, YouTube, and property websites, aligning pacing, format, and storytelling with how modern buyers actually watch videos.
 Fotober is an established professional real estate video editing service
What truly sets Fotober apart is its ability to act as an extension of an agent’s or photographer’s team. By handling post-production end-to-end, Fotober saves time, ensures brand consistency across listings, and enables professionals to scale their video output without sacrificing quality. From professional color grading and smooth transitions to custom titles, soundtrack selection, aerial integration, and marketing-ready exports, every project is edited with precision and purpose. Ensuring fast turnaround times and consistent results, Fotober empowers real estate professionals to focus on what they do best: winning listings and closing deals while trusting their video marketing to experts who understand the business inside and out.
Conclusion
Learning how to make real estate videos is a great investment for your marketing. From planning thoroughly, understanding equipment, techniques, settings, camera movements, and professional real estate video editing, this tutorial walks you through every foundation for a competitive video.
If you want to make and shoot real estate videos without worrying about editing quality, Fotober is here to support your workflow.
Follow us on social media today for more interesting tips about making real estate videos, seeing our best works, and getting up-to-date information about our services!
- Facebook: fotobermedia.co
- Instagram: fotober_media
- YouTube: @Fotober.
Related posts

Double Your Booking: Airbnb Photography Tips for World Cup Host Cities
July 15, 2026
The Legacy of Sam Neill Real Estate: Vineyard & His Private Sanctuary
July 14, 2026

World Cup 2026 Host City Real Estate: Overview & Marketing Strategies
July 13, 2026
Most Common Photography Mistakes California Realtors Should Avoid
July 10, 2026
