




How to Make a Small Room Look Bigger in Photos: 10 Essential Tips
Share:
Table of Contents
- 1. The strategic power of perceived space in real estate photography
- 2. Pre-shooting preparation: Staging and architectural alignment
- 3. How to make a space look bigger?
- • 3.1. Using light and colors effectively
- • 3.2. Incorporating stripes and patterns
- • 3.3. Use of minimalistic, sleek furniture to create openness
- • 3.4. Using mirrors to reflect space
- • 3.5. Using wall murals and large art pieces
- • 3.6. Framing windows and using light curtains
- • 3.7. Creating pathways and open spaces
- • 3.8. Use of rugs to define separate zones
- • 3.9. Use wide-angle lenses to capture more space
- • 3.10. Post-processing: Enhance the sense of space
- 4. Critical errors: Common mistakes that shrink small spaces
- 5. Why and when professional photo editing is essential for maximizing sense of space
- 6. Conclusion
In real estate photography, perceived space can be just as powerful as actual square footage. Knowing how to make a space look bigger in photos is a key skill that helps properties stand out in listings, generate more interest, and increase viewing rates. With the right combination of strategic use of colors, lighting, furniture, lens choice, angles, and editing, even the smallest rooms can appear open, bright, and inviting. This guide will walk you through practical strategies to enhance spatial perception in every shot, and show you how Fotober can take your visuals even further.
1. The strategic power of perceived space in real estate photography
When prospective buyers view a 2D image on a smartphone or laptop screen, their brains attempt to reconstruct a 3D environment. If the edges of a frame are compressed, corners are dark, or furniture dominates the foreground, the brain translates that data as "claustrophobic."
1.1. Why spatial perception drives clicks, offers, and commissions
Learning how to photograph a small room to look bigger directly impacts key commercial real estate metrics:
- Higher click-through rates (CTR): Expansive thumbnail photos generate significantly more clicks on platforms like Zillow, Redfin, and Airbnb.
- Increased perceived value: Rooms that appear open and airy command higher perceived square-footage valuation.
- Shorter days on market (DOM): Properties with professionally captured, spatially optimized media sell up to 32% faster than those with amateur imagery.
[Visually Cramped Photo] ➔ High Bounce Rate ➔ Low In-Person Views ➔ Price Drops
[Architecturally Optimized Photo] ➔ High CTR ➔ Maximum Showings ➔ Faster Sale/Higher Value
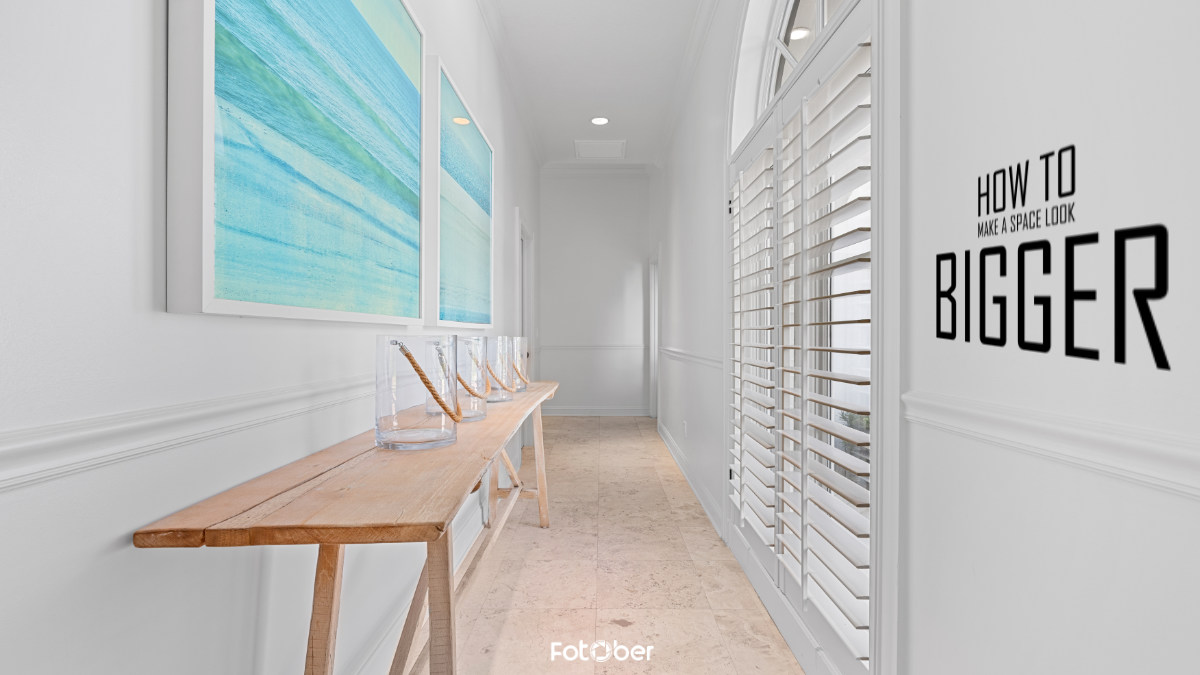
 Sometimes the answer to how to make a space look bigger lies right in the camera.
1.2. The architectural psychology of scale
Architects design spaces around sightlines, light transmission, and traffic flow. When photographing architecture, your camera sensor must replicate how the human eye naturally experiences space. Human visual perception relies on converging parallel lines (linear perspective), peripheral awareness, and light distribution to understand depth. By controlling these variables, you master the visual art of expanding perceived interior dimensions.
2. Pre-shooting preparation: Staging and architectural alignment
Before you even mount your camera to a tripod, the physical environment must be orchestrated. You cannot shoot your way out of a poorly staged room without solid preparation.
|
PRE-SHOOT PREPARATION CHECKLIST | |
|
Clear the floor: Expose maximal floor space to extend depth. | |
|
Open sightlines: Move high-backed furniture away from entryways. | |
|
Mirror placement: Angle reflections to bounce light into corners. | |
|
Open windows/blinds: Establish sightlines to the exterior horizon. | |
|
Unify color tones: Remove high-contrast visual stops. | |
2.1. Decluttering and visual line clearance
The single fastest way to shrink a room visually is to cover its surfaces. When learning how to make a small room look bigger, start by maximizing visible floor space.
- Expose the flooring: The human brain measures room size largely by calculating the uninterrupted visual area of the floor. Remove area rugs that break up the floor plane, clear away floor cushions, and tuck in dining chairs.
- Clear table tops and countertops: Adhere to the "rule of three." Leave no more than three decorative items on any surface. Clear away cables, small appliances, and personal items.
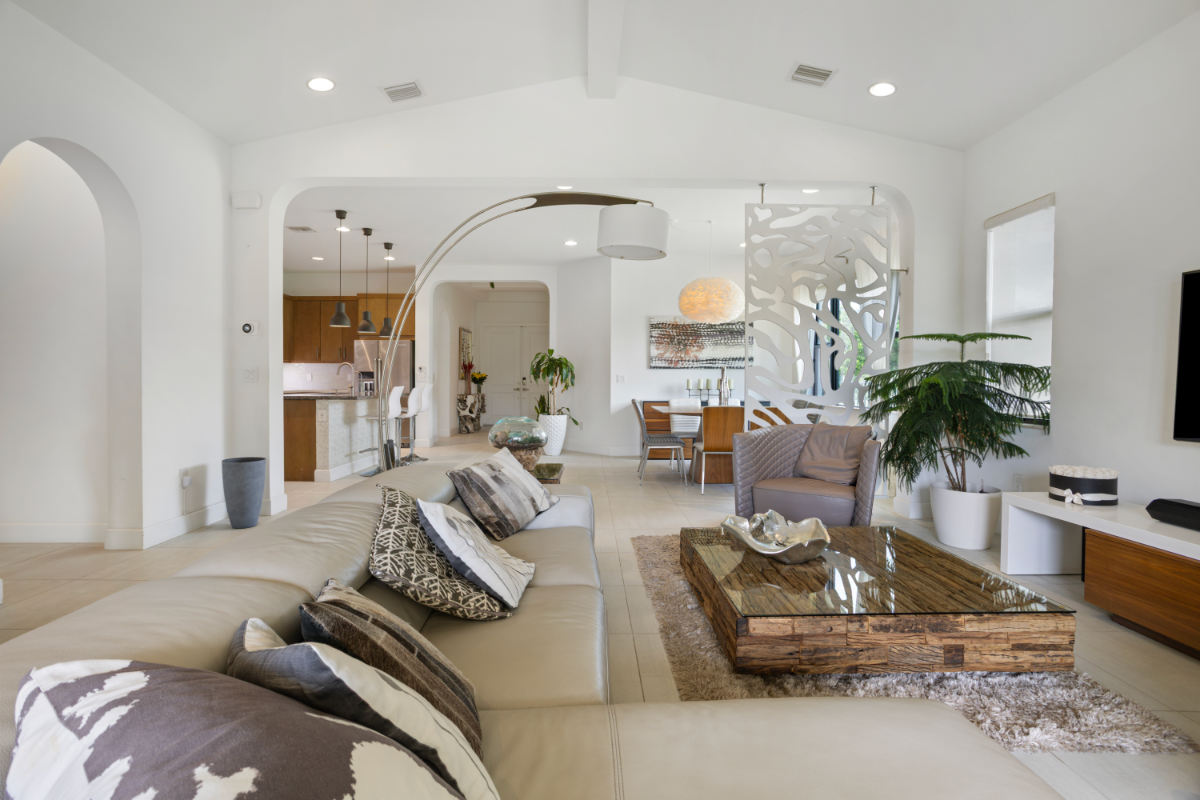
 Decluttering is the first lesson in how to make a space look bigger.
2.2. Strategic furniture placement and mirror utilization
- Lower the visual horizon: Swap tall, bulky furniture for low-profile pieces. High sofa backs and large armoires cut off sightlines and bisect the wall vertically, making ceilings feel low and oppressive.
- Pull furniture away from walls: It sounds counterintuitive, but pushing all furniture directly against walls can highlight a room's tight boundaries. Leaving a few inches of "breathing room" behind a couch creates depth layers for the camera lens.
- Position mirrors with intent: Mirrors reflect both light and sightlines. Position mirrors opposite open doorways or windows to double the visual field captured in your frame.
2.3. Harnessing natural light pathways
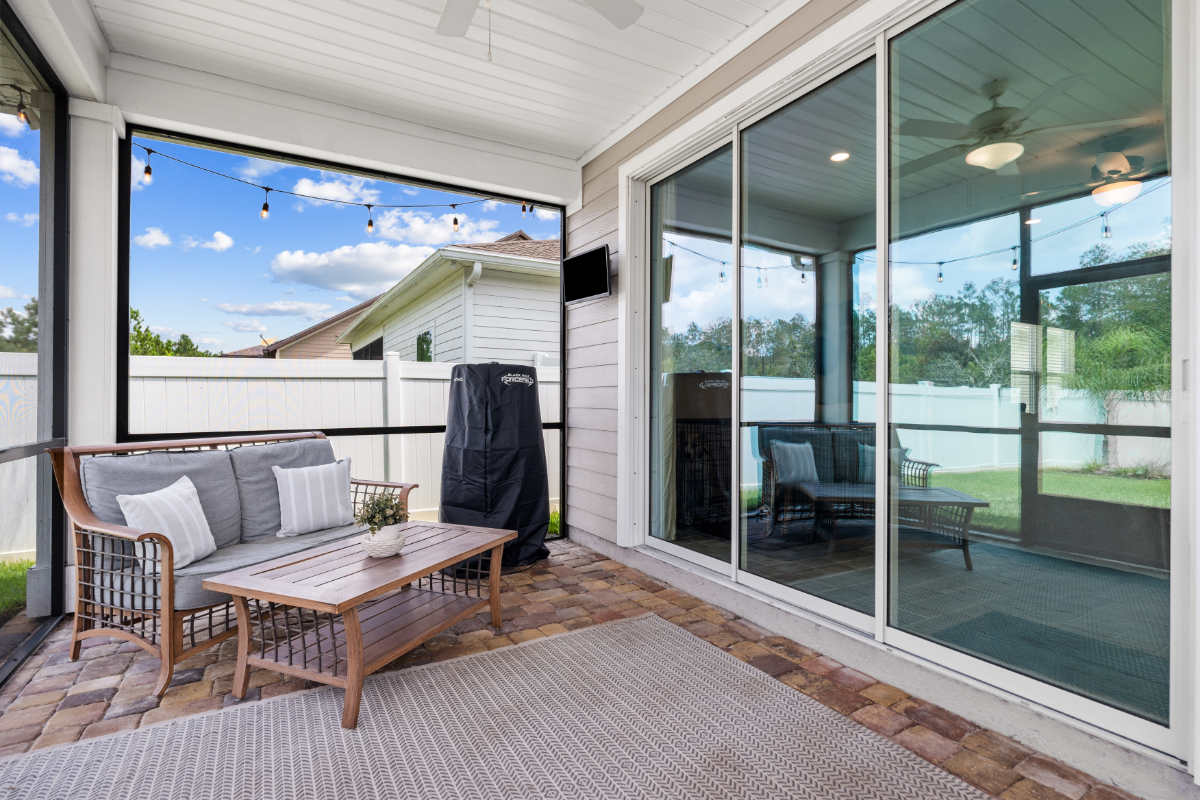
Darkness contracts space; light expands it. Pull back heavy drapes, open wooden blinds horizontally, and ensure window glass is spotless. Creating an unbroken line of sight from the room's interior out toward the exterior horizon naturally tricks the eye into perceiving the outdoor space as an extension of the room itself.
3. How to make a space look bigger?
Below are some straightforward methods that are usually implemented by the best shooters and renovators in the real estate field to make it look bigger in photos.
3.1. Using light and colors effectively
One of the most effective ways to make a space look bigger is by choosing the right colors and maximizing light. Lighter shades, such as white, beige, and soft pastels, reflect more light and create an open, airy atmosphere. In contrast, dark colors absorb light and can make a room feel smaller and more enclosed.
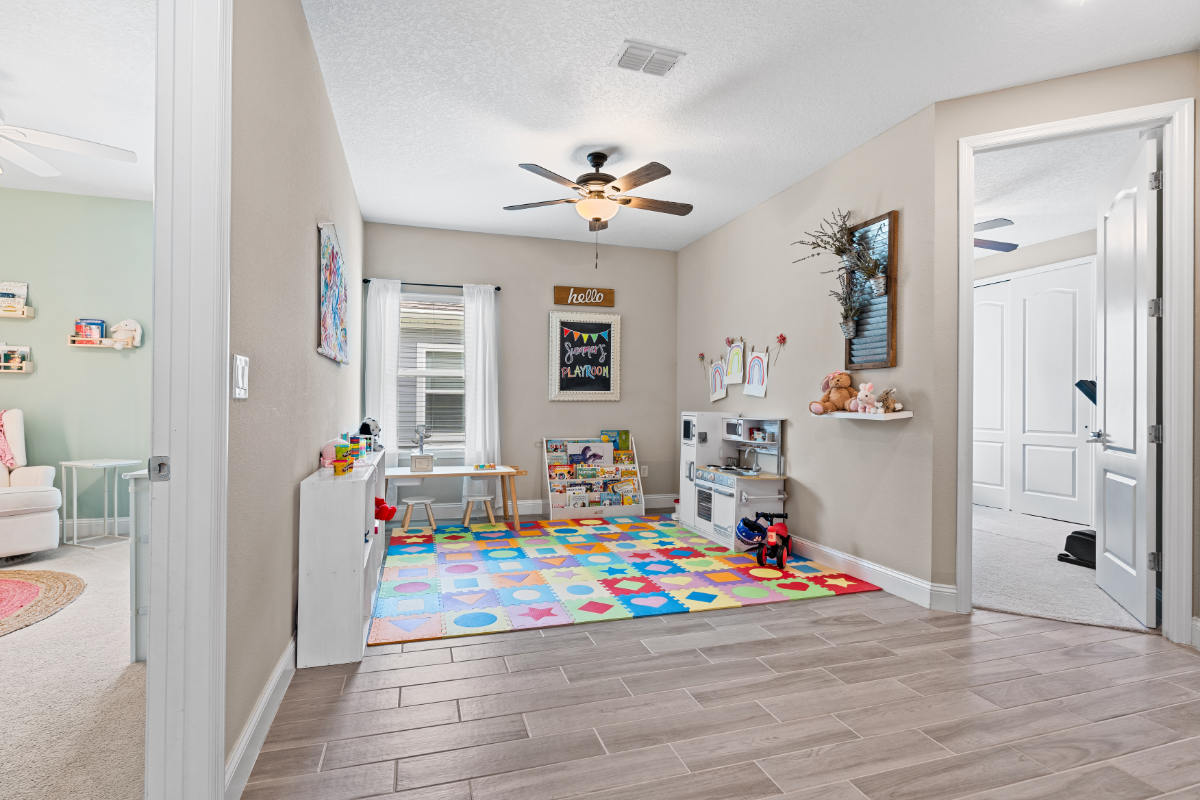 Bright room with light colors enhancing spaciousness.
In addition to wall colors, incorporating natural light can further enhance the illusion of space. Large windows, sheer curtains, and strategically placed mirrors can help distribute light evenly throughout the room, making it feel brighter and more spacious. If natural light is limited, consider using artificial lighting with soft, warm tones to create a similar effect. Another effective technique is mixing ambient light with flash, which balances natural and artificial lighting to achieve a well-lit, visually expansive space.
3.2. Incorporating stripes and patterns
Strategic use of patterns, especially stripes, can be a significant game-changer for those learning how to make a space look bigger. Vertical stripes on walls or curtains create the illusion of higher ceilings, making a room feel taller. Meanwhile, horizontal stripes can make a narrow space appear wider by drawing the eye across the room.
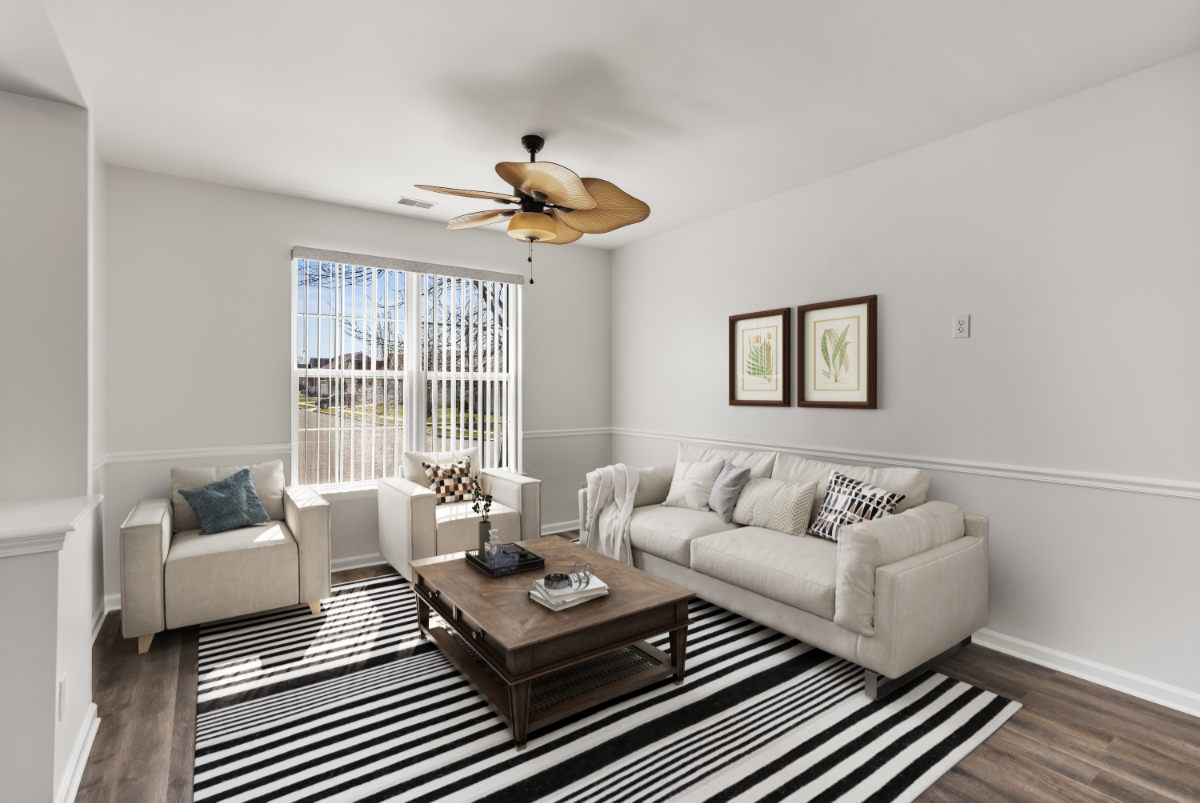 Using stripes and patterns to create a spacious look.
When incorporating patterns, it's essential to keep them subtle and balanced. Overly bold or busy designs may create visual clutter, making the space feel more cramped. Opt for soft, neutral-colored stripes or geometric patterns that complement the room’s overall color scheme. This approach helps enhance depth and openness without overwhelming the space.
3.3. Use of minimalistic, sleek furniture to create openness
Choosing the right furniture plays a crucial role in making a space look bigger. Minimalistic, sleek furniture with clean lines and simple designs helps maintain an open and uncluttered atmosphere. Bulky or oversized furniture can overwhelm a room, making it feel cramped and less spacious.
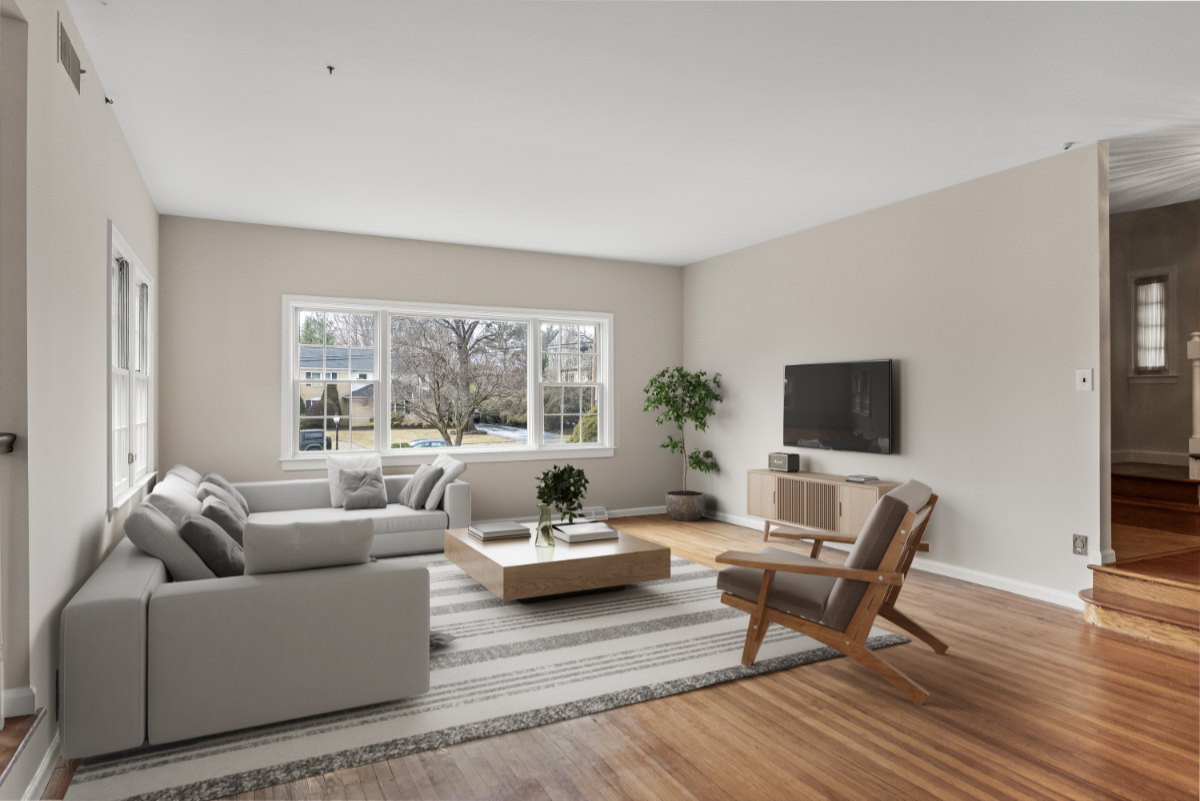 Modern minimalist furniture makes a small space feel larger.
Opt for pieces with exposed legs, transparent materials like glass or acrylic, and multifunctional designs such as foldable tables or storage ottomans. These choices create a sense of openness by allowing light to flow through the space while maintaining functionality. Keeping furniture to a minimum and ensuring a good balance between occupied and empty areas will further enhance the feeling of spaciousness.
3.4. Using mirrors to reflect space
Mirrors are one of the most effective tools for creating the illusion of a larger room. By strategically placing mirrors across from windows or light sources, you can enhance brightness and make the area feel more expansive. This reflection technique tricks the eye into perceiving more depth, instantly making a room appear more open.
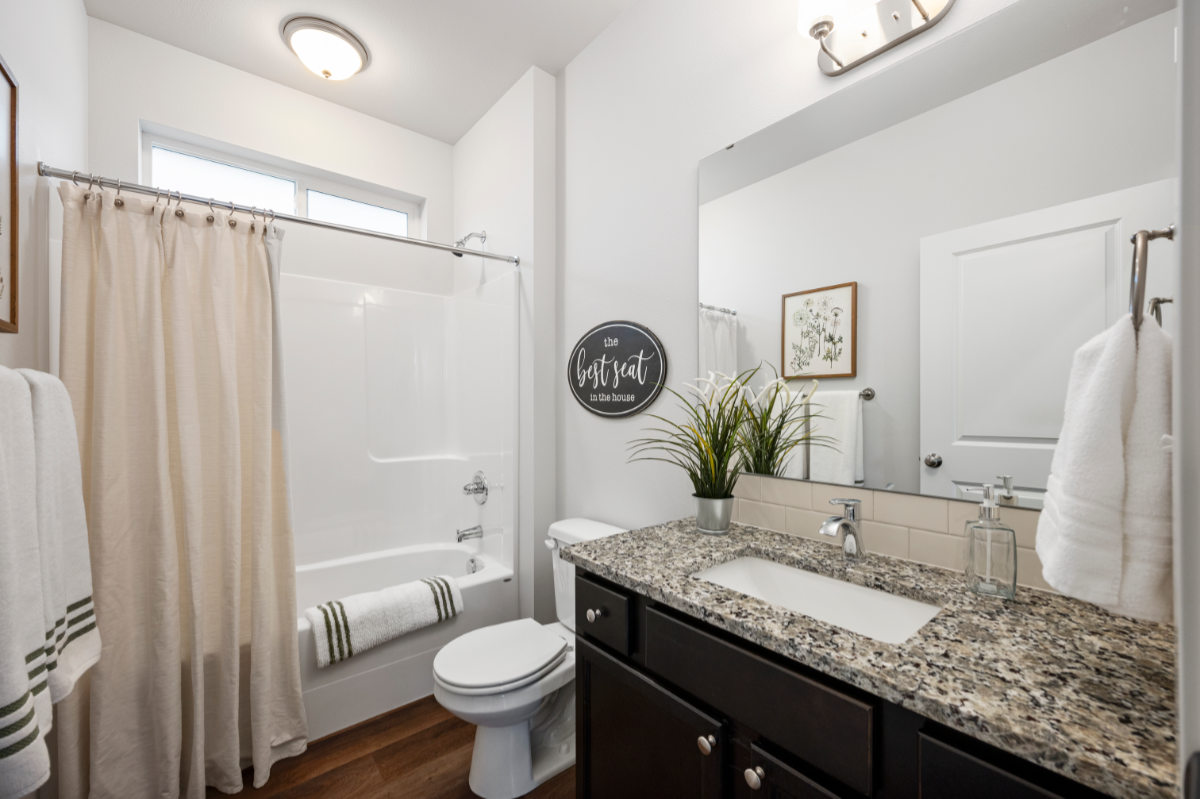 Mirrors create a spacious and bright room effect.
To maximize the effect, consider using large mirrors, mirrored furniture, or a gallery of smaller mirrors arranged creatively. Floor-to-ceiling or wall-mounted mirrors work particularly well in small spaces, amplifying both light and visual depth. With the right placement, mirrors can significantly contribute to making a room feel more spacious and airy. This is a proven technique in every comprehensive real estate photography guide, where using reflections is key to maximizing visual space.
3.5. Using wall murals and large art pieces
Incorporating wall murals and large art pieces is a creative way to enhance how a space looks bigger. A well-placed mural with a perspective design, such as landscapes or cityscapes, can add depth and make walls appear farther away. This visual trick creates an illusion of a more open and extended space.
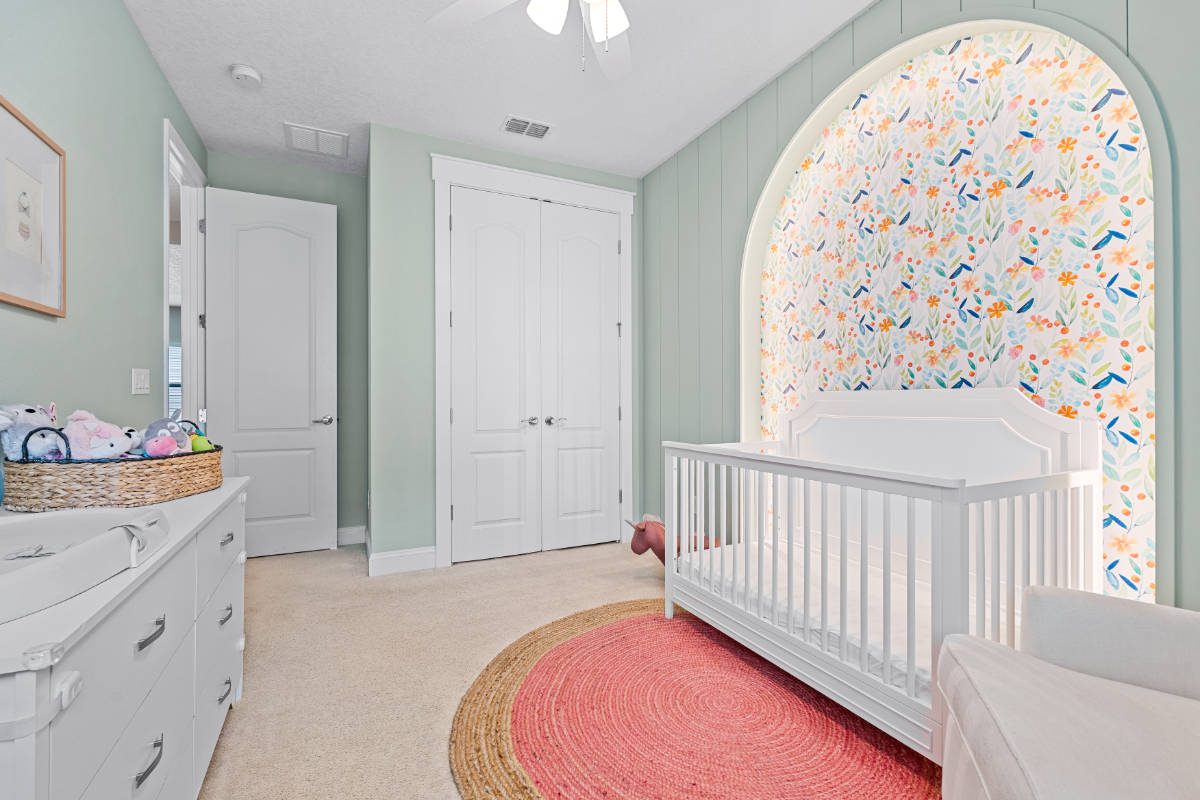 Murals and expansive art pieces create depth and openness.
Similarly, opting for one or two oversized art pieces instead of multiple small frames prevents visual clutter and keeps the room feeling airy. Choosing artwork with light colors and minimalistic designs further contributes to a spacious ambiance. Proper placement, such as hanging art at eye level, also helps in maintaining a well-balanced and visually expanded environment. These visual strategies become even more effective when combined with professional real estate photo editing that enhances brightness, color balance, and spatial perception.
3.6. Framing windows and using light curtains
Windows play a vital role in making a space feel more open and airy. To maximize their effect, framing them properly and choosing the right curtains can create the illusion of a larger room. Installing curtain rods slightly above the window frame and extending them beyond the edges of the window allows more natural light to enter, making the space feel brighter and more expansive.
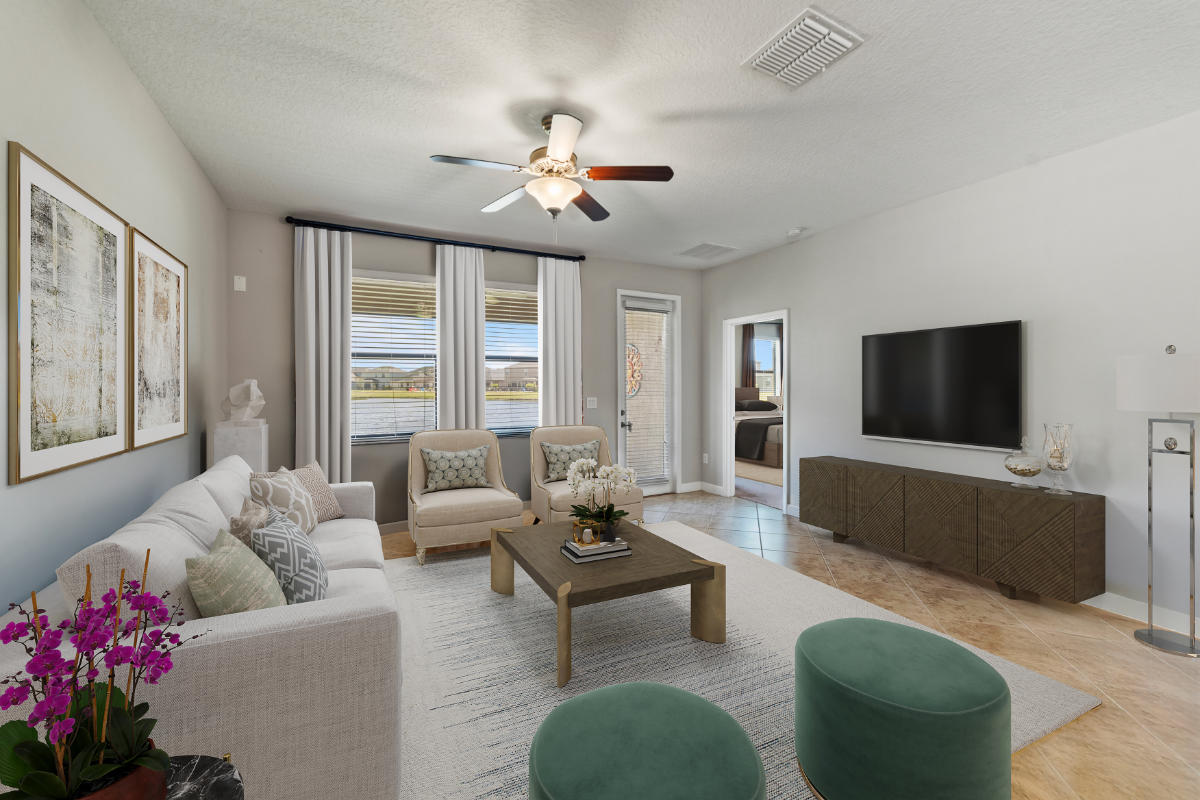 Light curtains framing a large window to create an open and airy space.
Light, sheer curtains are ideal for maintaining an open feel while allowing sunlight to filter through. Heavy or dark-colored drapes can make a room feel enclosed, so opting for airy fabrics like linen or voile helps enhance the perception of space. For an added effect, floor-length curtains can create a sense of height, making ceilings appear taller.
3.7. Creating pathways and open spaces
Maintaining clear pathways is essential for optimizing how to make a space look bigger. A cluttered or poorly arranged layout can make a room feel cramped, while intentional spacing between furniture and decor allows for better movement and an open atmosphere.
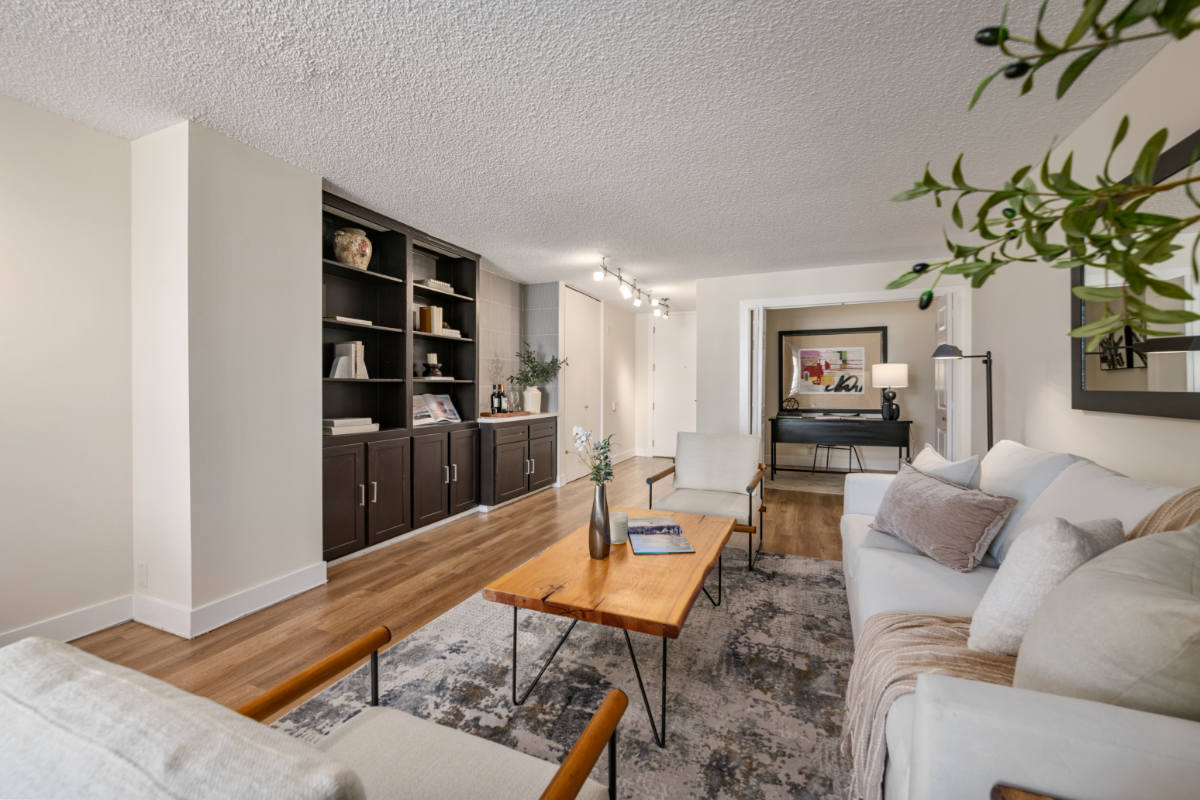 Clear pathways and open spaces for a spacious feel.
To achieve this, arrange furniture in a way that promotes a natural flow through the space. Avoid blocking doorways or windows, and opt for open shelving instead of bulky cabinets to keep sightlines unobstructed. Leaving a few inches of space between furniture and walls can also create the illusion of depth, making the room feel more expansive.
3.8. Use of rugs to define separate zones
Rugs are a powerful tool for organizing a space while maintaining an open feel. By strategically placing rugs, you can visually define different areas within a room without using physical dividers, which can make a space feel smaller. This technique is especially useful in open-concept living spaces, where rugs help establish separate zones for lounging, dining, or working.
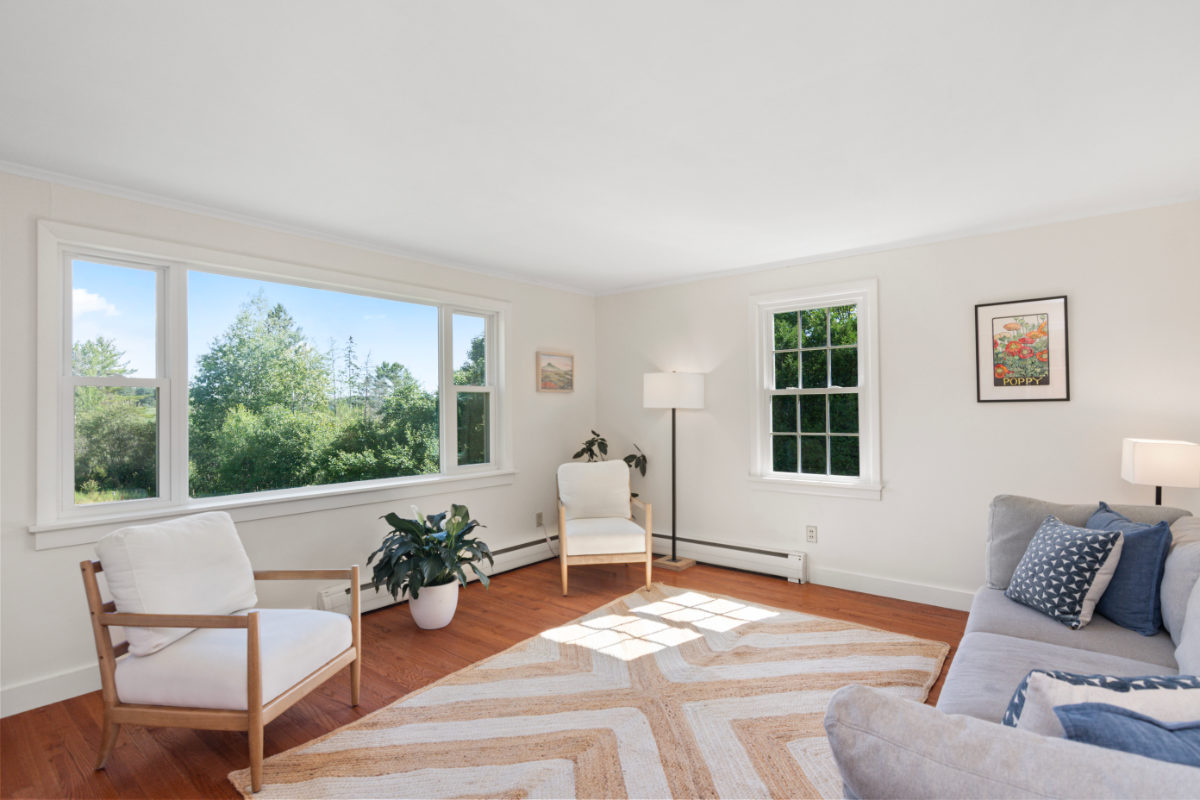 Rugs can help define spaces while maintaining an open layout.
To enhance the illusion of a larger space, choose rugs with light colors, subtle patterns, or stripes that draw the eye across the room. Placing a rug slightly under furniture pieces, such as a sofa or dining table, can create a sense of cohesion and prevent the space from feeling fragmented. Layering rugs or opting for oversized rugs can also contribute to a more spacious and well-balanced environment.
3.9. Use wide-angle lenses to capture more space
One of the most effective ways to show off room dimensions is with the right lens. If you want to know how to make it look bigger in photos, start by using a wide-angle lens, ideally between 16mm and 24mm on a full-frame camera. These lenses let you include more of the room in the frame, capturing the layout and flow of space more effectively.
However, caution is key: ultra-wide lenses (like 10–12mm) can introduce barrel distortion, making rooms appear unnatural or stretched. Be sure to level your camera and apply lens correction in post-processing to maintain a realistic feel. This approach is emphasized in every professional real estate photography guide, as it helps photographers showcase space effectively without distorting reality.
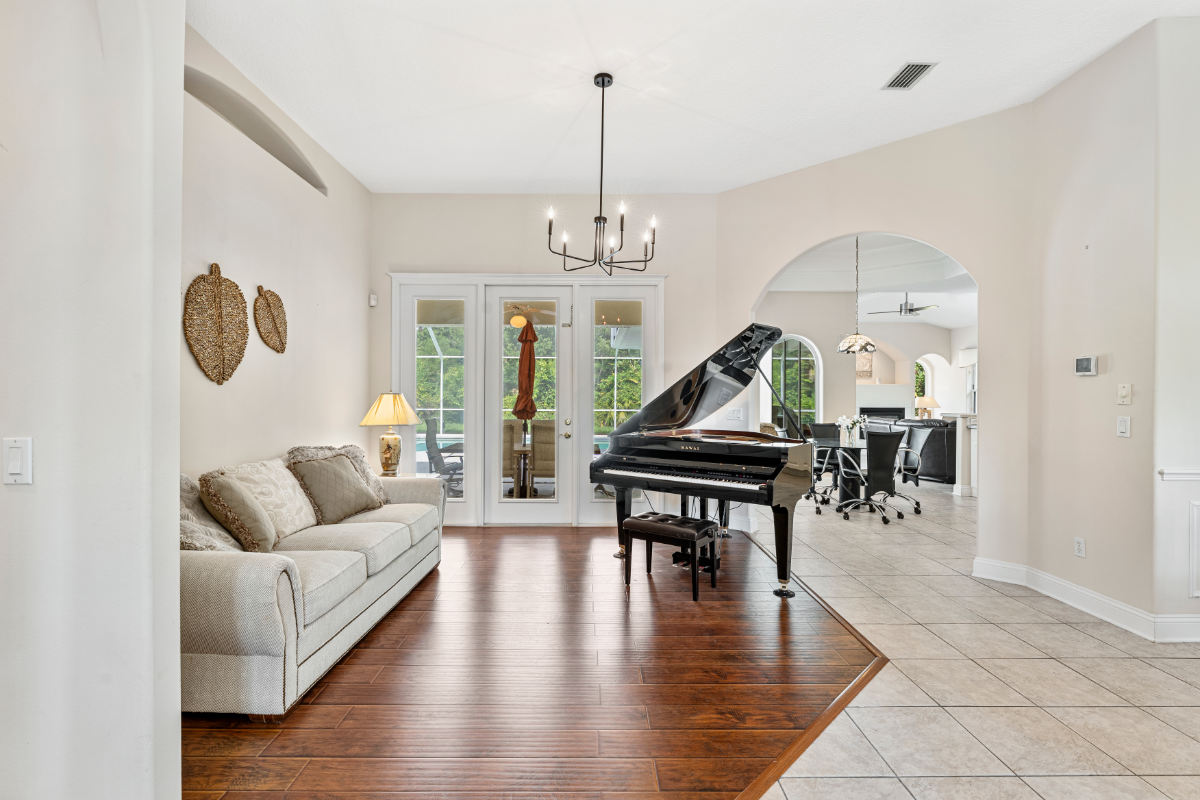 Wide-angle lenses make it easier to portray expansive angles.
Choosing the right angle can make a dramatic difference in how large a room appears. For those looking at how to make it look bigger in photos, positioning the camera at chest height (around 4 to 5 feet from the floor) gives a balanced perspective of both floor and ceiling.
Try shooting from the corners or just outside the doorway to maximize depth. Angles that reveal two walls create a sense of three-dimensionality, helping viewers grasp the scale of the space. Avoid tilting the camera upward or downward too much, as this can distort lines and make the room look awkwardly proportioned.
3.10. Post-processing: Enhance the sense of space
No photography session of a space is complete without editing, and it's a powerful step for those learning how to make it look bigger in photos. Start by straightening vertical and horizontal lines using lens correction tools. Misaligned edges can make a room feel off-balance and smaller.
Adjust brightness, contrast, and shadows to evenly illuminate the entire space. HDR blending is particularly useful in rooms with bright windows and dark interiors. Be subtle - overediting can make photos look fake. The goal is to reflect the room’s true size while improving balance and clarity.
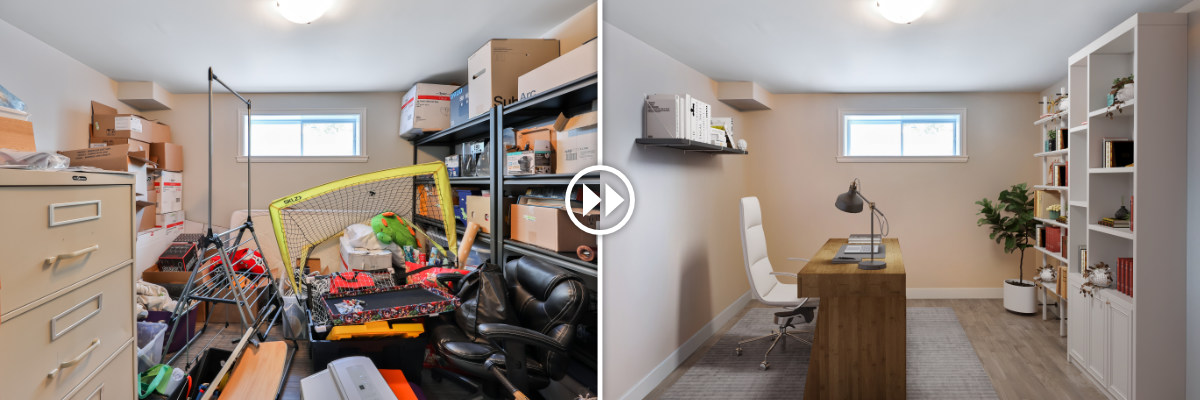
In addition to basic post-processing, advanced techniques like virtual staging and virtual renovation play a critical role in making small spaces feel larger in photos:
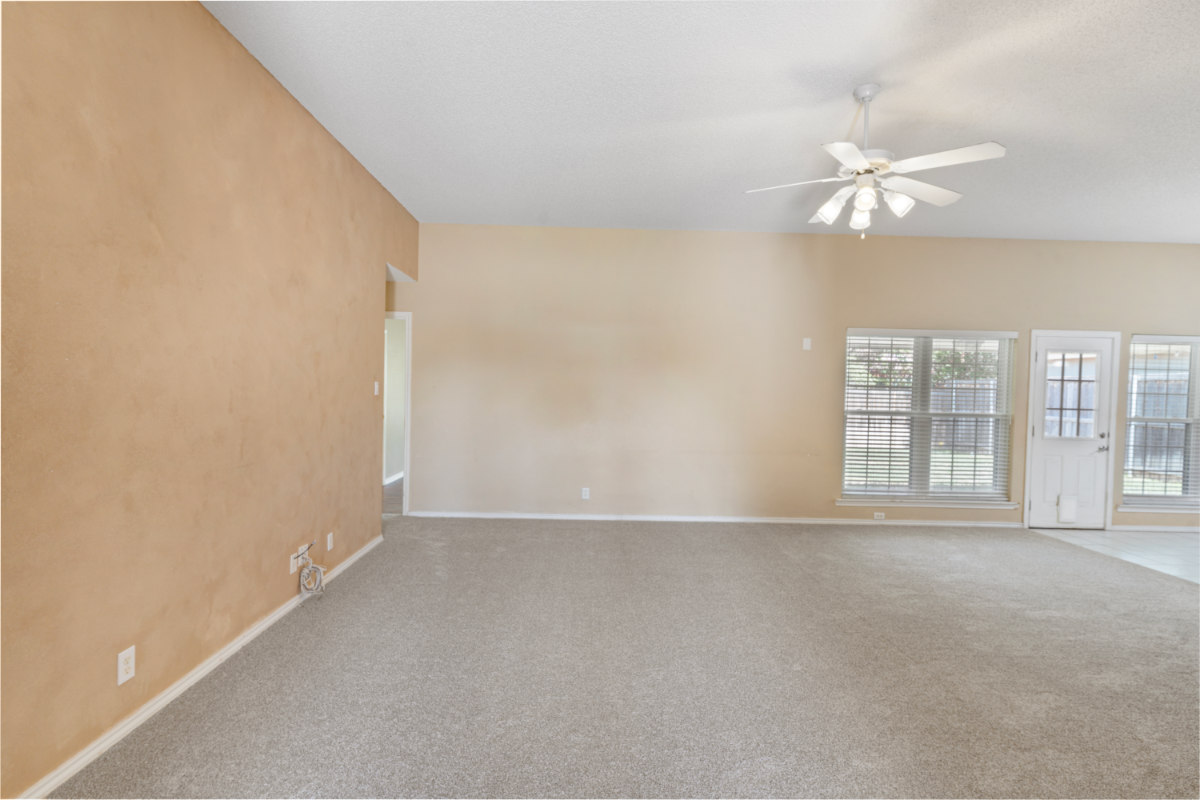
- Virtual staging: Empty small rooms often look smaller in photos because viewers lack scale reference points. Virtual staging adds proportionally scaled, low-profile furniture to provide scale, create depth, and demonstrate spatial functionality without cluttering the floor. For rooms with heavy or outdated furniture, virtual staging can replace bulky items with sleek, space-saving designs to maximize visible floor area.
- Virtual renovation: Dark wall colors, heavy wood paneling, or dark carpets absorb light and visually shrink a room. Virtual renovation enables you to digitally update these surfaces with bright neutral paint, light hardwood flooring, or streamlined fixtures. Lightening these elements enhances natural light distribution and expands visual boundaries, helping potential buyers perceive the maximum volumetric potential of the room.
4. Critical errors: Common mistakes that shrink small spaces
Even experienced photographers who already know how to make it look bigger in photos fall into traps that make spaces appear smaller than they actually are. Avoid these common mistakes:
|
PITFALLS TO AVOID MATRIX | ||
|
Mistake |
Optical impact |
Corrective action |
|
Ultra-fisheye lenses |
Curved lines, distorts spatial proportion |
Cap width at 16mm full-frame equivalent |
|
Shooting from ceiling height (Eye-level) |
Shows mostly floor, presses walls down |
Lower tripod to 4-4.5 feet (chest level) |
|
Overexposed windows |
Bright white blown-out spots cut off view |
Use bracketed HDR or flash window masking |
|
Half-open doors |
Blocks flow line, cuts room dimensions |
Push doors fully open or close completely |
4.1. The ultra-fisheye trap
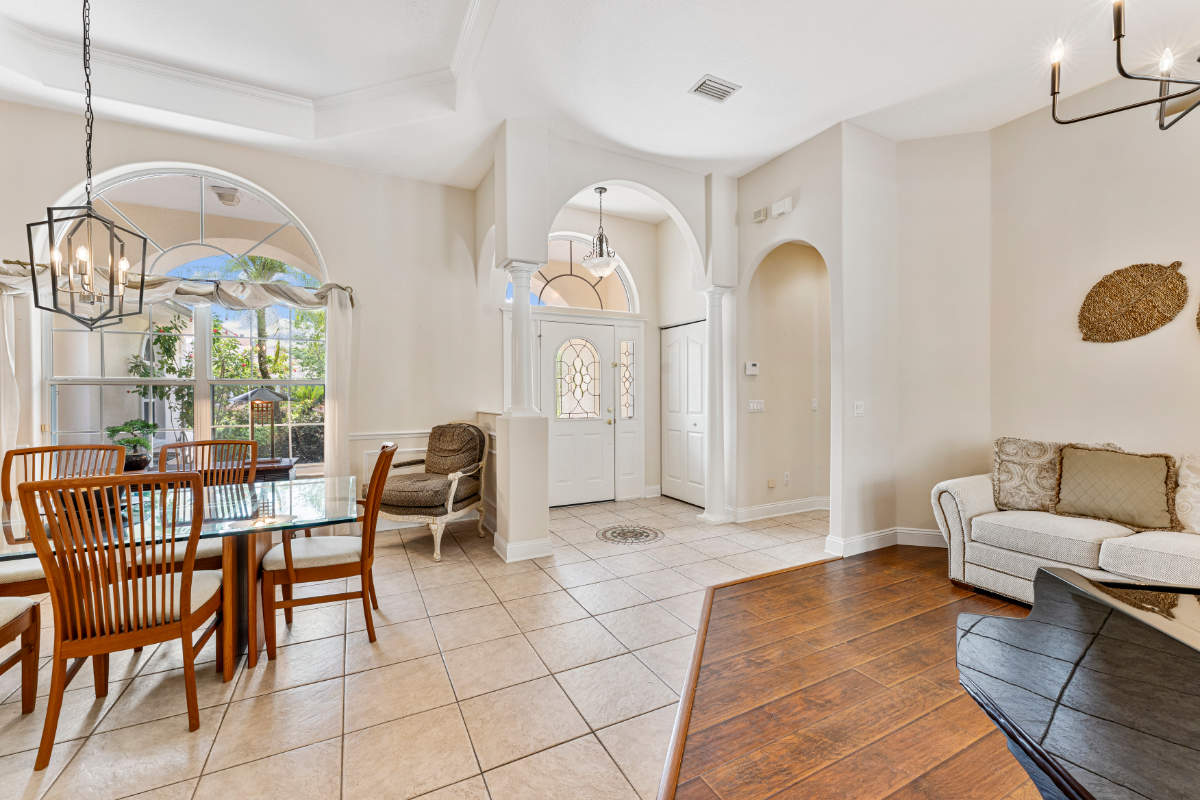
Using an 11mm or 12mm lens to capture an entire room in one frame can do more harm than good. Buyers immediately recognize the dramatic visual curvature. When they visit the home in person and realize the room is significantly smaller than expected, trust is lost, resulting in canceled escrows or rejected applications.
4.2. Incorrect vertical alignment
Tilting your lens upward to capture more ceiling height causes walls to lean backward, making the room feel like it is collapsing in on itself. Always ensure your vertical camera axis remains perfectly at 90 degrees relative to the floor.
4.3. Leaving interior doors half-open
A door stuck halfway open breaks up visual flow, blocks ambient light pathways, and introduces clutter to the edge of your frame. Open interior doors fully against the adjoining wall or close them completely.
5. Why and when professional photo editing is essential for maximizing sense of space
No matter how skilled you are with a camera on location, physical optical limitations mean post-processing is an absolute requirement for high-end real estate photography. A camera sensor simply cannot match the dynamic range and adaptive optical adjustments of the human eye. This is where professional editing platforms like Fotober become an indispensable partner in your property marketing workflow.
5.1. Lens correction and perspective rectification
Even high-end professional lenses suffer from optical field curvature at wide focal lengths (16mm-18mm). Professional post-processing applies specialized mathematical lens profiles to eliminate barrel distortion. Software auto-alignment and manual vertical adjustment correct micro-keystoning, guaranteeing that every wall, door jamb, and window frame runs perfectly straight and parallel.
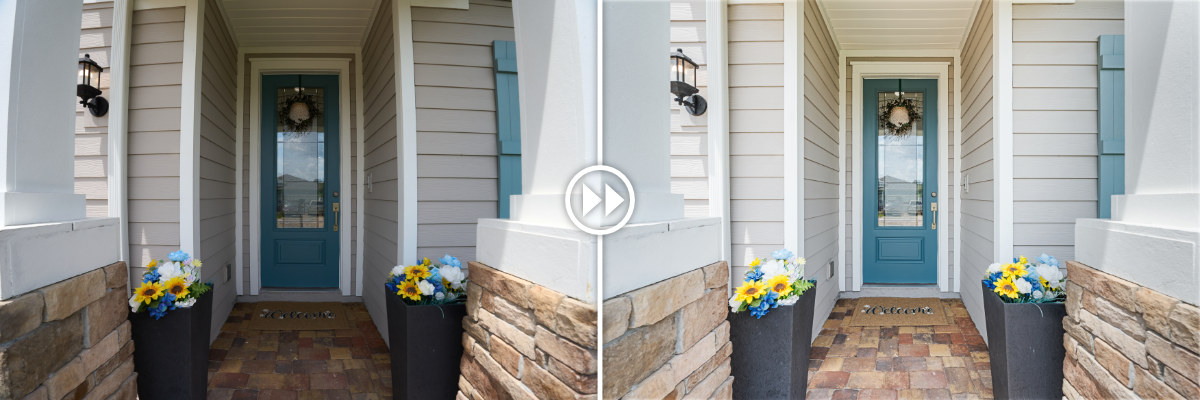
5.2. Window masking and flambient layer blending
When photographing a small space, windows are vital optical anchors that extend interior sightlines outdoors. However, exposing for the interior often results in blown-out, solid-white window views.
Through advanced layer masking, manual exposure blending, and HDR processing, Fotober smoothly merges your bracketed exposures. We balance interior room shadows with crystal-clear, properly exposed exterior view pulls, instantly extending the visual boundary of the room outside.
5.3. Digital decluttering and item removal
Sometimes, tight physical quarters leave you with no option but to keep necessary items in the frame (e.g., bulky wall AC units, lingering cords, or fixed, space-hogging furniture). Post-processing specialists can digitally erase visual distractions from the frame, clearing up wall and floor space that could not be cleared physically during the shoot.
5.4. Virtual staging for empty small spaces
Empty small rooms actually look smaller to the human eye than properly furnished ones because viewers lack scale reference points.
Using advanced virtual staging services from Fotober, empty small rooms can be populated with scaled, low-profile, modern digital furniture. This provides immediate scale context, demonstrating to potential buyers exactly how a bed, desk, or sofa fits comfortably into the space.
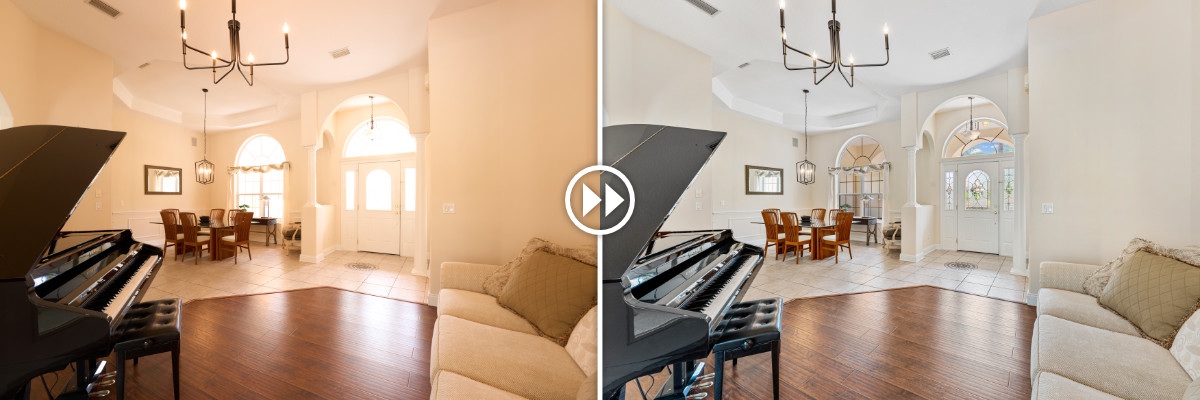
5.5. Color cast neutralization
Small spaces trap light reflections. Dark wood floors reflect orange onto white walls; outdoor foliage casts green hues through windows onto ceilings. These mixed color casts muddy details and compress perceived depth. Professional post-processing neutralizes color casts, restoring crisp, clean, bright surfaces that make rooms feel open and refreshed.
Maximizing space is all about smart design choices, from using light colors and mirrors to selecting sleek furniture and strategic decor. By incorporating these techniques, you can transform even the smallest areas into open, inviting spaces. Whether it’s through thoughtful furniture arrangement, the right use of rugs, or optimizing natural light, these methods can significantly impact when learning how to make a space look bigger.
If you need professional real estate photo editing software to enhance property images and showcase listings in the best possible way, Fotober is here to help. Our expert team specializes in high-quality image enhancement, virtual home staging, and rendering to make every space look more appealing and spacious.
6. Conclusion
Mastering how to make a space look bigger is a core requirement for success in modern real estate marketing, architectural photography, and property sales. By combining smart staging techniques, precise camera positioning, proper wide-angle lens selection, and controlled lighting setups, you can unlock the full volumetric potential of even the tightest properties.
However, on-site photography is only half the battle. To produce true, high-converting architectural visuals that pull buyers in, seamless post-processing can be the solution for you.
Follow us on social media to stay updated with the latest staging and photography strategies in the property market to make every listing reaches its fullest potential.
- Facebook: fotobermedia.co
- YouTube: Fotober
- TikTok: @fotober
- Instagram: fotober_media.
Related posts

Cincinnati Housing Market 2026: Prices, Trends, and What It Means for Buyers, Sellers, and Investors
October 20, 2026

Modern Luxe Interior Design: Elements, Style Guide and How to Stage It
October 10, 2026

Minimalist Interior Design: Characteristics, Style Guide, and Staging
October 8, 2026

Coastal Interior Design: Style Definition & Staging Guide
September 30, 2026
