The Secrets to Getting Aesthetically-Pleasing Window Pulls
Struggling to get your window pulls just right for interior photos? Don’t worry, we’ve got you covered! In this article, we’ll share some invaluable secrets that will help you achieve spot on window pulls with ease, from battery-powered flashes to creative editing techniques.
What is a window pull in photography?
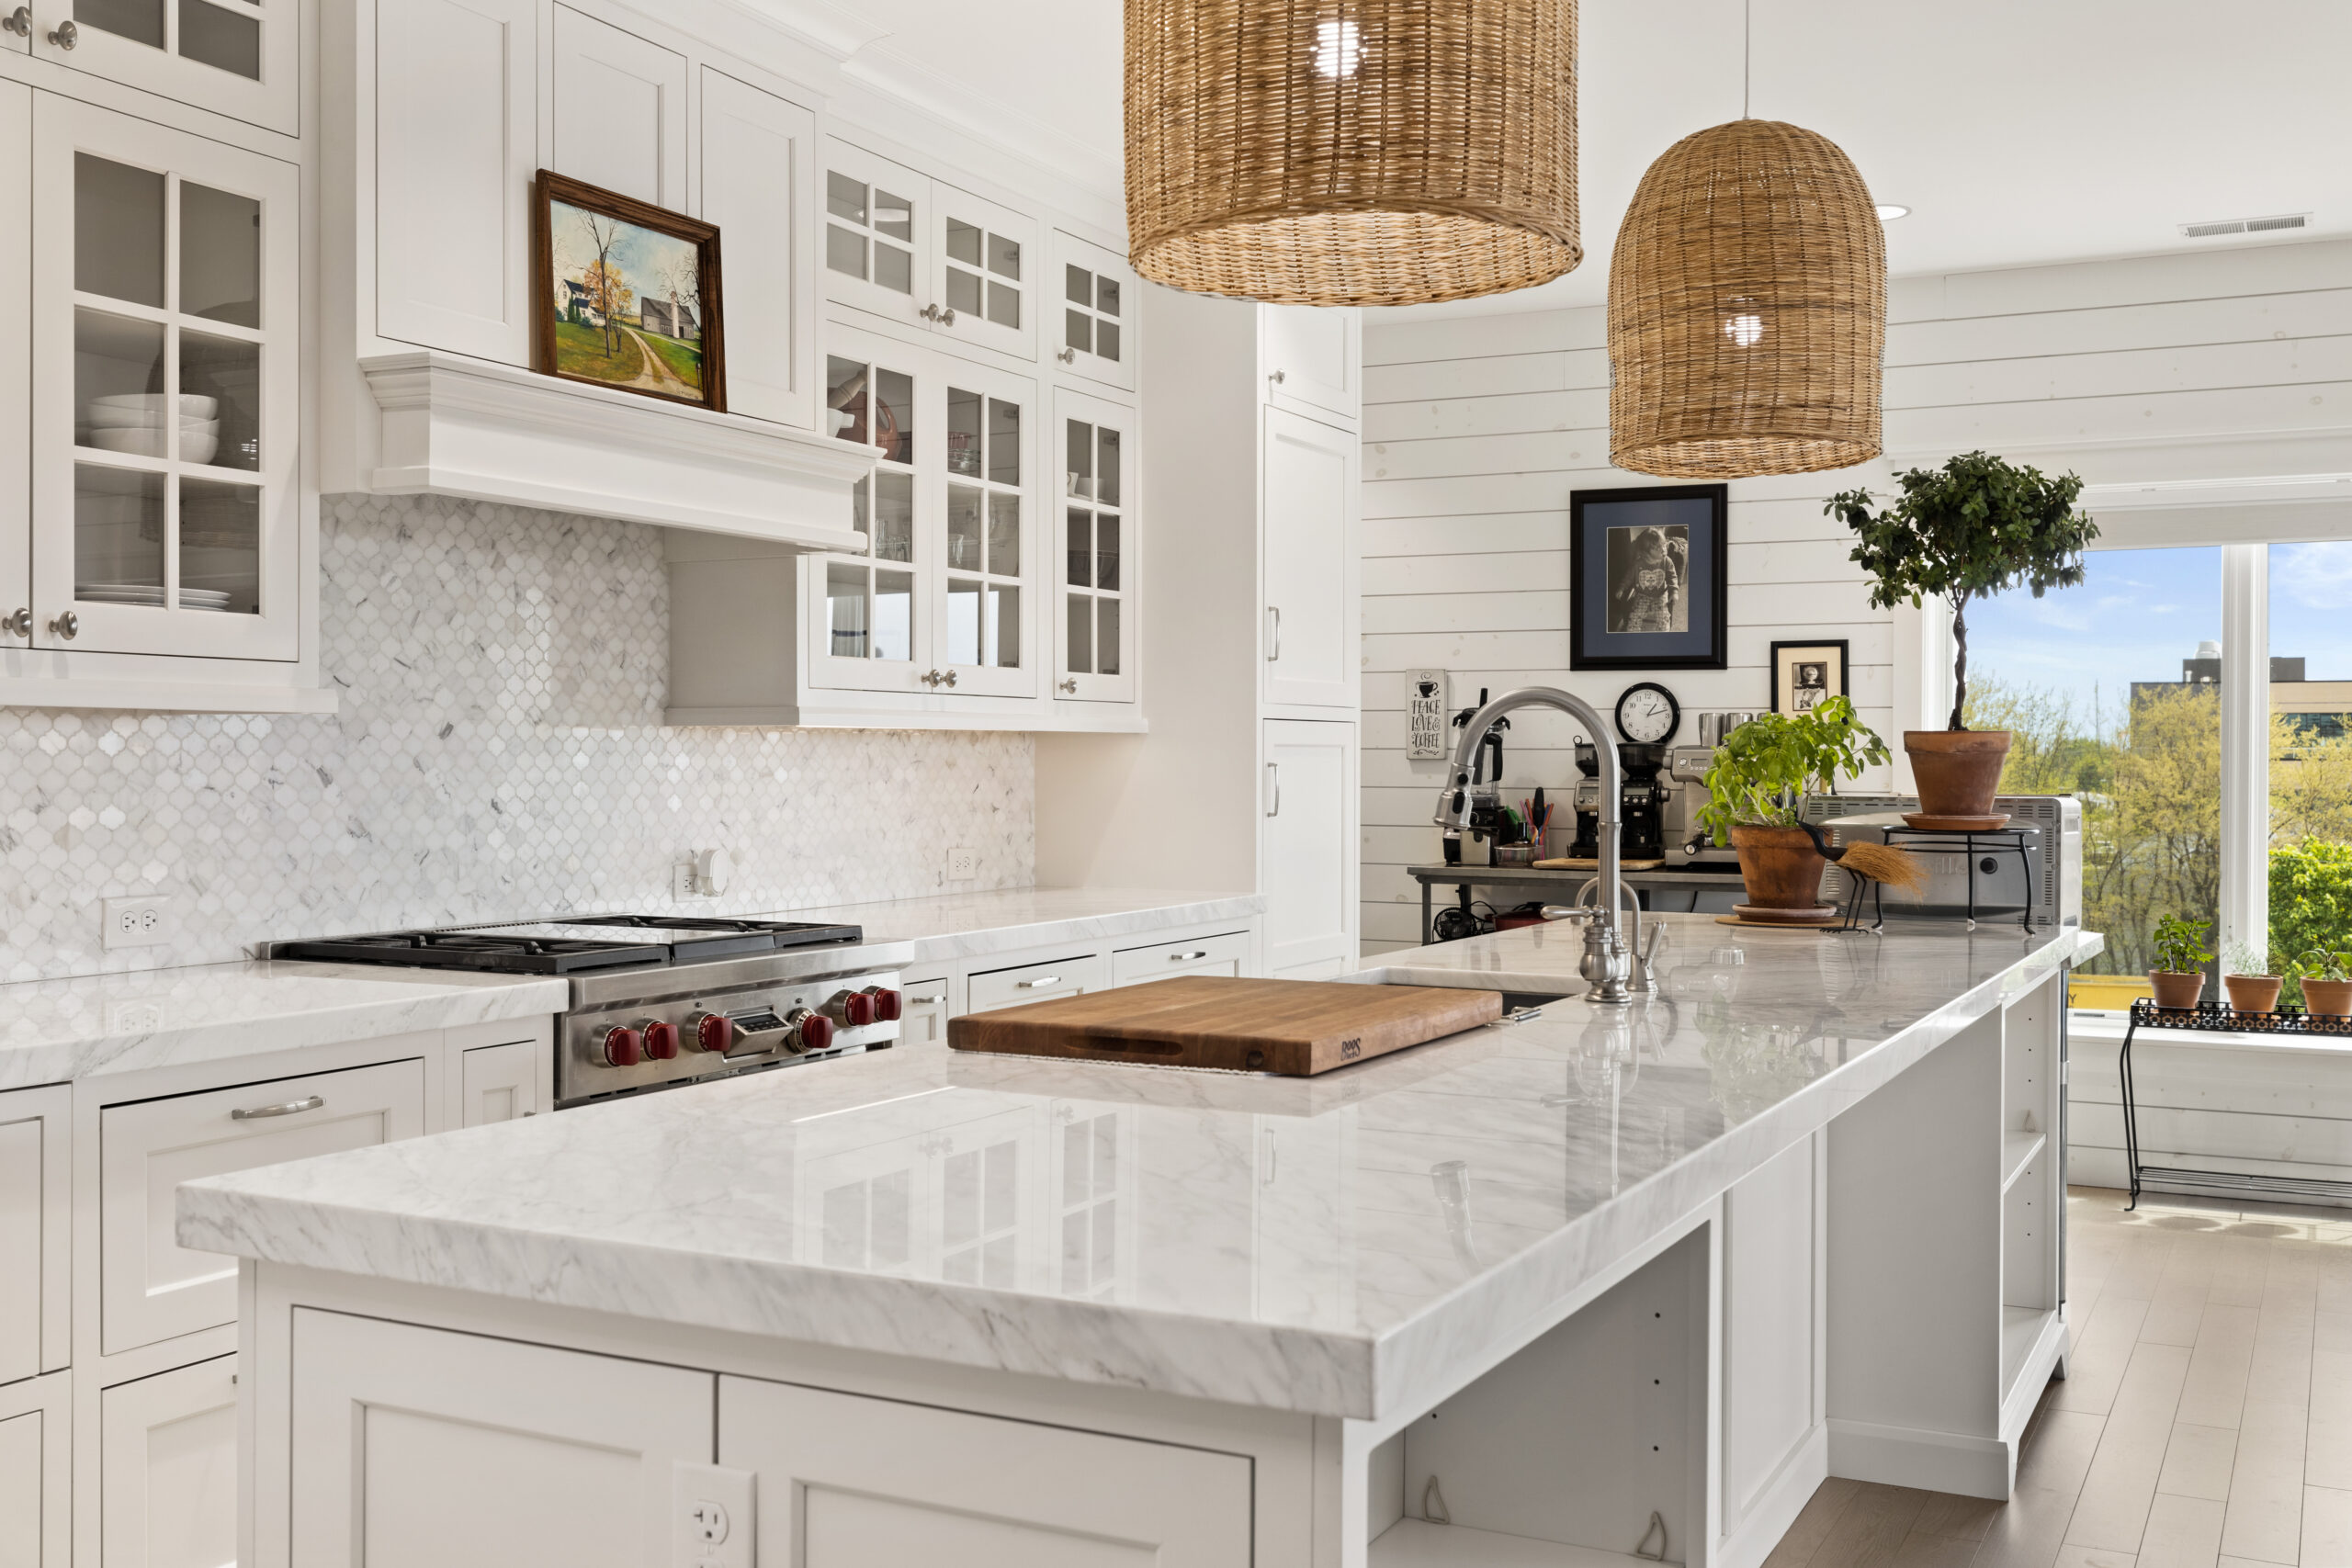
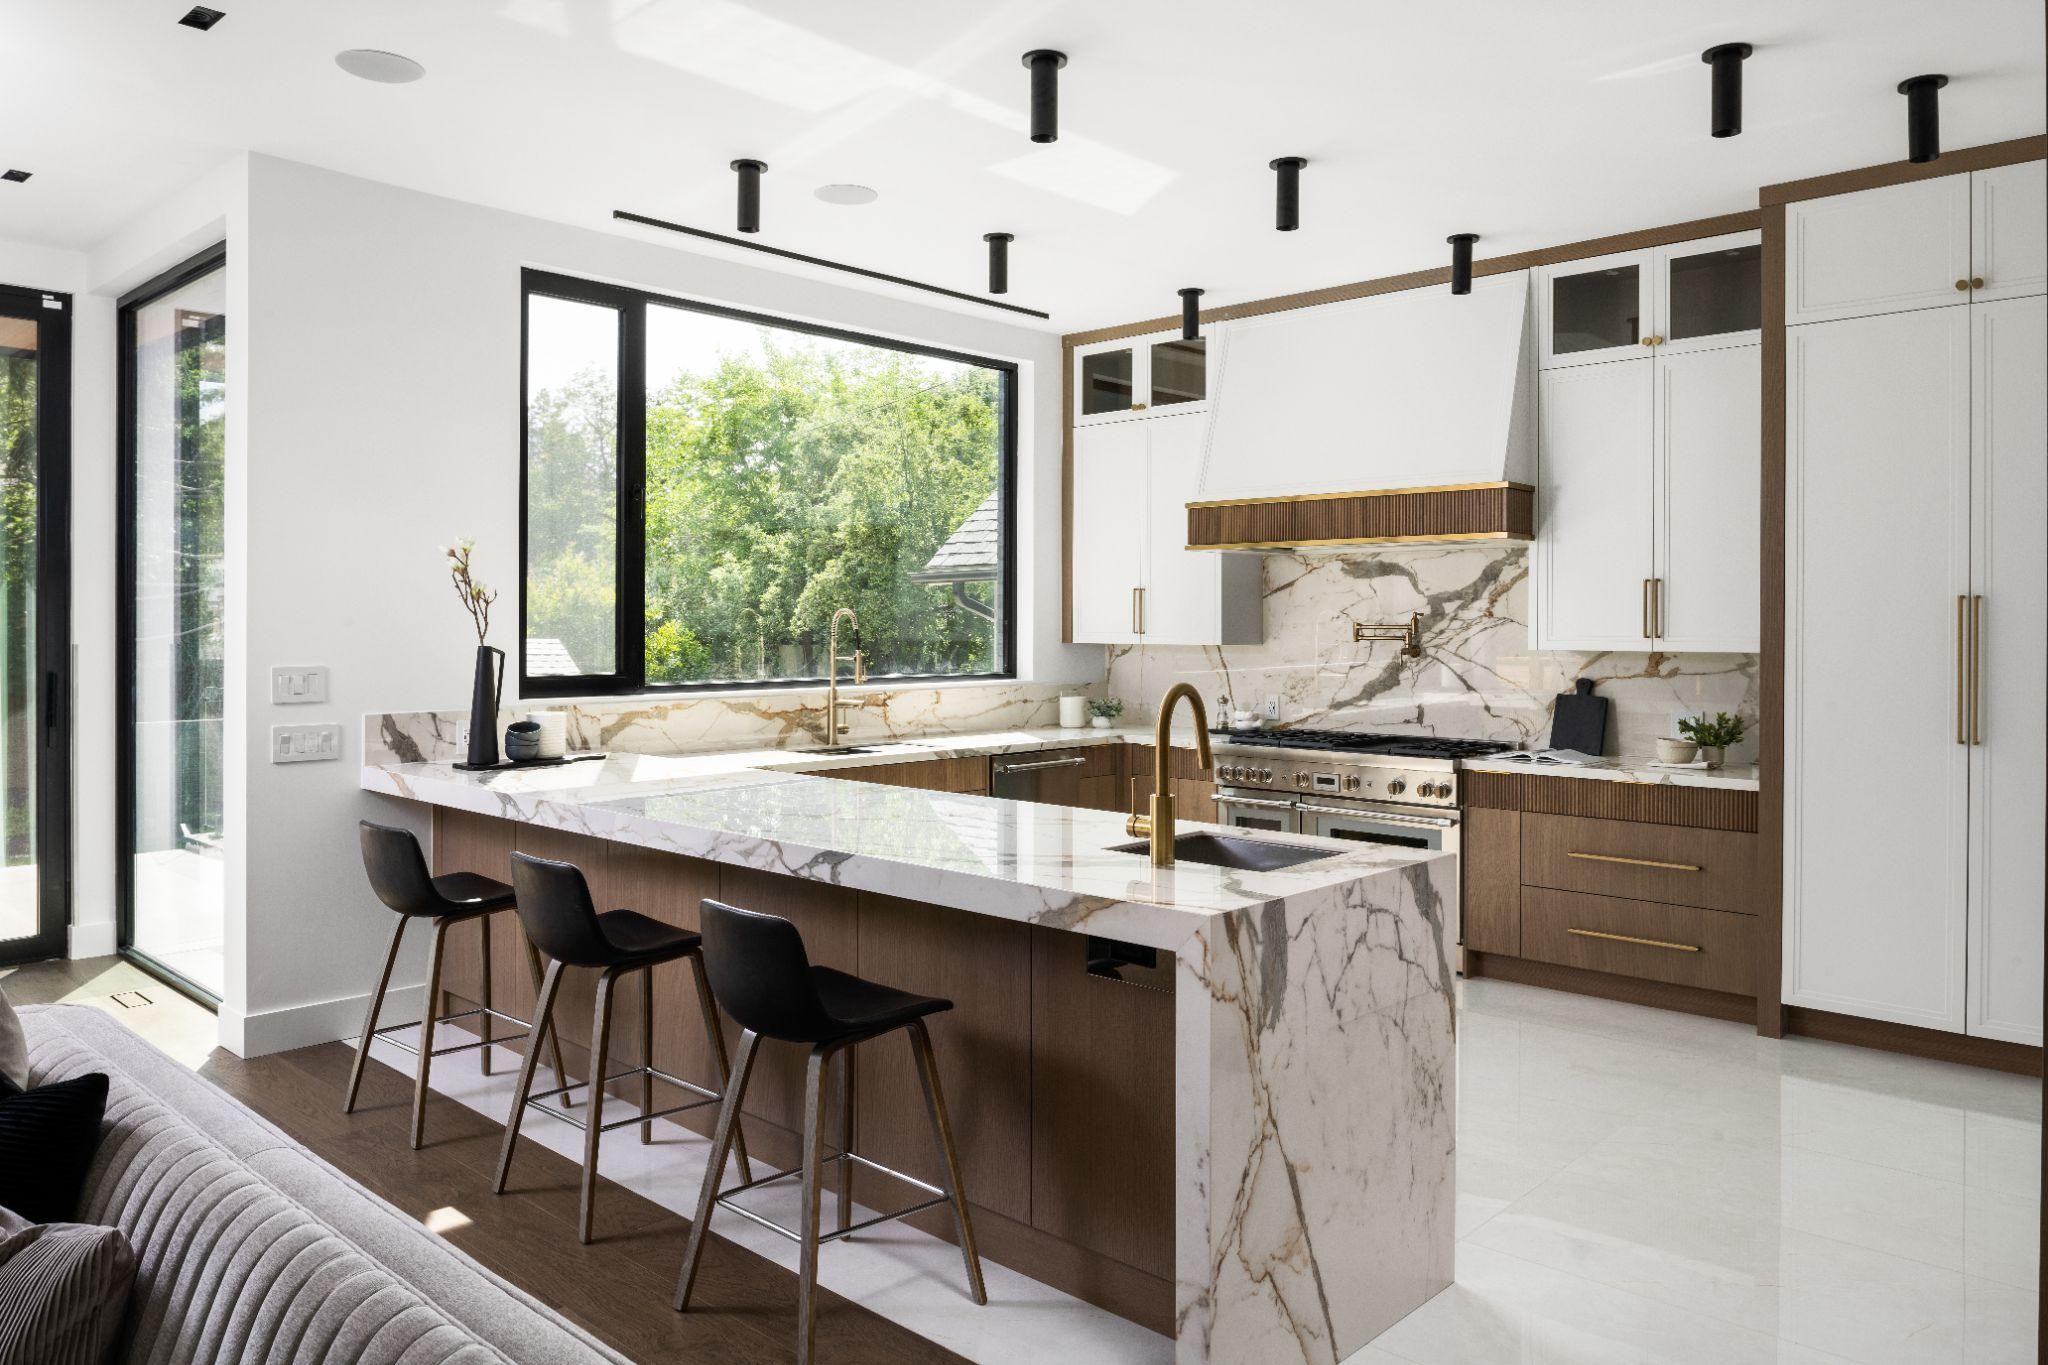
A window pull is a technique employed by real estate photographers to give a clear view of the outside in an interior photo. This method brings in the scenic vista seen through the window into the photograph. This is an extremely important technique because a property’s ocean or city view can be a defining feature that makes or breaks a sale.
In the last article, we have walked you through the step-by-step process to do the window pull technique. This time, we’ll let you in on some advanced, insider secrets to achieving the most gorgeous, natural-looking window pulls for your real estate photos.
Secret #1: Battery-Powered N-Flash

In larger rooms where your speed lights might fall short, a battery-powered N-Flash comes to the rescue. This studio-type flash provides the extra punch you need to illuminate distant windows effectively. While it offers a few challenges, such as limited power output levels, the N-Flash can be triggered wirelessly. Make sure to aim the flash at the window at around 45 degrees to get the best results.
Secret #2: Direct Flash Method
For an alternative approach, you can try using the method of one frame with direct flash on the windows and layering it later in Photoshop. For this method, it’s advisable to utilize Lightroom to balance the RGB values of the window frame. By doing so, when you proceed to layering in Photoshop, you can just use a soft brush without the need for complex selection techniques. This method offers a simpler alternative to the N-flash technique and does not require excessive lighting; Speedlights are usually more than sufficient.
Secret #3: Darken Blending Mode
The Darken Blending Mode looks at the luminance values in each photo and selects either the base color or blend color depending on which is darker.
This blending mode does not blend pixels; it only compares the base and blend colors, and keeps the darkest of the two. To achieve the perfect window pull using this technique, follow these simple steps:

1. Set up your equipment:
- Prepare a sturdy tripod and a camera remote shutter release to ensure steady shots.
- Camera settings: Set your camera to ISO 400, RAW mode, and Aperture Priority. RAW mode preserves all image information, while ISO 400 allows you to use flash at lower power configurations.
- Flash setup: Use a flash with a remote trigger and position it at a 45-degree angle towards the window.
2. Capture the images:
- Position the camera on the tripod and set it for minimal movement during the shoot.
- Set the camera to “spot meter” and capture the first image, exposing the interior of the room while keeping the windows overexposed.
- Spot meter again and turn on the flash to capture the outside view through the window.
- Adjust the flash power manually to get the right settings for your shots.

3. Post-processing using Lightroom and Photoshop:
- Import your images into Lightroom and apply lens correction as needed.
- Adjust color temperature if necessary before exporting the images to Photoshop as layers.
- Align the layers to avoid image blurring caused by minor camera movements.
- Place the dark flash layer on top of the fully exposed photo in Photoshop.
- Create an inverse mask on the flash layer using Control + I (or Command + I on your Mac) to selectively display darker elements. Once you’re done, set the layer(s) to darken mode.
- Use the white-colored brush tool to paint over the window, highlighting the outside view.
- Once you’re satisfied, flatten the image to merge the layers and save it as a single, stunning photo.
The darken mode enables Photoshop to selectively display darker elements compared to the flash layer, thereby saving valuable time that you could spend masking the pull window using a pen or polygon tool.
FAQs:

Q: Which camera mode should I use to achieve excellent window pulls?
A: Set your camera to Aperture Priority and utilize manual settings for your flash. Manual settings provide better control over the lighting. Adjust the shutter speed to showcase the view, increase the ISO for interior flash, and you’ll be on your way to capturing remarkable window pulls.
Q: Can I achieve window pulls in a single shot?
A: If you prefer to capture window pulls in a single shot, expose for the view and light up the interior. Balancing the exposure allows the outside view to have a slight blowout while retaining essential window details.
Final Thoughts
Even with top-notch equipment, such as Canon cameras and high-quality lenses, creating aesthetically pleasing window pulls still often requires a blend of shooting techniques and post-processing finesse. By employing the secrets we’ve shared, you’ll be able to elevate your window pulls and capture the true beauty of interior spaces.