Interior Photography With Your Phone: Guideline From The Pros
The gorgeous interior photography shots you see in magazines may seem impossible to achieve as a photographer, but they’re not. Follow our guideline!
Have you ever taken a real estate photo? If so, you might have tried interior photography. But there’s a difference between that and real estate photos.
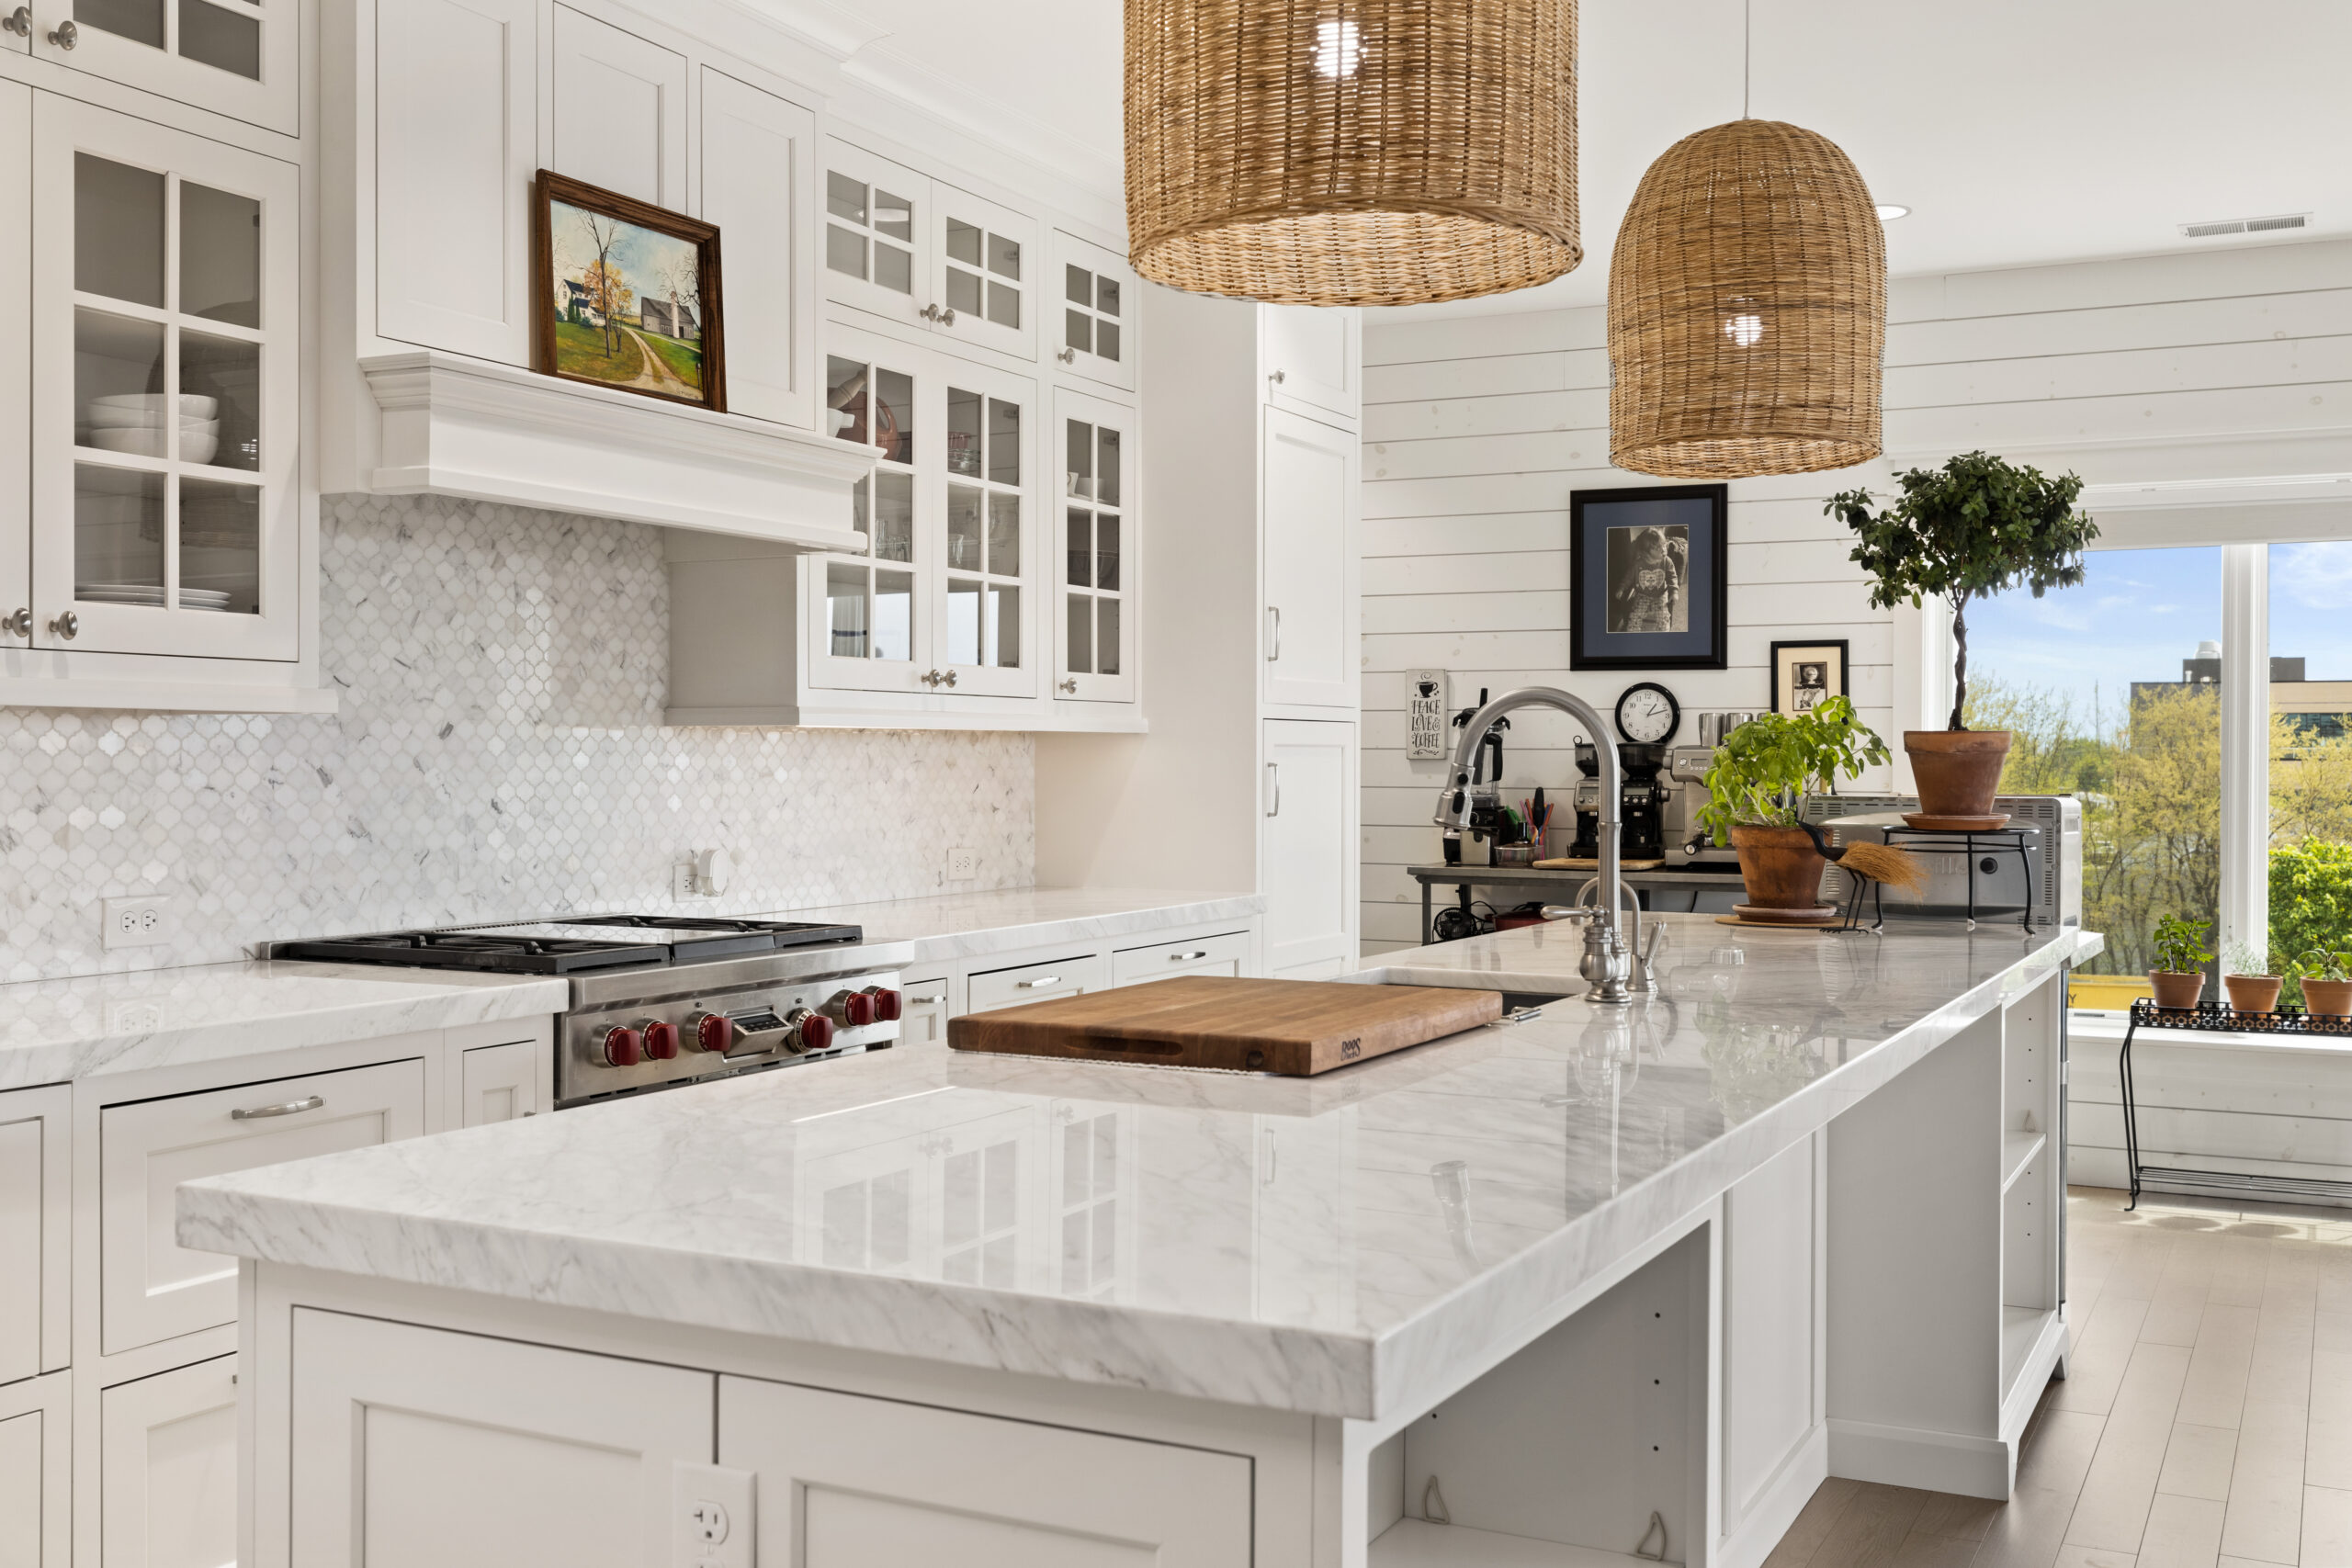
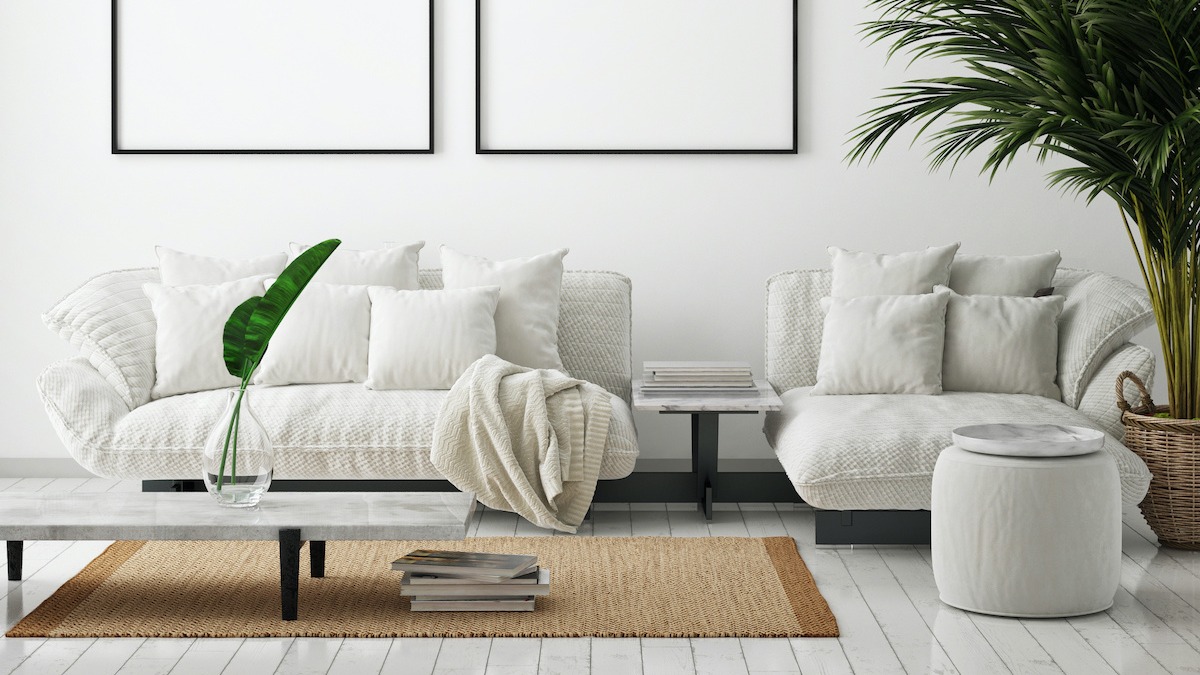
Interior photography is all about taking pictures of the inside of buildings. It’s used to show off how nice the inside of a place looks as a part of realtor photography. Sometimes, it’s to show off the work of interior designers. Other times, it’s just to remember how nice your eal estate photo looks. The main goal is always to make the interior pictures look really good. They need to be impressive enough for magazines or social media like Instagram.
In this guide, we’ll talk about what interior photography is. We’ll also give you tips on how to take great pictures of interiors and make them look even better with editing!
How to Prepare the Room for Interior Photography
Before you set up anything, it’s crucial to clear away unnecessary clutter in any realtor photography, especially interior shots. Remove anything that doesn’t belong in the picture. If you’re taking real estate photos in someone else’s home, snap a picture before and after so you can put things back where they belong. Get rid of envelopes, remote controls, pens, toys, or pet beds from the scene. While these items are common in houses, they don’t add to the interior photography. You want a simple, tidy space to begin decorating.
Give the room a quick check to make sure it’s clean. Pay attention to the floor, as dirt can show up in photos. Clean everything just before taking the shot to increase your chances of getting the perfect picture. It’s okay if there’s a bit of mess. You can fix it later during post-production editing.
How to Earn Money in Interior Photography with Your Phone
Using a Tripod
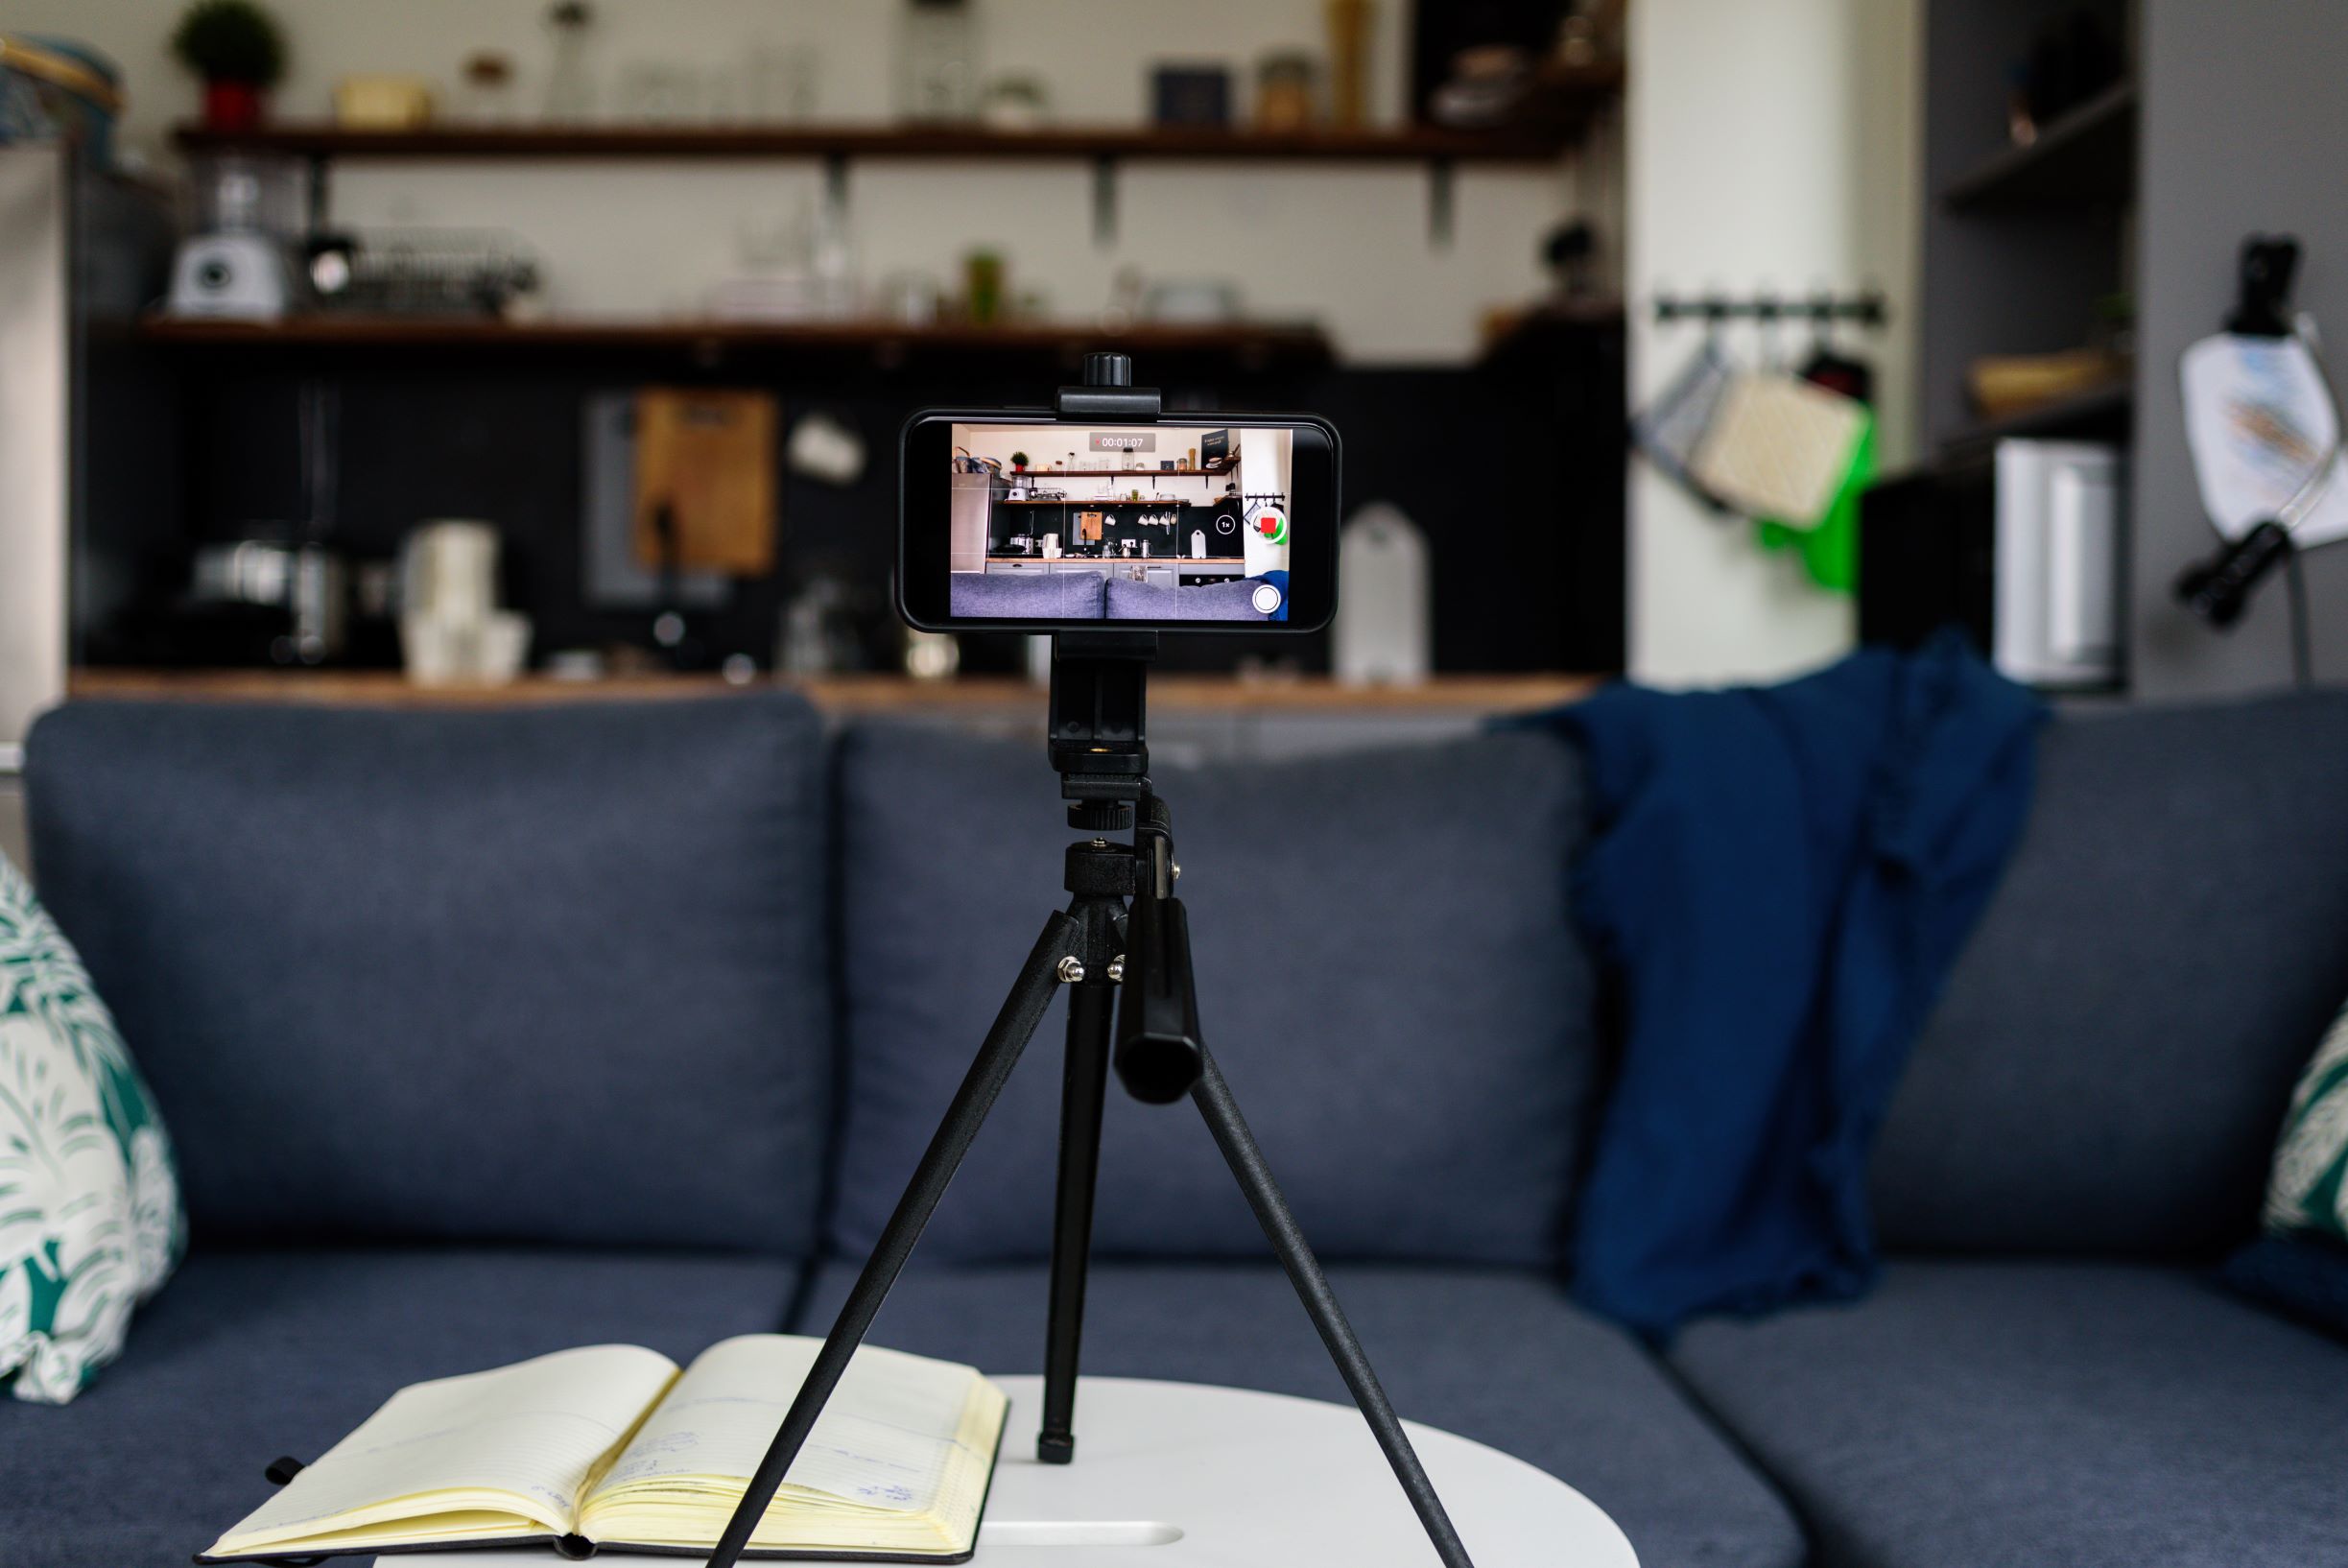
Keeping your vertical lines straight is essential for capturing the right perspective of an interior space. Using a tripod makes interior photography much easier since they’re designed for this kind of work. Even if you think you’re holding your phone steady, the lines in your photos can reveal otherwise. While there’s still a chance of being slightly off, using a tripod reduces this risk and makes corrections easier, especially in editing software like Lightroom.
Tripods come in various price ranges, from affordable to high-end options:
- Cameron Tripod with Ballhead: Ballheads are preferred for their versatility in movement and angles.
- Manfrotto Compact Tripod with Ballhead: Manfrotto is a reputable brand in photography equipment.
- Neewer 2-in-1 Tripod with Ballhead: This budget-friendly option offers excellent performance.
Ensure Your Lens is Clean and Fingerprint-Free
Before you take a photo of your space, it’s important to clean your lens properly. You can use a soft cloth or even just your T-shirt to wipe away any fingerprints. It’s easy to forget how quickly your lens can get smudged from being touched all day, so make sure it’s free of any marks. Whatever your lens sees, your real estate photos will capture, so any residue left on your lens can make your interior photo look blurry and hinder your ability to capture sharp, clear, detailed images.
I always like to do a before-and-after test. Take a photo before cleaning your lens, then give your phone and lens a thorough cleaning, and finally, take another photo to compare. You’ll likely notice that your images look sharper and cleaner afterward.
Adjust Your Exposure
Here’s a game-changing tip: Did you know you can adjust the exposure in your iPhone camera? It’s super easy! Just square up your shot, tap the screen once to lock your focus, then drag your finger up and down to make the photo brighter or darker.
While the camera can automatically set the exposure for you, if you want more control, you can adjust it yourself. Dragging up will give you brighter images, while dragging down will create darker, moodier shots. I suggest taking a few shots at different exposures and experimenting with your photo editors to see which ones you like best.
When shooting interior photography, it’s better to under-expose than to overexpose your photos. You can always brighten shadows during photo editing, but it’s harder to recover blown-out highlights if you start with an overexposed photo. Keep this in mind as you’re shooting to get the best results.
Shoot Straight and Low
Improving your images can be as simple as adjusting your composition. Many people tend to shoot from the corners of rooms or from a top-down perspective, which can affect the overall look of the realtor photo. Taking a moment to consider framing photography and the composition of your images can make a significant difference and give them a more professional appearance.
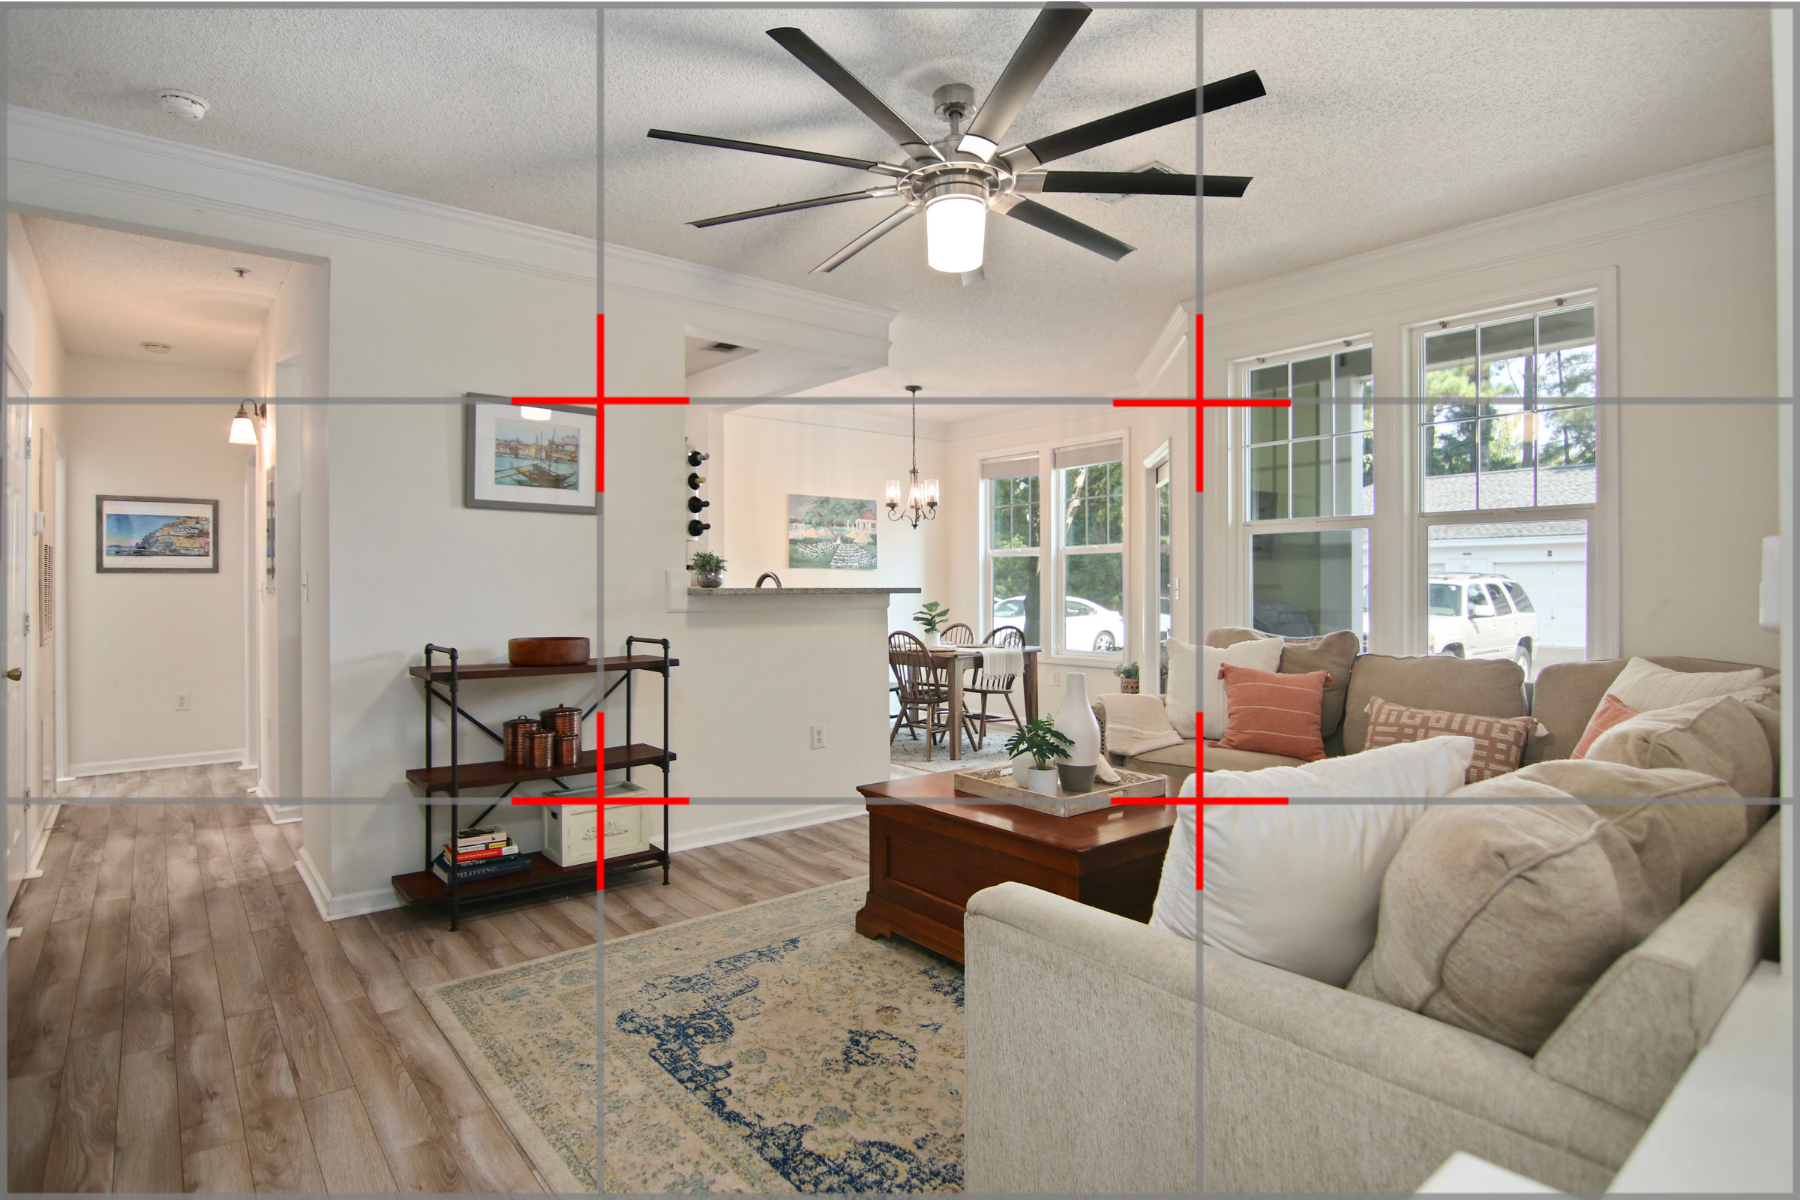
For a handy tip on keeping your lines straight when shooting with an iPhone, enable the grid feature in your settings (Settings > Camera > Grid > On). Once activated, view your space through the screen and position yourself low. Shooting from too high up can make your interior photos appear distorted, so aim to shoot with your iPhone between your chest and belly button.
Avoid using the zoom button, as it can result in real estate photos. Instead, physically move closer to or further away from the scene you want to photograph. Consider adjusting your body position to find the best angle for your image. When in doubt, shooting straight on is usually a safe bet for capturing the interior design effectively.
Follow Composition Guidelines

Interior photography often features straight lines, such as walls, furniture, and windows. It’s essential to ensure these lines appear straight in your viewfinder to avoid any distortion.
The “rule of thirds,” a classic principle in framing photography, applies just as well to interior photography. By positioning points of interest at the intersections of this imaginary grid, you create a visually pleasing composition. Additionally, using the natural structure of the room, such as hallways or interior design arrangements, can help guide the viewer’s gaze throughout the image.
Conclusion
The digital era, particularly with platforms like Instagram, has made photography more accessible to everyone. While professional photographers offer expertise, DIY ventures armed with the right interior photography tips can achieve captivating results. If you’re considering expanding your real estate photography business, understanding the value of hiring or outsourcing a team can provide valuable insights. Regardless of the direction you choose, the essence of interior photography remains consistent: showcasing the beauty of spaces.