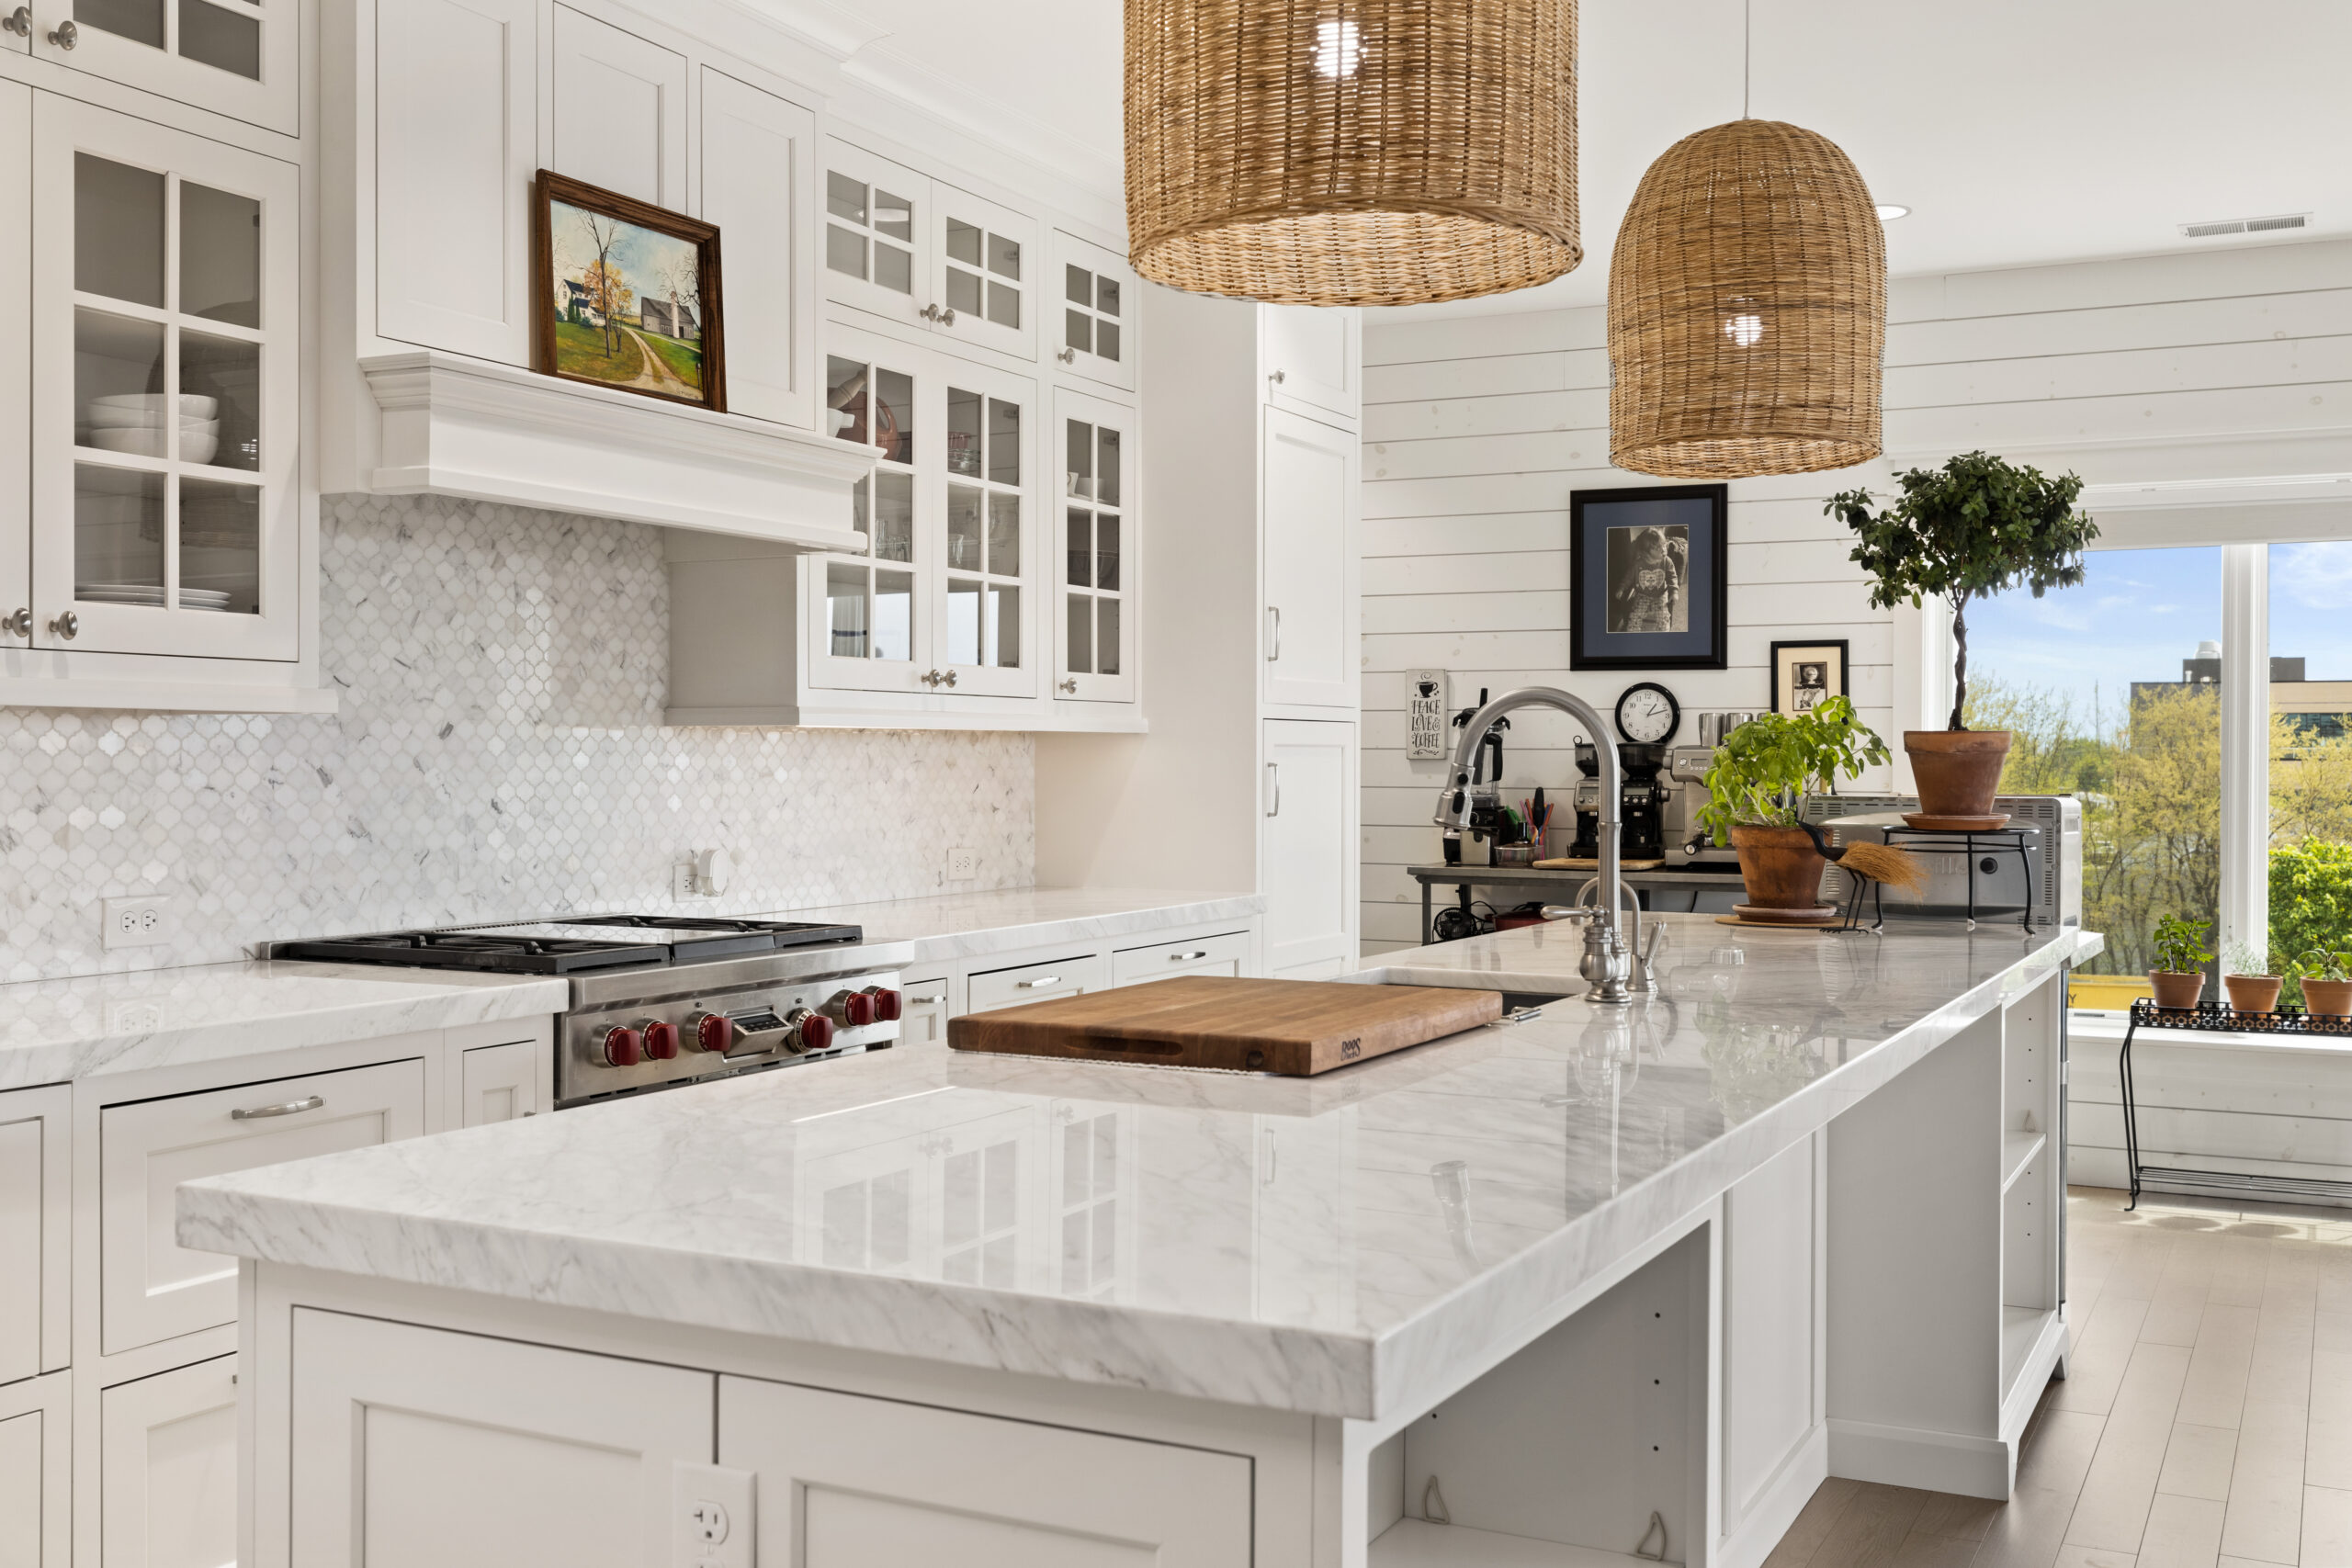
Camera Settings for Real Estate Photography: HDR, Flash & Videos
Are you struggling to find the right settings for your camera? Look no further! In this article, we will introduce the perfect camera settings for shooting HDR, flash-ambient, or capturing real estate videos. These settings will optimize your workflow and boost the quality of your work.
1. Camera Settings for HDR Photography
When shooting HDR (High Dynamic Range) real estate photography, it’s crucial to set up your camera properly for optimized final results. Here’s a step-by-step guide to the recommended camera settings:
- Aperture Priority Mode: Start by setting your camera’s top dial to “A” (Aperture Priority) mode. This mode speeds up your workflow by automatically calculating the shutter speed, eliminating the need to set it for each shot.
- Aperture: Adjust your aperture to f/8, which is ideal for capturing interior and exterior shots. This setting ensures a balanced depth of field and optimal sharpness.

- ISO: Set your ISO to 400. While lower ISO values like 100 can yield cleaner images, using ISO 400 helps speed up your shutter speed and reduces the time needed for exposures. The difference in image quality between ISO 400 and 100 is practically imperceptible on full frame cameras. However, if you’re using a crop sensor camera, it’s advisable to stick with ISO 100 to minimize the risk of grainy photos.
- Drive Mode: Access the drive mode menu and select “Bracket Continuous.” Set the EV (Exposure Value) to 2.0 EV5, which means you’ll capture five brackets or exposures, each two stops apart. These brackets will later be merged during post-processing to create a high dynamic range image.

- White Balance: The Auto White Balance (AWB) setting usually works well for most situations. If the lighting conditions are significantly off, you can adjust the white balance manually.
- Focus Settings: Choose the wide focus area or, if necessary, switch to spot or flexible spot focus for precise focusing. You can access these options via the function (fn) button on the camera.
- Image Ratio and Size: Set your camera’s aspect ratio to 3:2, the preferred ratio for real estate photography. This ratio provides a standard and visually pleasing composition.
- File Format: Opt for RAW file format to retain maximum flexibility during post-processing.
Pro Tip: Customize your camera’s settings further by enabling the remote control function for infrared or Bluetooth remotes, allowing you to trigger the shutter remotely without disturbing the camera’s stability. You can do this by accessing the Setup menu > Setup Option > IR Remote Control > On.

So there you go! These are the optimal camera settings for HDR real estate photography, allowing you to capture multiple exposures for later blending into a high-quality final image.
2. Camera Settings for Flambient Photography
Flambient photography combines flash and ambient lighting to create well-exposed, vibrant images. While many of the settings remain the same as HDR photography, there are a few adjustments to consider:
- Manual Mode: Switch your camera to manual mode (M). This allows you to control the shutter speed independently, which is crucial for achieving the desired exposure when using the flash techniques.

- Aperture: Adjust the aperture to f/7.1, as it tends to yield excellent results for flambient photography.

- Drive Mode: Change the drive mode to “Single Shooting” since you’ll be capturing individual frames rather than brackets.

- Focus: Consider using manual focus or spot focus to ensure precise focusing for each shot, especially when using flash techniques. This helps maintain consistent focus across multiple frames.
- White Balance: While AWB generally works well, manually adjusting the white balance can provide more consistency between frames if needed.
By making these slight adjustments to your camera settings, you’ll be well-equipped to create stunning flambient images that showcase the best of both ambient and flash lighting.
3. Camera Settings for Real Estate Videos
To begin, set your camera to video mode by turning the dial to the film strip icon. Access the menu and make the following adjustments to ensure optimal video recording:
- File Format: Depending on your camera’s capabilities, choose the appropriate file format. For Sony cameras like the a7s3, it’s recommended to use XAVC S for both 4K and HD recordings.

- Record Frame Rate: To capture smooth and graceful footage, select a higher frame rate such as 120 frames per second (fps). Shooting at higher frame rates allows for easy conversion to slow motion (if needed) during post-processing. If your camera doesn’t support 4K 120fps or 4K 60fps, opt for 1920×1080 HD resolution at either 60fps or 120fps, depending on your camera’s capabilities.
- Record Setting: Aim for the highest quality recording settings your camera can handle, such as 280M, 4:2:2 10-bit color. These settings ensure superior image quality and offer flexibility during editing and cropping.

- Shutter Speed: To achieve natural-looking motion, it’s crucial to set your shutter speed correctly. As a general rule, set your shutter speed to double the frame rate. For instance, when shooting at 60fps, select 1/125th as your shutter speed. Similarly, for 120fps, set the shutter speed to 1/250th. While these guidelines ensure natural motion, you can experiment with slightly faster speeds for specific scenarios.
- Aperture and ISO: When it comes to adjusting exposure, you’ll primarily work with aperture and ISO. For real estate interiors, where lighting conditions are often dim, keeping your aperture wide open (e.g., f/2.8) allows maximum light intake. Set your ISO to the lowest possible value (e.g., ISO 100) to maintain optimal image quality. By adjusting ISO as needed, you can achieve the desired exposure without compromising image sharpness.

- Focus Mode and White Balance: It’s advisable to use manual focus to avoid focus hunting and ensure consistent sharpness. Similarly, switch the white balance setting from auto to manual mode. In manual mode, you can freely adjust the Kelvin temperature to match the scene’s lighting conditions, optimizing color accuracy and consistency throughout your footage.

- Picture Profile: To simplify post-processing, choose a suitable picture profile. For beginners, using a general movie recording profile like PP1 (Sony) or a similar default profile is recommended. These profiles provide pleasing results straight out of the camera, minimizing the need for extensive color grading or corrections. While log profiles offer increased dynamic range, they require more post-production work and are better suited for advanced photographers.
4. Custom Slots and Buttons: Efficiency at Your Fingertips
Custom slots allow you to save and recall specific camera settings effortlessly. Take advantage of this feature by programming your preferred settings into the available slots. With your camera configured to your liking, navigate to the Shooting menu, select the Shooting Mode, and access the Camera Set. Memory. In there, you will find 2-3 custom slots, depending on the camera you’re using. You can assign slot 1 for your HDR settings, slot 2 for flambient settings, and the remaining for video settings.

Register your preferred settings, including frame rate, resolution, aperture, ISO, and picture profile. This way, you can quickly switch between different shooting scenarios without manually adjusting each setting every time.

You can even further enhance your shooting experience by mapping important functions to custom buttons. This allows for instant access to frequently used features without navigating through the camera menu. By customizing your camera buttons, you can streamline your workflow and react quickly to changing shooting conditions.
Final Thoughts
Camera settings play a deciding role in creating stunning real estate photos and videos. Therefore, it is crucial to optimize these settings, understand the role of shutter speed, aperture, ISO, and white balance, and utilize custom slots and button mapping. Each camera has a slightly different algorithm, so don’t be shy to experiment with different settings to find out what works best for you.